vue 渲染 | 不同类型的元素渲染的方式(vue组件/htmlelement/纯 html)
省流总结:(具体实现见下方)
vue 组件 ——》<component :is='组件名'>
htmlelement 元素 ——》 ref 、★ v-for + ref 或是 ★ vue 的 nextTick
纯 html 结构——》v-html
另外,当数据异步加载时,vue3中如何渲染:①watch监听;②异步加载+条件渲染;③ watch(监听对象, async(newValue)=>{... await nextTick() }
vue 组件的 动态渲染 ——》 <component :is="组件名"
<component :is="componentName"></component>
是 Vue 中的动态组件用法,它允许你根据某个条件动态地渲染不同的组件。
不适合原生的 DOM 元素。
其中,
:is指令 让你能够指定要渲染的组件类型
componentName是一个字符串,表示你要渲染的组件的名称,或者是一个组件对象。可以是本地注册的组件名称,或者一个导入的组件对象。
例子:
<template><div><button @click="setComponent('componentA')">Show Component A</button><button @click="setComponent('componentB')">Show Component B</button><!-- 动态渲染组件 --><component :is="currentComponent"></component></div>
</template><script>
import ComponentA from './ComponentA.vue';
import ComponentB from './ComponentB.vue';export default {data() {return {currentComponent: 'ComponentA',  // 初始渲染ComponentA};},methods: {setComponent(componentName) {this.currentComponent = componentName;},},components: {ComponentA,ComponentB,},
};
</script>
在这个例子中,<component :is="currentComponent"> 会根据 currentComponent 的值动态切换 ComponentA 或 ComponentB。
htmlelement 元素——》 ref 渲染
将 HTMLElement 通过 ref 引用传递给 Vue,直接操作 DOM 结构,将 HTMLElement 添加到某个元素中。适用于需要直接操作 DOM 的情况(更灵活)。
例子:
<template><div ref="container"></div> <!-- 渲染到指定的 DOM 元素 -->
</template><script>
import { store } from './store';export default {mounted() {this.renderElement();},methods: {renderElement() {const container = this.$refs.container;const element = store.state.component;if (container && element) {container.appendChild(element);  // 将 HTMLElement 添加到指定的 ref 元素中}},},
};
</script>
使用 v-for + ref 渲染 HtmlElement 元素
实现:渲染component属性,canvasItems数组中,每个对象中都有一个component属性(即 htmlElement 元素)
vue2版本:
// store.js
export const store = {state: {canvasItems: [{id: 1,component: document.createElement('div'), // 假设这是 HTML 元素type: 'image',properties: { /* 其他属性 */ }},{id: 2,component: document.createElement('button'), // 另一个 HTML 元素type: 'button',properties: { /* 其他属性 */ }}]}
};
vue 组件中,通过 v-for 渲染每个 component:
<template><div><!-- 遍历 canvasItems 渲染每个 component --><div v-for="(item, index) in canvasItems" :key="item.id"><!-- 渲染对应的 HTMLElement --><div :ref="`container-${index}`"></div></div></div>
</template><script>
import { store } from './store';export default {computed: {canvasItems() {return store.state.canvasItems; // 获取 store 中的 canvasItems 数据}},mounted() {this.renderCanvasItems();},methods: {renderCanvasItems() {// 遍历 canvasItems 并渲染每个 HTMLElementthis.canvasItems.forEach((item, index) => {const container = this.$refs[`container-${index}`]; // 获取每个 item 对应的 refif (container && item.component) {container.appendChild(item.component); // 将 HTMLElement 插入到指定位置}});}}
};
</script>
代码解释:
v-for遍历:我们使用v-for循环遍历canvasItems数组中的每个元素。
ref动态绑定:ref的值通过 模板字符串\container-${index}`来动态生成不同的ref` 名称,以便在方法中获取每个对应的容器。
appendChild插入 DOM:在mounted钩子中,我们通过this.$refs获取到每个容器,并将component(即HTMLElement)插入到对应的容器中。注:vue3 语法糖中,可以把 this.$refs 换成 const xxx = ref()
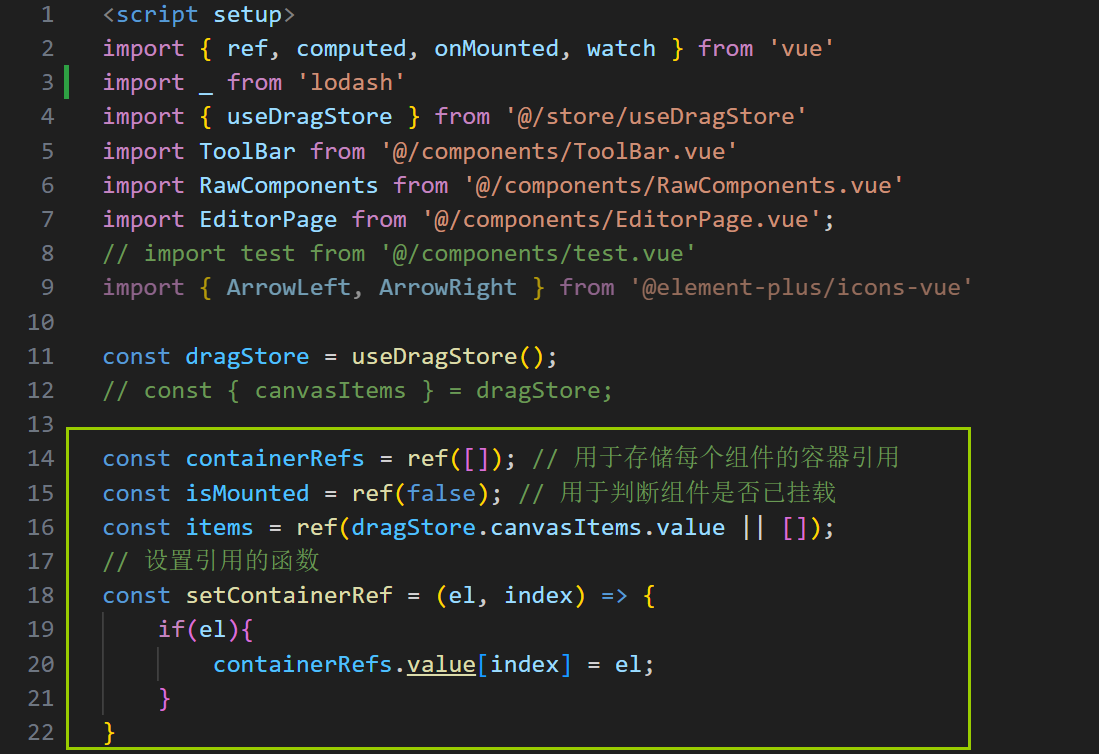
vue3 <script setup> 语法糖版本:
<template><div><div v-for="(item, index) in items" :key="item.id"><!-- 使用函数形式的 ref --><div :ref="(el) => setContainerRef(el, index)"></div></div></div>
</template><script setup>
import { ref, onMounted } from 'vue'
import { canvasItems } from './store'// 存储 DOM 引用的容器
const containerRefs = ref([])
const items = ref(canvasItems.value || []);      // 若 canvansItems 是响应式引用Ref,则可以不加这一步。// 设置引用的函数
const setContainerRef = (el, index) => {if (el) {containerRefs.value[index] = el}
}onMounted(() => {// 确保 canvasItems 已正确赋值if (canvasItems.value) {// 遍历 canvasItems 数组并访问每个 item 的 component 属性canvasItems.value.forEach((item, index) => {const container = containerRefs.value[index]if (container && item.component) {container.appendChild(item.component) // 将 HTMLElement 插入到指定容器}})} else {console.error('canvasItems is not defined or empty')}
})
</script>
关键变化说明:
移除了
this的使用,改用 响应式变量使用
:ref="(el) => setContainerRef(el, index)"替代字符串形式的 ref使用
containerRefs数组 来存储 DOM 引用将
mounted生命周期钩子改为onMounted移除了
computed属性,直接在 setup 中声明响应式变量
★ vue3 <script setup> 进阶版本: 数据是异步加载的。(onMounted 挂载时 数据还没有准备好)
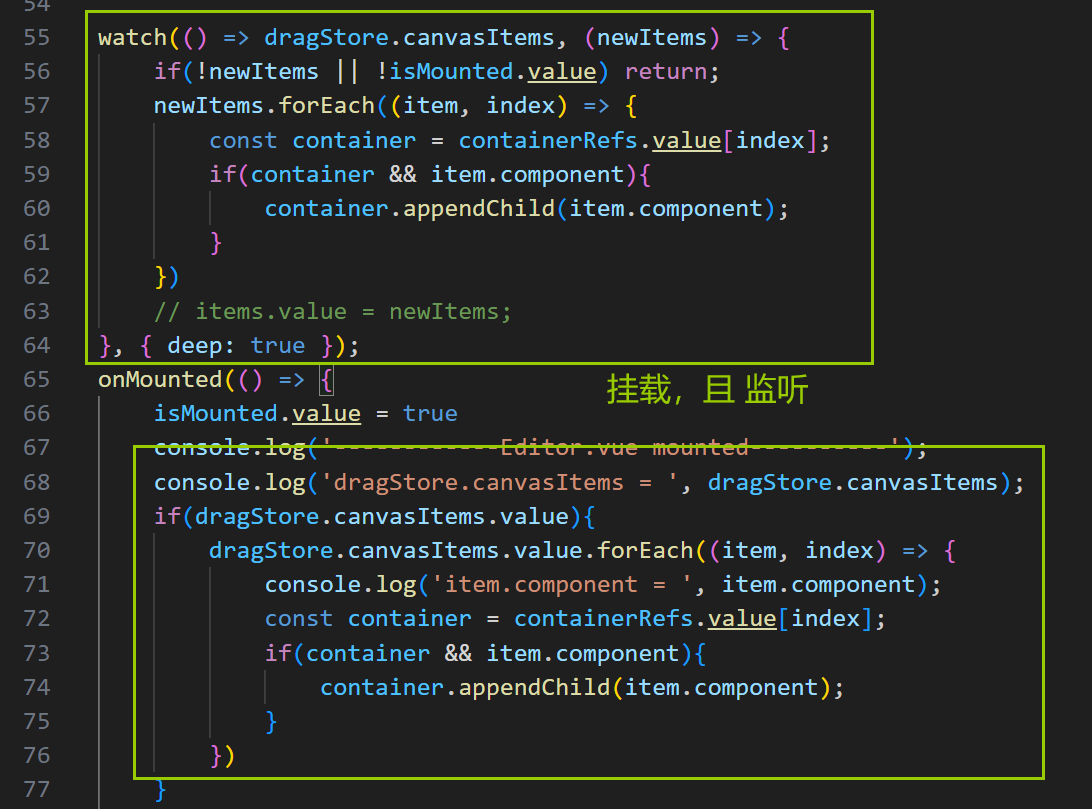
法1:使用 watch 监听 数据变化——》watch(监听对象,(newValue)=>{响应}, {deep:true 开启深度监听})
<script setup>
import { ref, watch, onMounted } from 'vue'
import { canvasItems } from './store'const containerRefs = ref([])
const isMounted = ref(false)const setContainerRef = (el, index) => {if (el) containerRefs.value[index] = el
}// 监听 canvasItems 变化
watch(canvasItems, (newItems) => {if (!newItems || !isMounted.value) returnnewItems.forEach((item, index) => {const container = containerRefs.value[index]if (container && item.component) {container.appendChild(item.component)}})
}, { deep: true })onMounted(() => {isMounted.value = true// 如果数据已经加载,立即执行if (canvasItems.value) {canvasItems.value.forEach((item, index) => {const container = containerRefs.value[index]if (container && item.component) {container.appendChild(item.component)}})}
})
</script>
法2:使用 异步加载 + 条件渲染 ——》async ... await new Promise( res=>{}) + nextTick()
<template><div v-if="loaded"><div v-for="(item, index) in items" :key="item.id"><div :ref="(el) => setContainerRef(el, index)"></div></div></div><div v-else>Loading...</div>
</template><script setup>
import { ref, onMounted } from 'vue'
import { canvasItems } from './store'const containerRefs = ref([])
const loaded = ref(false)
const items = ref([])const setContainerRef = (el, index) => {if (el) containerRefs.value[index] = el
}// 假设有一个异步加载函数
const loadData = async () => {// 这里可能是从API加载数据await new Promise(resolve => setTimeout(resolve, 500)) // 模拟异步items.value = canvasItems.value || []loaded.value = truenextTick(() => {items.value.forEach((item, index) => {const container = containerRefs.value[index]if (container && item.component) {container.appendChild(item.component)}})})
}onMounted(loadData)
</script>
法3:使用 nextTick 确保DOM更新 ——》 watch(监听对象,async(newValue)=>{... await nextTick() //等待 DOM 更新})
<script setup>
import { ref, watch, nextTick } from 'vue'
import { canvasItems } from './store'const containerRefs = ref([])const setContainerRef = (el, index) => {if (el) containerRefs.value[index] = el
}watch(canvasItems, async (newItems) => {if (!newItems) returnawait nextTick() // 等待DOM更新newItems.forEach((item, index) => {const container = containerRefs.value[index]if (container && item.component) {container.appendChild(item.component)}})
}, { immediate: true, deep: true })
</script>
注: await nextTick() // 等待DOM更新
最佳实践建议:
如果数据来自API,使用方案2的 异步加载模式
如果数据来自 store且可能动态变化,使用方案1或方案3
确保在操作DOM前使用
nextTick等待DOM更新完成根据你的具体场景选择最适合的方案。如果是画布应用,通常方案1的watch方式最为可靠。
应用 - 具体实践:

DOM元素 ——》用 onMounted 钩子 手动直接操作 DOM
如果你需要在 Vue 渲染完成后 动态插入 DOM 元素,可以考虑使用 mounted 钩子来手动操作 DOM:
<template><div><!-- 渲染容器 --><div v-for="(item, index) in canvasItems" :key="item.id" :ref="'container-' + index"></div></div>
</template><script>
import { store } from './store';export default {computed: {canvasItems() {return store.state.canvasItems;}},mounted() {this.renderCanvasItems();},methods: {renderCanvasItems() {this.canvasItems.forEach((item, index) => {const container = this.$refs[`container-${index}`];if (container && item.component) {container.appendChild(item.component); // 将 HTMLElement 插入到 DOM 中}});}}
};
</script>
纯 HTML 字符串——》 v-html 指令 渲染 outerHTML
通过 v-html 指令,将 HTMLElement 转换为 HTML 字符串 后插入到页面。请注意,v-html 仅适用于 纯 HTML 字符串 的渲染,并不会解析 Vue 组件或 HTMLElement
function getHtmlContent(element) {console.log('getHtmlContent==========element=', element);return element ? element.outerHTML : ''; // 将 HTMLElement 转换为字符串
}
然,在模板中使用 v-html
<div v-for="item in canvasItems" v-html="getHtmlContent(item. Component)" :key="item.id" ></div>
参考:vue3 | Vue2代码转换成Vue3_vue2转vue3-CSDN博客