RTDETR融合CFFormer中的FeatureCorrection_s2c模块

RT-DETR使用教程: RT-DETR使用教程
RT-DETR改进汇总贴:RT-DETR更新汇总贴
《CFFormer: A Cross-Fusion Transformer Framework for the Semantic Segmentation of Multisource Remote Sensing Images》
一、 模块介绍
论文链接:https://ieeexplore.ieee.org/document/10786275
代码链接:https://github.com/masurq/CFFormer/tree/master
论文速览:
多源遥感图像(RSIs)能够捕捉地面物体的互补信息,用于语义分割。然而,来自不同传感器的多模态数据之间可能存在不一致性和干扰噪声。因此,如何有效减少不同模态之间的差异和噪声,并充分利用其互补特征,是一个挑战。在本文中,我们提出了一种用于多源遥感图像语义分割的通用跨融合变压器框架(CFFormer),采用并行双流结构分别从不同模态中提取特征。我们引入了一个特征校正模块(FCM),通过结合其他模态的特征,在空间和通道维度上校正当前模态的特征。在特征融合模块(FFM)中,我们采用多头交叉注意力机制进行全局交互和融合不同模态的特征,从而能够全面利用多源遥感图像中的互补信息。最后,对比实验表明,所提出的 CFFormer 框架不仅达到了最先进的(SOTA)精度,而且与当前用于多源遥感图像语义分割的先进网络相比,还表现出出色的鲁棒性。
总结:本文更新其中的FeatureCorrection_s2c模块。
⭐⭐本文二创模块仅更新于付费群中,往期免费教程可看下方链接⭐⭐
RT-DETR更新汇总贴(含免费教程)文章浏览阅读264次。RT-DETR使用教程:缝合教程: RT-DETR中的yaml文件详解:labelimg使用教程:_rt-deterhttps://xy2668825911.blog.csdn.net/article/details/143696113
二、二创融合模块
2.1 相关代码
# https://blog.csdn.net/StopAndGoyyy?spm=1011.2124.3001.5343
# https://ieeexplore.ieee.org/document/10786275
class ChannelWeights(nn.Module):def __init__(self, dim, reduction=1):super(ChannelWeights, self).__init__()self.dim = dimself.avg_pool = nn.AdaptiveAvgPool2d(1)self.max_pool = nn.AdaptiveMaxPool2d(1)self.mlp = nn.Sequential(nn.Linear(self.dim * 6, self.dim * 6 // reduction),nn.ReLU(inplace=True),nn.Linear(self.dim * 6 // reduction, self.dim * 2),nn.Sigmoid())def forward(self, x1, x2):B, _, H, W = x1.shapex = torch.cat((x1, x2), dim=1)avg = self.avg_pool(x).view(B, self.dim * 2)std = torch.std(x, dim=(2, 3), keepdim=True).view(B, self.dim * 2)max = self.max_pool(x).view(B, self.dim * 2)y = torch.cat((avg, std, max), dim=1)  # B 6Cy = self.mlp(y).view(B, self.dim * 2, 1)channel_weights = y.reshape(B, 2, self.dim, 1, 1).permute(1, 0, 2, 3, 4)  # 2 B C 1 1return channel_weightsclass SpatialWeights(nn.Module):def __init__(self, dim, reduction=1):super(SpatialWeights, self).__init__()self.dim = dimself.mlp = nn.Sequential(nn.Conv2d(self.dim * 2, self.dim // reduction, kernel_size=1),nn.ReLU(inplace=True),nn.Conv2d(self.dim // reduction, 2, kernel_size=1),nn.Sigmoid())def forward(self, x1, x2):B, _, H, W = x1.shapex = torch.cat((x1, x2), dim=1)  # B 2C H Wspatial_weights = self.mlp(x).reshape(B, 2, 1, H, W).permute(1, 0, 2, 3, 4)  # 2 B 1 H Wreturn spatial_weights# 先空间校正再通道校正
class FeatureCorrection_s2c(nn.Module):def __init__(self, dim, reduction=1, eps=1e-8):super(FeatureCorrection_s2c, self).__init__()# 自定义可训练权重参数self.weights = nn.Parameter(torch.ones(2, dtype=torch.float32), requires_grad=True)self.eps = epsself.spatial_weights = SpatialWeights(dim=dim, reduction=reduction)self.channel_weights = ChannelWeights(dim=dim, reduction=reduction)self.apply(self._init_weights)@classmethoddef _init_weights(cls, m):if isinstance(m, nn.Linear):trunc_normal_(m.weight, std=.02)if isinstance(m, nn.Linear) and m.bias is not None:nn.init.constant_(m.bias, 0)elif isinstance(m, nn.LayerNorm):nn.init.constant_(m.bias, 0)nn.init.constant_(m.weight, 1.0)elif isinstance(m, nn.Conv2d):fan_out = m.kernel_size[0] * m.kernel_size[1] * m.out_channelsfan_out //= m.groupsm.weight.data.normal_(0, math.sqrt(2.0 / fan_out))if m.bias is not None:m.bias.data.zero_()def forward(self, x):x1, x2 = xweights = nn.ReLU()(self.weights)fuse_weights = weights / (torch.sum(weights, dim=0) + self.eps)spatial_weights = self.spatial_weights(x1, x2)x1_1 = x1 + fuse_weights[0] * spatial_weights[1] * x2x2_1 = x2 + fuse_weights[0] * spatial_weights[0] * x1channel_weights = self.channel_weights(x1_1, x2_1)main_out = x1_1 + fuse_weights[1] * channel_weights[1] * x2_1aux_out = x2_1 + fuse_weights[1] * channel_weights[0] * x1_1return torch.cat([main_out, aux_out], dim=1)
2.2 更改yaml文件 (以自研模型加入为例)
yam文件解读:YOLO系列 “.yaml“文件解读_yolo yaml文件-CSDN博客
打开更改ultralytics/cfg/models/rt-detr路径下的rtdetr-l.yaml文件,替换原有模块。

# Ultralytics YOLO 🚀, AGPL-3.0 license
# RT-DETR-l object detection model with P3-P5 outputs. For details see https://docs.ultralytics.com/models/rtdetr
# ⭐⭐Powered by https://blog.csdn.net/StopAndGoyyy, 技术指导QQ:2668825911⭐⭐# Parameters
nc: 80 # number of classes
scales: # model compound scaling constants, i.e. 'model=yolov8n-cls.yaml' will call yolov8-cls.yaml with scale 'n'# [depth, width, max_channels]l: [1.00, 1.00, 512]
# n: [ 0.33, 0.25, 1024 ]
# s: [ 0.33, 0.50, 1024 ]
# m: [ 0.67, 0.75, 768 ]
# l: [ 1.00, 1.00, 512 ]
# x: [ 1.00, 1.25, 512 ]
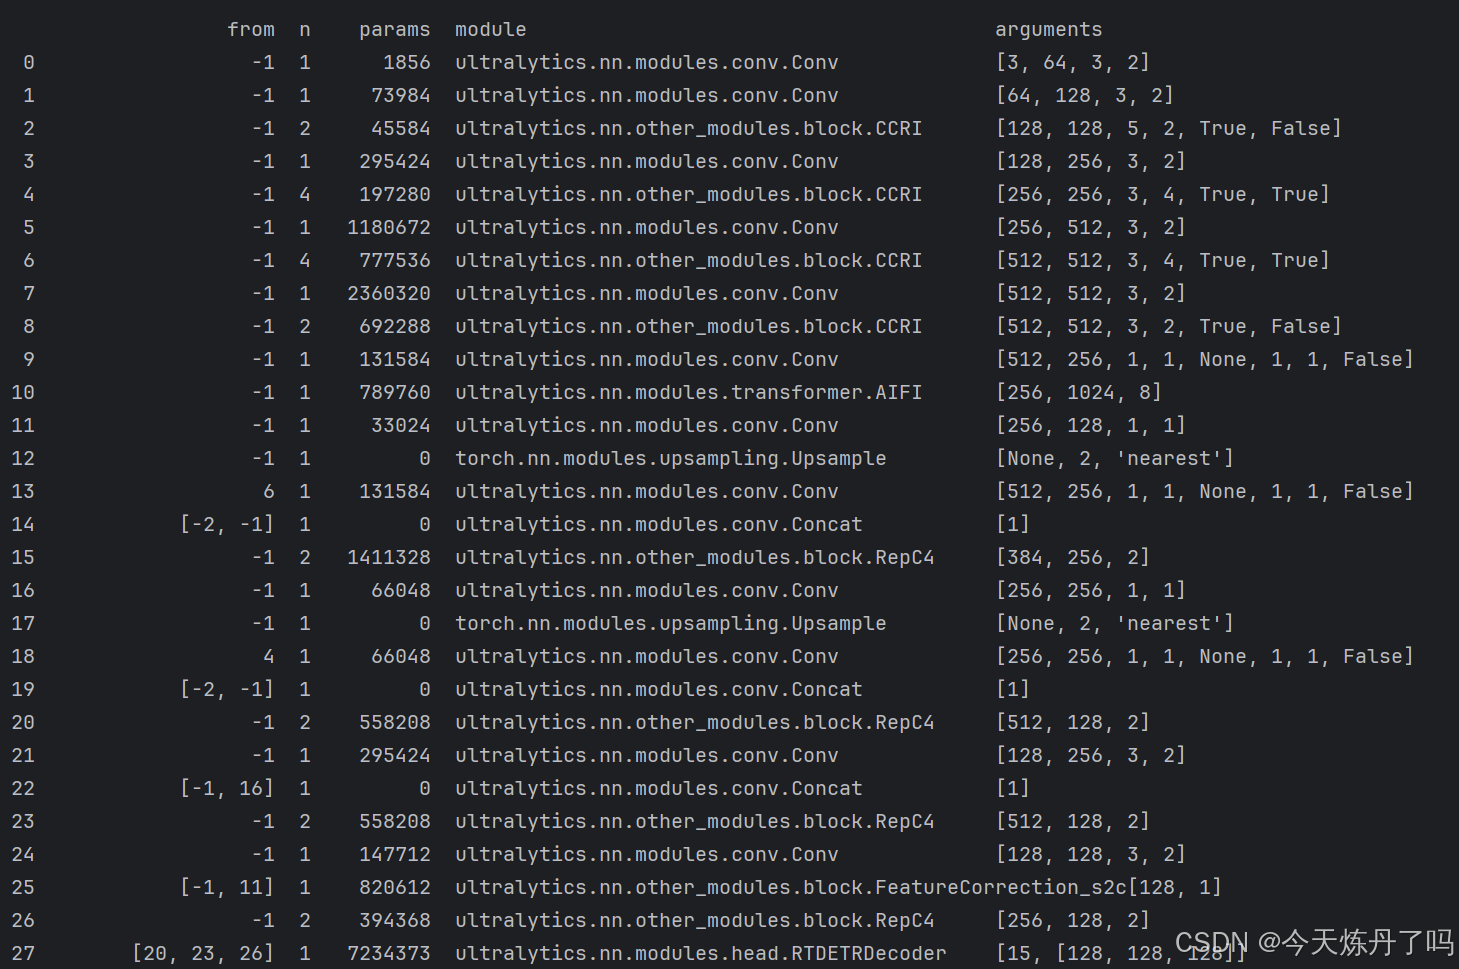
# ⭐⭐Powered by https://blog.csdn.net/StopAndGoyyy, 技术指导QQ:2668825911⭐⭐backbone:# [from, repeats, module, args]- [-1, 1, Conv, [64, 3, 2]] # 0-P1/2- [-1, 1, Conv, [128, 3, 2]] # 1-P2/4- [-1, 2, CCRI, [128, 5, True, False]]- [-1, 1, Conv, [256, 3, 2]] # 3-P3/8- [-1, 4, CCRI, [256, 3, True, True]]- [-1, 1, Conv, [512, 3, 2]] # 5-P4/16- [-1, 4, CCRI, [512, 3, True, True]]- [-1, 1, Conv, [1024, 3, 2]] # 7-P5/32- [-1, 2, CCRI, [1024, 3, True, False]]head:- [-1, 1, Conv, [256, 1, 1, None, 1, 1, False]] # 9 input_proj.2- [-1, 1, AIFI, [1024, 8]]- [-1, 1, Conv, [128, 1, 1]] # 11, Y5, lateral_convs.0- [-1, 1, nn.Upsample, [None, 2, "nearest"]]- [6, 1, Conv, [256, 1, 1, None, 1, 1, False]] # 13 input_proj.1- [[-2, -1], 1, Concat, [1]]- [-1, 2, RepC4, [256]] # 15, fpn_blocks.0- [-1, 1, Conv, [256, 1, 1]] # 16, Y4, lateral_convs.1- [-1, 1, nn.Upsample, [None, 2, "nearest"]]- [4, 1, Conv, [256, 1, 1, None, 1, 1, False]] # 18 input_proj.0- [[-2, -1], 1, Concat, [1]] # cat backbone P4- [-1, 2, RepC4, [128]] # X3 (20), fpn_blocks.1- [-1, 1, Conv, [256, 3, 2]] # 22, downsample_convs.0- [[-1, 16], 1, Concat, [1]] # cat Y4- [-1, 2, RepC4, [128]] # F4 (23), pan_blocks.0- [-1, 1, Conv, [128, 3, 2]] # 24, downsample_convs.1- [[-1, 11], 1, FeatureCorrection_s2c, [1]] # cat Y5- [-1, 2, RepC4, [128]] # F5 (26), pan_blocks.1- [[20, 23, 26], 1, RTDETRDecoder, [nc]] # Detect(P3, P4, P5)
# ⭐⭐Powered by https://blog.csdn.net/StopAndGoyyy, 技术指导QQ:2668825911⭐⭐
2.2 修改train.py文件
创建Train_RT脚本用于训练。
from ultralytics.models import RTDETR
import os
os.environ['KMP_DUPLICATE_LIB_OK'] = 'True'if __name__ == '__main__':model = RTDETR(model='ultralytics/cfg/models/rt-detr/rtdetr-l.yaml')# model.load('yolov8n.pt')model.train(data='./data.yaml', epochs=2, batch=1, device='0', imgsz=640, workers=2, cache=False,amp=True, mosaic=False, project='runs/train', name='exp')

在train.py脚本中填入修改好的yaml路径,运行即可训。