vue2图片预览插件
学习:vue插件开发实例-图片预览插件
vue2-pre-img-plugin的gitee代码
准备工作
准备图片与基础的样式
- 将iconfont下载的字体图标资源放在src/assets/iconfont目录下
- 将准备预览的图片放到src/static/images目录下
PrevImg.vue
在plugins/PrevImg目录下,创建PrevImg.vue。
直接引入静态图片资源,然后作为vue组件实例的data
<template><div class="prev-container"><div class="mask"></div><div class="indicator"><i class="iconfont icon-jiahao1"></i><i class="iconfont icon-jian"></i><i class="iconfont icon-reset"></i><i class="iconfont icon-close"></i></div><div class="img-wrapper"><img :src="imgPath"></div></div>
</template><script>
import img1 from '@/static/images/1.jpg'
import img2 from '@/static/images/2.jpg'
import img3 from '@/static/images/3.jpg'
import img4 from '@/static/images/4.png'
import img5 from '@/static/images/5.png'console.log('PrevImg->img1',img1); // PrevImg->img1 /img/1.1a1b49d1.jpgexport default {name: 'PrevImg2',data() {return {imgPath: img1}},
}
</script><style lang="scss">.prev-container {position: fixed;top:0;left: 0;width: 100%;height: 100%;.mask {position: absolute;background-color: rgba(0,0,0,.3);width: 100%;height: 100%;z-index: -1;}.indicator {display: flex;justify-content: flex-end;padding: 20px;z-index: 100;i {padding: 10px;background-color: rgba(255,255,255,.3);border-radius: 50%;margin: 0 5px;cursor: pointer;}}.img-wrapper {position: absolute;top: 0;width: 100%;height: 100%;z-index: -1;display: flex;align-items: center;justify-content: center;img {max-height: 100%;max-width: 80%;transition: all 0.5s;}}}
</style>
App.vue
App.vue中使用改组件
<template><div id="app"><prev-img/></div>
</template><script>import PrevImg from '@/plugins/prevImg/PrevImg'export default {name: 'App',components: {PrevImg}
}
</script><style>
* {margin: 0;
}body {display: flex;flex-direction: column;
}.btn-box {text-align: center;margin-top: 20px;
}
</style>
静态效果
封装插件
修改PrevImg.vue
为按钮绑定相关的方法,图片的路径,将由外部传递过来
<template><div class="prev-container" v-show="isShow"><div class="mask"></div><div class="indicator"><i @click="operate('zoomIn')" class="iconfont icon-jiahao1"></i><i @click="operate('zoomOut')" class="iconfont icon-jian"></i><i @click="operate('rotate')" class="iconfont icon-reset"></i><i @click="close" class="iconfont icon-close"></i></div><div class="img-wrapper"><img :src="imgPath" :style="imgStyle" alt=""></div></div>
</template><script>export default {name: 'PrevImg',components: {},data() {return {isShow: false,imgPath: '',transform: {rotate: 0,scale: 1}}},computed:{imgStyle() {let {rotate, scale} = this.transformreturn {transform: `scale(${scale}) rotate(${rotate}deg)`}}},methods: {open({url}) {this.isShow = truethis.imgPath = url},close() {console.log('object');this.isShow = false},operate(command) {if(command == 'zoomIn') {this.transform.scale += 0.04} else if(command == 'zoomOut') {this.transform.scale -= 0.04} else if(command == 'rotate') {this.transform.rotate += 90} }}
}
</script><style lang="scss">.prev-container {position: fixed;top:0;left: 0;width: 100%;height: 100%;.mask {position: absolute;background-color: rgba(0,0,0,.3);width: 100%;height: 100%;z-index: -1;}.indicator {display: flex;justify-content: flex-end;padding: 20px;z-index: 100;i {padding: 10px;background-color: rgba(255,255,255,.3);border-radius: 50%;margin: 0 5px;cursor: pointer;}}.img-wrapper {position: absolute;top: 0;width: 100%;height: 100%;z-index: -1;display: flex;align-items: center;justify-content: center;img {max-height: 100%;max-width: 80%;transition: all 0.5s;}}}
</style>
定义插件逻辑
import PrevImg from '@/plugins/prevImg/PrevImg'export default {install(Vue, options) {let PrevImgConstructor = Vue.extend(PrevImg)let instance = new PrevImgConstructor()/* 这里会打印dom */console.log('instance', instance.$mount().$el);// instance <div class="prev-container" style="display: none;">...</div>/* 把组件转换成了dom,插入到了body中  */document.body.appendChild(instance.$mount().$el) let opts = {open(url) {// 调用组件实例上定义的方法instance.open({url})},close() {instance.close()}}// 挂载到vue组件实例上Vue.prototype.$prevImg = opts}
}
main.js中应用此插件
import Vue from 'vue'
import App from './App.vue'import '@/assets/iconfont/iconfont.css'
import ElementUI from 'element-ui';
import 'element-ui/lib/theme-chalk/index.css';import prevImg from './plugins/prevImg';Vue.config.productionTip = falseVue.use(ElementUI)
Vue.use(prevImg)new Vue({render: h => h(App),
}).$mount('#app')
App.vue中使用此插件
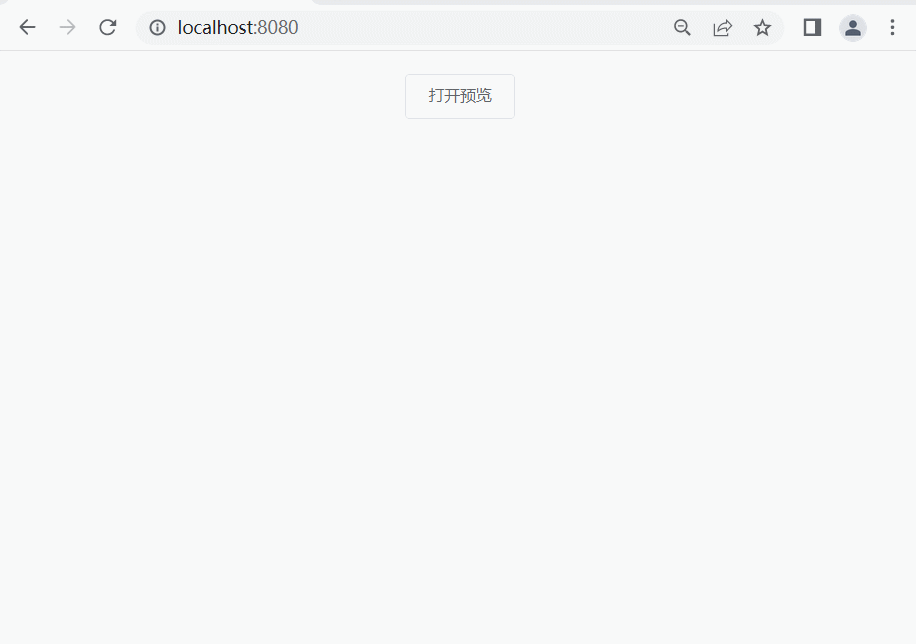
<template><div id="app"><div class="btn-box"><el-button @click="preview">打开预览</el-button></div></div>
</template><script>
import img1 from '@/static/images/1.jpg'
import img2 from '@/static/images/2.jpg'
import img3 from '@/static/images/3.jpg'
import img4 from '@/static/images/4.png'
import img5 from '@/static/images/5.png'export default {name: 'App',components: {},methods: {preview() {// 原本测试的是把PrevImg.vue组件给引进来, 直接调用子组件的方法使用, 但// 是没想到插件还能这么玩的, 感觉那种方式会更好// this.$refs.prevImgRef.open()this.$prevImg.open(img4)}}
}
</script><style>
* {margin: 0;
}body {display: flex;flex-direction: column;
}.btn-box {text-align: center;margin-top: 20px;
}
</style>
图片预览列表
修改App.vue
<template><div id="app"><div class="btn-box"><el-button @click="preview">打开预览</el-button></div></div>
</template><script>
import img1 from '@/static/images/1.jpg'
import img2 from '@/static/images/2.jpg'
import img3 from '@/static/images/3.jpg'
import img4 from '@/static/images/4.png'export default {name: 'App',components: {},methods: {preview() {// this.$refs.prevImgRef.open()this.$prevImg.open(0,[img1,img2,img3,img4])}}
}
</script><style>
* {margin: 0;
}body {display: flex;flex-direction: column;
}.btn-box {text-align: center;margin-top: 20px;
}
</style>
修改插件逻辑
import PrevImg from '@/plugins/prevImg/PrevImg'
export default {install(Vue, options) {let PrevImgConstructor = Vue.extend(PrevImg)let instance = new PrevImgConstructor()/* 这里会打印dom */console.log('instance', instance.$mount().$el);// instance <div class="prev-container" style="display: none;">...</div>/* 把组件转换成了dom,插入到了body中  */document.body.appendChild(instance.$mount().$el) let opts = {open(imgIdx,imgPaths) {instance.open({imgIdx,imgPaths})},close() {instance.close()}}Vue.prototype.$prevImg = opts}
}
修改PrevImg.vue
<template><div class="prev-container" v-show="isShow"><div class="mask"></div><div class="indicator"><i @click="operate('zoomIn')" class="iconfont icon-jiahao1"></i><i @click="operate('zoomOut')" class="iconfont icon-jian"></i><i @click="operate('rotate')" class="iconfont icon-reset"></i><i @click="close" class="iconfont icon-close"></i></div><div :class="['prev-next', 'left', { 'pointer-allowd': isPrev }]" @click="operate('left')"><i class="iconfont icon-houtuishangyige"></i></div><div :class="['prev-next', 'right', { 'pointer-allowd': isNext }]" @click="operate('right')"><i class="iconfont icon-qianjinxiayige"></i></div><div ref="imgWrapper" :class="['img-wrapper']"><img :src="imgPaths[imgIdx]" :style="imgStyle" alt=""></div></div>
</template><script>export default {name: 'PrevImg',components: {},data() {return {isShow: false,imgIdx: 0,imgPaths: [],transform: {rotate: 0,scale: 1},enterAniClass: '',}},computed: {imgStyle() {let { rotate, scale } = this.transformreturn {transform: `scale(${scale}) rotate(${rotate}deg)`}},isNext() {return this.imgIdx != this.imgPaths.length - 1},isPrev() {return this.imgIdx != 0},},mounted() {this.$refs['imgWrapper'].addEventListener('webkitAnimationEnd', (e) => {console.log('动画停止了');this.enterAniClass = ''})},methods: {open({ imgIdx, imgPaths }) {this.isShow = truethis.imgIdx = imgIdxthis.imgPaths = imgPaths},close() {console.log('object');this.isShow = falsethis.transform = {rotate: 0,scale: 1}},operate(command) {if (command == 'zoomIn') {this.transform.scale += 0.04} else if (command == 'zoomOut') {this.transform.scale -= 0.04} else if (command == 'rotate') {this.transform.rotate += 90} else {this.transform = {rotate: 0,scale: 1}if (command == 'left') {if (this.imgIdx == 0) {return}this.imgIdx = this.imgIdx - 1} else if (command == 'right') {if (this.imgIdx == this.imgPaths.length - 1) {return}this.imgIdx = this.imgIdx + 1}}}}
}
</script><style lang="scss">
.prev-container {position: fixed;top: 0;left: 0;width: 100%;height: 100%;.mask {position: absolute;background-color: rgba(0, 0, 0, .3);width: 100%;height: 100%;z-index: -1;}.pointer-allowd {cursor: pointer !important;}.prev-next {width: 36px;height: 36px;border-radius: 50%;background-color: rgba(255, 255, 255, .3);text-align: center;line-height: 36px;cursor: not-allowed;position: absolute;top: 0;bottom: 0;margin: auto;z-index: 2000;}.left {left: 30px;}.right {right: 30px;}.indicator {display: flex;justify-content: flex-end;padding: 20px;z-index: 100;i {padding: 10px;background-color: rgba(255, 255, 255, .3);border-radius: 50%;margin: 0 5px;cursor: pointer;}}.img-wrapper {position: absolute;top: 0;width: 100%;height: 100%;z-index: -1;display: flex;align-items: center;justify-content: center;img {max-height: 100%;max-width: 80%;transition: all 0.5s;}}
}</style>