C#与C++交互开发系列(二十六):构建跨语言共享缓存,实现键值对读写与数据同步(实践方案)

前言
欢迎关注【dotnet研习社】,今天我们继续讨论 “C#与C++交互开发系列(二十六):构建跨语言共享缓存,实现键值对读写与数据同步”。
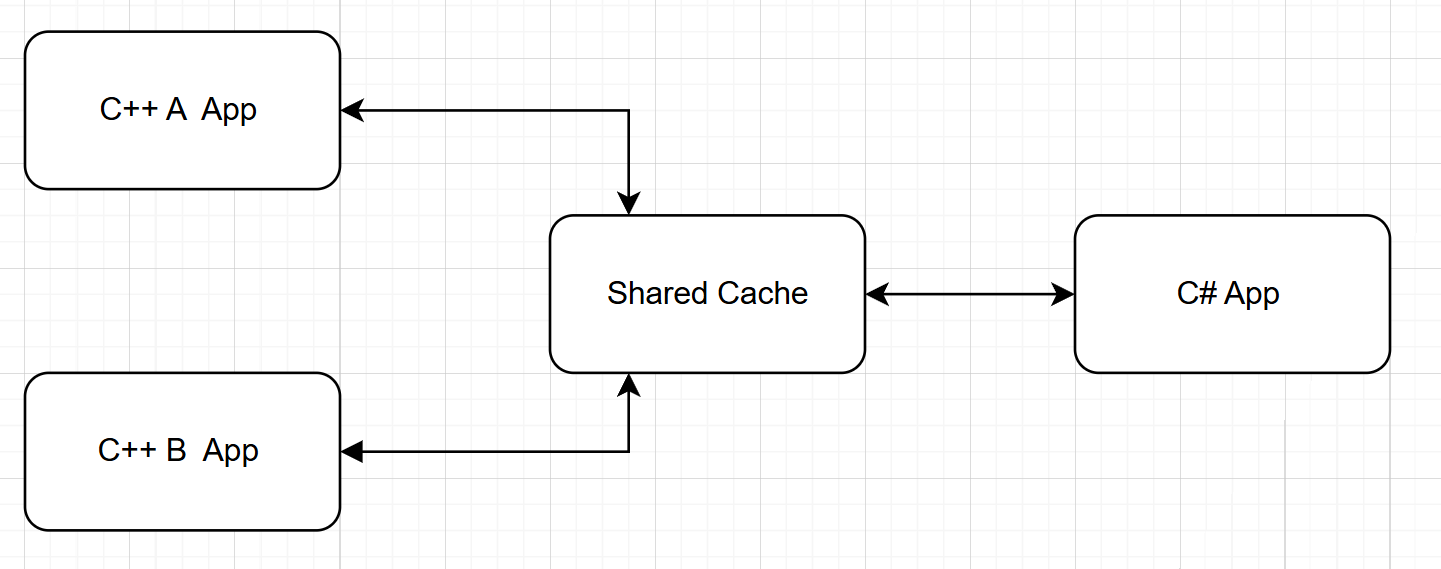
在多语言系统开发中,实现 跨语言共享缓存机制,使得 C++ 与 C# 可以同时访问、读取并修改同一份数据,是工业系统、图形应用、硬件接口等场景中的高频需求。本文将通过一个完整示例展示如何使用 C++ 实现内存共享缓存接口(支持键值对存储),并通过 C# P/Invoke 方式 实现数据访问,支持其他 C++ 模块同步访问。
一、方案设计
我们使用 Windows 命名共享内存(Memory-Mapped File) 实现跨进程共享缓存,并通过简单的 KV 格式协议,支持结构化数据访问。
架构图:
二、C++ 端共享缓存实现
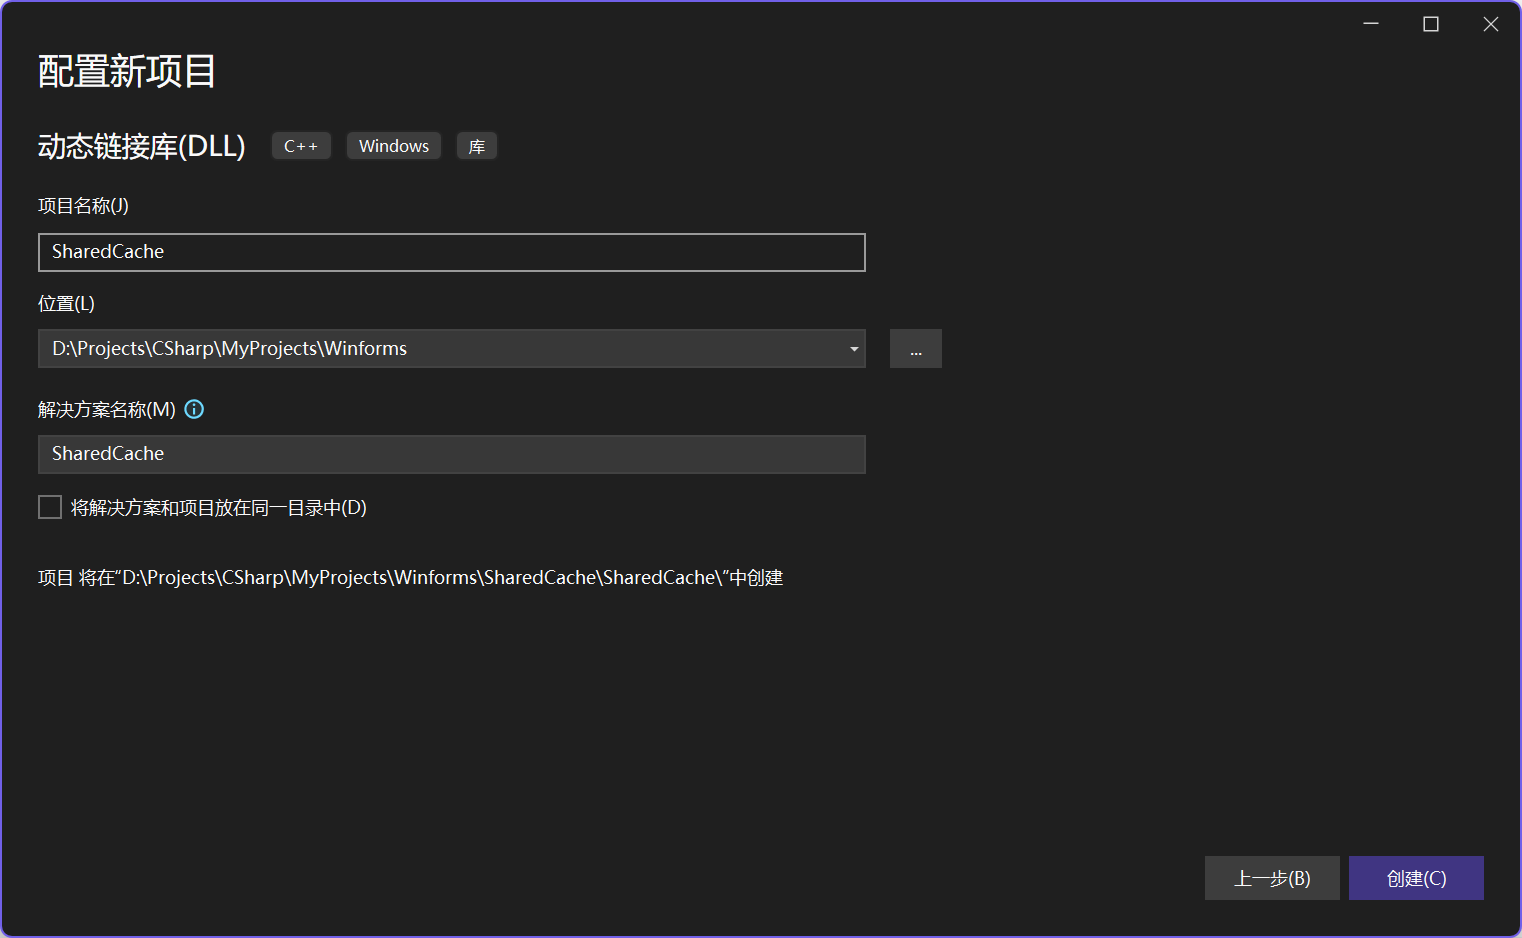
新增项目 SharedCache
1. 定义缓存结构(简化)
// SharedCache.h
#pragma once#include <Windows.h>
#include <string>
#include <map>
#include <mutex>class SharedCache {
public:static SharedCache& Instance();bool Initialize(const std::string& name, size_t size);bool Set(const std::string& key, const std::string& value);bool Get(const std::string& key, std::string& value);void Close();// 删除拷贝构造和赋值运算符SharedCache(const SharedCache&) = delete;SharedCache& operator=(const SharedCache&) = delete;private:SharedCache() = default;~SharedCache() = default;HANDLE hMapFile = nullptr;char* pBuf = nullptr;size_t memSize = 0;std::mutex mtx;bool m_bOwner = false;
};#pragma once
2. 实现共享缓存核心逻辑
// SharedCache.cpp
#include "pch.h"
#include "SharedCache.h"
#include <cstring>
#include <sstream>
#include <iostream>#define CACHE_HEADER_SIZE 1024SharedCache& SharedCache::Instance() {static SharedCache instance;return instance;
}bool SharedCache::Initialize(const std::string& name, size_t size) {hMapFile = OpenFileMappingA(FILE_MAP_ALL_ACCESS, FALSE, name.c_str());if (!hMapFile){// 第一次调用才创建hMapFile = CreateFileMappingA(INVALID_HANDLE_VALUE, NULL, PAGE_READWRITE, 0, (DWORD)size, name.c_str());if (!hMapFile) {return false;}m_bOwner = true;}else {m_bOwner = false;}if (!hMapFile) {std::cerr << "CreateFileMappingA failed with error: " << GetLastError() << std::endl;return false;}pBuf = (char*)MapViewOfFile(hMapFile, FILE_MAP_ALL_ACCESS, 0, 0, size);if (!pBuf){std::cerr << "MapViewOfFile failed with error: " << GetLastError() << std::endl;CloseHandle(hMapFile);return false;}memSize = size;if (m_bOwner){memset(pBuf, 0, size);}return true;
}bool SharedCache::Set(const std::string& key, const std::string& value) {std::lock_guard<std::mutex> lock(mtx);std::ostringstream oss;oss << key << "=" << value << ";";// Very simple: append to bufferstrcat_s(pBuf, memSize, oss.str().c_str());return true;
}bool SharedCache::Get(const std::string& key, std::string& value) {std::lock_guard<std::mutex> lock(mtx);std::istringstream iss(pBuf);std::string token;while (std::getline(iss, token, ';')) {auto pos = token.find('=');if (pos != std::string::npos && token.substr(0, pos) == key) {value = token.substr(pos + 1);return true;}}return false;
}void SharedCache::Close() {if (pBuf) UnmapViewOfFile(pBuf);if (hMapFile && m_bOwner) CloseHandle(hMapFile);
}
3. 导出 DLL 接口
#pragma once
// SharedCacheAPI.h
extern "C" __declspec(dllexport) bool InitSharedCache(const char* name, int size);
extern "C" __declspec(dllexport) bool SetCacheValue(const char* key, const char* value);
extern "C" __declspec(dllexport) bool GetCacheValue(const char* key, char* valueBuf, int bufSize);
extern "C" __declspec(dllexport) bool CloseSharedCache();
// SharedCacheAPI.cpp
#include "pch.h"
#include "SharedCacheAPI.h"
#include "SharedCache.h"extern "C" bool InitSharedCache(const char* name, int size) {return SharedCache::Instance().Initialize(name, size);
}extern "C" bool SetCacheValue(const char* key, const char* value) {return SharedCache::Instance().Set(key, value);
}extern "C" bool GetCacheValue(const char* key, char* valueBuf, int bufSize) {std::string val;if (SharedCache::Instance().Get(key, val)) {strncpy_s(valueBuf, bufSize, val.c_str(), _TRUNCATE);return true;}return false;
}extern "C" bool CloseSharedCache() {SharedCache::Instance().Close();return true;
}
编译成 SharedCache.dll。
三、C# 中访问共享缓存
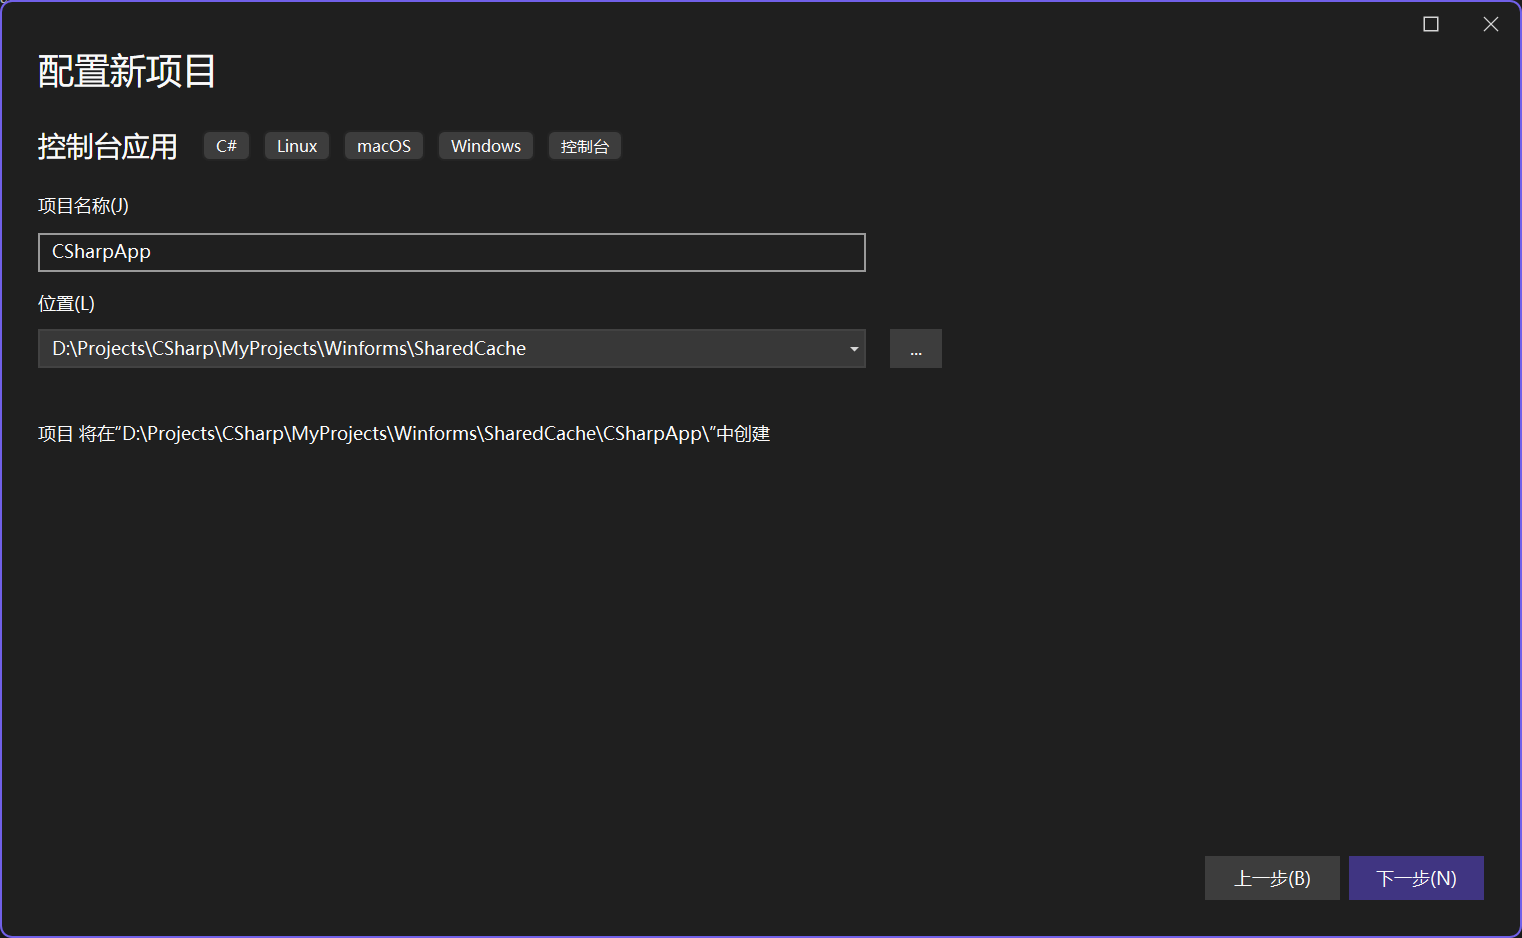
新增CSharpApp的控制台项目
配置项目的输出目录
<Project Sdk="Microsoft.NET.Sdk"><PropertyGroup><OutputType>Exe</OutputType><TargetFramework>net8.0</TargetFramework><ImplicitUsings>enable</ImplicitUsings><Nullable>enable</Nullable><RuntimeIdentifiers></RuntimeIdentifiers><OutputPath>$(SolutionDir)x64\Debug\</OutputPath><AppendTargetFrameworkToOutputPath>false</AppendTargetFrameworkToOutputPath></PropertyGroup></Project>1. P/Invoke 接口声明
using System.Runtime.InteropServices;
using System.Text;namespace CSharpApp
{public static class SharedCacheInterop{[DllImport("SharedCache.dll", CallingConvention = CallingConvention.Cdecl)]public static extern bool InitSharedCache(string name, int size);[DllImport("SharedCache.dll", CallingConvention = CallingConvention.Cdecl)]public static extern bool SetCacheValue(string key, string value);[DllImport("SharedCache.dll", CallingConvention = CallingConvention.Cdecl)]public static extern bool GetCacheValue(string key, StringBuilder valueBuf, int bufSize);[DllImport("SharedCache.dll", CallingConvention = CallingConvention.Cdecl)]public static extern bool CloseSharedCache();}
}
2. C# 应用程序调用示例
using System.Text;namespace CSharpApp
{internal class Program{static void Main(string[] args){bool ok = SharedCacheInterop.InitSharedCache("Global\\MySharedCache", 4096);if (!ok) Console.WriteLine("初始化失败");SharedCacheInterop.SetCacheValue("temperature", "36.5");SharedCacheInterop.SetCacheValue("status", "OK");var sb = new StringBuilder(128);if (SharedCacheInterop.GetCacheValue("temperature", sb, sb.Capacity)){Console.WriteLine("温度:" + sb.ToString());}Console.ReadLine();SharedCacheInterop.CloseSharedCache();}}
}
四、C++其他项目访问
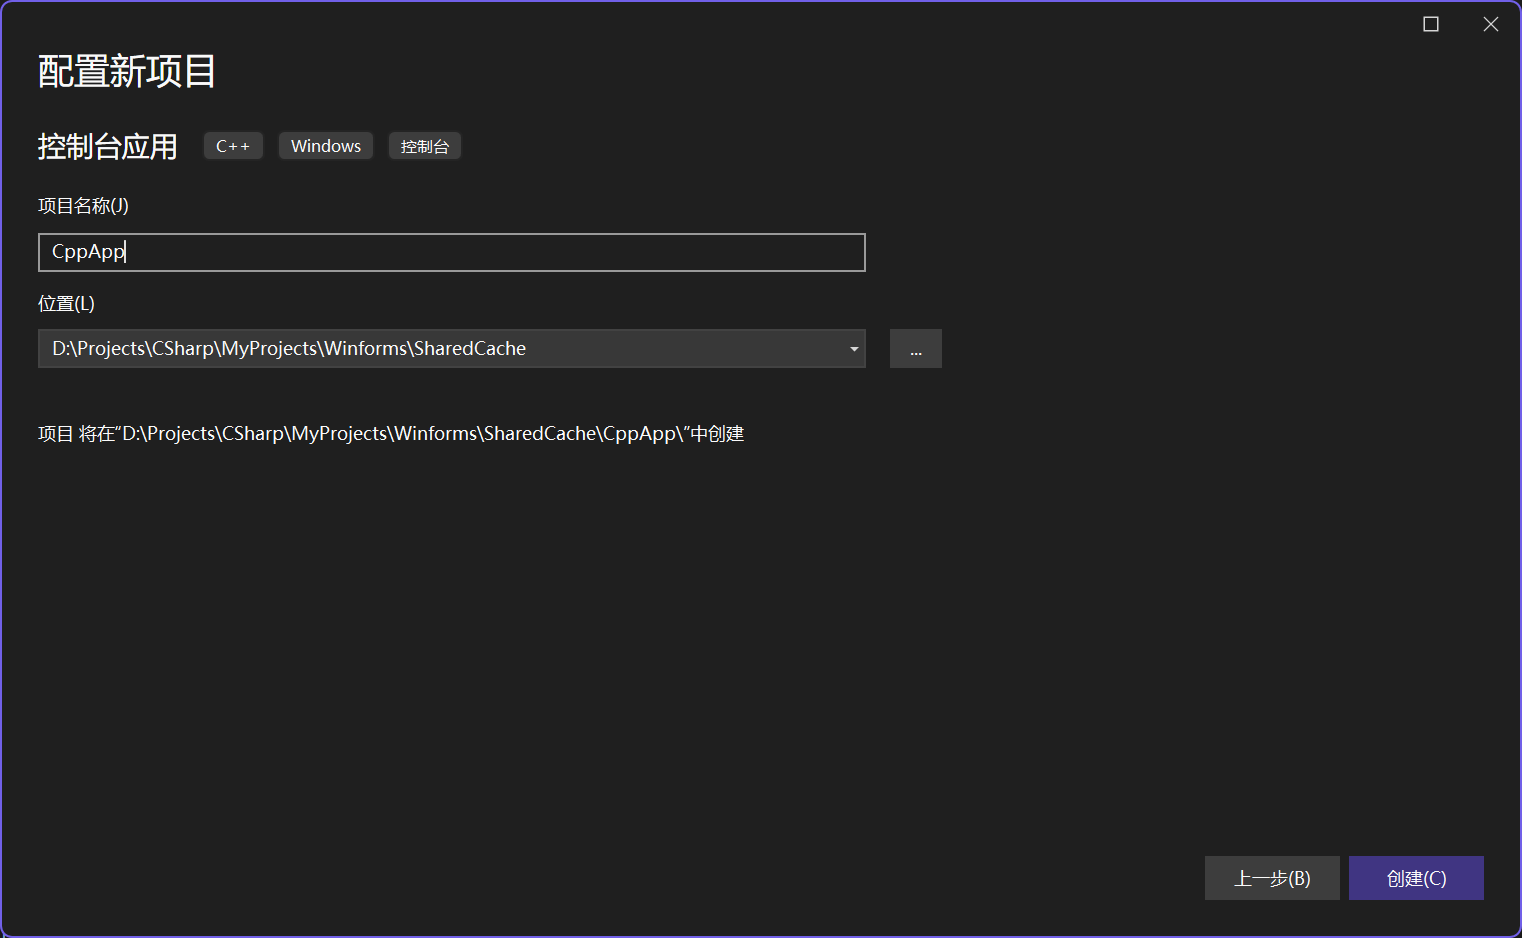
新增CppApp的C++控制台项目
1. 项目配置步骤(Visual Studio)
-
添加包含目录
-
右键项目 → 属性 → C/C++ → 常规 → 附加包含目录
-
添加
SharedCacheAPI.h所在目录
-
-
添加库目录
-
右键项目 → 属性 → 链接器 → 常规 → 附加库目录
-
添加
SharedCache.lib所在目录
-
-
添加依赖库
-
右键项目 → 属性 → 链接器 → 输入 → 附加依赖项
-
添加
SharedCache.lib
-
2. C++ 应用程序调用示例
// CppApp.cpp : 此文件包含 "main" 函数。程序执行将在此处开始并结束。
//#include <iostream>
#include <SharedCacheAPI.h>
#include <string>int main() {// 所有应用共享同一个名字if (!InitSharedCache("Global\\MySharedCache", 4096)) {std::cerr << "InitSharedCache failed." << std::endl;return 1;}SetCacheValue("greeting", "hello world");char buffer[256] = { 0 };if (GetCacheValue("greeting", buffer, sizeof(buffer))) {std::cout << "Read from cache: " << buffer << std::endl;}else {std::cout << "Read failed" << std::endl;}char buffer2[256] = { 0 };if (GetCacheValue("temperature", buffer2, sizeof(buffer2))) {std::cout << "Read from cache: " << buffer2 << std::endl;}else {std::cout << "Read failed" << std::endl;}char buffer3[256] = { 0 };if (GetCacheValue("status", buffer3, sizeof(buffer3))) {std::cout << "Read from cache: " << buffer3 << std::endl;}else {std::cout << "Read failed" << std::endl;}int i;std::cin>> i;CloseSharedCache();return 0;
}
五、验证效果
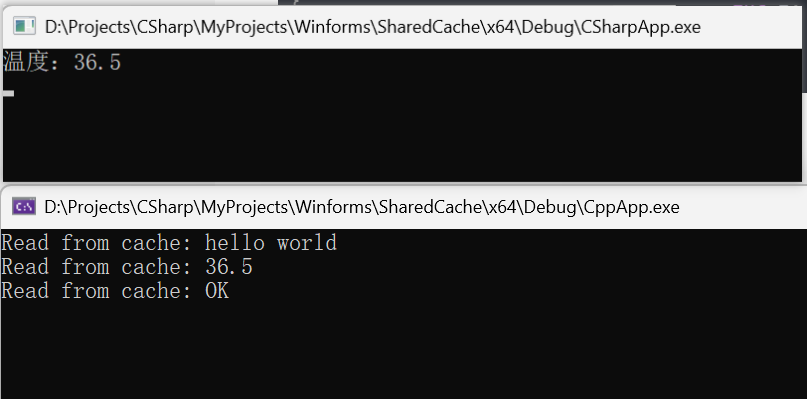
实现了C#端作为共享缓存的创建和写入,C++端打开缓存,并且获取到了对应的数据。实现了数据的共享。
六、总结与拓展
本示例展示了如何通过 Windows 的共享内存机制,使用 C++ 实现一个轻量级缓存系统,实现 C++ 与 C# 之间的高效数据交互。后续可以考虑使用。
- 引入读写锁提高并发访问性能。
- 使用 JSON / protobuf 格式存储结构化数据。
- 支持数据过期与 TTL。
- 支持内存映射文件持久化。