vue3后台管理框架之Mock开发
前言
在前后端对接中,有时后端的接口数据没有 那么快能给出,因此我们可以通过mock模拟自己的请求数据,在后端接口没有给出的同时,先使用mock请求的数据完成前端相关的逻辑
官方文档:vite-plugin-mock
vite 的数据模拟插件,是基于 vite.js 开发的。 并同时支持本地环境和生产环境。 Connect 服务中间件在本地使用,mockjs 在生产环境中使用
安装依赖
pnpm add vite-plugin-mock@2.9.6 mockjs@1.1.0 -D
配置
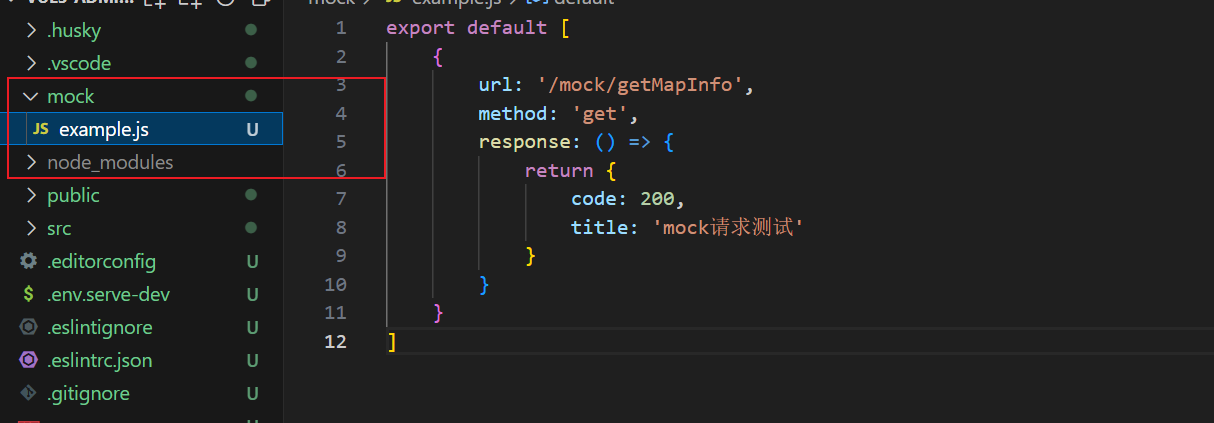
新建mock测试文件 mock/example.ts
export default [{url: '/mock/getMapInfo',method: 'get',response: () => {return {code: 200,title: 'mock请求测试'}}}
]
如果是mock的请求,建议大家以 /mock 开头
vite.config.js
//vite.config.jsimport { viteMockServe } from 'vite-plugin-mock'plugins: [vue(),viteMockServe({supportTs: true, //是否开启支持tsmockPath: 'mock', //设置mockPath为根目录下的mock目录,为根目录localEnabled: command === 'serve', //设置是否监视mockPath对应的文件夹内文件中的更改prodEnabled: true, //prod环境下是否可以使用mocklogger: true //是否在控制台显示请求日志})],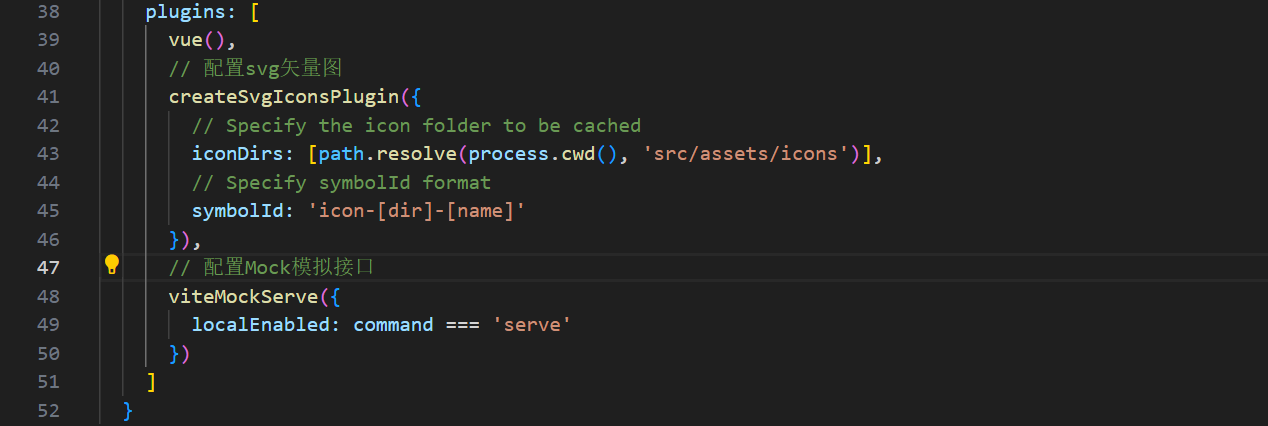
此时 开发环境的mock 已经配置好了,如果需要配置生产环境还需要下面的配置
使用
当然了我们需要先下载axios依赖
pnpm add axios@0.21.3 -S
src/views/dashboard/index.vue
<template><button @click="listReq">listReq</button>
</template>
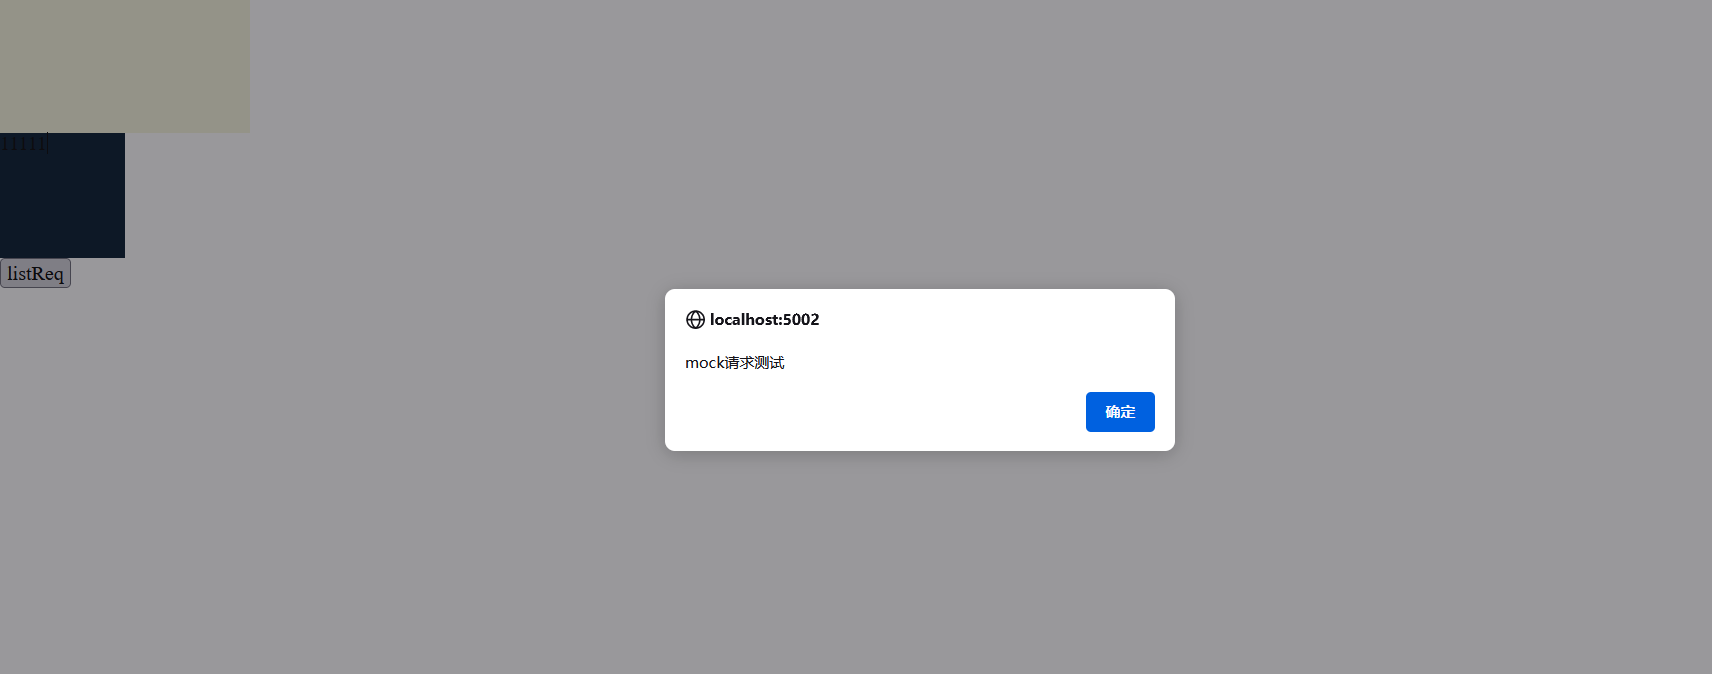
<script setup>import axios from 'axios'const listReq = () => {axios.get('/mock/getMapInfo').then((res) => {if (res.data) {console.log(res.data)alert(res.data.title)}})}
</script>测试
<script setup lang="ts">
import { Check } from '@element-plus/icons-vue'
// import SvgIcon from '@/components/SvgIcon/index.vue'
// console.log('111')
import axios from 'axios'
const listReq = () => {axios.get('/mock/getMapInfo').then((res) => {if (res.data) {console.log(res.data)// eslint-disable-next-line no-alertalert(res.data.title)}})
}
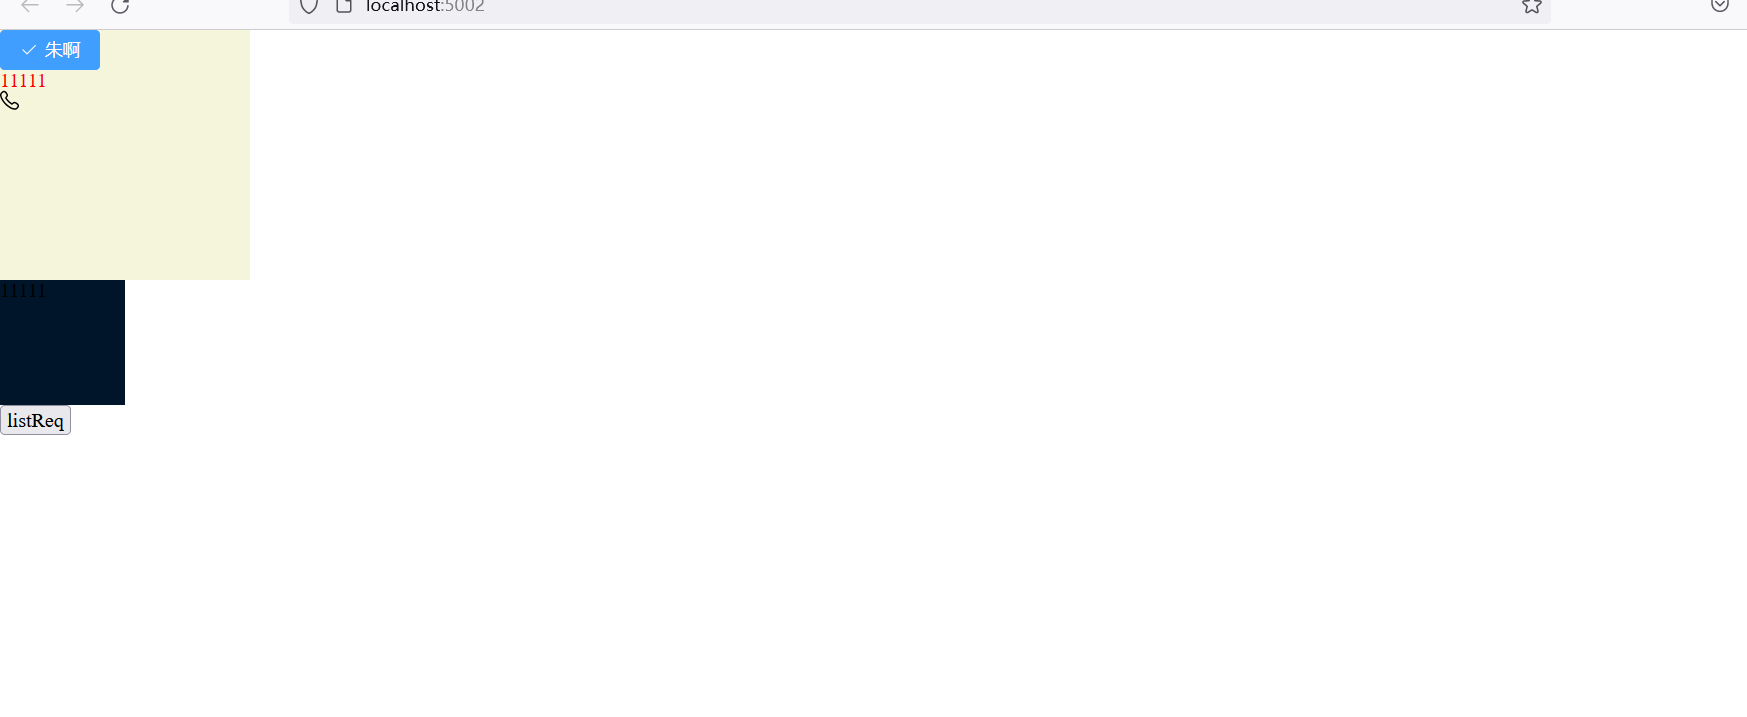
</script><template><div class="box"><el-button type="primary" size="default" :icon="Check">朱啊</el-button><h1>11111</h1><SvgIcon name="phone" /></div><div class="test">11111</div><button @click="listReq">listReq</button>
</template><style scoped lang="scss">
.test {background-color: $base-background;width: 100px;height: 100px;
}
.box {width: 200px;height: 200px;background-color: beige;h1 {color: red;}
}
</style>
模拟用户数据接口
在mock文件夹内部创建一个user.ts文件
//用户信息数据function createUserList() {return [{userId: 1,avatar:'https://wpimg.wallstcn.com/f778738c-e4f8-4870-b634-56703b4acafe.gif',username: 'admin',password: '111111',desc: '平台管理员',roles: ['平台管理员'],buttons: ['cuser.detail'],routes: ['home'],token: 'Admin Token',},{userId: 2,avatar:'https://wpimg.wallstcn.com/f778738c-e4f8-4870-b634-56703b4acafe.gif',username: 'system',password: '111111',desc: '系统管理员',roles: ['系统管理员'],buttons: ['cuser.detail', 'cuser.user'],routes: ['home'],token: 'System Token',},]}export default [// 用户登录接口{url: '/api/user/login',//请求地址method: 'post',//请求方式response: ({ body }) => {//获取请求体携带过来的用户名与密码const { username, password } = body;//调用获取用户信息函数,用于判断是否有此用户const checkUser = createUserList().find((item) => item.username === username && item.password === password,)//没有用户返回失败信息if (!checkUser) {return { code: 201, data: { message: '账号或者密码不正确' } }}//如果有返回成功信息const { token } = checkUserreturn { code: 200, data: { token } }},},// 获取用户信息{url: '/api/user/info',method: 'get',response: (request) => {//获取请求头携带tokenconst token = request.headers.token;//查看用户信息是否包含有次token用户const checkUser = createUserList().find((item) => item.token === token)//没有返回失败的信息if (!checkUser) {return { code: 201, data: { message: '获取用户信息失败' } }}//如果有返回成功信息return { code: 200, data: {checkUser} }},},]