# Windows 环境下载 Android 12源码
前言
Android 官网(该方式不适合 Windows 平台):https://source.android.com/source/downloading.html
(备注自 2021 年 6 月 22 日起,安卓操作系统不再支持在 Windows 或 MacOS 上进行构建,如果要编译源码推荐先安装Ubuntu系统)
可是我就想在 Windows 系统下 看看源代码,当然可以!
准备环境
- 安装 git
- 安装 Python
- 自备梯子
- 硬盘剩余容量最好大于 150G
1. 安装 git
官网:https://git-scm.com/downloads/
图形化工具:https://tortoisegit.org/
什么?不会安装 git,那还看什么源码!自行百度!
2. 安装 Python
官网:https://www.python.org/downloads/
安装参考:http://jingyan.baidu.com/article/c910274be14d64cd361d2dd8.html
只需要安装好运行环境即可
3. 自备梯子
没有梯子?那就使用清华源:https://mirrors.tuna.tsinghua.edu.cn/help/AOSP/
下载源码
1. 打开 Git Bash,用 git 克隆源代码仓库
git clone https://android.googlesource.com/platform/manifest.git
//没有梯子使用清华源
git clone https://aosp.tuna.tsinghua.edu.cn/platform/manifest.git
这时 E:/androidSourceCode/ 目录下会出现一个 manifest 目录,进入此目录,里面除了 git 的配置目录外,clone 下来了一个 default.xml 文件。
2. 切换到想要的源码版本分支
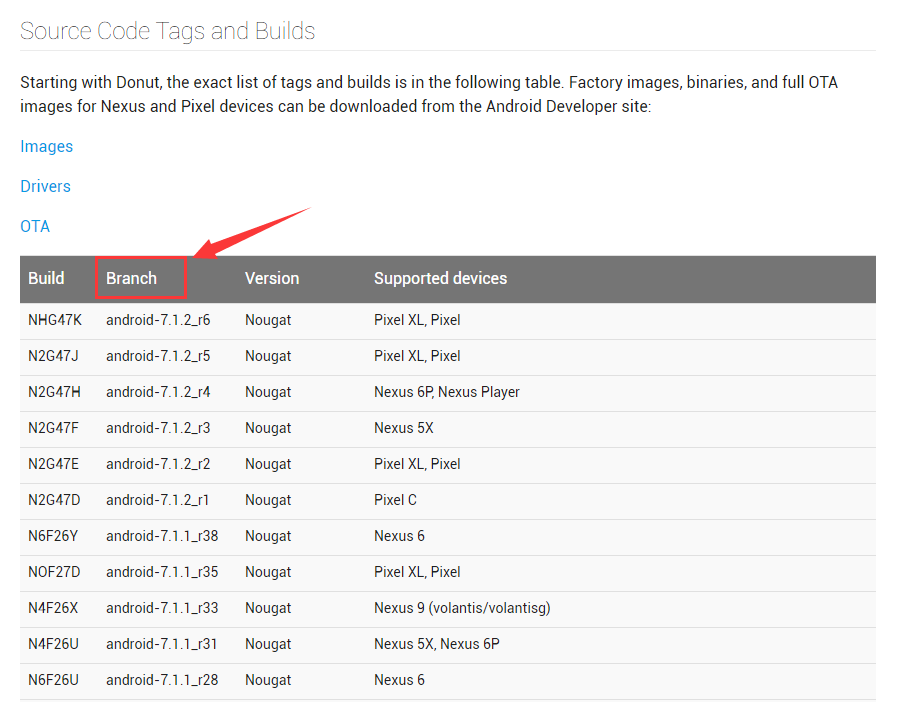
去这里 https://source.android.com/source/build-numbers.html#source-code-tags-and-builds
找到想要的版本分支,并复制。

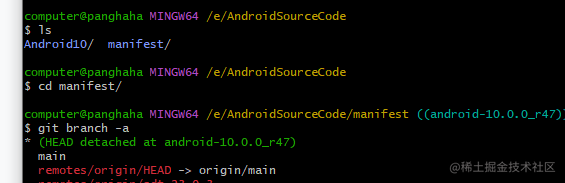
cd manifest
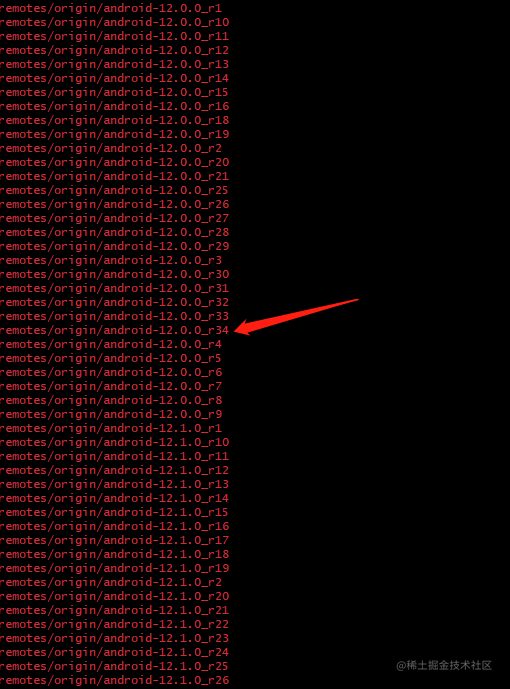
//没有梯子,使用 git branch -a 查看所有分支,找到想要的分支
git branch -a
git checkout android-12.0.0_r34 //这里以 12.0 最后一个版本下载
3. 使用 Python 执行脚本进行源代码下载
将下面的代码复制,创建文件 python_download.py,并保存。
import xml.dom.minidom
import os
from subprocess import call# 1. 修改为源码要保存的路径
rootdir = "E:/androidSourceCode/Android12"# 2. 设置 git 安装的路径
git = "C:/Develop/Git/bin/git.exe"# 3. 修改为第一步中 manifest 中 default.xml 保存的路径
dom = xml.dom.minidom.parse("D:/androidSourceCode/manifest/default.xml")
root = dom.documentElement#prefix = git + " clone https://android.googlesource.com/"
# 4. 没有梯子使用清华源下载
prefix = git + " clone https://aosp.tuna.tsinghua.edu.cn/"
suffix = ".git"  if not os.path.exists(rootdir):  os.mkdir(rootdir)  for node in root.getElementsByTagName("project"):  os.chdir(rootdir)  d = node.getAttribute("path")  last = d.rfind("/")  if last != -1:  d = rootdir + "/" + d[:last]  if not os.path.exists(d):  os.makedirs(d)  os.chdir(d)  cmd = prefix + node.getAttribute("name") + suffix  call(cmd)
4. 执行 Python 脚本开始下载
打开 Python 客户端
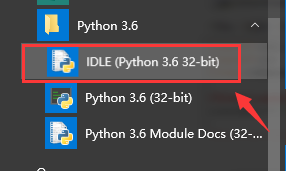
打开上一步保存的 python_download.py 脚本文件

点击 Run->Run Module 来运行脚本,或直接按F5运行。

静静地等待下载完成吧。(我大概下载了一天一夜 ,12源码大概170G)