Stable Diffusion 1 - 初始跑通 文字生成图片
文章目录
- 关于 Stable Diffusion
- Lexica
- 代码实现
- 安装依赖库
- 登陆 huggingface
- 查看 huggingface token
- 下载模型
- 计算生成
- 设置宽高
- 测试迭代次数
- 生成多列图片
关于 Stable Diffusion
A latent text-to-image diffusion model
Stable Diffusion 是一个文本到图像的潜在扩散模型,由CompVis、Stability AI和LAION的研究人员和工程师创建。
它使用来自LAION-5B数据库子集的512x512图像进行训练。使用这个模型,可以生成包括人脸在内的任何图像,因为有开源的预训练模型,所以我们也可以在自己的机器上运行它。
- github : https://github.com/CompVis/stable-diffusion
- stability.ai 公司主页:https://stability.ai
- 官方创作平台:http://dreamstudio.ai/ 付费/可试用
https://beta.dreamstudio.ai - hugginface : https://huggingface.co/CompVis/stable-diffusion
教程资源
- 数据派THU : Stable Diffusion的入门介绍和使用教程
https://mp.weixin.qq.com/s/Y3XsytE4_ewCc6yVp6G43A - 35张图,直观理解Stable Diffusion
https://mp.weixin.qq.com/s/9ngMKHLYKjMASUYeashDJw - 当下最强的 AI art 生成模型 Stable Diffusion 最全面介绍
https://mp.weixin.qq.com/s/Q4ZYjUxt22Jsx2W2179C8Q
Lexica
- Lexica: The Stable Diffusion search engine
https://lexica.art

代码实现
这里我使用 colab 运行,colab 使用操作可参考:
https://blog.csdn.net/lovechris00/article/details/123960622
Stable Diffusion 操作方法可详见:
https://colab.research.google.com/github/huggingface/notebooks/blob/main/diffusers/stable_diffusion.ipynb#scrollTo=AAVZStIokTVv
安装依赖库
!pip install "ipywidgets>=7,<8"
!pip install diffusers==0.12.1
!pip install  transformers scipy ftfy
!pip install accelerate
!pip install torch==1.11.0+cu113 torchvision==0.12.0+cu113 torchaudio==0.11.0 --extra-index-url https://download.pytorch.org/whl/cu113
如果 diffusers 版本较低(如,小于等于 0.4.0),后面可能会报如下错误:
getattr(): attribute name must be string
查看信息
import diffusers
print(diffusers.__version__)!nvidia-smi
from google.colab import output
output.enable_custom_widget_manager()
登陆 huggingface
from huggingface_hub import notebook_login
notebook_login()

查看 huggingface token
settings --> tokens
https://huggingface.co/settings/tokens
你的huggingface 如果还没有激活邮箱,需要激活后操作。
登陆成功后,会返回下述结果:
Token is valid.
Your token has been saved in your configured git credential helpers (store).
Your token has been saved to /root/.cache/huggingface/token
Login successful
下载模型
pipe = StableDiffusionPipeline.from_pretrained("CompVis/stable-diffusion-v1-4", revision="fp16", torch_dtype=torch.float16, use_auth_token=True)
pip 内容如下:
StableDiffusionPipeline {"_class_name": "StableDiffusionPipeline","_diffusers_version": "0.12.1","feature_extractor": ["transformers","CLIPFeatureExtractor"],"requires_safety_checker": true,"safety_checker": ["stable_diffusion","StableDiffusionSafetyChecker"],"scheduler": ["diffusers","PNDMScheduler"],"text_encoder": ["transformers","CLIPTextModel"],"tokenizer": ["transformers","CLIPTokenizer"],"unet": ["diffusers","UNet2DConditionModel"],"vae": ["diffusers","AutoencoderKL"]
}
计算生成
from torch import autocast # 移动到 cuda
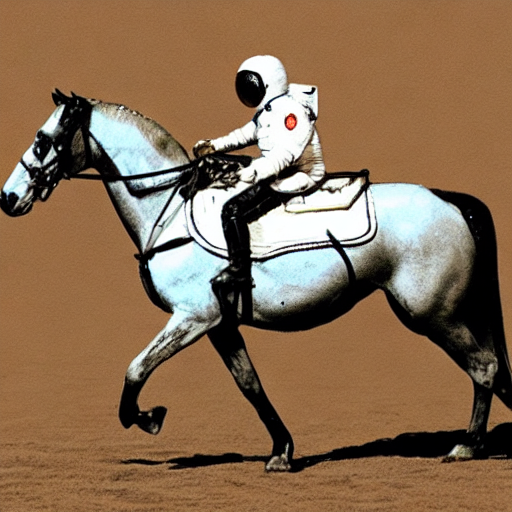
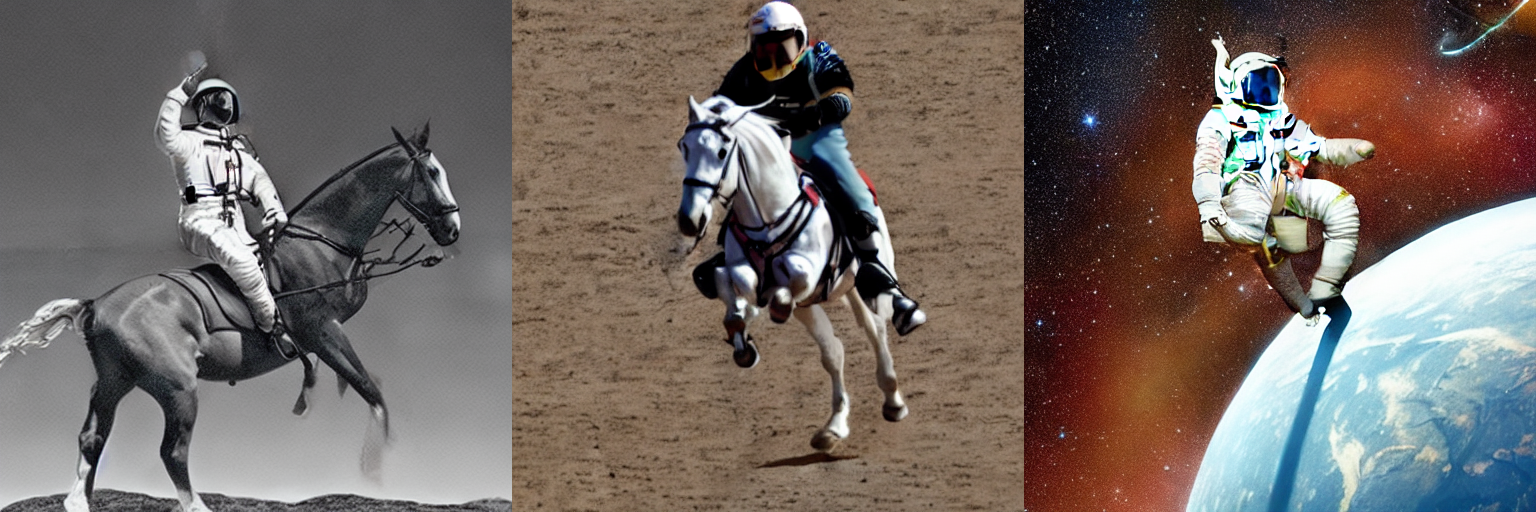
pipe = pipe.to('cuda')prompt = "a photo of an astronut riding a horse"
with autocast("cuda"):ret = pipe(prompt)
ret 的内容是:
StableDiffusionPipelineOutput(images=[<PIL.Image.Image image mode=RGB size=512x512 at 0x7F99A7332310>], nsfw_content_detected=[False])
有的demo会使用 sample 键,我这里没有,所以如果调用 sample 会报错
查看图片文件
ret.images[0]
设置宽高
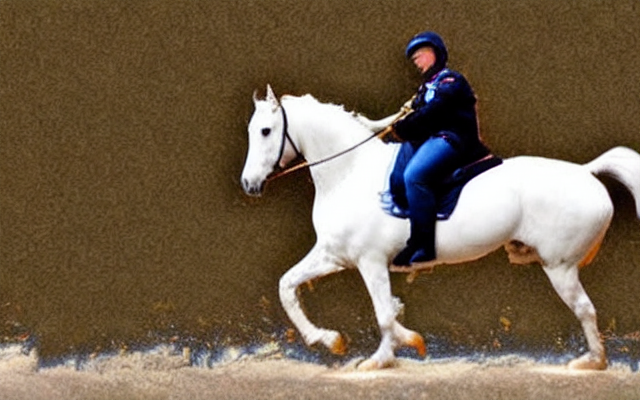
宽高必须被 8 整除
# `height` and `width` have to be divisible by 8 but are 300 and 200.
with autocast("cuda"):ret = pipe(prompt, width=400, height=640)ret.images[0]
测试迭代次数
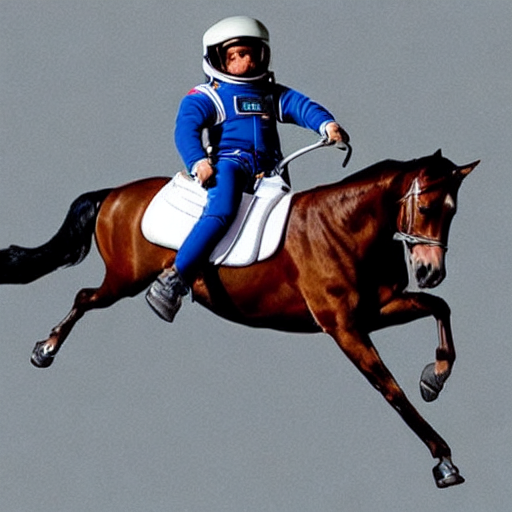
设置随机种子
 # 先快速生成低质量图片看效果,然后调高画质
generator = torch.Generator("cuda").manual_seed(1024)with autocast("cuda"):ret = pipe(prompt, generator=generator)ret.images[0]
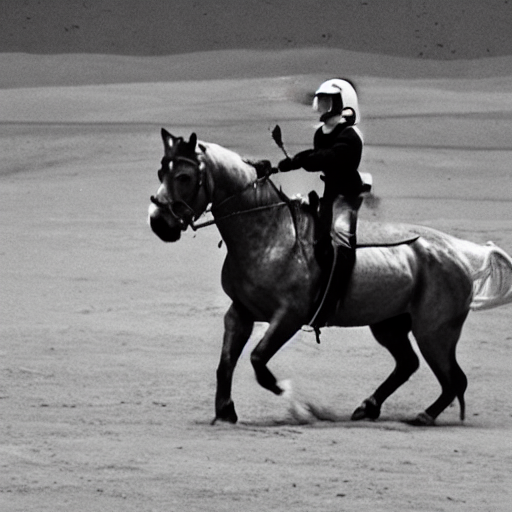
# 调整迭代次数
with autocast("cuda"):ret = pipe(prompt, generator=generator, num_inference_steps=15)ret.images[0]
生成多列图片
from PIL import Imagedef image_grid(imgs, rows, cols):assert len(imgs) == rows * colsw, h = imgs[0].sizegrid = Image.new("RGB", size=(cols*w, rows*h) )grid_w, grid_h = grid.sizefor i, img in enumerate(imgs):grid.paste(img, box=(i%cols * w, i // cols * h) )return grid
num_imgs = 3
prompts = [prompt] * num_imgswith autocast("cuda"):ret = pipe(prompts, generator=generator, num_inference_steps=15)
ret 内容如下,包含三张图片
StableDiffusionPipelineOutput(images=[<PIL.Image.Image image mode=RGB size=512x512 at 0x7F99A7150820>, <PIL.Image.Image image mode=RGB size=512x512 at 0x7F99A7103280>, <PIL.Image.Image image mode=RGB size=512x512 at 0x7F99A7103520>], nsfw_content_detected=[False, False, False])
显示图片
grid = image_grid(ret.images, rows=1, cols=3)
2023-02-15(情人节快乐)