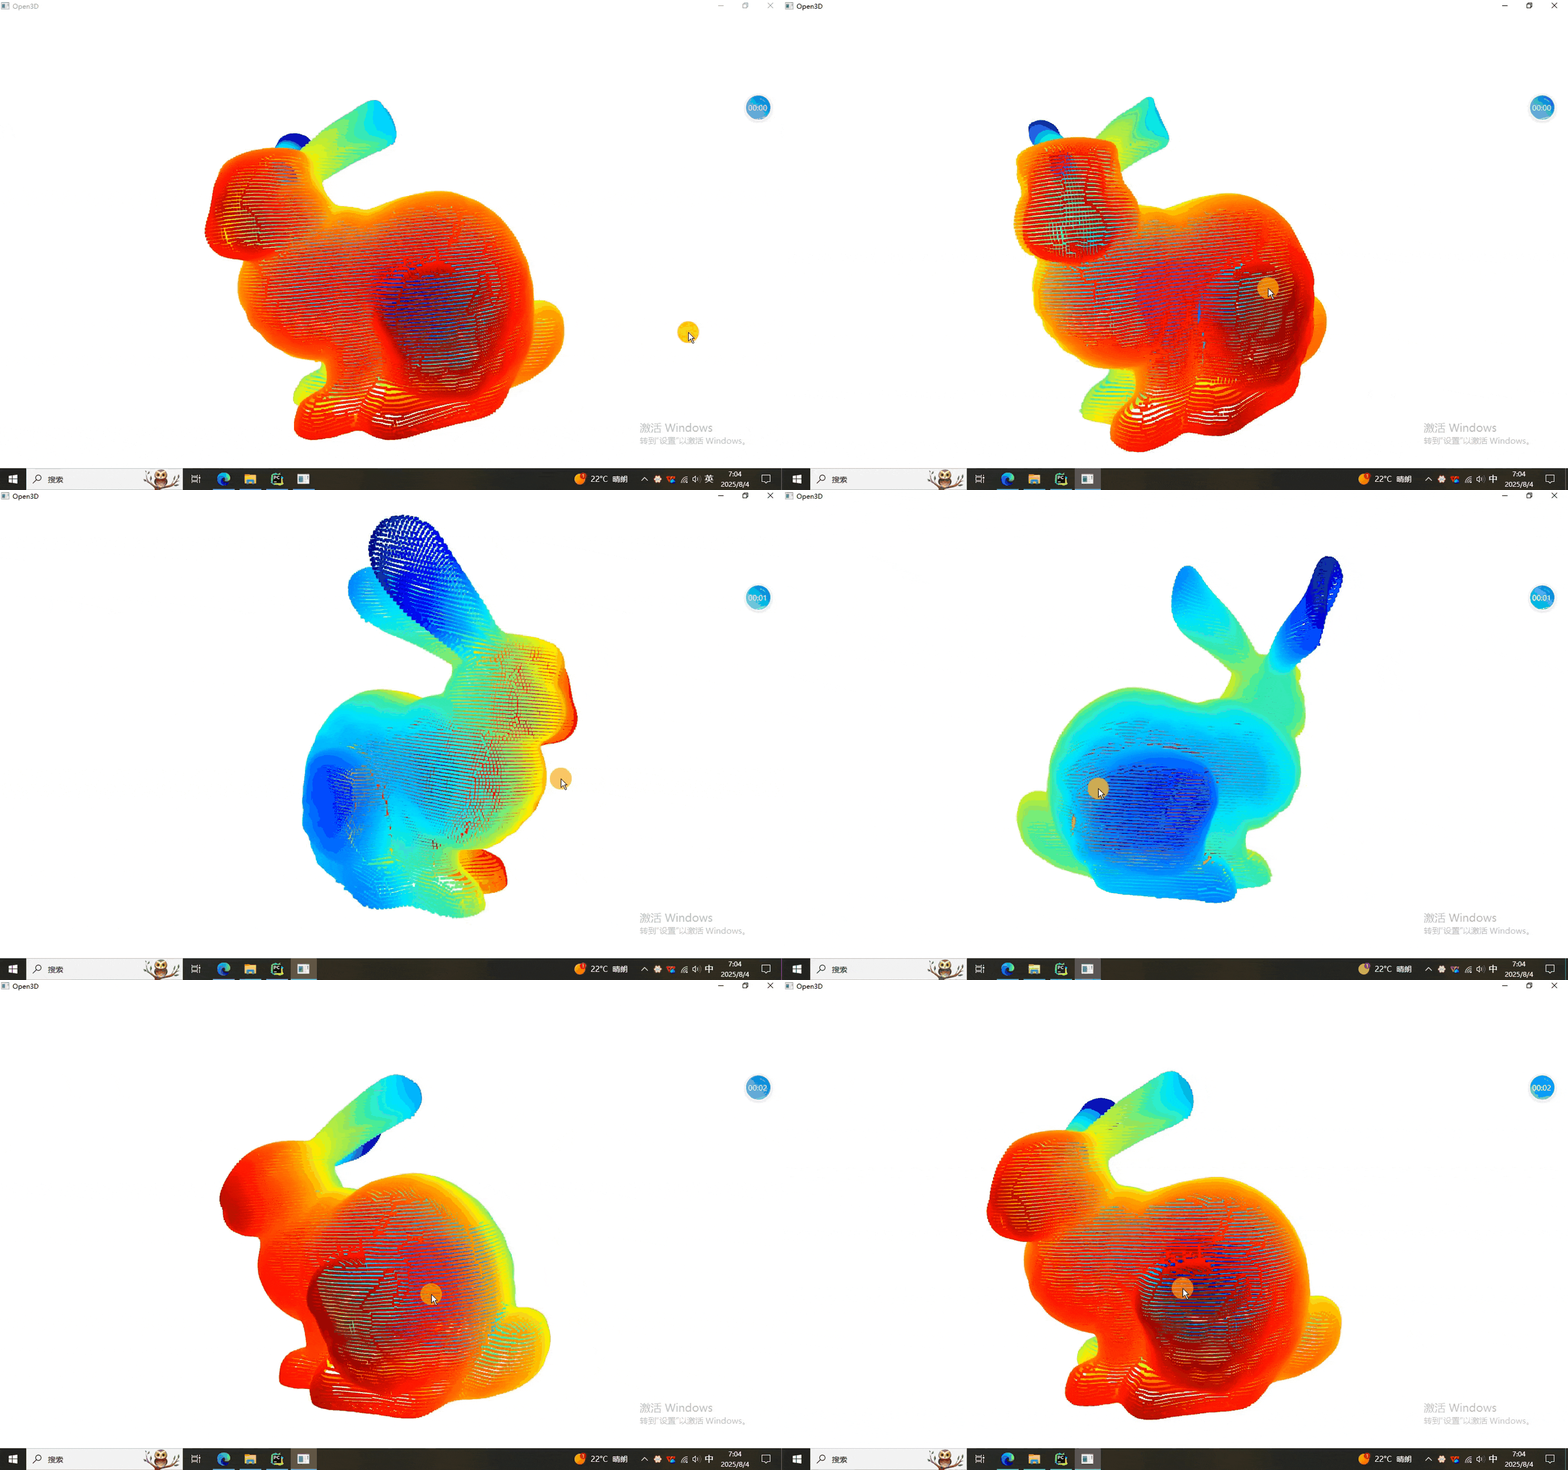
Python实现点云概率ICP(GICP)配准——精配准
本节我们分享GICP(Generalized ICP)算法进行点云配准,全称是概率最邻近迭代。这是一种面向点云配准的改进型 ICP 算法,兼具点对点 ICP 的简洁与点对面 ICP 的几何稳健性。其核心思想是把点云中每一个点视为服从高斯分布的随机变量,并用邻域协方差刻画局部几何结构,从而在优化过程中更准确地衡量点与点之间的“距离”,显著提升配准精度。该算法已广泛应用于机器人位姿估计、三维重建与计算机视觉等领域。GICP 的标准流程如下:
1. 初始化
给定初始刚体变换(常用单位矩阵),将源点云粗略对齐到目标点云。
2. 局部协方差估计
对源点云与目标点云分别计算每个点的邻域协方差矩阵,以定量描述该点的局部曲面形状。
3. 建立点对应
为源点云中的每一点在目标点云中寻找最近邻点,形成对应关系。
4. 误差度量
利用马氏距离(Mahalanobis Distance)度量源点与其对应点之间的差异,该距离充分考虑了各向异性的协方差信息,比欧氏距离更贴合实际几何差异。
5. 优化求解
通过最小化累积马氏距离,求解新的刚体变换(旋转 R 与平移 t)。
6. 应用变换
将求得的 R、t 作用于整个源点云,完成一次迭代更新。
7. 迭代收敛
重复步骤 3–6,直至误差变化小于设定阈值或达到最大迭代次数,输出最终变换。
本次使用的数据依然是我们的大宝贝儿——兔砸,请看法宝:

一、GICP实现程序
import open3d as o3d
import numpy as np
import copy# 定义一个函数来创建目标点云(通过旋转、平移和添加噪声)
def create_target_point_cloud(source, angle_deg, axis, translation, noise_std):target = copy.deepcopy(source)angle = np.deg2rad(angle_deg)R = o3d.geometry.get_rotation_matrix_from_axis_angle(angle * np.asarray(axis))center = target.get_center()target.rotate(R, center=center)target.translate(np.array(translation), relative=True)points = np.asarray(target.points)noise = np.random.normal(0, noise_std, size=points.shape)points += noisetarget.points = o3d.utility.Vector3dVector(points)return target# 定义一个函数来执行 Generalized ICP 配准
def generalized_icp(source, target, threshold, trans_init, max_iteration):result = o3d.pipelines.registration.registration_generalized_icp(source, target, threshold, trans_init,o3d.pipelines.registration.TransformationEstimationForGeneralizedICP(),o3d.pipelines.registration.ICPConvergenceCriteria(max_iteration=max_iteration))return result# 定义一个函数来评估配准结果
def evaluate_registration(source, target, transformation, threshold):evaluation = o3d.pipelines.registration.evaluate_registration(source, target, threshold, transformation)return evaluation# 定义一个函数来可视化配准结果
def visualize_registration(source, target, transformation):source_temp = copy.deepcopy(source)target_temp = copy.deepcopy(target)source_temp.paint_uniform_color([1, 0, 0])target_temp.paint_uniform_color([0, 1, 0])source_temp.transform(transformation)o3d.visualization.draw_geometries([source_temp, target_temp],window_name="Generalized ICP Registration Result",width=800, height=600)# 主函数
def main():# 读取源点云source = o3d.io.read_point_cloud("E:/CSDN/规则点云/bunny.pcd")# 创建目标点云(通过旋转、平移和添加噪声)angle_deg = 30  # 旋转角度(度)axis = [0, 0, 1]  # 旋转轴(绕 Z 轴)translation = [0.1, 0.15, 0.2]  # 平移向量noise_std = 0.001  # 噪声标准差target = create_target_point_cloud(source, angle_deg, axis, translation, noise_std)target.paint_uniform_color([0, 1, 0])# 设置配准参数threshold = 0.2  # 距离阈值trans_init = np.eye(4)  # 初始变换矩阵(单位矩阵)max_iteration = 35  # 最大迭代次数# 执行 Generalized ICP 配准result = generalized_icp(source, target, threshold, trans_init, max_iteration)print("GICP配准后信息:", result)print("两块点云之间的配准矩阵:", result.transformation)# 可视化source_transformed = copy.deepcopy(source)source_transformed.transform(result.transformation)o3d.visualization.draw_geometries([source, target],window_name="两点云初始位置",width=1200, height=800,left=50, top=50)o3d.visualization.draw_geometries([source_transformed, target],window_name="GICP配准后两点云位置",width=1200, height=800,left=50, top=50)if __name__ == "__main__":main()
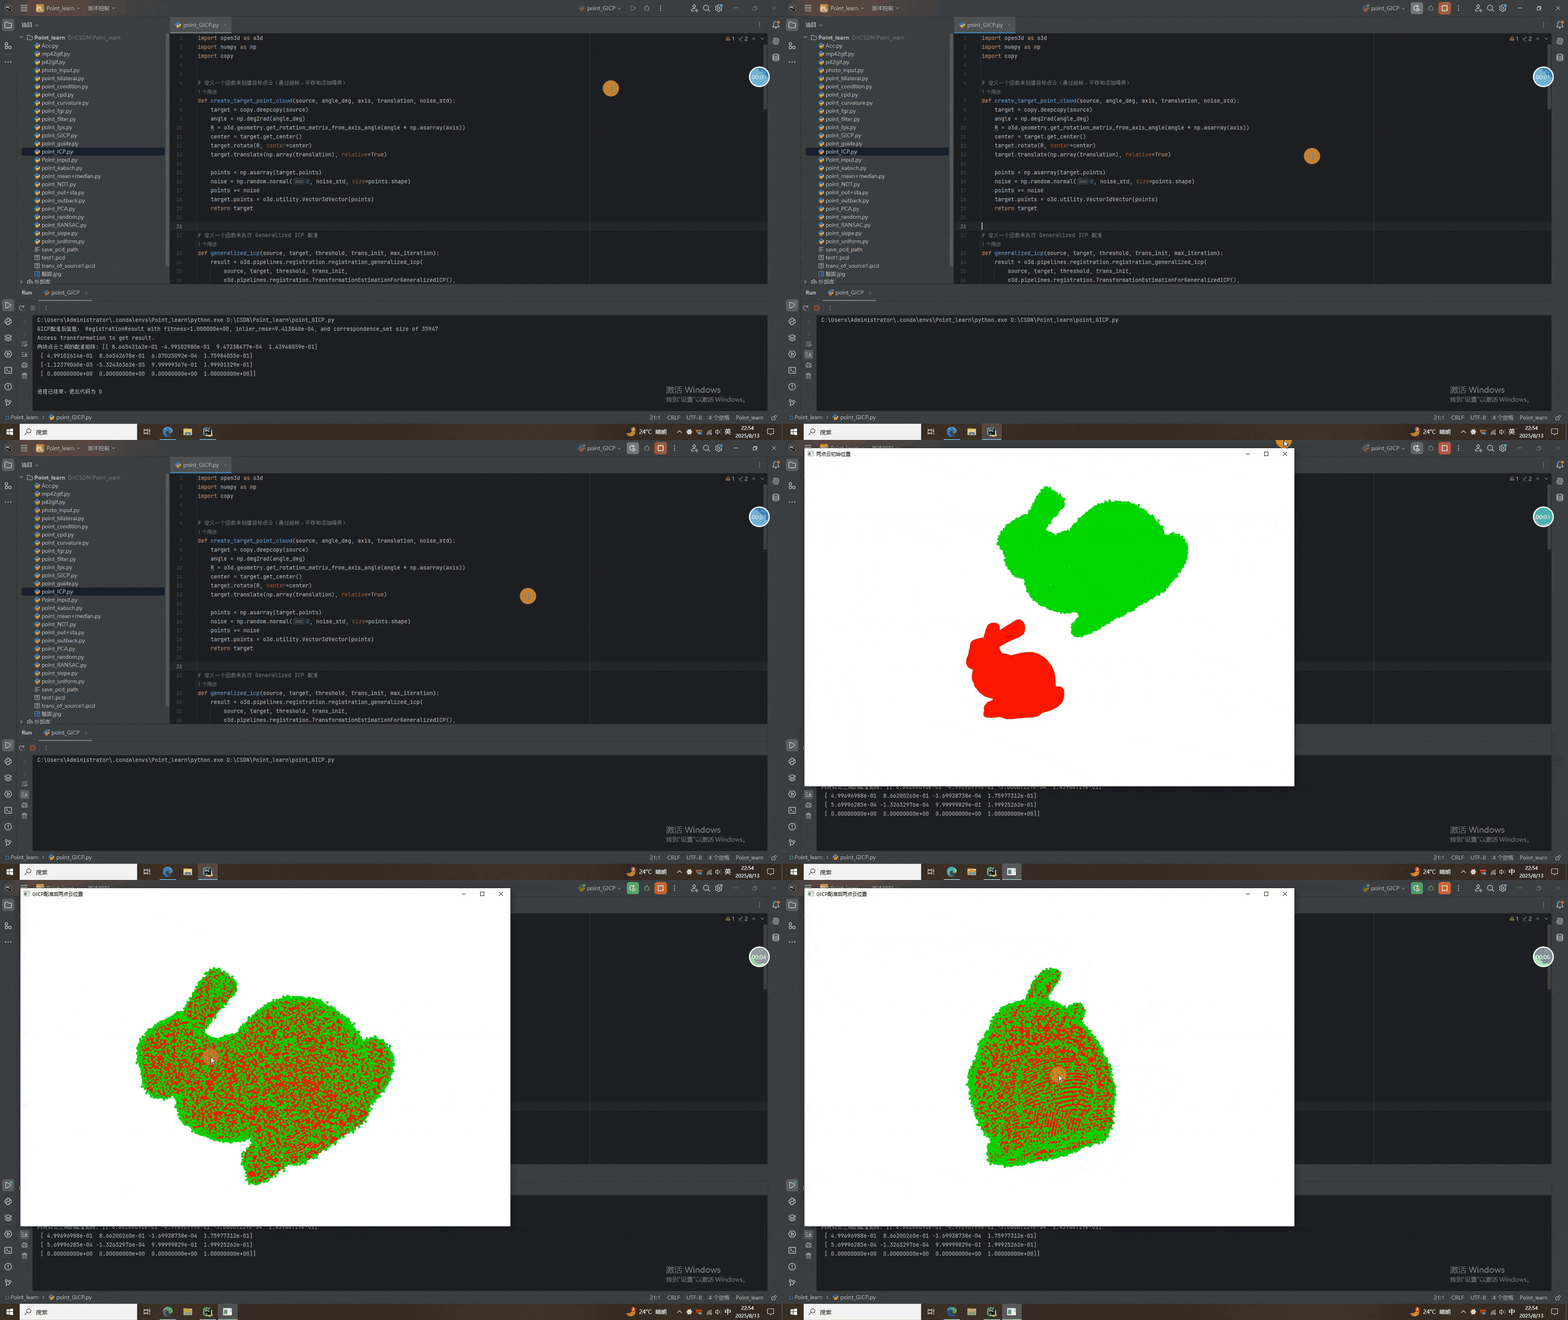
二、GICP实现结果

可以看到,GICP还是非常强大的,直接跨越粗配准就能得到很好的配准结果。值得一提的是,GICP是ICP的进阶版本,当配准矩阵唯一时,GICP退化为ICP。
就酱,下次见^-^
