G4 - 可控手势生成 CGAN
- 🍨 本文为🔗365天深度学习训练营 中的学习记录博客
- 🍖 原作者:K同学啊
目录
- 代码
- 总结与心得
代码
关于CGAN的原理上节已经讲过,这次主要是编写代码加载上节训练后的模型来进行指定条件的生成
图像的生成其实只需要使用Generator模型,判别器模型是在训练过程中才用的。
# 库引入
from torch.autograd import Variable
from torchvision.utils import save_image, make_grid
import matplotlib.pyplot as plt
import torch.nn as nn
import torch.optim as optim
import torchdevice = torch.device('cuda' if torch.cuda.is_available() else 'cpu')# 超参数
latent_dim = 100
n_classes = 3
embedding_dim = 100# 工具函数
def weights_init(m):classname = m.__class__.__name__if classname.find('Conv') != -1:torch.nn.init.normal_(m.weight, 0.0, 0.02)elif classname.find('BatchNorm') != -1:torch.nn.init.normal_(m.weight, 1.0, 0.02)torch.nn.init.zeros_(m.bias)# 模型
class Generator(nn.Module):def __init__(self):super().__init__()self.label_conditioned_generator = nn.Sequential(nn.Embedding(n_classes, embedding_dim),nn.Linear(embedding_dim, 16))self.latent = nn.Sequential(nn.Linear(latent_dim, 4*4*512),nn.LeakyReLU(0.2, inplace=True))self.model = nn.Sequential(nn.ConvTranspose2d(513, 64*8, 4, 2, 1, bias=False),nn.BatchNorm2d(64*8, momentum=0.1, eps=0.8),nn.ReLU(True),nn.ConvTranspose2d(64*8, 64*4, 4, 2, 1, bias=False),nn.BatchNorm2d(64*4, momentum=0.1, eps=0.8),nn.ReLU(True),nn.ConvTranspose2d(64*4, 64*2, 4, 2, 1, bias=False),nn.BatchNorm2d(64*2, momentum=0.1, eps=0.8),nn.ReLU(True),nn.ConvTranspose2d(64*2, 64*1, 4, 2, 1, bias=False),nn.BatchNorm2d(64*1, momentum=0.1, eps=0.8),nn.ReLU(True),nn.ConvTranspose2d(64*1, 3, 4, 2, 1, bias=False),nn.Tanh())def forward(self, inputs):noise_vector, label = inputslabel_output = self.label_conditioned_generator(label)label_output = label_output.view(-1, 1, 4, 4)latent_output = self.latent(noise_vector)latent_output = latent_output.view(-1, 512, 4, 4)concat = torch.cat((latent_output, label_output), dim=1)image = self.model(concat)return imagegenerator = Generator().to(device)
generator.apply(weights_init)
print(generator)
Generator((label_conditioned_generator): Sequential((0): Embedding(3, 100)(1): Linear(in_features=100, out_features=16, bias=True))(latent): Sequential((0): Linear(in_features=100, out_features=8192, bias=True)(1): LeakyReLU(negative_slope=0.2, inplace=True))(model): Sequential((0): ConvTranspose2d(513, 512, kernel_size=(4, 4), stride=(2, 2), padding=(1, 1), bias=False)(1): BatchNorm2d(512, eps=0.8, momentum=0.1, affine=True, track_running_stats=True)(2): ReLU(inplace=True)(3): ConvTranspose2d(512, 256, kernel_size=(4, 4), stride=(2, 2), padding=(1, 1), bias=False)(4): BatchNorm2d(256, eps=0.8, momentum=0.1, affine=True, track_running_stats=True)(5): ReLU(inplace=True)(6): ConvTranspose2d(256, 128, kernel_size=(4, 4), stride=(2, 2), padding=(1, 1), bias=False)(7): BatchNorm2d(128, eps=0.8, momentum=0.1, affine=True, track_running_stats=True)(8): ReLU(inplace=True)(9): ConvTranspose2d(128, 64, kernel_size=(4, 4), stride=(2, 2), padding=(1, 1), bias=False)(10): BatchNorm2d(64, eps=0.8, momentum=0.1, affine=True, track_running_stats=True)(11): ReLU(inplace=True)(12): ConvTranspose2d(64, 3, kernel_size=(4, 4), stride=(2, 2), padding=(1, 1), bias=False)(13): Tanh())
)
from numpy.random import randint, randn
from numpy import linspace
from matplotlib import pyplot, gridspec# 加载训练好的权重
generator.load_state_dict(torch.load('generator_epoch_300.pth'), strict=False)
# 关闭梯度积累
generator.eval()# 生成随机变量
interpolated = randn(100)
interpolated = torch.tensor(interpolated).to(device).type(torch.float32)# 生成条件变量
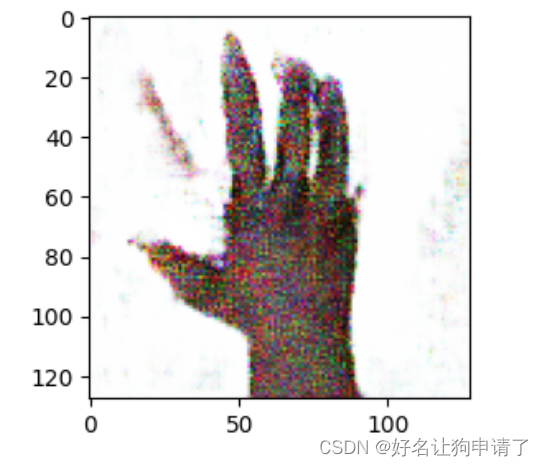
label = 0 # 生成第0个分类的图像
labels = torch.ones(1) * label
labels = labels.to(device).unsqueeze(1).long()# 执行生成
predictions = generator((interpolated, labels))
predictions = predictions.permute(0, 2, 3, 1).detach().cpu()# 屏蔽警告
import warnings
warnings.filterwarnings('ignore')# 设置中文字体
plt.rcParams['font.sans-serif'] = ['SimHei']
# 防止负号无法显示
plt.rcParams['axes.unicode_minus']= False
# 设置图的分辨率
plt.rcParams['figure.dpi'] = 100# 绘图
plt.figure(figsize=(8, 3))
pred = (predictions[0, :, :, :] + 1) * 127.5
pred = np.array(pred)
plt.imshow(pred.astype(np.uint8))
plt.show()
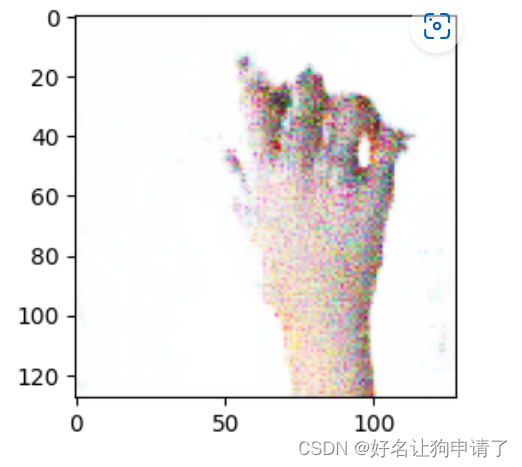
我们将分类修改为1重新生成一次
总结与心得
在本次实验的过程中,我了解了CGAN模型在训练完成后,后续如何使用的步骤:
- 保存训练好的生成器的权重
- 使用生成器加载
- 生成随机分布变量用于生成图像
- 生成指定的标签,并转换成控制向量
- 执行生成操作
另外关于警告和matplotlib设置中文字体的方式也是经常会用到的技巧。