使用python开发的闭运算调试器
使用python开发的开运算调试器
- 简介
- 效果
- 代码
简介
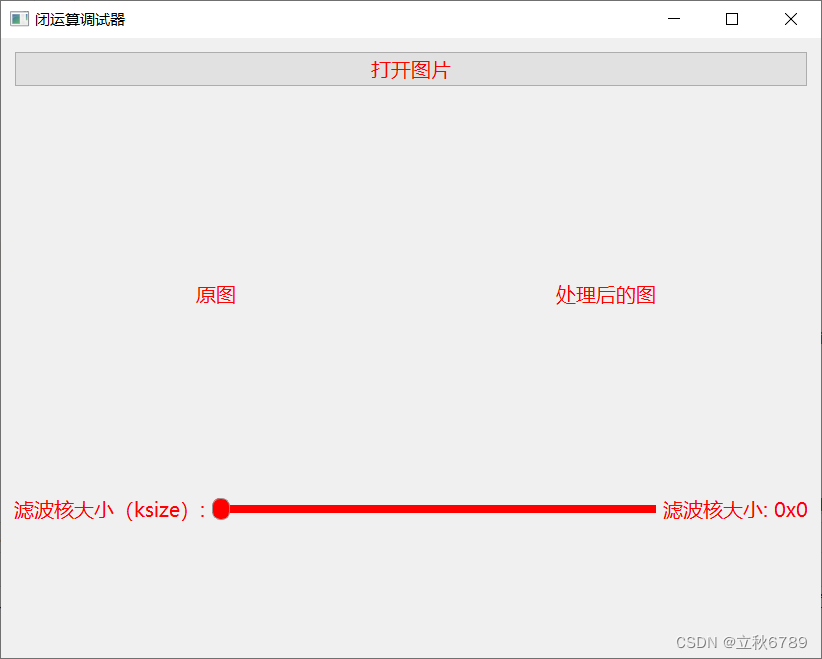
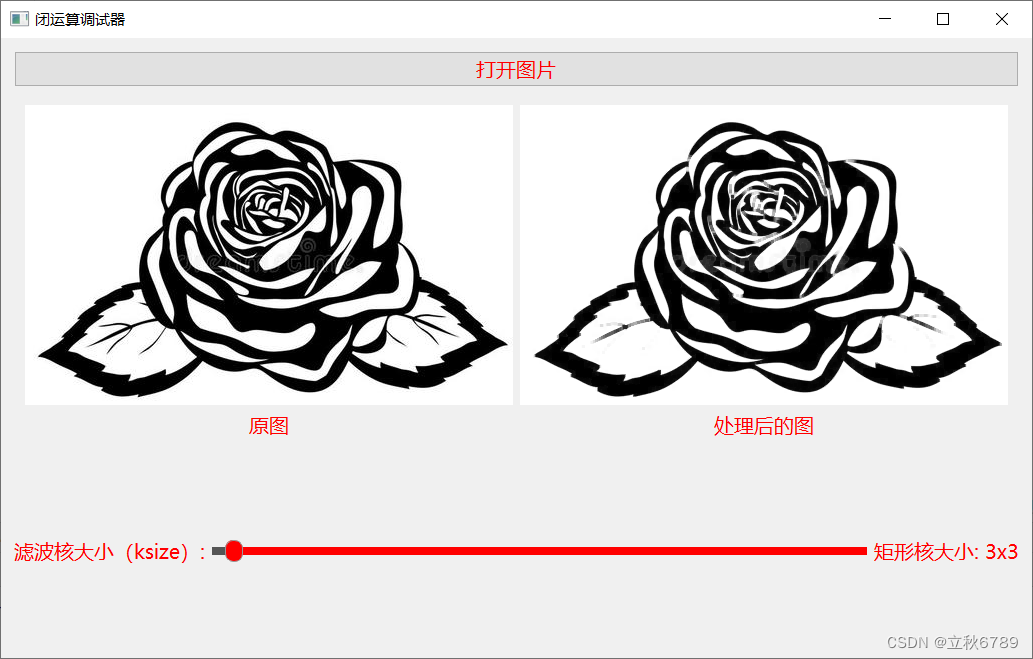
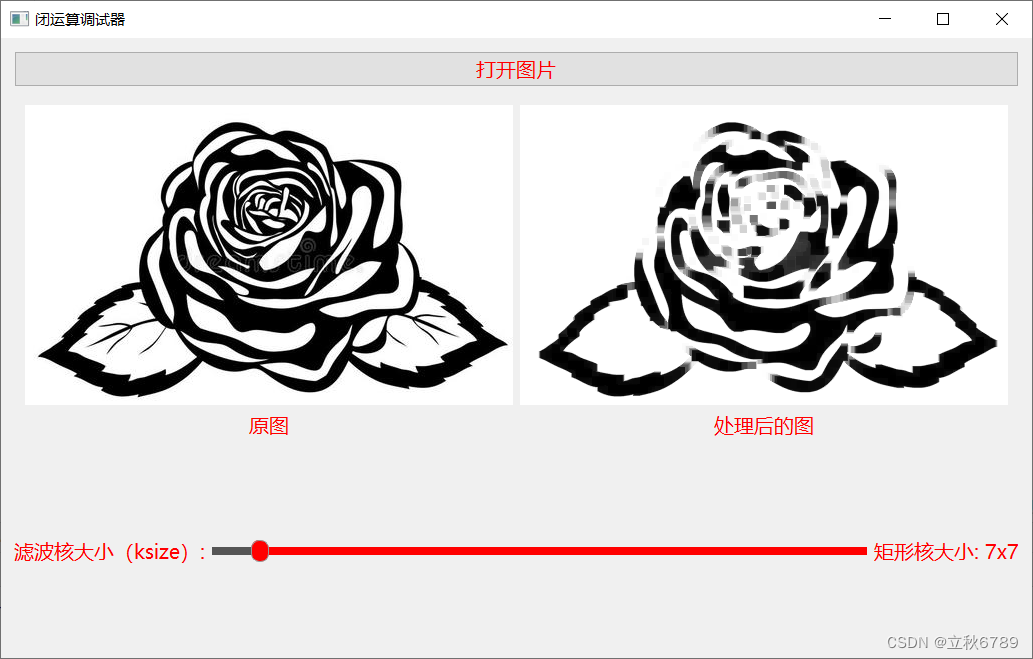
用来调试闭运算效果的小工具,滑动条可以控制滤波核的大小,用来查看不同滤波核下的闭运算效果。
效果
代码
import sys
from PyQt5.QtWidgets import QApplication, QWidget, QVBoxLayout, QHBoxLayout, QPushButton, QLabel, QFileDialog, QSlider
from PyQt5.QtGui import QPixmap, QImage
from PyQt5.QtCore import Qt
import cv2
import numpy as npclass ImageDisplayWidget(QWidget):def __init__(self):super().__init__()self.initUI()self.image = Nonedef initUI(self):self.main_layout = QVBoxLayout()self.resize(820, 620)self.open_button = self.create_button("打开图片", self.open_image)self.img_win = QWidget()img_win_layout = QHBoxLayout()self.img_win.setLayout(img_win_layout)self.orgin_img_label = QLabel()self.image_label = QLabel()self.add_image_view(img_win_layout, "原图", self.orgin_img_label)self.add_image_view(img_win_layout, "处理后的图", self.image_label)self.slider = self.create_slider(self.process_image)self.slider2 = self.create_slider(self.process_image)self.slider_value_label = QLabel("滤波核大小: 0x0")controls_layout = QHBoxLayout()self.add_control(controls_layout, "滤波核大小(ksize):", self.slider, self.slider_value_label)controls_layout2 = QHBoxLayout()self.main_layout.addWidget(self.open_button)self.main_layout.addWidget(self.img_win)self.main_layout.addLayout(controls_layout)self.main_layout.addLayout(controls_layout2)self.setLayout(self.main_layout)self.setWindowTitle('闭运算调试器')self.set_common_style(self.slider_value_label)# self.set_common_style()self.show()def add_image_view(self, layout, label_text, image_label):image_view_layout = QVBoxLayout()name_label = QLabel(label_text)name_label.setAlignment(Qt.AlignCenter)image_view_layout.addWidget(image_label, alignment=Qt.AlignCenter)image_view_layout.addWidget(name_label, alignment=Qt.AlignCenter)layout.addLayout(image_view_layout)self.set_common_style(name_label)def create_button(self, text, clicked_slot):button = QPushButton(text)button.clicked.connect(clicked_slot)self.set_common_style(button)return buttondef create_slider(self, value_changed_slot):slider = QSlider(Qt.Horizontal)slider.setMinimum(1)slider.setMaximum(100)slider.setSingleStep(2)slider.valueChanged.connect(value_changed_slot)self.set_slider_style(slider)return sliderdef add_control(self, layout, label_text, slider, value_label):control_label = QLabel(label_text)layout.addWidget(control_label)layout.addWidget(slider)layout.addWidget(value_label)self.set_common_style(control_label)def set_common_style(self, label):label.setStyleSheet("""  QLabel {  font-family: '微软雅黑';  font-size: 12pt;  color: red;  }QPushButton {  font-family: '微软雅黑';  font-size: 12pt;  color: red;  }  """)def set_slider_style(self, slider):slider.setStyleSheet("""  QSlider::groove:horizontal {  background: #999999;  height: 8px;  margin: 0;  border-radius: 4px;  }  QSlider::handle:horizontal {  background: red;  border: 1px solid #999999;  width: 16px;  height: 16px;  margin: -7px 0; /* handle is placed in the middle */  border-radius: 8px;  }  QSlider::add-page:horizontal {  background: #FF0000; /* This is the red color from your font color */  }  QSlider::sub-page:horizontal {  background: #555555; /* You can choose a different color for the filled part */  }  """)def open_image(self):self.filename, _ = QFileDialog.getOpenFileName(self, '打开图片', '.', '图片文件 (*.png *.jpg *.jpeg *.bmp)')if self.filename:self.image = cv2.imread(self.filename)or_img = cv2.cvtColor(self.image, cv2.COLOR_BGR2RGB)h, w, ch = or_img.shapebytes_per_line = ch * wq_img = QImage(or_img.data, w, h, bytes_per_line, QImage.Format_RGB888)pixmap = QPixmap.fromImage(q_img)if pixmap.width() > 600 or pixmap.height() > 600:pixmap = pixmap.scaled(600, 600, Qt.KeepAspectRatio, Qt.SmoothTransformation)self.orgin_img_label.setPixmap(pixmap)self.process_image()def process_image(self):if self.image is None:returnkernel_size = self.slider.value()if kernel_size %2 == 0:passelse:self.slider_value_label.setText(f"矩形核大小: {kernel_size}x{kernel_size}")kernel = np.ones((kernel_size, kernel_size), np.uint8)processed_image = cv2.morphologyEx(self.image, cv2.MORPH_CLOSE, kernel)processed_image = cv2.cvtColor(processed_image, cv2.COLOR_BGR2RGB)h, w, ch = processed_image.shapebytes_per_line = ch * wq_img = QImage(processed_image.data, w, h, bytes_per_line, QImage.Format_RGB888)pixmap = QPixmap.fromImage(q_img)if pixmap.width() > 600 or pixmap.height() > 600:pixmap = pixmap.scaled(600, 600, Qt.KeepAspectRatio, Qt.SmoothTransformation)self.image_label.setPixmap(pixmap)if __name__ == '__main__':app = QApplication(sys.argv)ex = ImageDisplayWidget()sys.exit(app.exec_())