anaconda的linux版本以及jupyter的安装和DataSpell连接linux的jupyter服务器
anaconda安装:
官网:
https://www.anaconda.com/
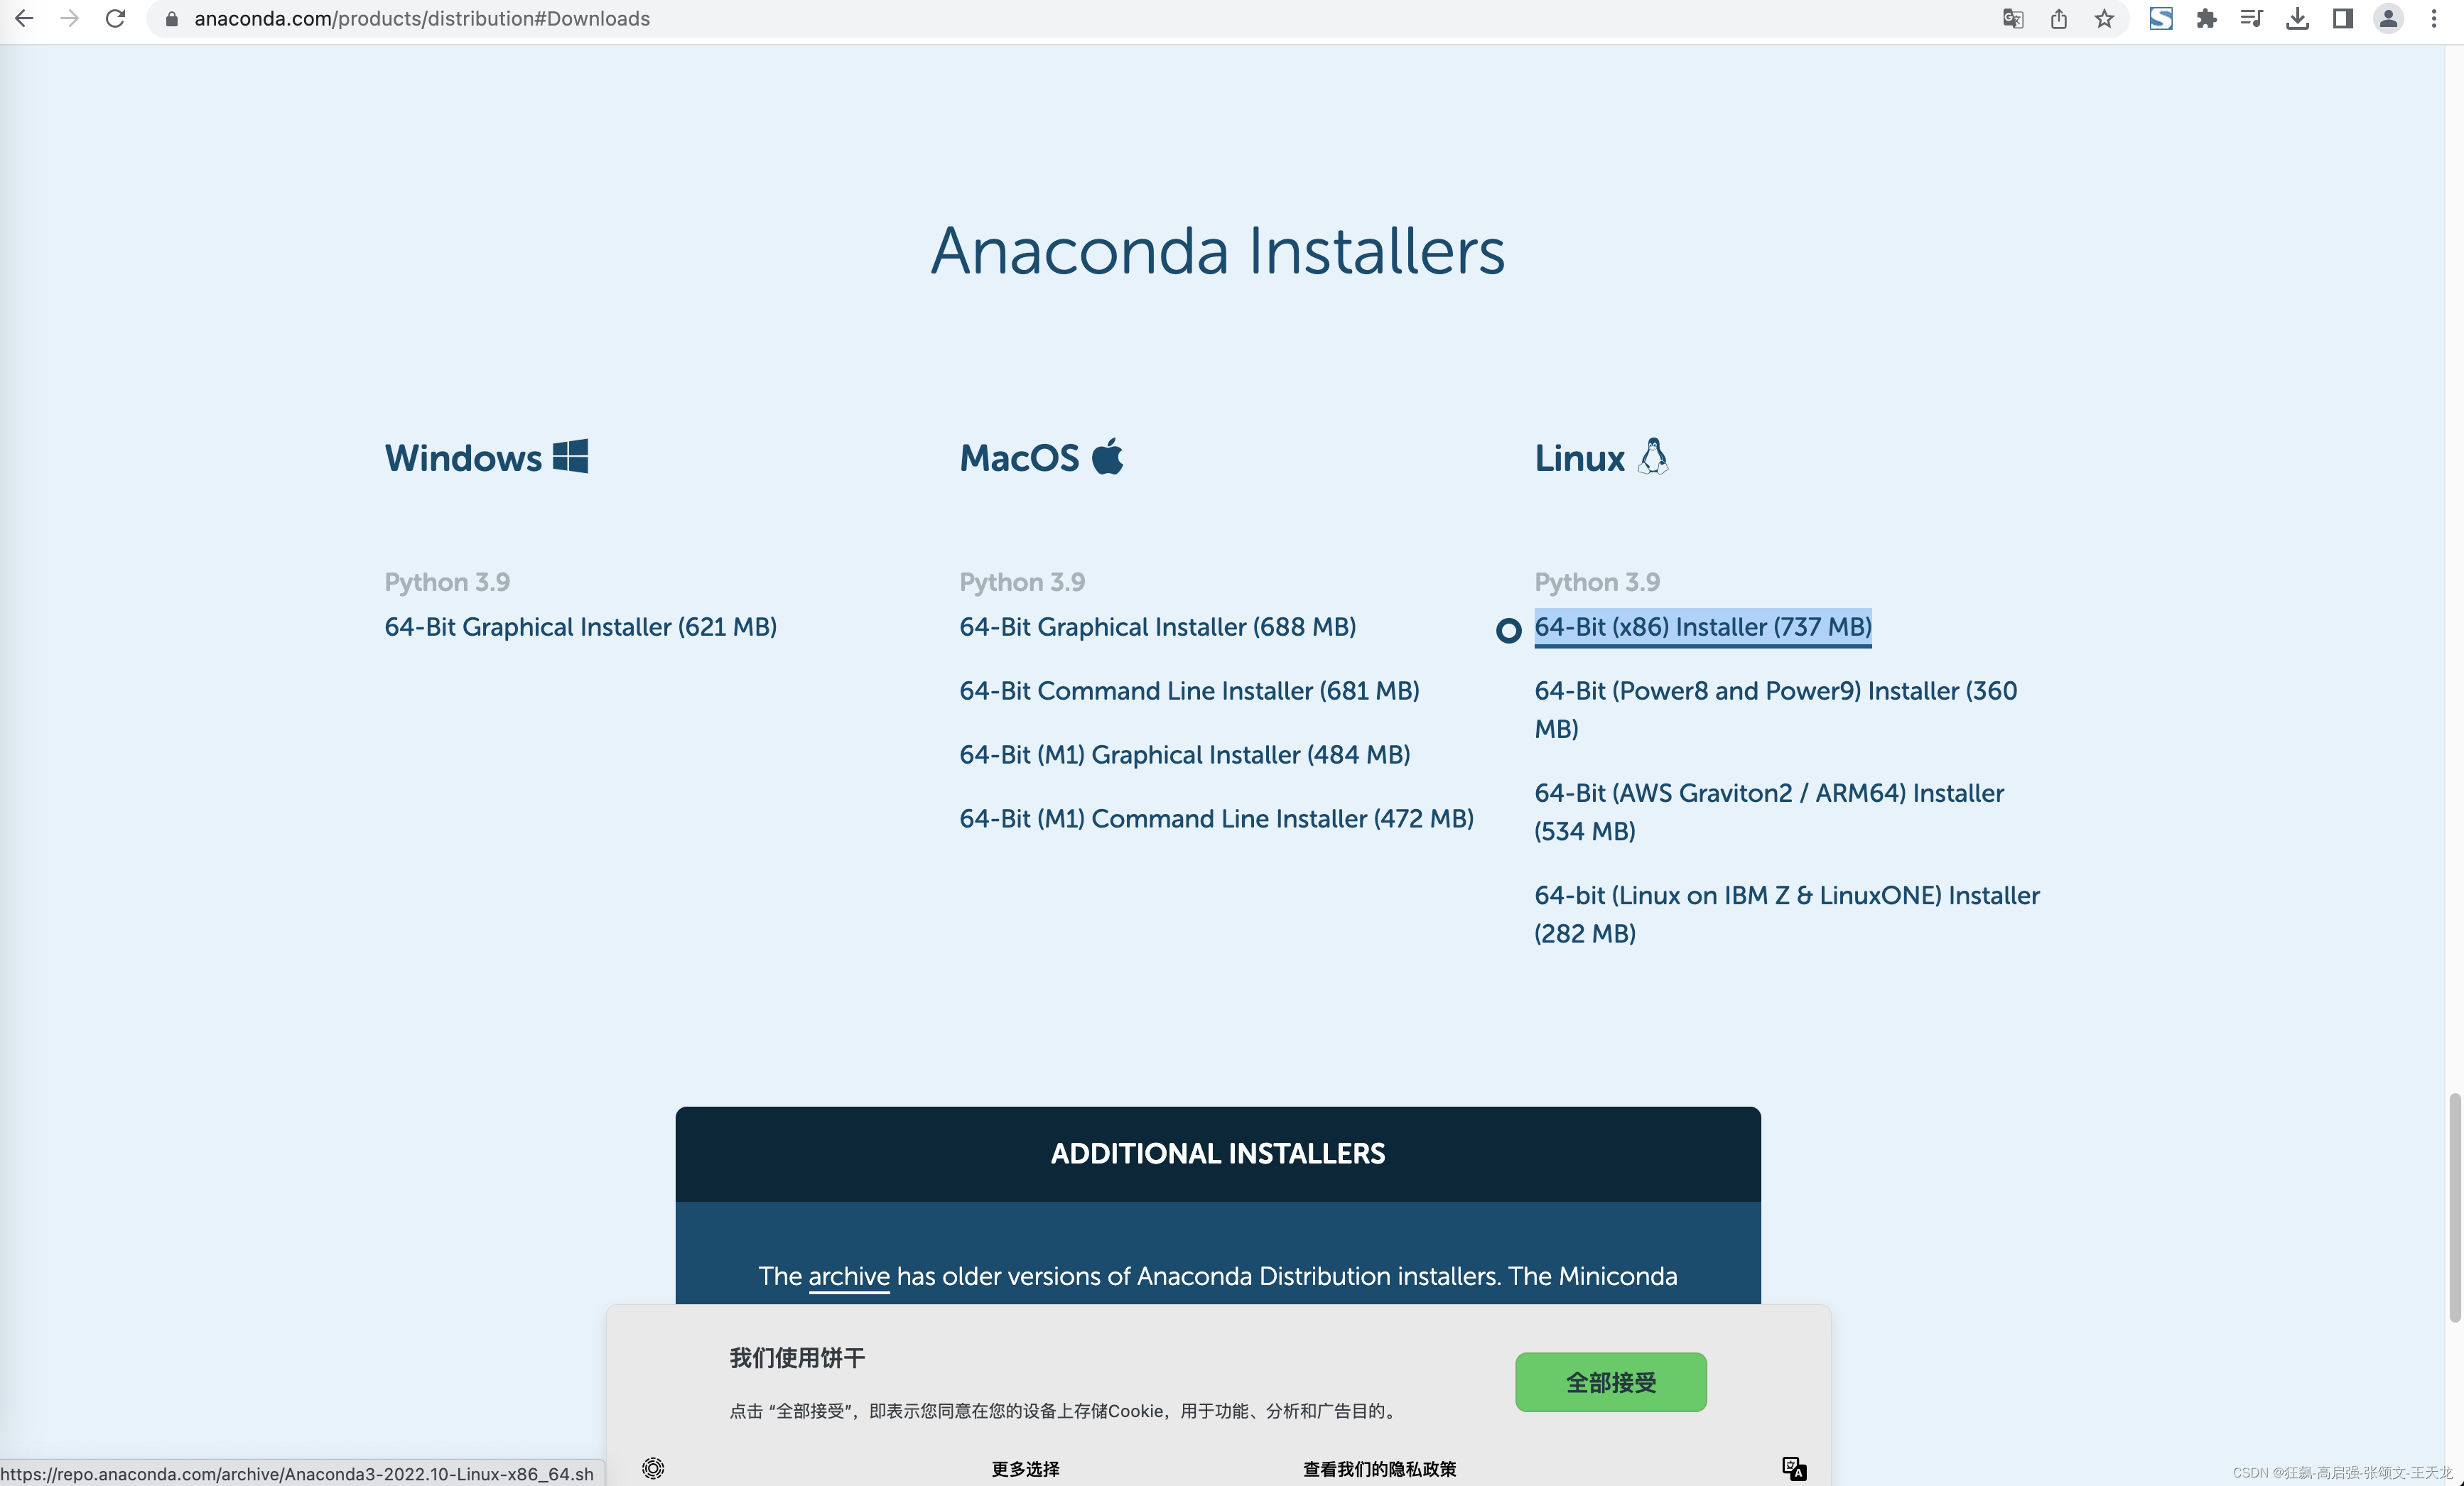
拷贝下载网址后,在Linux里进行下载:
wget https://repo.anaconda.com/archive/Anaconda3-2022.10-Linux-x86_64.sh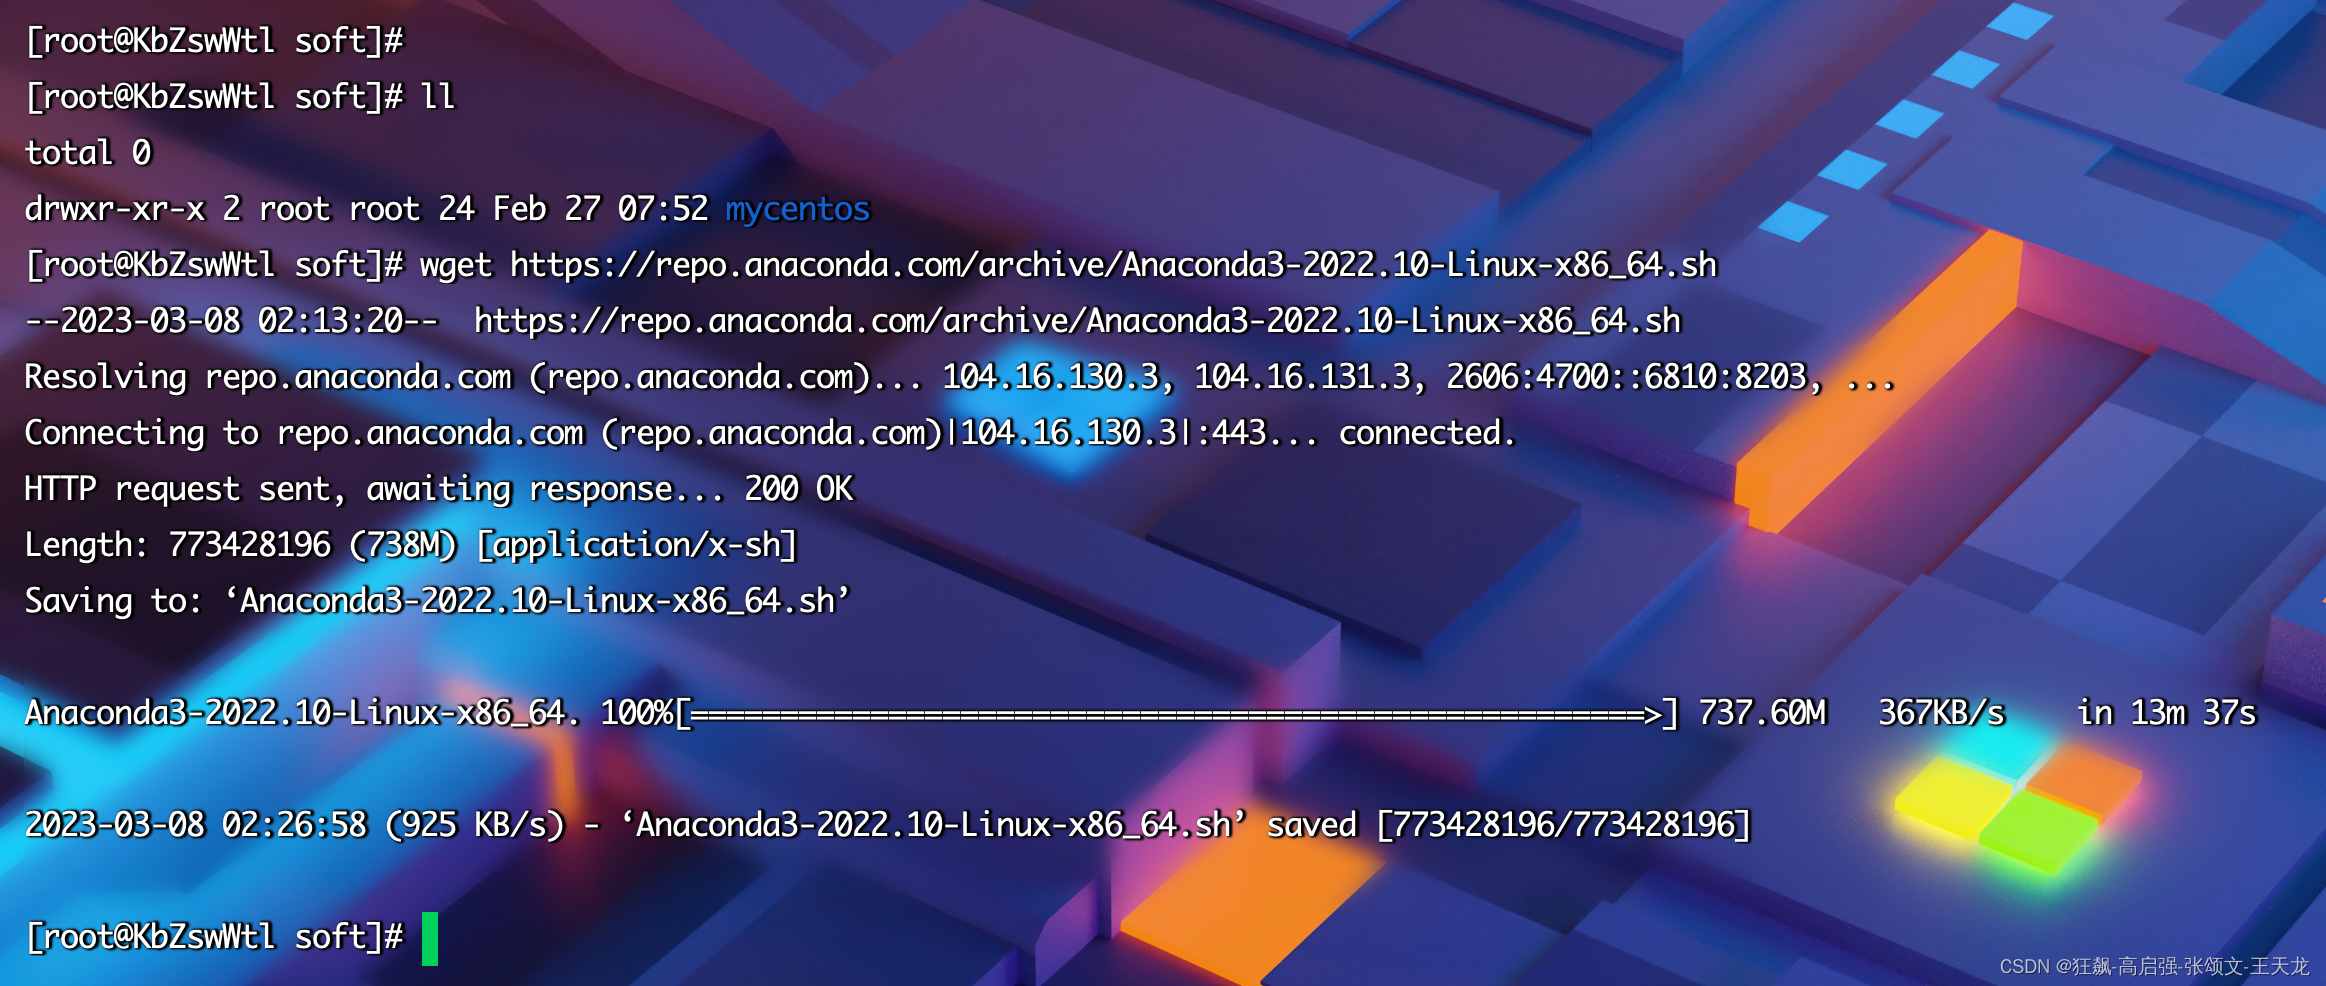

执行sh:
./Anaconda3-2022.10-Linux-x86_64.sh 安装完后,前面出现(base):

即安装成功!!!
重新进入,
conda create -n AI python=3.9
conda activate AI
jupyter的安装:
将当前Python版本(AI)加入现有的 Jupyter:
python -m ipykernel install --name AI
解决方式:
pip install -i https://pypi.tuna.tsinghua.edu.cn/simple/ ipykernel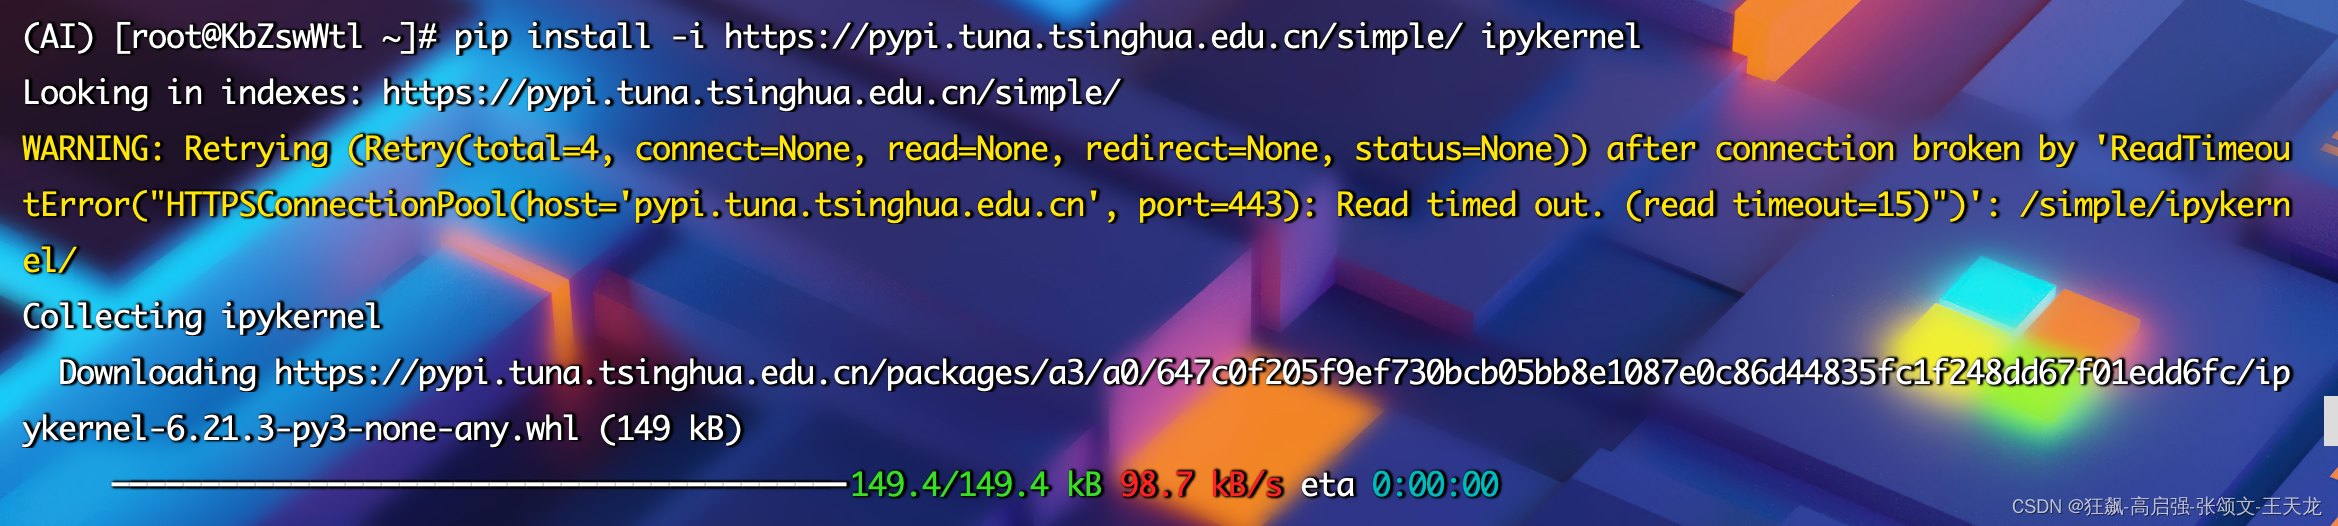
然后再安装notebook、numpy、matplotlib、pandas等:
pip install -i https://pypi.tuna.tsinghua.edu.cn/simple/ notebookpip install -i https://pypi.tuna.tsinghua.edu.cn/simple/ numpypip install -i https://pypi.tuna.tsinghua.edu.cn/simple/ matplotlibpip install -i https://pypi.tuna.tsinghua.edu.cn/simple/ pandas安装jupyter notebook
生成jupyter配置文件
在/root目录下,也就是root用户的家目录:
jupyter notebook --generate-config

进入ipython环境
$ ipython
>>> from notebook.auth import passwd
>>> passwd()   # 注意记住密钥:'sha1:4b2678fa7669:037692fc089b07c56f10b5b50e11e00e5a87c4b3'
>>> exit()
设置jupyter配置文件
vim /root/.jupyter/jupyter_notebook_config.pyc.NotebookApp.allow_remote_access = True #允许远程连接
c.NotebookApp.ip='*' # 设置所有ip皆可访问
c.NotebookApp.password = 'argon2:XXXXXXXXXXXXXXXXXXXXXXXXXXXXXXXXXXXXXX/NWhM' # 之前生成的密码 hash 字串
c.NotebookApp.open_browser = False # 禁止自动打开浏览器
c.NotebookApp.port = 8888 # 使用的端口,随意设置
c.NotebookApp.notebook_dir = '/data/soft/AI_Learn' #设置Notebook启动进入的目录
c.NotebookApp.enable_mathjax = True # 是否用mathjax,它是一种用于数学公式显示的工具
在任意目录下执行:
nohup jupyter notebook --allow-root &即启动了jupyter服务器!!!
DataSpell连接linux的jupyter服务器:
前提:服务器要关闭防火墙以及入口出口规则!!!
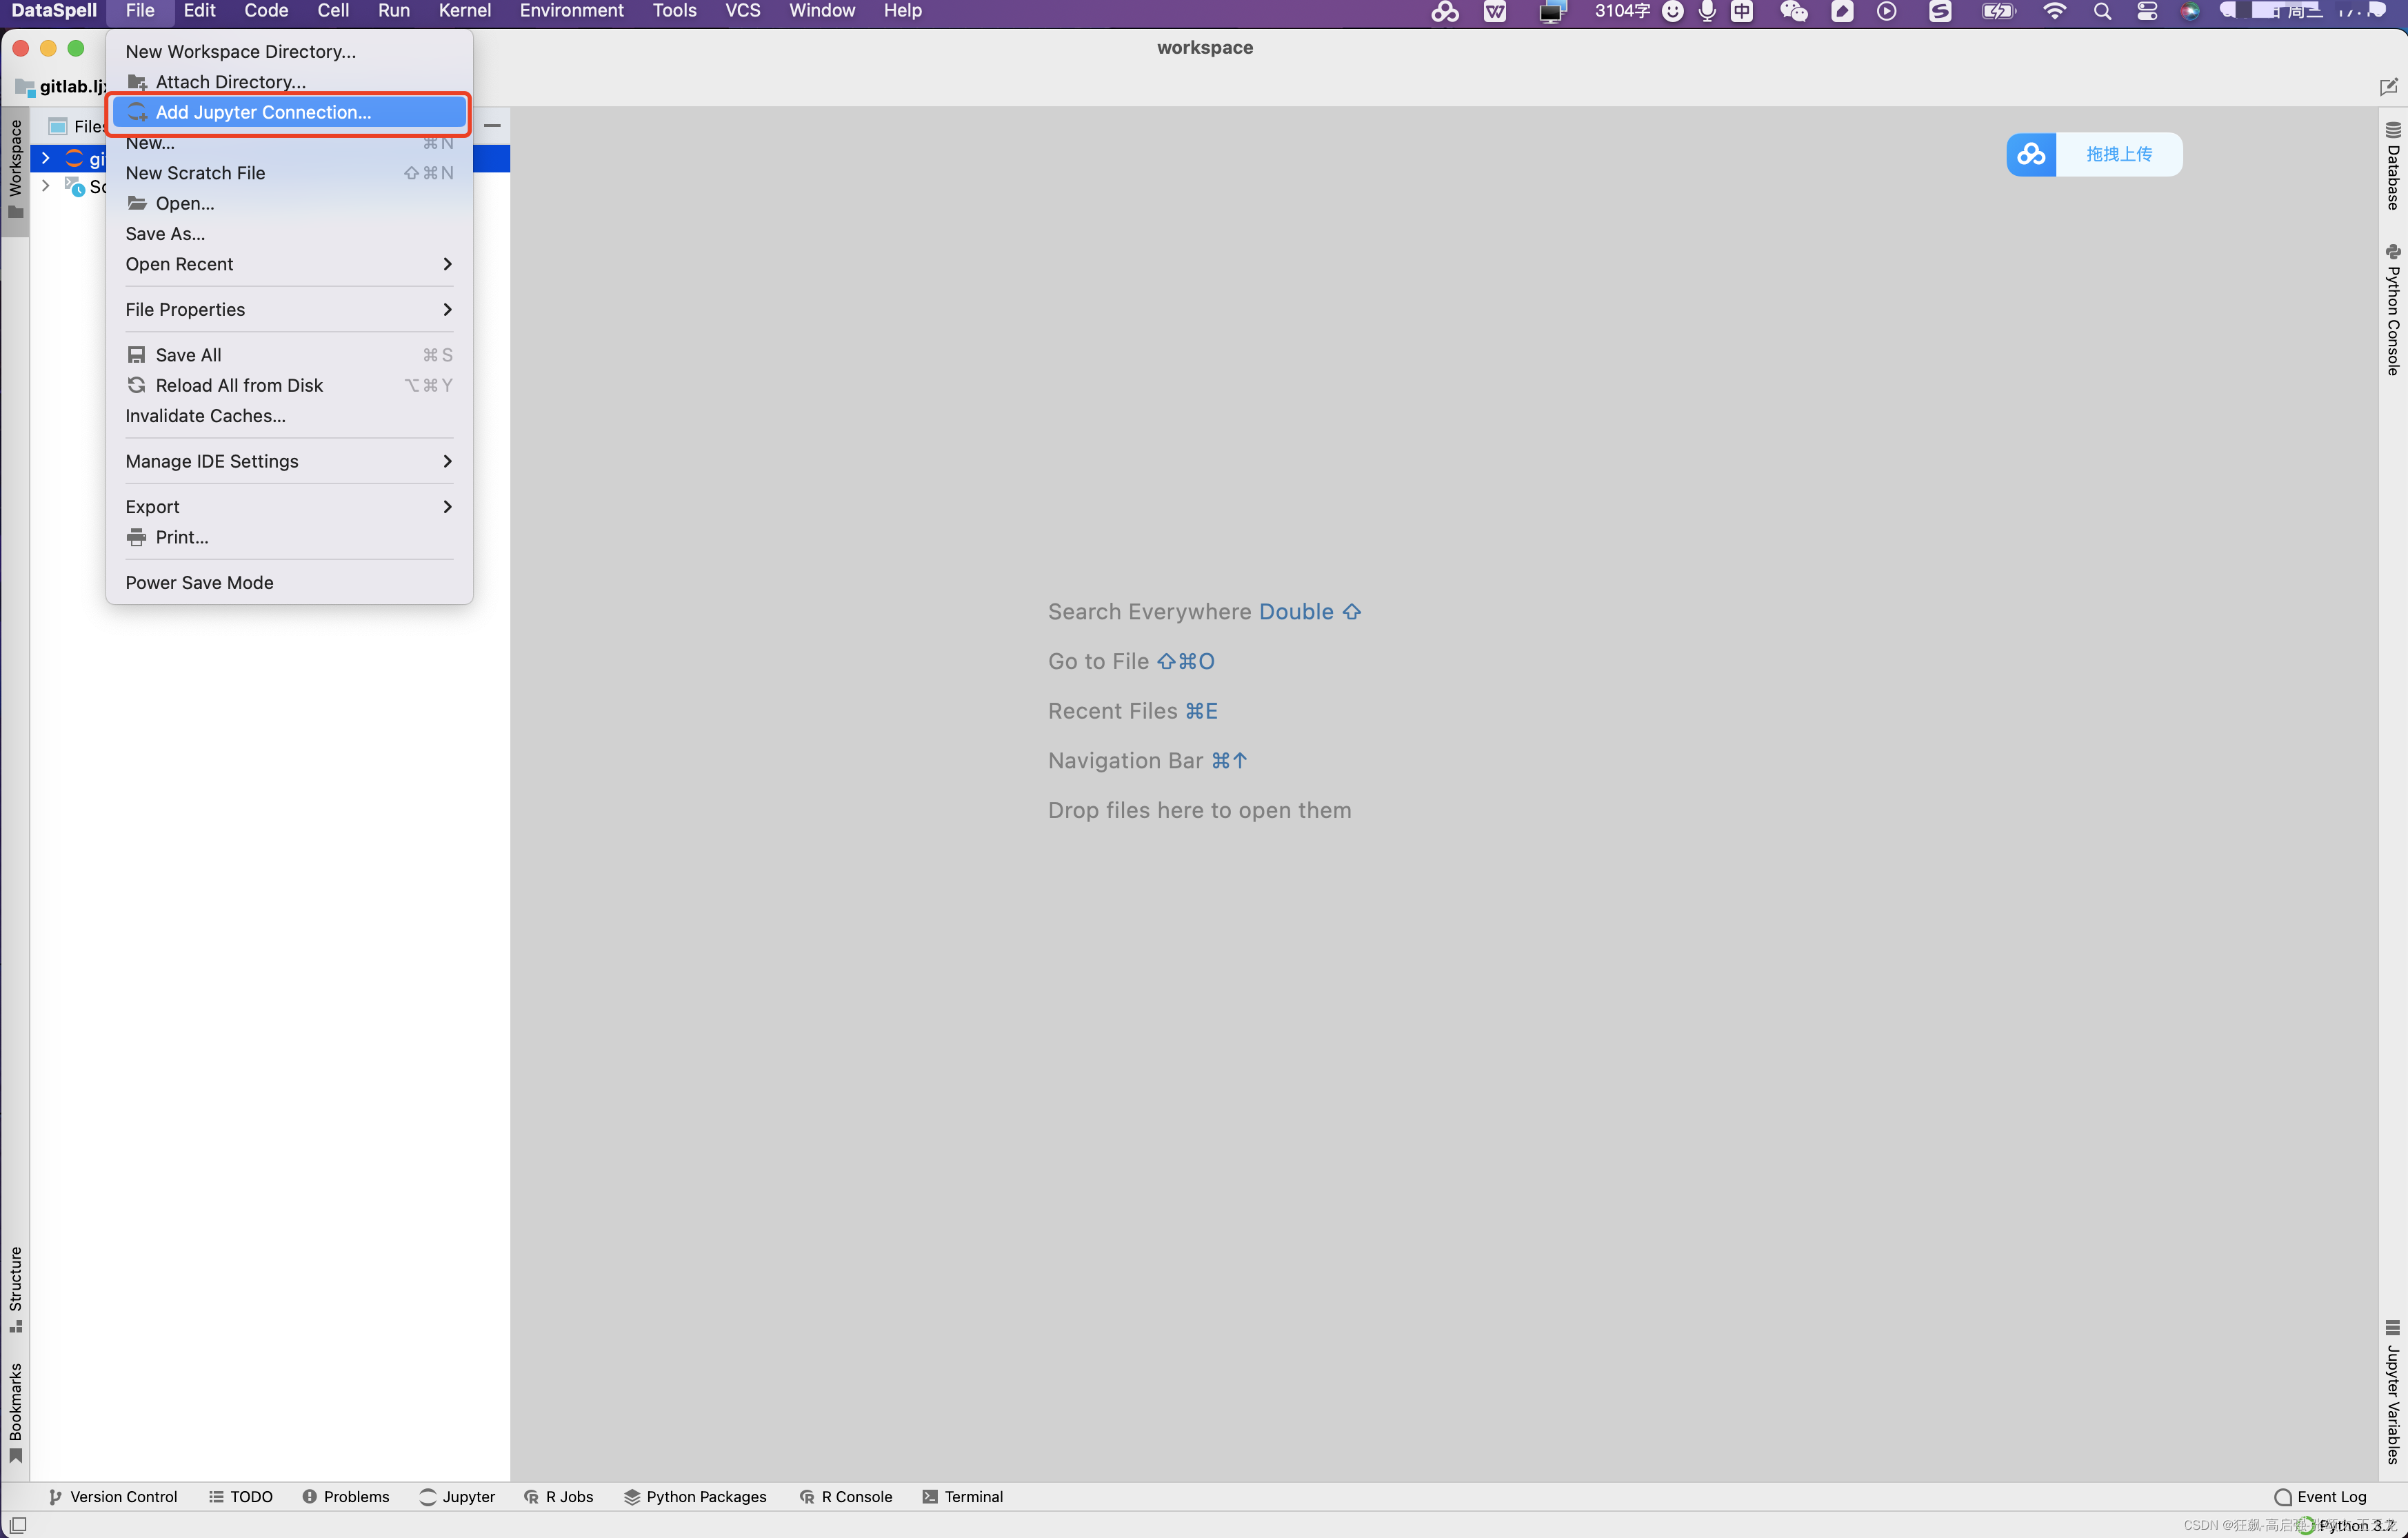
输入要连接的url:
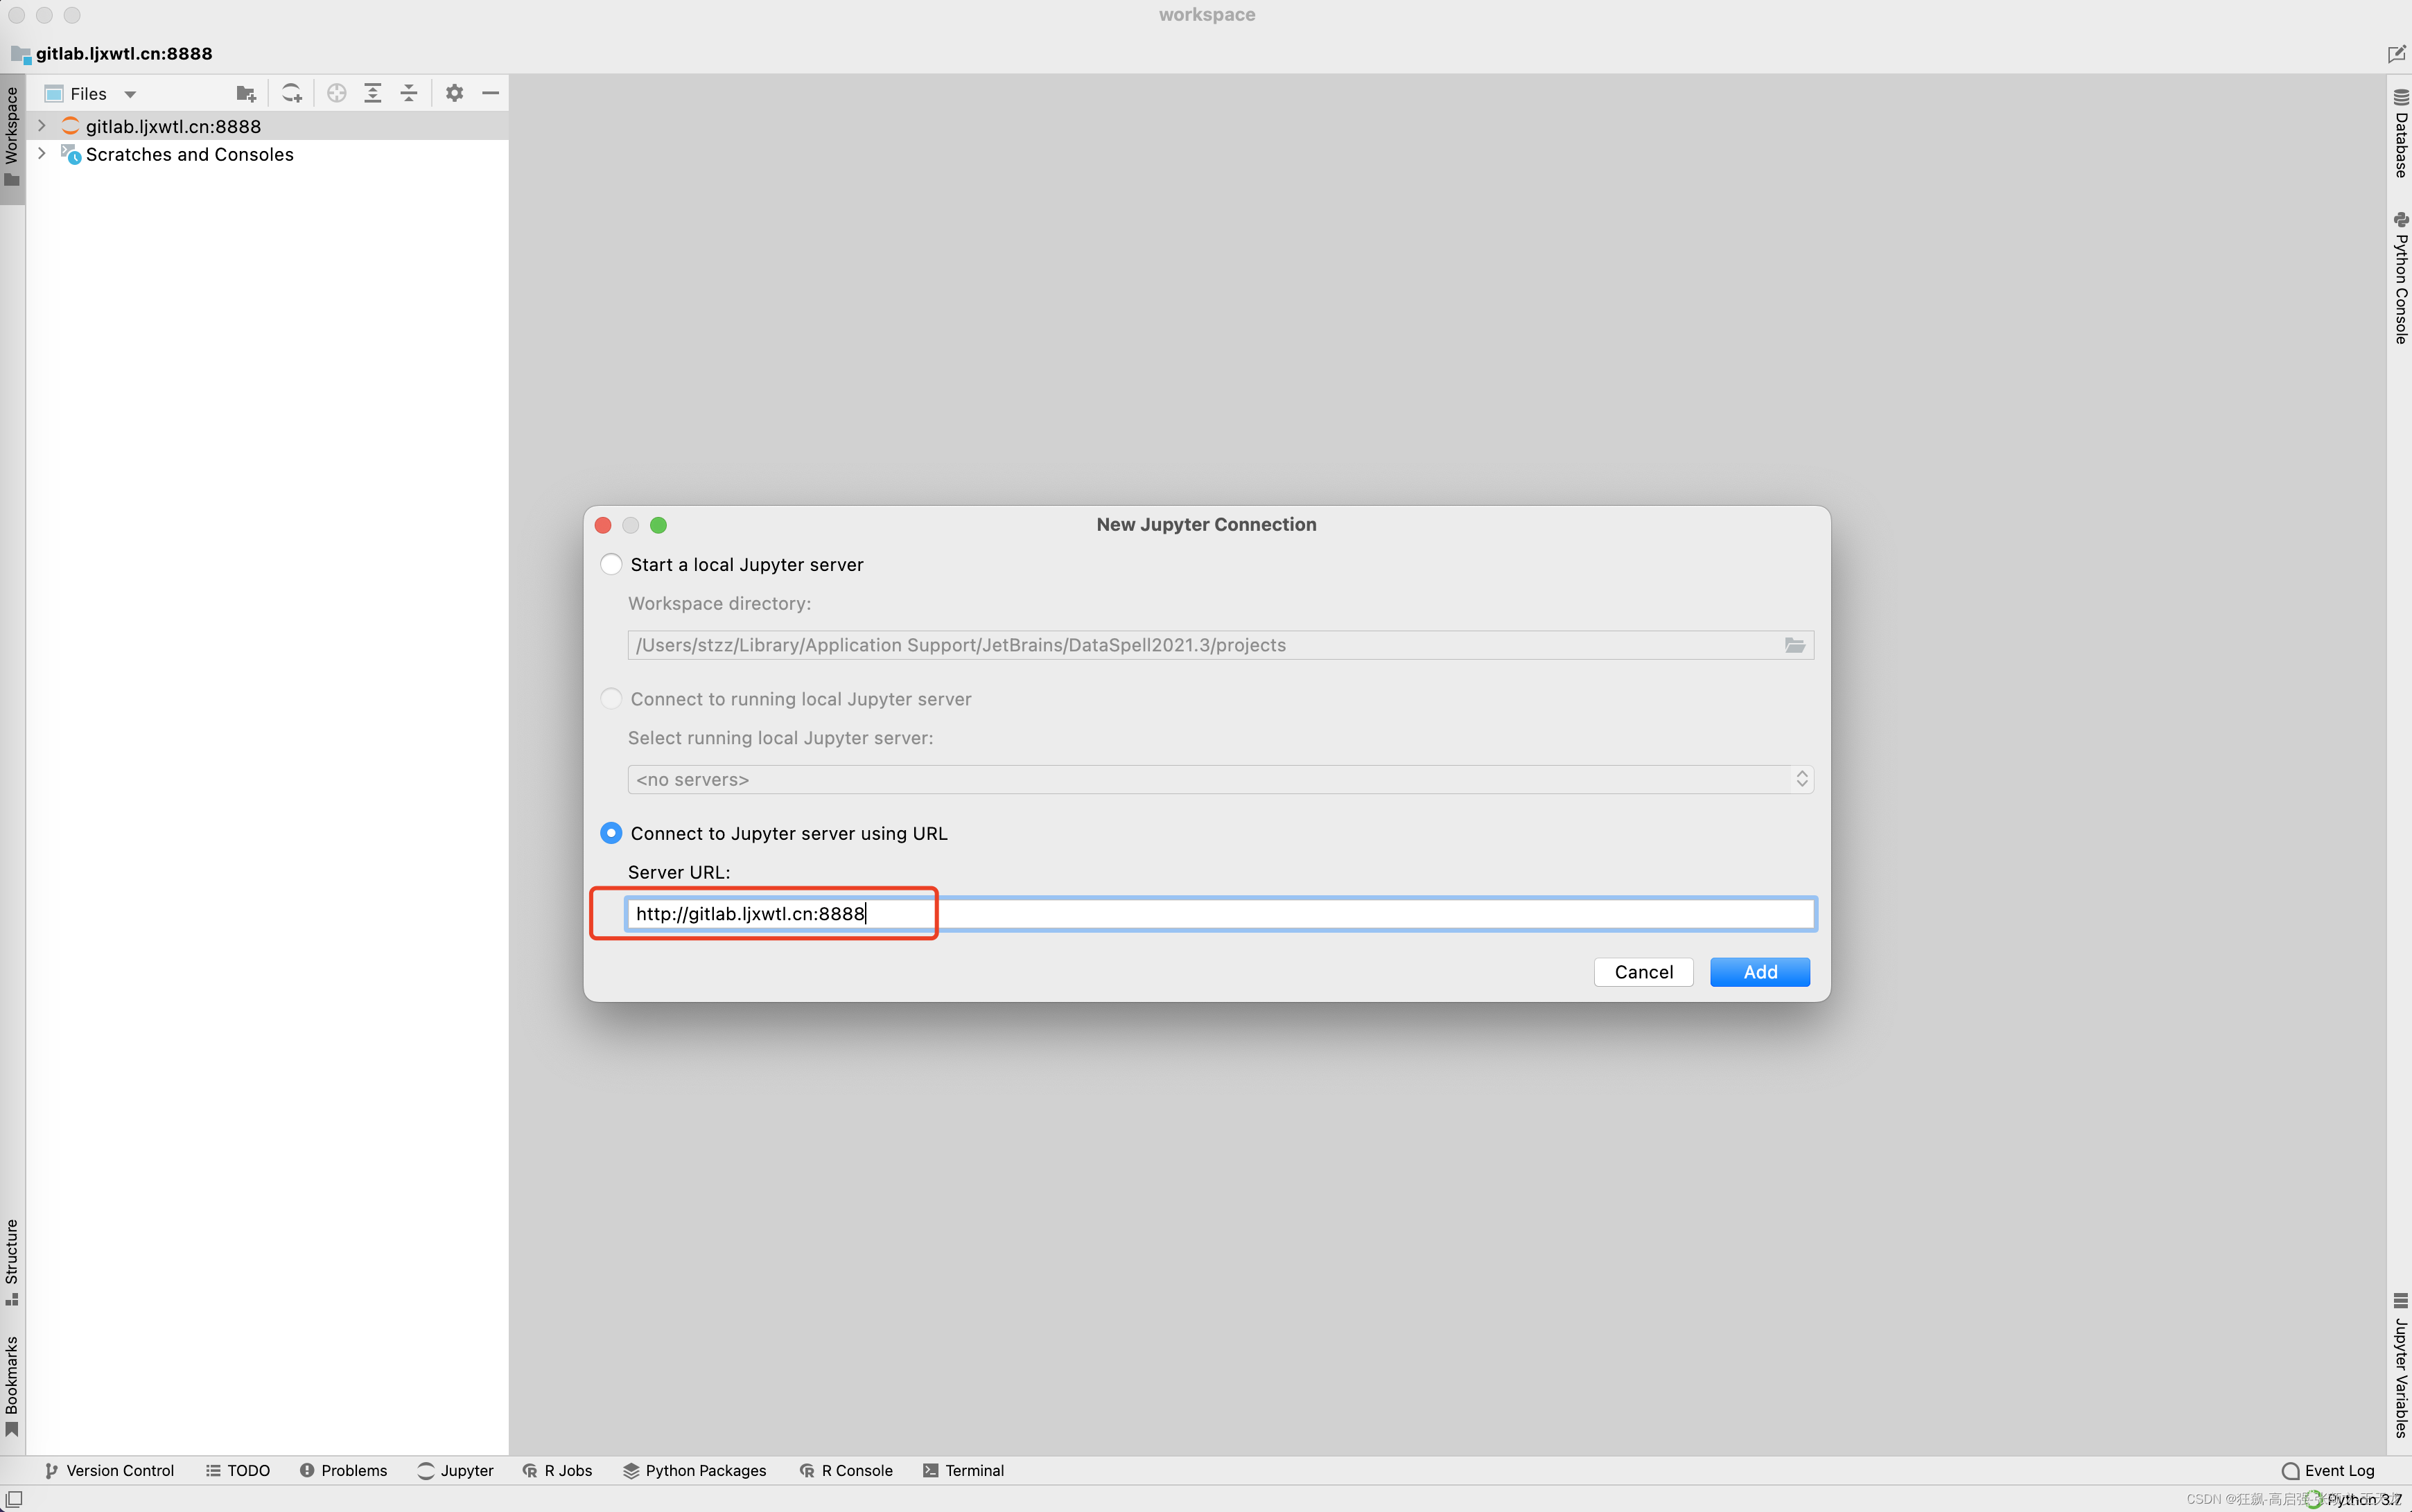
点击“Add”,会弹出输入密码的提示,输入密码后即可连接!!!
