React高级特性之context
例1:
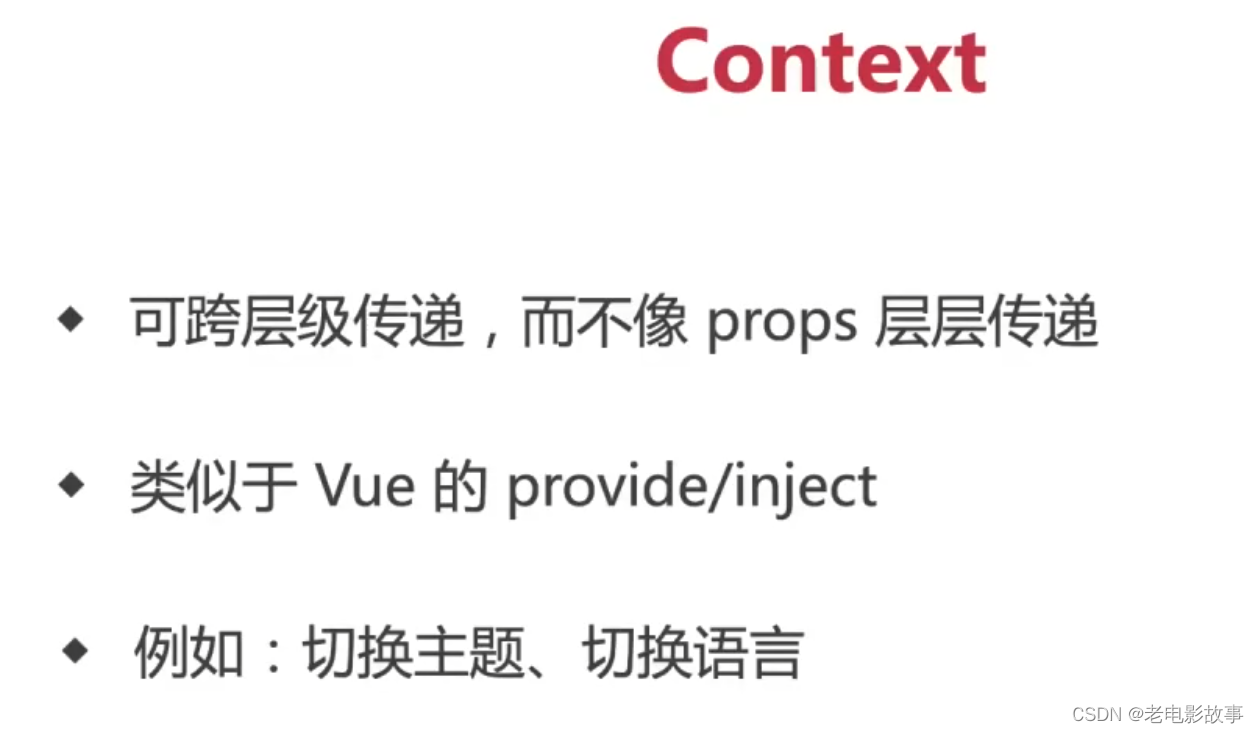
createContext
// 跨组件通信Context引入createContext
import React, { createContext }  from 'react'// App传数据给组件C  App -- A -- C// 1. 创建Context对象
const { Provider, Consumer } = createContext()function SonA () {return (<div>我是组件SonA<SonC /></div>)
}// function SonC () {
//   return (
//     <div>
//       我是组件SonC
//       <Consumer >
//           {value => <div>我是{value.name}, 今年{value.age}</div>}
//       </Consumer>
//     </div>
//   )
// }
class SonC extends React.Component{render () {return (<div>我是类子组件SonC<Consumer>{value => <div>我是{value.name}, 今年{value.age}</div>}</Consumer></div>)}
}class App extends React.Component{state = {message:'this is message 666',obj: {name: 'zm',age: 25}}render () {return (<div>我是组件App<Provider value={this.state.obj}><SonA /></Provider></div>)}
}export default App// 跨组件通信Context  例如 父传孙
// Context 提供了一个无需为每层组件手动添加 props,就能在组件树间进行数据传递的方法// 1- 创建Context对象 导出 Provider 和 Consumer对象
//    const { Provider, Consumer } = createContext()
// 2- 使用Provider包裹上层组件提供数据
//    <Provider value={this.state.message}>
//       {/* 根组件 */}
//    </Provider>
// 3- 需要用到数据的组件使用Consumer包裹获取数据
//    <Consumer >
//      {value => /* 基于 context 值进行渲染*/}
//    </Consumer>
例2:
import React from 'react'// 创建 Context 填入默认值(任何一个 js 变量)
const ThemeContext = React.createContext('light')// 底层组件 - 函数是组件
function ThemeLink (props) {// const theme = this.context // 会报错。函数式组件没有实例,即没有 this// 函数式组件可以使用 Consumerreturn <ThemeContext.Consumer>{ value => <p>link's theme is {value}</p> }</ThemeContext.Consumer>
}// 底层组件 - class 组件
class ThemedButton extends React.Component {// 指定 contextType 读取当前的 theme context。// static contextType = ThemeContext // 也可以用 ThemedButton.contextType = ThemeContextrender() {const theme = this.context // React 会往上找到最近的 theme Provider,然后使用它的值。return <div><p>button's theme is {theme}</p></div>}
}
ThemedButton.contextType = ThemeContext // 指定 contextType 读取当前的 theme context。// 中间的组件再也不必指明往下传递 theme 了。
function Toolbar(props) {return (<div><ThemedButton /><ThemeLink /></div>)
}class App extends React.Component {constructor(props) {super(props)this.state = {theme: 'light'}}render() {return <ThemeContext.Provider value={this.state.theme}><Toolbar /><hr/><button onClick={this.changeTheme}>change theme</button></ThemeContext.Provider>}changeTheme = () => {this.setState({theme: this.state.theme === 'light' ? 'dark' : 'light'})}
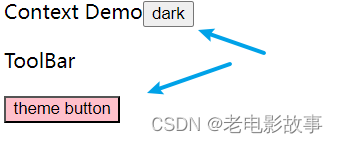
}export default App例3:
效果
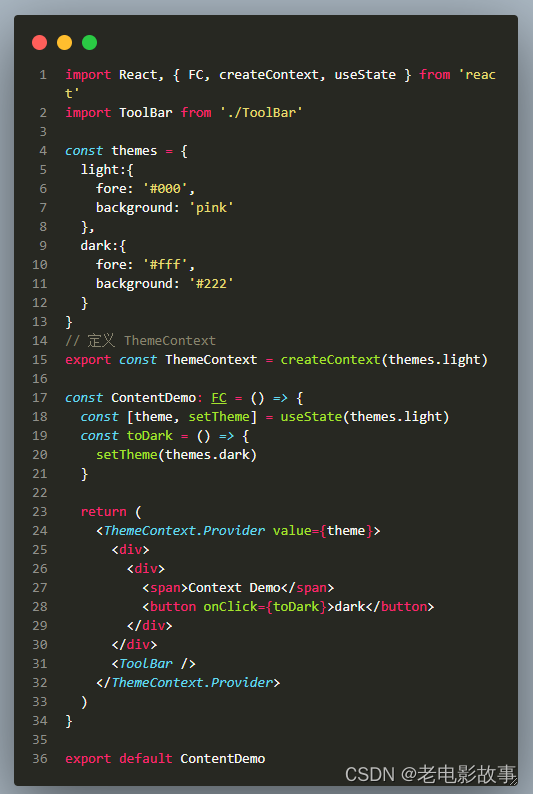
index.tsx
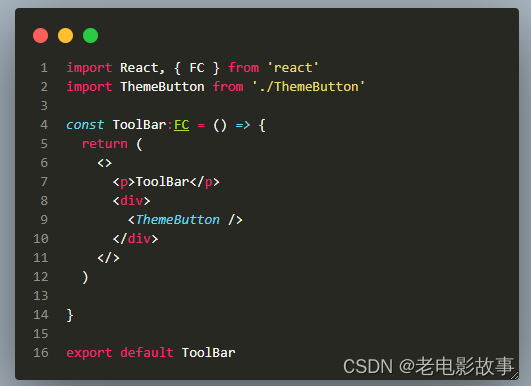
ToolBar.tsx
ThemeButton.tsx

例4:
useContext
import { createContext, useContext } from 'react'// 创建Context对象
const Context = createContext()function ComA() {  return (<div>AAAAA ------ <ComC/></div>)
}
function ComC() {// 底层组件通过useContext函数获取数据  const num = useContext(Context)  return (<div>CCCCCC ----- {num}</div>)
}
function App() {  return (// 顶层组件通过Provider 提供数据    <Context.Provider value={99999}>     <div>666 ------ <ComA/></div>   </Context.Provider> )
}export default App// 实现步骤
// 1. 使用createContext 创建Context对象
// 2. 在顶层组件通过Provider 提供数据
// 3. 在底层组件通过useContext函数获取数据