http网页部署
Web服务:http网页部署
虚拟主机:
为了实现多站点部署
部署虚拟主机的3种方式
相同ip,不同的端口
不同ip,相同端口
相同ip,相同端口,不同FQDN
一、简单的http网站部署
http服务器:主机2:
(1)配置yum仓库,安装http服务
[root@stw2 ~]# cd /etc/yum.repos.d/
[root@stw2 yum.repos.d]# ls
CentOS-Base.repo  CentOS-Debuginfo.repo  CentOS-Media.repo    CentOS-Vault.repo
CentOS-CR.repo    CentOS-fasttrack.repo  CentOS-Sources.repo
[root@stw2 yum.repos.d]# rm -rf *
[root@stw2 yum.repos.d]# vim server.repo
[root@stw2 yum.repos.d]# mount /dev/cdrom /mnt
mount: /dev/sr0 is write-protected, mounting read-only
[root@stw2 yum.repos.d]# yum -y install httpd
(2)重启服务,关闭防火墙,修改selinux
[root@stw2 ~]# systemctl restart httpd
[root@stw2 ~]# systemctl enable httpd
Created symlink from /etc/systemd/system/multi-user.target.wants/httpd.service to /usr/lib/systemd/system/httpd.service.
[root@stw2 ~]# systemctl stop firewalld.service
[root@stw2 ~]# systemctl disable firewalld.service
Removed symlink /etc/systemd/system/multi-user.target.wants/firewalld.service.
Removed symlink /etc/systemd/system/dbus-org.fedoraproject.FirewallD1.service.
[root@stw2 ~]# setenforce 0
[root@stw2 ~]#
客户端(主机3):

客户端:
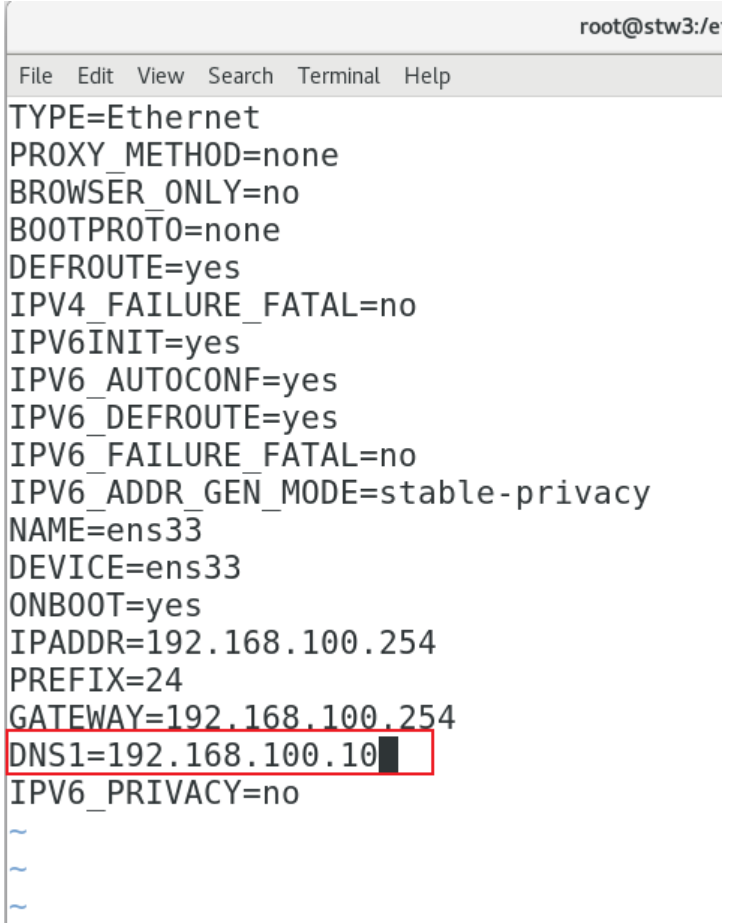
[root@stw3 ~]# cd /etc/sysconfig/network-scripts/
[root@stw3 network-scripts]# vim ifcfg-ens33
[root@stw3 network-scripts]# systemctl restart network
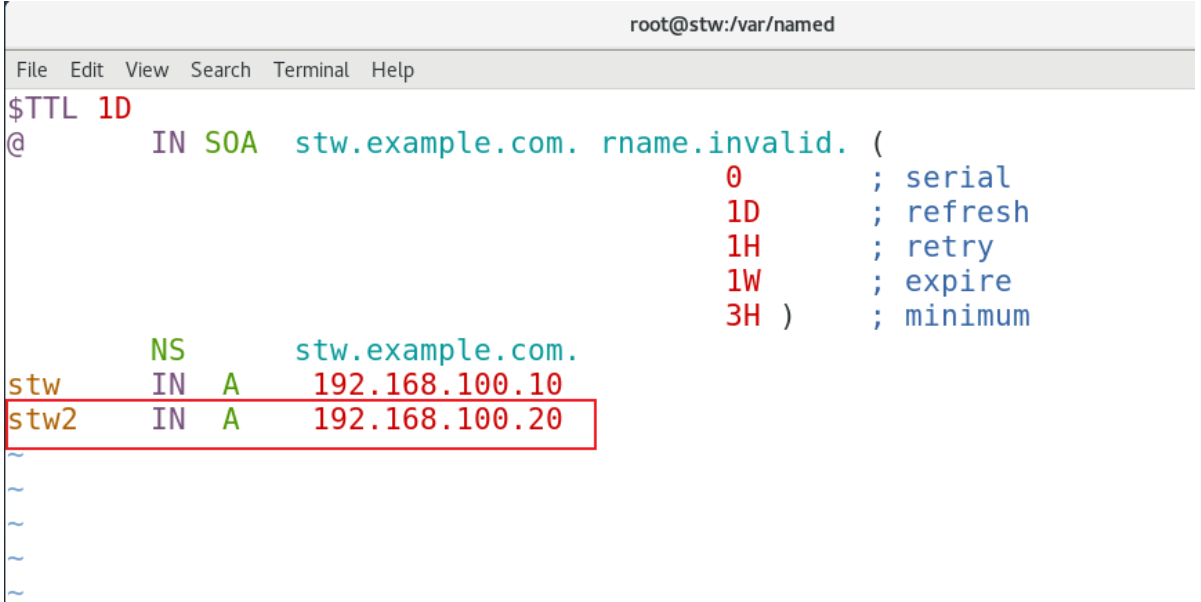
DNS服务器端(主机1):已经配置了DNS服务,只用在正向解析中添加主机1的条目,使客户端能够访问
[root@stw ~]# cd /var/named
[root@stw named]# ls
chroot   data     named.ca     named.localhost  slaves
com.stw  dynamic  named.empty  named.loopback   stw.com
[root@stw named]# vim stw.com
[root@stw named]# systemctl restart named
[root@stw named]# systemctl enable named
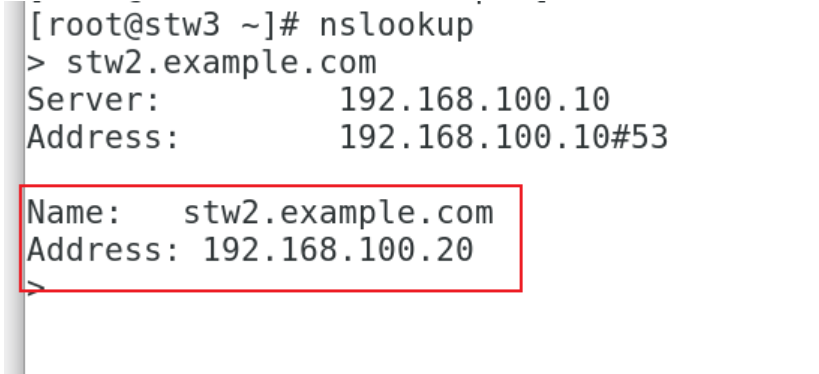
客户端(主机3):
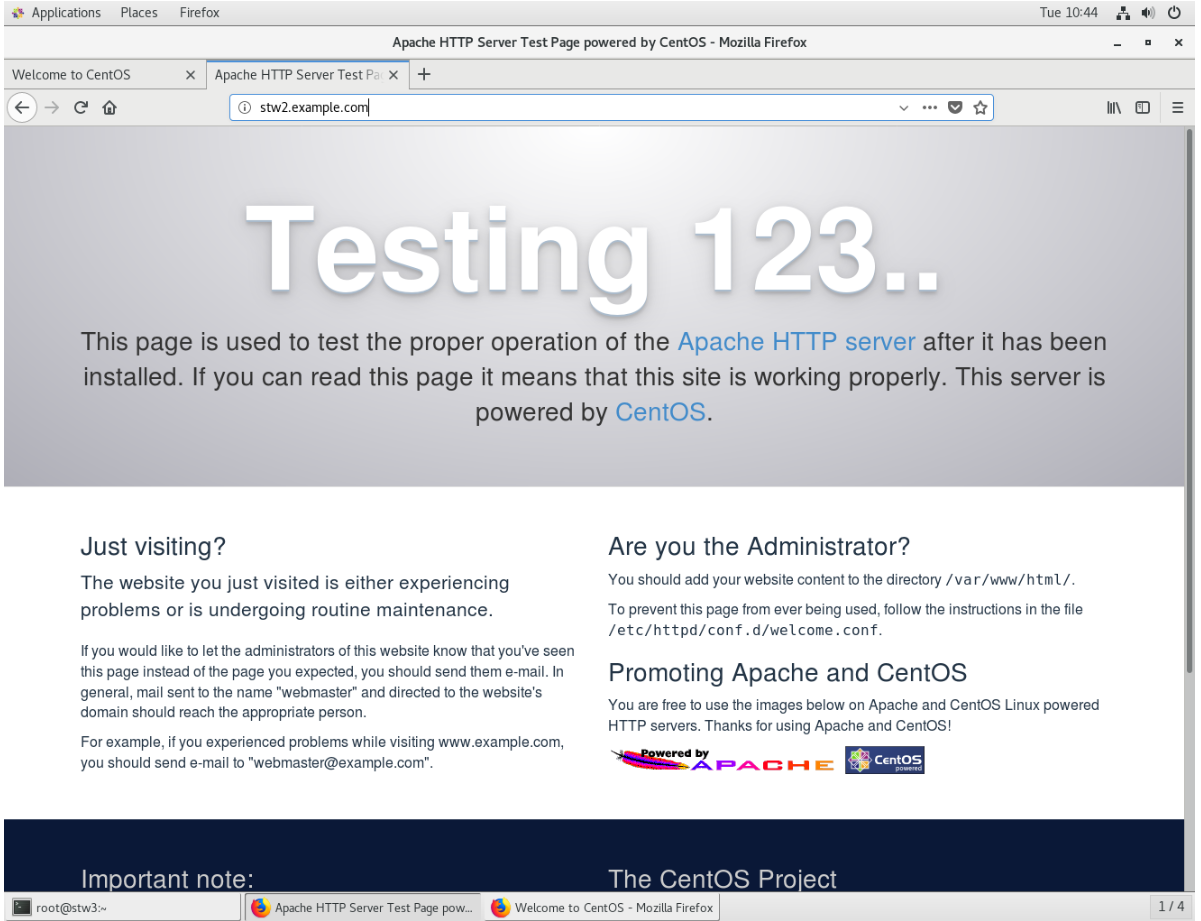
可以更改网页内容
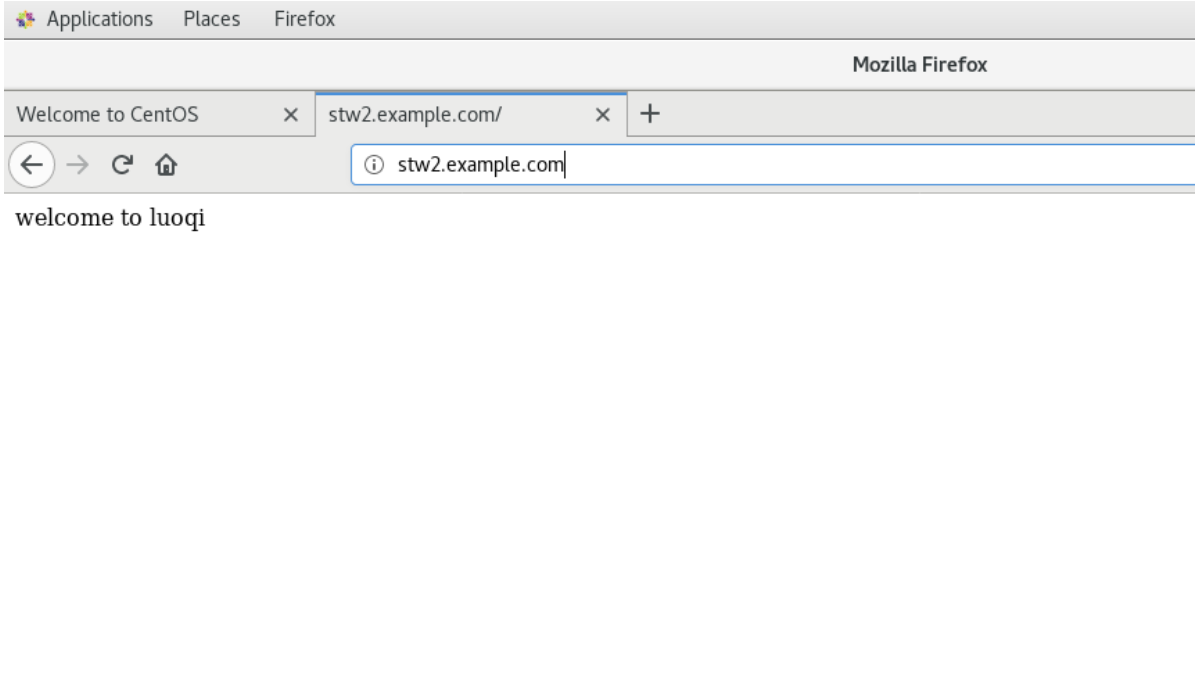
http服务器端(主机2):
[root@stw2 ~]# cd /var/www/html
[root@stw2 html]# ls
[root@stw2 html]# echo "welcome to luoqi" > index.html
[root@stw2 html]# ls
index.html
[root@stw2 html]# cat index.html
welcome to luoqi
客户端(主机3)查看:
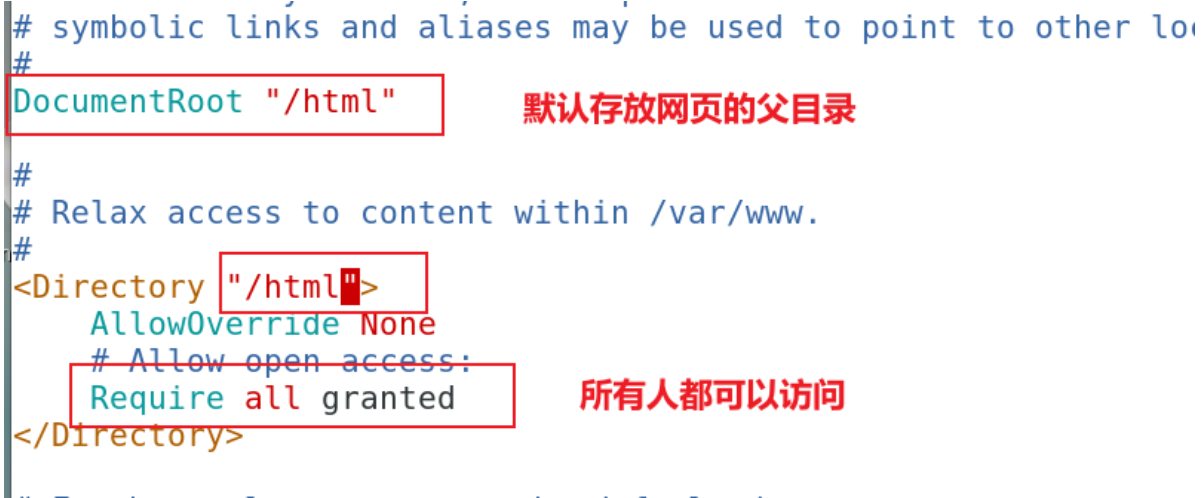
也可以更改网页内容的存放位置
[root@stw2 ~]# mkdir /html
[root@stw2 ~]# cd /html
[root@stw2 html]# echo stw > index.html
[root@stw2 html]# cat index.html
stw
[root@stw2 ~]# vim /etc/httpd/conf/httpd.conf
[root@stw2 ~]# systemctl restart httpd
客户端查看:
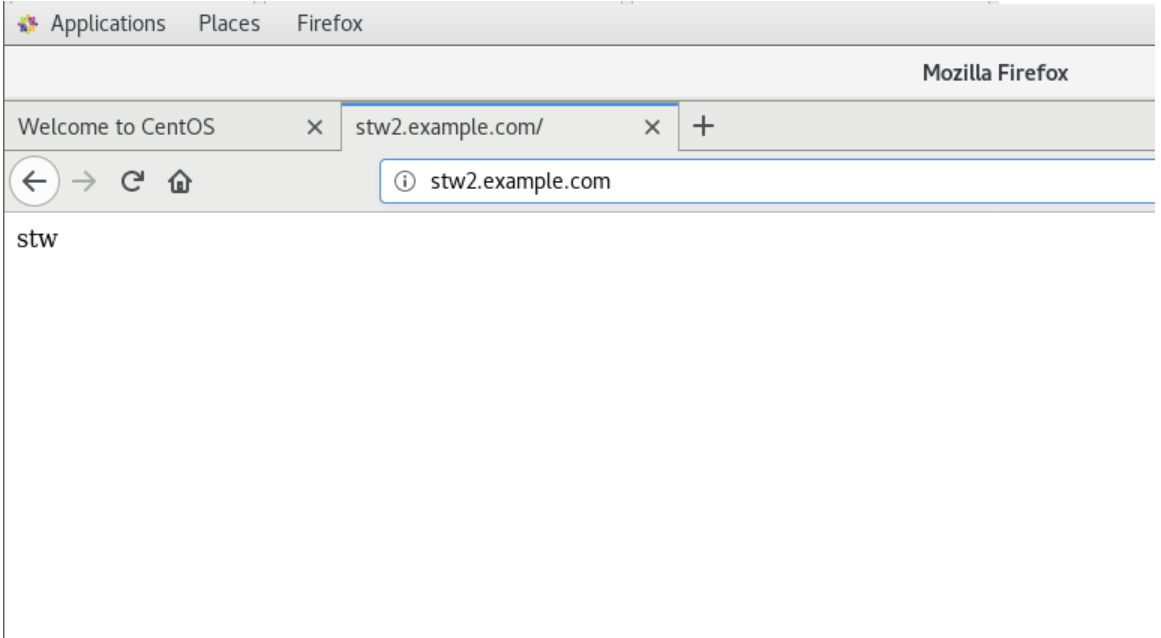
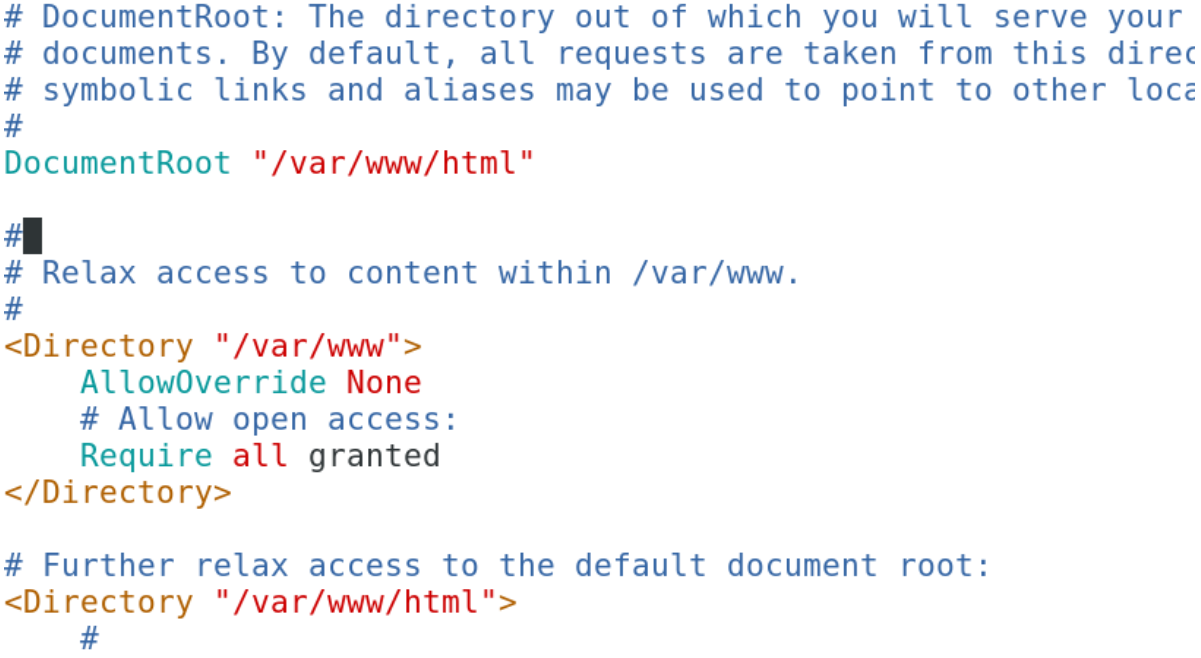
先将配置文件恢复
[root@stw2 ~]# vim /etc/httpd/conf/httpd.conf
[root@stw2 ~]# systemctl restart httpd
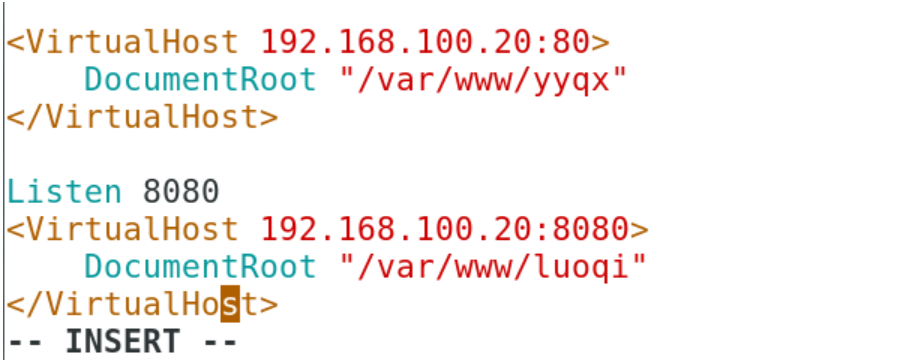
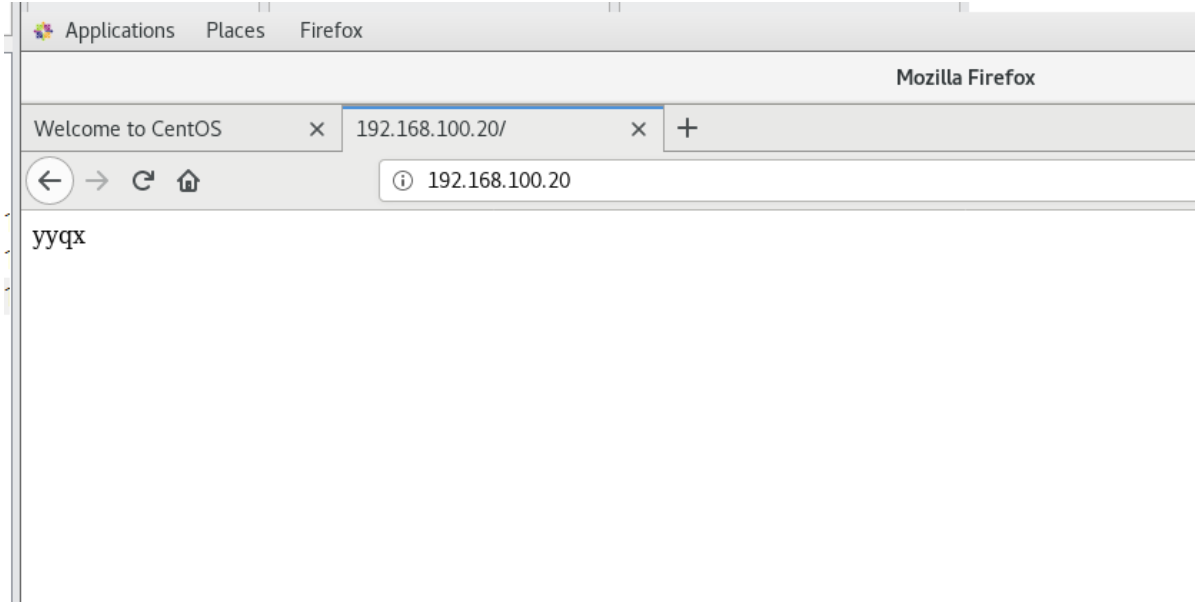
二、相同IP,不同端口
192.168.100.20:80
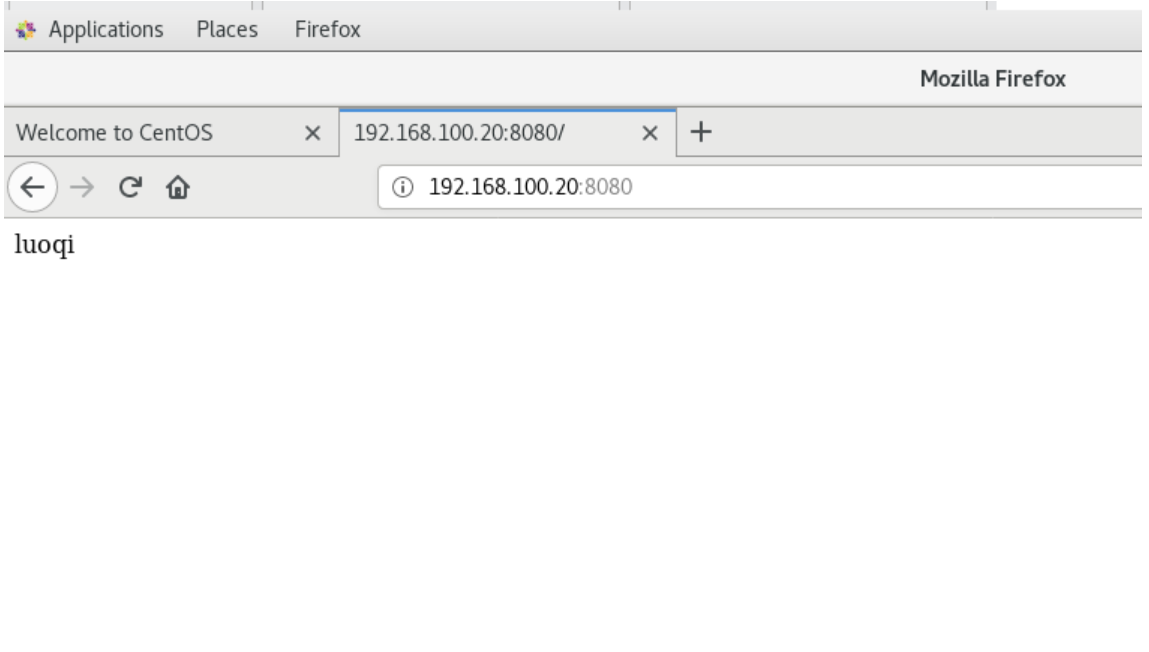
192.168.100.20:8080
例:
yyxq /var/www/yyqx/index.html---------yyqx
luoqi /var/www/luoqi/index,html--------luoqi
服务器端:
[root@stw2 ~]# cd /var/www      //先到/var/www的目录下创建两个需要的目录
[root@stw2 www]# ls
cgi-bin  html
[root@stw2 www]# mkdir yyqx
[root@stw2 www]# mkdir luoqi
[root@stw2 www]# echo yyqx > yyqx/index.html    //将文件内容存放进去
[root@stw2 www]# echo luoqi > luoqi/index.html
[root@stw2 www]# cd /etc/httpd/conf           //这个目录下没有虚拟主机的配置文件
[root@stw2 conf]# ls
httpd.conf  magic
[root@stw2 conf]# cd /etc/httpd/
[root@stw2 httpd]# ls
conf  conf.d  conf.modules.d  logs  modules  run
[root@stw2 httpd]# cd conf.d          //虚拟主机的配置文件存放路径/etc/httpd/conf.d
[root@stw2 conf.d]# ls
autoindex.conf  README  userdir.conf  welcome.conf
[root@stw2 conf.d]# find / -name *vhost*.conf
/usr/share/doc/httpd-2.4.6/httpd-vhosts.conf
[root@stw2 conf.d]# cd
[root@stw2 ~]# cp -p /usr/share/doc/httpd-2.4.6/httpd-vhosts.conf /etc/httpd/conf.d
//将虚拟主机的配置文件内容复制到/etc/httpd/conf.d中
[root@stw2 ~]# cd /etc/httpd
[root@stw2 httpd]# ls
conf  conf.d  conf.modules.d  logs  modules  run
[root@stw2 httpd]# cd conf.d
[root@stw2 conf.d]# ls
autoindex.conf  httpd-vhosts.conf  README  userdir.conf  welcome.conf
[root@stw2 conf.d]# vim httpd-vhosts.conf
[root@stw2 conf.d]# systemctl restart httpd
设置端口需要监听对应的端口,80端口在主配置文件中已经监听
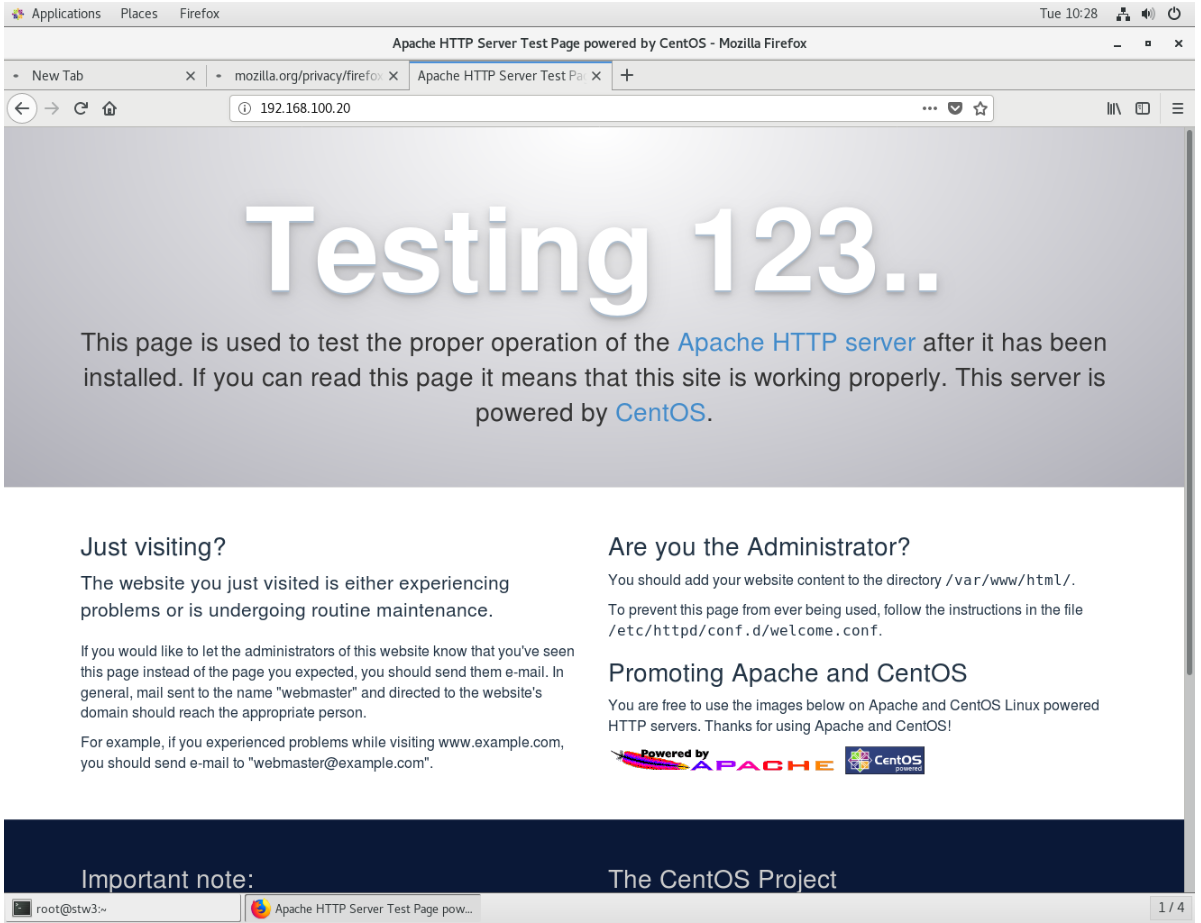
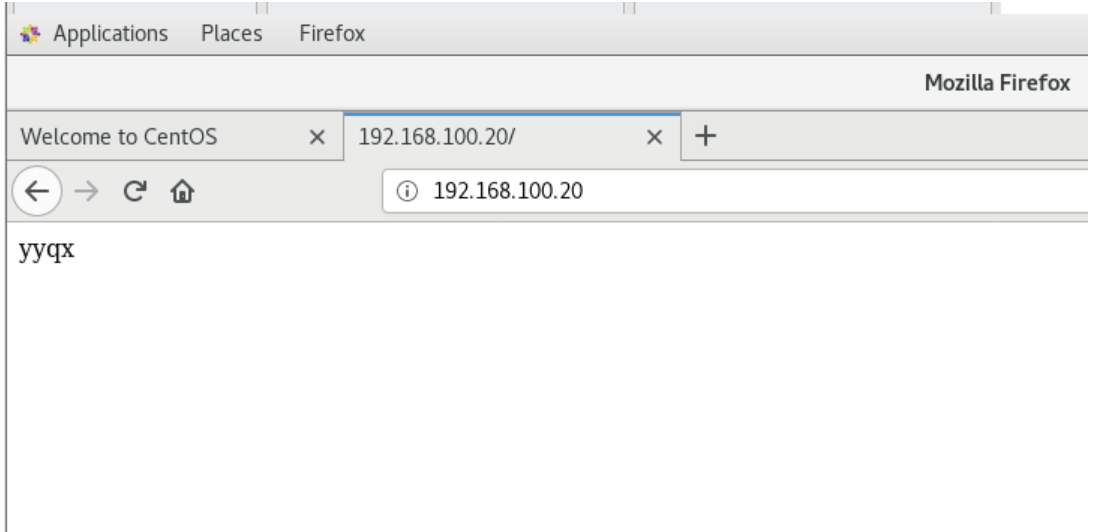
客户端测试:
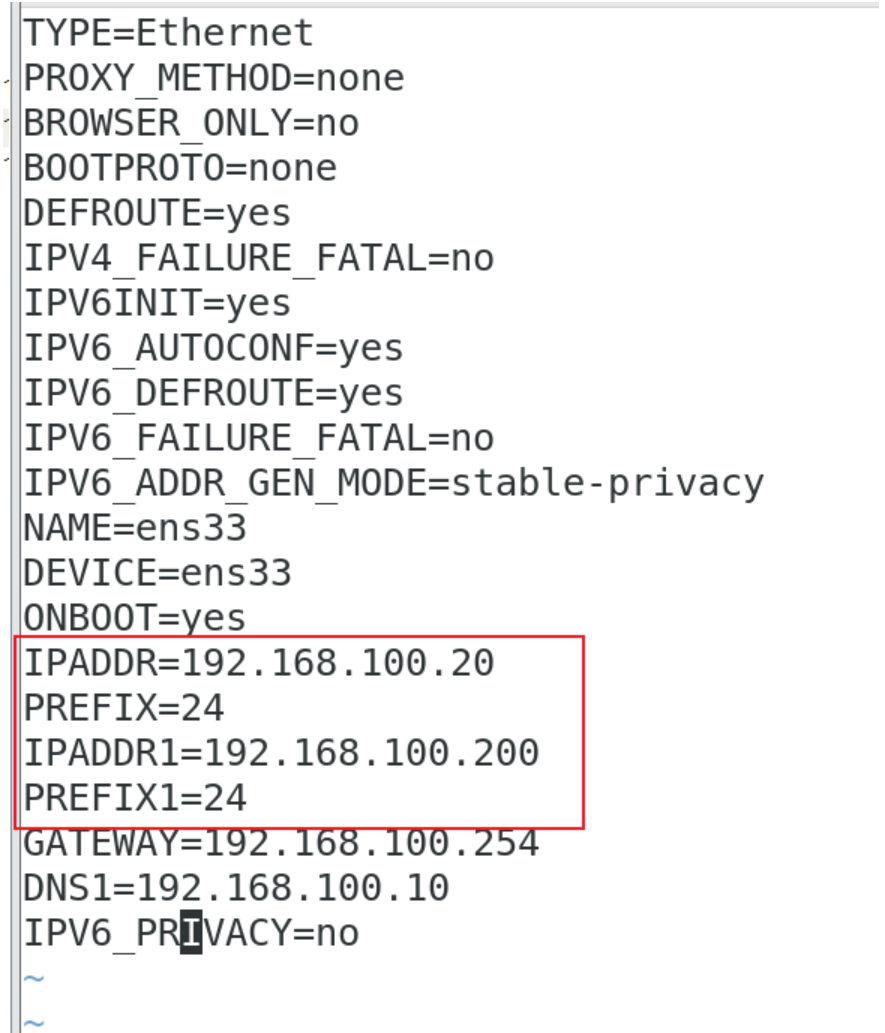
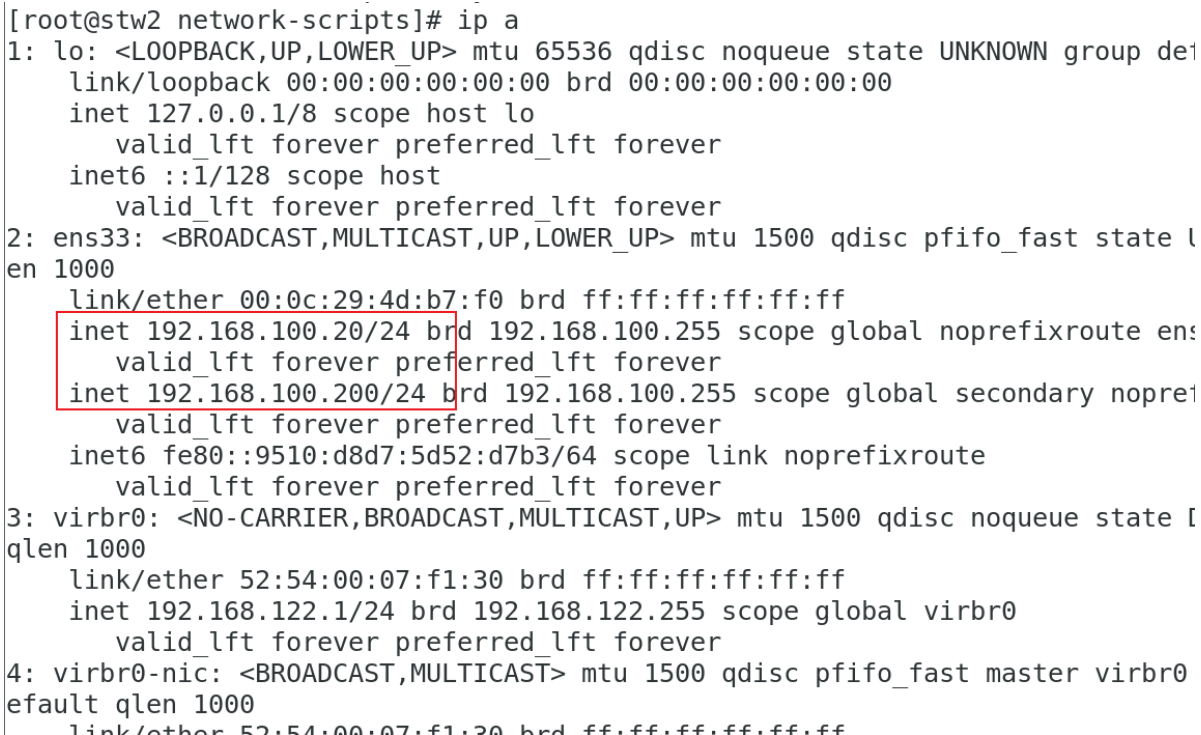
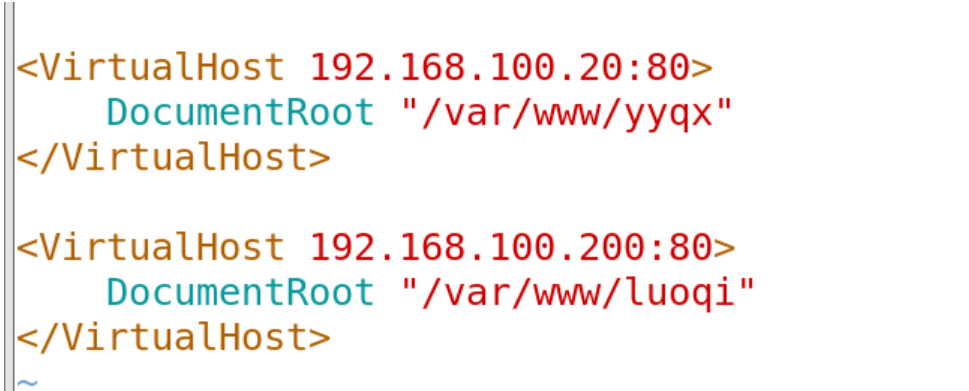
三、相同端口,不同的IP
192.168.100.20:80
192.168.100.200:80
服务器:
[root@stw2 ~]# cd /etc/sysconfig/network-scripts/
[root@stw2 network-scripts]# vim ifcfg-ens33
[root@stw2 network-scripts]# systemctl restart network
[root@stw2 ~]# vim /etc/httpd/conf.d/httpd-vhosts.conf
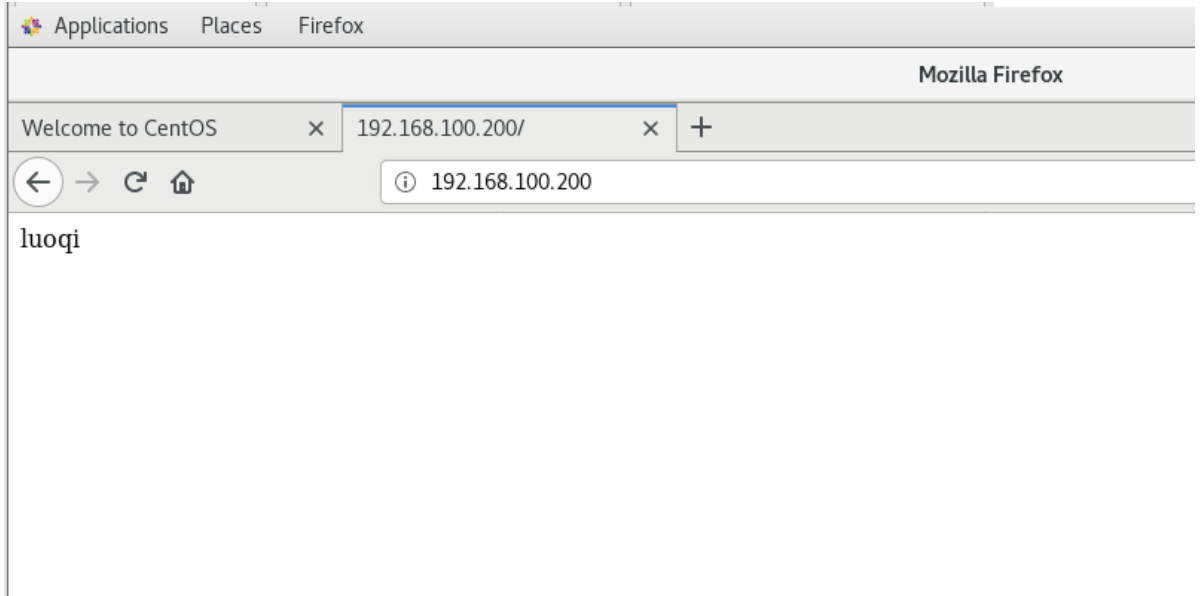
客户端测试:
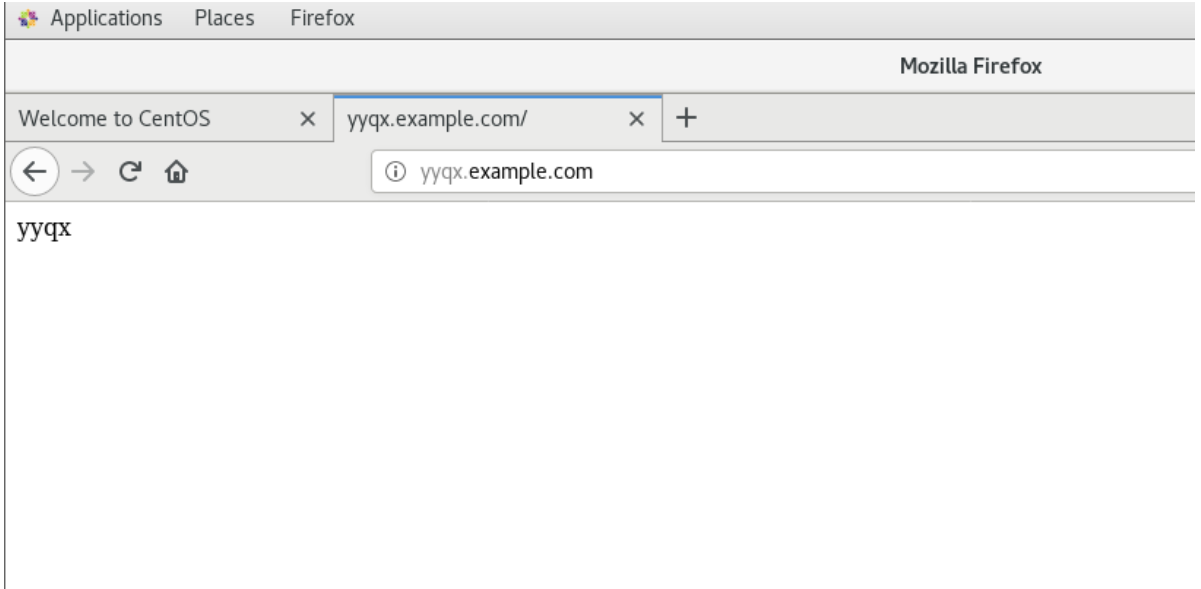
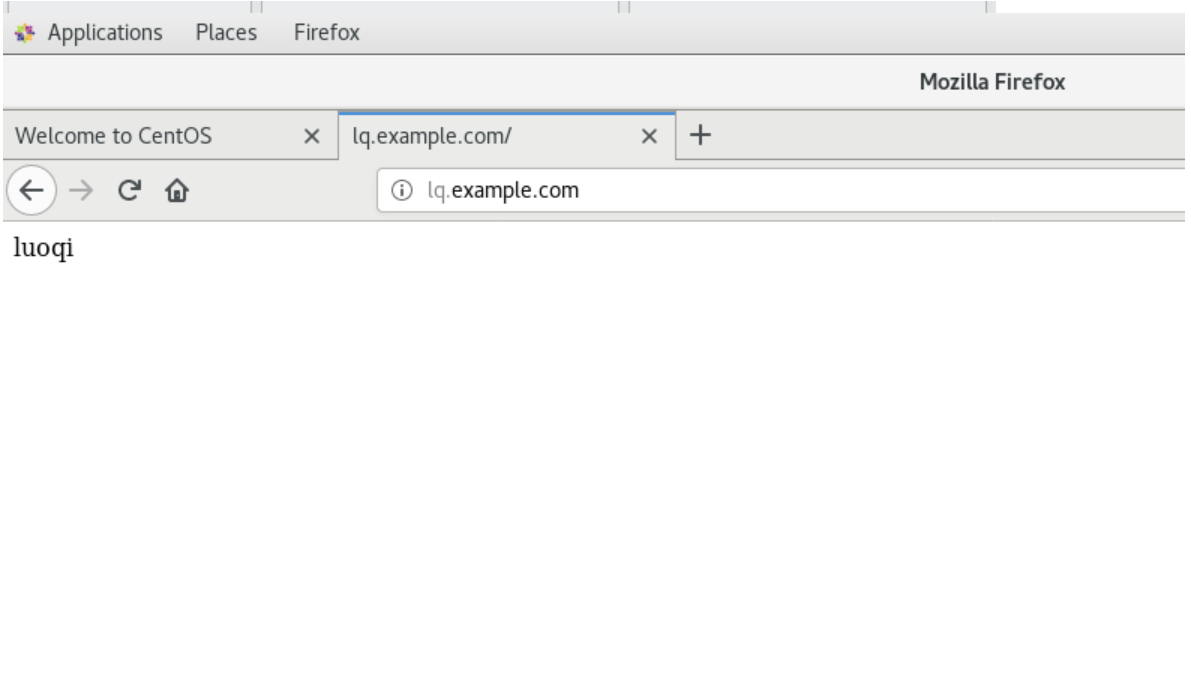
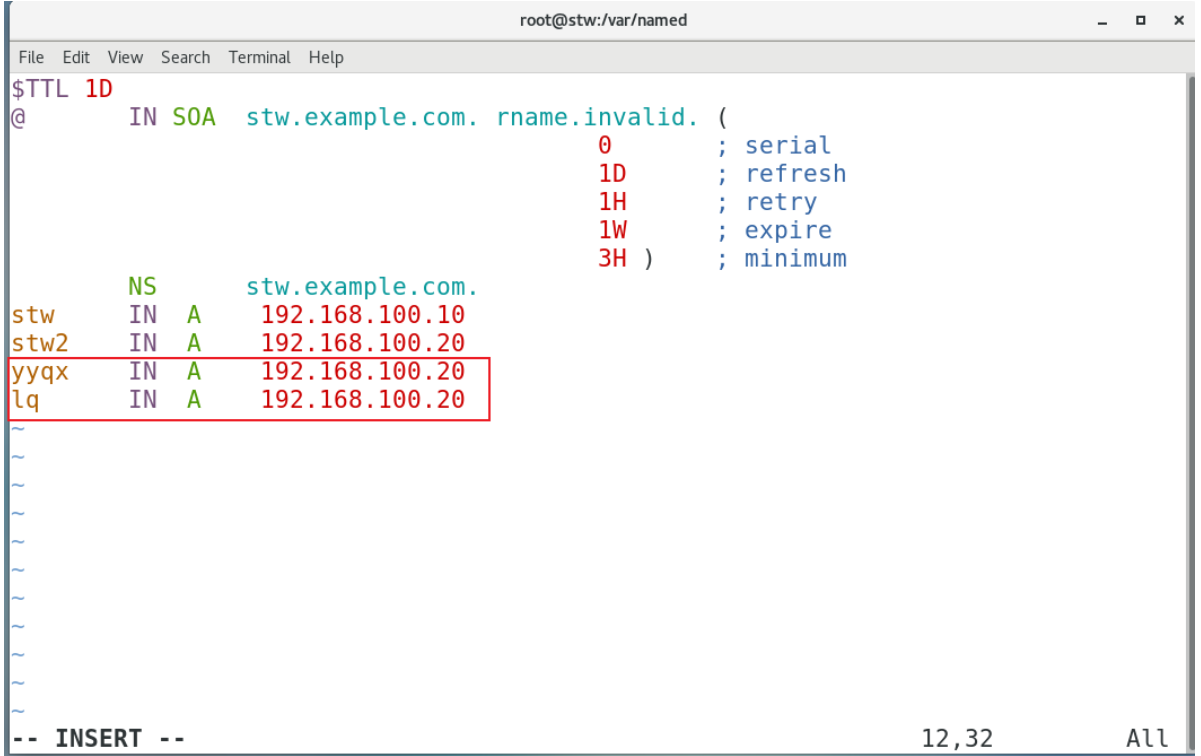
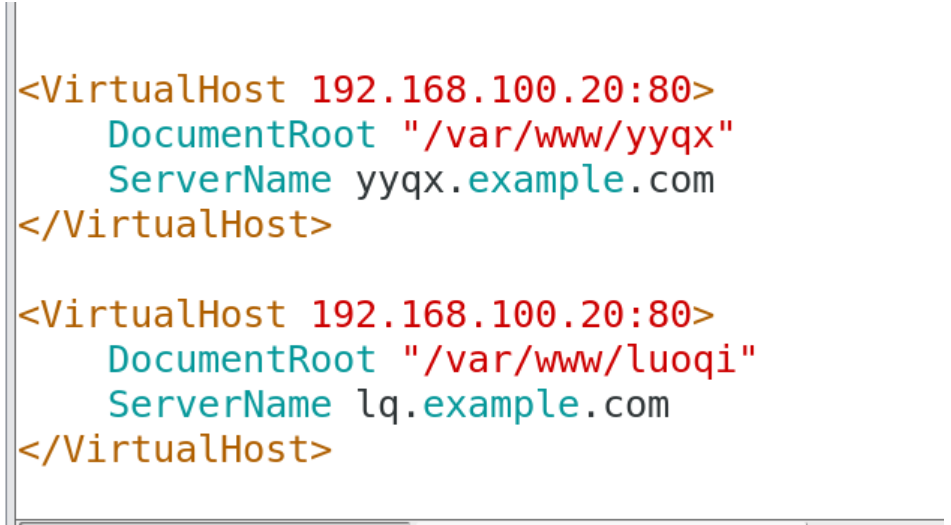
四、相同的IP和端口,不同的FQDN
192.168.100.20----80----yyqx.example.com-----yyqx(内容)
192.168.100.20----80----lq.example.com-------luoqi(内容)
先在DNS服务器(主机1)中将两个FQDN加入到正向解析
[root@stw named]# vim stw.com
[root@stw named]# systemctl restart named
客户端:能够解析得到这两个FQDN的地址
[root@stw3 ~]# nslookup
> yyqx.example.com
Server:		192.168.100.10
Address:	192.168.100.10#53Name:	yyqx.example.com
Address: 192.168.100.20
> lq.example.com
Server:		192.168.100.10
Address:	192.168.100.10#53Name:	lq.example.com
Address: 192.168.100.20
>
http服务器中更改配置文件
[root@stw2 ~]# vim /etc/httpd/conf.d/httpd-vhosts.conf
[root@stw2 ~]# systemctl restart httpd
客户端测试: