GaussianMesh运行指南
源代码:https://github.com/IGLICT/GaussianMesh
1. 配置环境 Set up
参考readme即可正常安装,没遇到什么问题
Basic Requirements
CUDA>=11
g++
Conda
conda create -n jittor-gaussian python=3.9
conda activate jittor-gaussian
python3.9 -m pip install jittor
python -m pip install libigl
pip install cmake plyfile tqdm icecream
Compile the submodules
The simple-knn and diff_gaussian_rasterizater modules should be compiled with cmake and make:
cd gaussian-renderer/diff_gaussian_rasterizater
cmake .
make -j
cd ../../scene/simple-knn
cmake .
make -j
You will get simpleknn.so and CudaRasterizer.so in simple-knn and diff_gaussian_rasterizater folders.
The ACAP modules should be compiled:
cd ACAP
unzip pyACAPv1.zip
chmod +x install_OpenMesh.sh
install_OpenMesh.sh
python setup.py install
2. 准备数据集
这个代码最大的问题就是没有公开的数据集和详细的如何准备数据集的教程
下载Nerf数据集
为了最简,本教程不打算使用colmap的自制数据集,而是用现有的数据集,可以通过如下链接下载:
https://drive.google.com/drive/folders/128yBriW1IG_3NJ5Rp7APSTZsJqdJdfc1
然后随便选择哪个训练都可以,我选择的是chair,因为主包在运行Mani-Gs恰好有这个,就顺手拿过来了
制作proxy_mesh
训练网格
下载如下代码:
git clone https://github.com/bennyguo/instant-nsr-pl按照官方的readme去运行这个代码:我遇到的主要问题在于安装tiny-cuda-nn, 核心问题在于cuda版本,根据自己的显卡或者电脑的计算架构89,我cuda11.7基本make就不会成功,换成cuda12.1就成功了。
然后可以用如下命令去运行训练mesh:
python launch.py --config configs/nerf-blender.yaml --gpu 0 --train dataset.scene=lego tag=example其实我训练了很多次都失败了,直接用nerf这个yaml配置文件去训练的话会报错:
RuntimeError: CUDA error: invalid configuration argument
CUDA kernel errors might be asynchronously reported at some other API call, so the stacktrace below might be incorrect.
For debugging consider passing CUDA_LAUNCH_BLOCKING=1.
Compile with `TORCH_USE_CUDA_DSA` to enable device-side assertions.
这个问题说明:tiny-cuda-nn 的 FullyFusedMLP 在我的显卡上触发CUDA error: invalid configuration argument,说明 ray_chunk / 网络宽度 / batch 大小 仍超出 tiny-cuda-nn 的 硬件限制。
最彻底的解决方法是:彻底禁用 tiny-cuda-nn,改用纯 PyTorch 实现。
需要将nerf-blender.yaml这个文件的model部分替换为我的配置文件,注意要配置导出mesh
texture:
name: volume-radiance
input_feature_dim: ${model.geometry.feature_dim}
dir_encoding_config:
otype: SphericalHarmonics
degree: 4
mlp_network_config:
otype: VanillaMLP # ← 关键:PyTorch 纯实现
activation: ReLU
output_activation: Sigmoid
n_neurons: 64
n_hidden_layers: 2
export:
export_mesh: true
mesh_resolution: 512
简化修复网格
然后用meshlab将得到的复杂网格进行简化:
1. 用Meshlab打开exp/nerf-blender-chair/example@20250716-213922/save/it20000-mc256.obj
2.简化
- Filters → Remeshing, Simplification → Quadric Edge Collapse Decimation
- Target number of faces: 15000
- Apply
3. 清理
- Filters → Cleaning and Repairing → Remove Duplicate Vertices
- Filters → Cleaning and Repairing → Remove Zero Area Faces
(各点一次即可)
4. 导出
File → Export Mesh As… → 格式选 PLY → 文件名 proxy_clean.ply
3. 训练Mesh based Gaussian
!先debug
在运行这个代码进行训练的时候,我发现训练过程的loss到中途会变成Nan,然后在7000次和30000次迭代的点云结果图像都只有一个点,经过我连续几天辛辛苦苦的debug,终于发现了问题所在,需要将读取图片转为jt变量的一个函数修改,在general_utils.py里,否则在训练的时候计算ssim就会发现有些图像始终事有nan或者数值溢出的
def PILtoJittor(pil_image, resolution):pil_rgb = pil_image.resize(resolution).convert("RGB")np_rgb = np.array(pil_rgb, dtype=np.float32) / 255.0 # [0,1]# 避开 Jittor float32 内存踩坑tensor = jt.array(np_rgb.astype(np.float64).copy()).astype('float32')return tensor.permute(2, 0, 1).clamp(0.0, 1.0)开始训练
用如下指令即可训练:替换为你对应路径即可
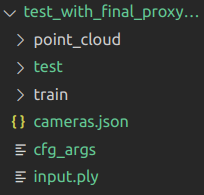
python train_mesh_gaussian.py -s /home/cyberbus/xgh/GaussianMesh/data/nerf_recon_dataset/nerf_synthetic/chair -m /home/cyberbus/xgh/GaussianMesh/output/test_with_final_proxy_mesh_with_loss_modified --input_mesh /home/cyberbus/xgh/instant-nsr-pl/proxy_final.ply
得到结果形式如下:
4. 编辑,变形
进行编辑作者给的示例命令如下:
python edit.py --camera_path output/excavator --object_name excavator \
--object_gaussian output/excavator/point_cloud/iteration_30000/point_cloud.ply \
--object_origin_mesh data/mesh_sequnce/1.obj \
--object_deform_mesh data/mesh_sequnce/4.obj \
--render_path output/excavator/deform
因此还需要准备变形用的一些列mesh
制作mesh_squence
用现有的一些方法生成一系列的mesh sequence,用如下命令去生成,这个代码文件我放在资源里:
python arap_gen.py \ --in_mesh /home/cyberbus/xgh/GaussianMesh/data/chair/proxy_final.obj \--out_dir /home/cyberbus/xgh/GaussianMesh/data/chair/arap_seq
进行edit
进行编辑的命令如下:
python edit.py \ --camera_path /home/cyberbus/xgh/GaussianMesh/output/test_with_final_proxy_mesh_with_loss_modified \ --object_name chair \--object_gaussian /home/cyberbus/xgh/GaussianMesh/output/test_with_final_proxy_mesh_with_loss_modified/point_cloud/iteration_30000/point_cloud.ply \--object_origin_mesh /home/cyberbus/xgh/GaussianMesh/data/chair/proxy_final.obj \--mesh_sequence_dir /home/cyberbus/xgh/GaussianMesh/data/chair/arap_seq \--render_path output/chair/deform6
可以看到需要的参数还有一个额外的mesh_sequence,这个edit.py作者给的代码其实也不全,至少不支持生成视频,所以需要自己进行修改,这个不难,可以自行修改。难的是如何生成一系列的变形后的mesh
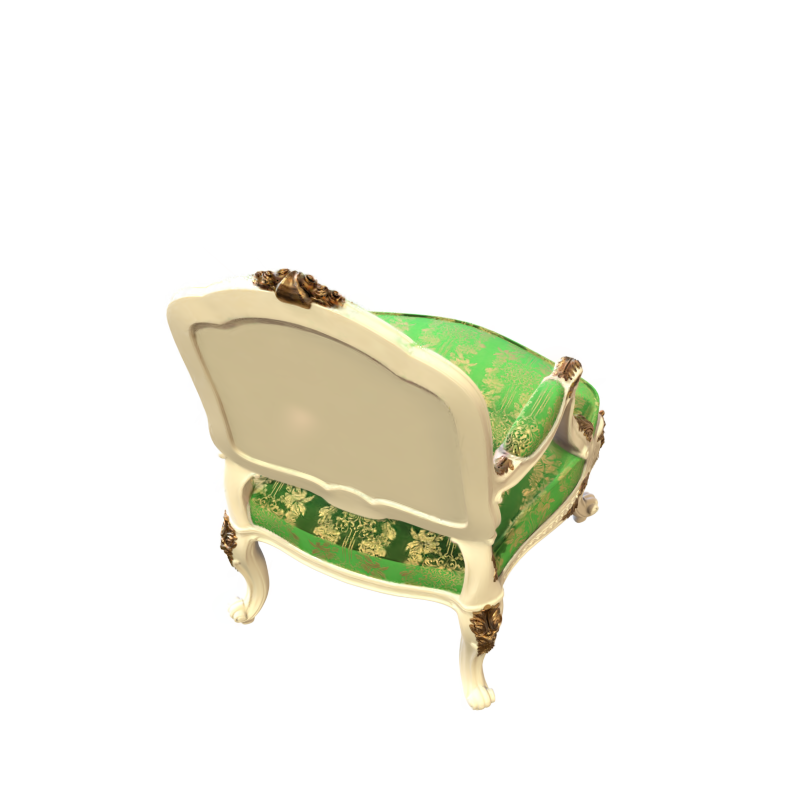
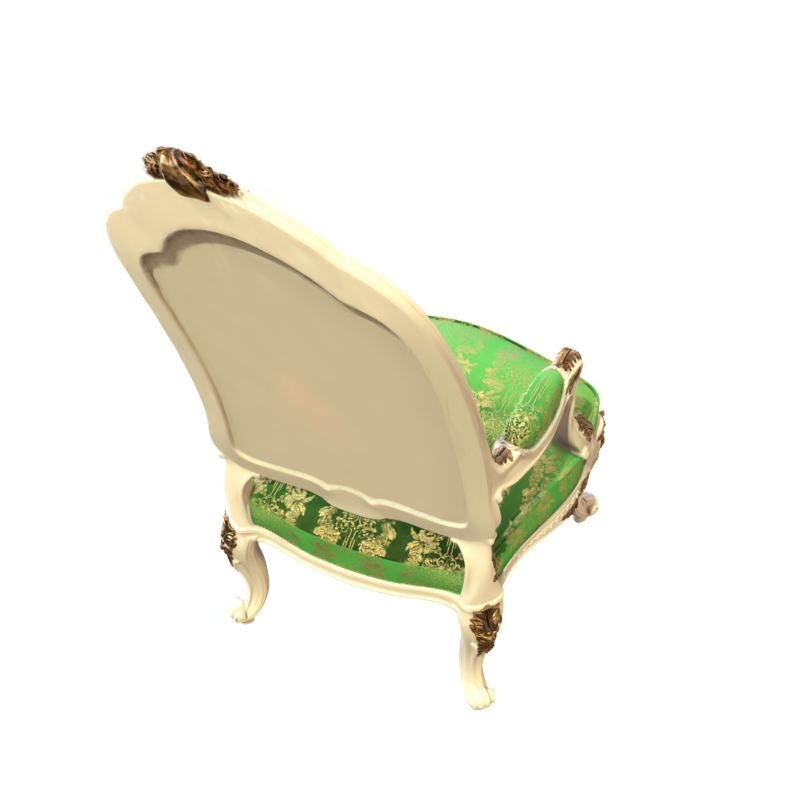
5. 结论
用尽九牛二虎之力,总算是跑出来了,展示一个变形效果的图片吧
GaussianMesh效果