9. QML_OpenGL--2. 在QQuick中搭建加载OpenGL框架
1. 说明:
OPenGL一般在 QtWidget 中使用,但目前使用 QML 做界面开发是一种趋势,同时在QML中使用OPenGL进行渲染也是十分必要,文章简单介绍如何在QML中使用 OPenGL,搭建了一种基本的框架。整体思路和在 QtWidget 中类似,只不过在 QML 中需要定义一个中间辅助类,这个类是用来注册到QML中进行使用的,同时这个类也会去加载自定义的 OPenGL 类,从而实现 OPenGL 在 QML 中的显示。
2. 步骤一:
创建自定义 OPenGL 类,此时的自定义类不再继承QOpenGLWidget,而是继承QQuickFramebufferObject::Renderer,同时需要重写父类的 render() 虚函数(相当于重写paintGL()函数),自定义类命名为OpenGLRender,相应代码如下:
OPenGLRender.h:
#ifndef OPENGLRENDER_H
#define OPENGLRENDER_H#include <QtQuick/QQuickFramebufferObject>
#include <QtGui/QOpenGLFunctions_3_3_Core>class OpenGLRender:public QQuickFramebufferObject::Renderer,protected QOpenGLFunctions_3_3_Core
{
public:OpenGLRender();//重写父类虚函数 render() ,此步骤相当于重写paintGL()函数void render() override;
};
#endif // OPENGLRENDER_H
OPenGLRender.cpp:
#include "openglrender.h"OpenGLRender::OpenGLRender()
{//在构造函数中对opengl背景进行初始化initializeOpenGLFunctions();
}void OpenGLRender::render()
{//设置背景颜色glClearColor(0.5f,0.9f,0.4f,1.0f);glClear(GL_COLOR_BUFFER_BIT);
}
3. 步骤二:
定义中间辅助类,命名为OPenGLItem,并继承 QQuickFramebufferObject,从写父类中的 createRenderer()函数,这个函数的返回对象类型为 Render,是在QML中渲染所需要的,在 createRenderer() 函数中返回步骤一中自定义的 openglRender 对象。即中间辅助类只负责向 QML 界面提供一个”渲染器“,这个渲染器本质上还是要用opengl来实现。相应代码如下:
OPenGLItem.h:
#ifndef OPENGLITEM_H
#define OPENGLITEM_H#include <QObject>
#include <QQuickItem>
#include <QtQuick/QQuickFramebufferObject>class OpenGLItem : public QQuickFramebufferObject
{Q_OBJECT
public:OpenGLItem(QQuickItem* parent = nullptr);//用于生成一个 openglRender 对象,提供给QML界面使用QQuickFramebufferObject::Renderer *createRenderer() const override;signals:};
#endif // OPENGLITEM_H
OPenGLItem.cpp:
#include "openglitem.h"
//引入 openglrender.h 头文件,真正的图形渲染是在其中的 render() 函数进行的
#include "openglrender.h"OpenGLItem::OpenGLItem(QQuickItem *parent):QQuickFramebufferObject(parent)
{//上下翻转,这样就和OpenGL的坐标系一致了setMirrorVertically(true);
}QQuickFramebufferObject::Renderer *OpenGLItem::createRenderer() const
{//在这里返回一个 openglRender 对象return new OpenGLRender();
}
4. 步骤三:
在 main.cpp 中将上面步骤二的自定义辅助类 OPenGLItem 注册到 QML 中,供其调用,如下所示:
#include <QGuiApplication>
#include <QQmlApplicationEngine>
#include "openglitem.h"int main(int argc, char *argv[])
{QCoreApplication::setAttribute(Qt::AA_EnableHighDpiScaling);QGuiApplication app(argc, argv);//注册 OpenGLItem 类到 QML 中使用qmlRegisterType<OpenGLItem>("self.OpenGlItem",1,0,"OpenGLItem");QQmlApplicationEngine engine;const QUrl url(QStringLiteral("qrc:/main.qml"));QObject::connect(&engine, &QQmlApplicationEngine::objectCreated,&app, [url](QObject *obj, const QUrl &objUrl) {if (!obj && url == objUrl)QCoreApplication::exit(-1);}, Qt::QueuedConnection);engine.load(url);return app.exec();
}
5. 步骤四:
在 QML 中使用是,可以像其它控件一样,随意指定尺寸和位置,代码如下:
main.qml:
import QtQuick 2.9
import QtQuick.Window 2.2//导入自定义类
import self.OpenGlItem 1.0Window {visible: truewidth: 640height: 480title: qsTr("OpenGL In QQuick")//使用自定义的opengl小控件OpenGLItem{anchors.top: parent.topanchors.topMargin: 20anchors.horizontalCenter: parent.horizontalCenterwidth: 100height: 100}OpenGLItem{anchors.centerIn: parentwidth: 100height: 100}
}
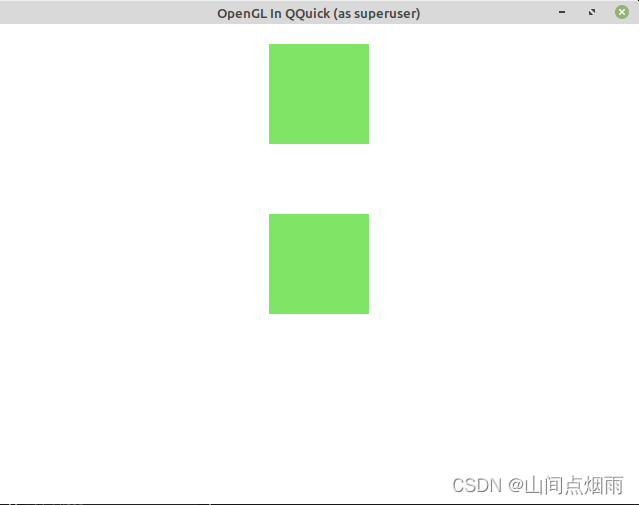
6. 实际效果:
在顶部中间会显示两个绿色矩形,因为在 render()函数里只是更改了背景颜色,没有绘制图形,所以此处没有物体显示,只有绿色的背景,后期在 render() 函数内加入渲染代码后,会正常显示。