openEuler 服务器Python自动化安装WEB服务器和文件上传服务(1)
一、系统准备
我们的服务器采用了 openEuler 22.03 (LTS-SP4) 的初始化服务器模式安装
二、安装步骤
(一)安装依赖库
- 在终端中运行以下命令确保系统安装了必要的依赖:
sudo dnf install -y python3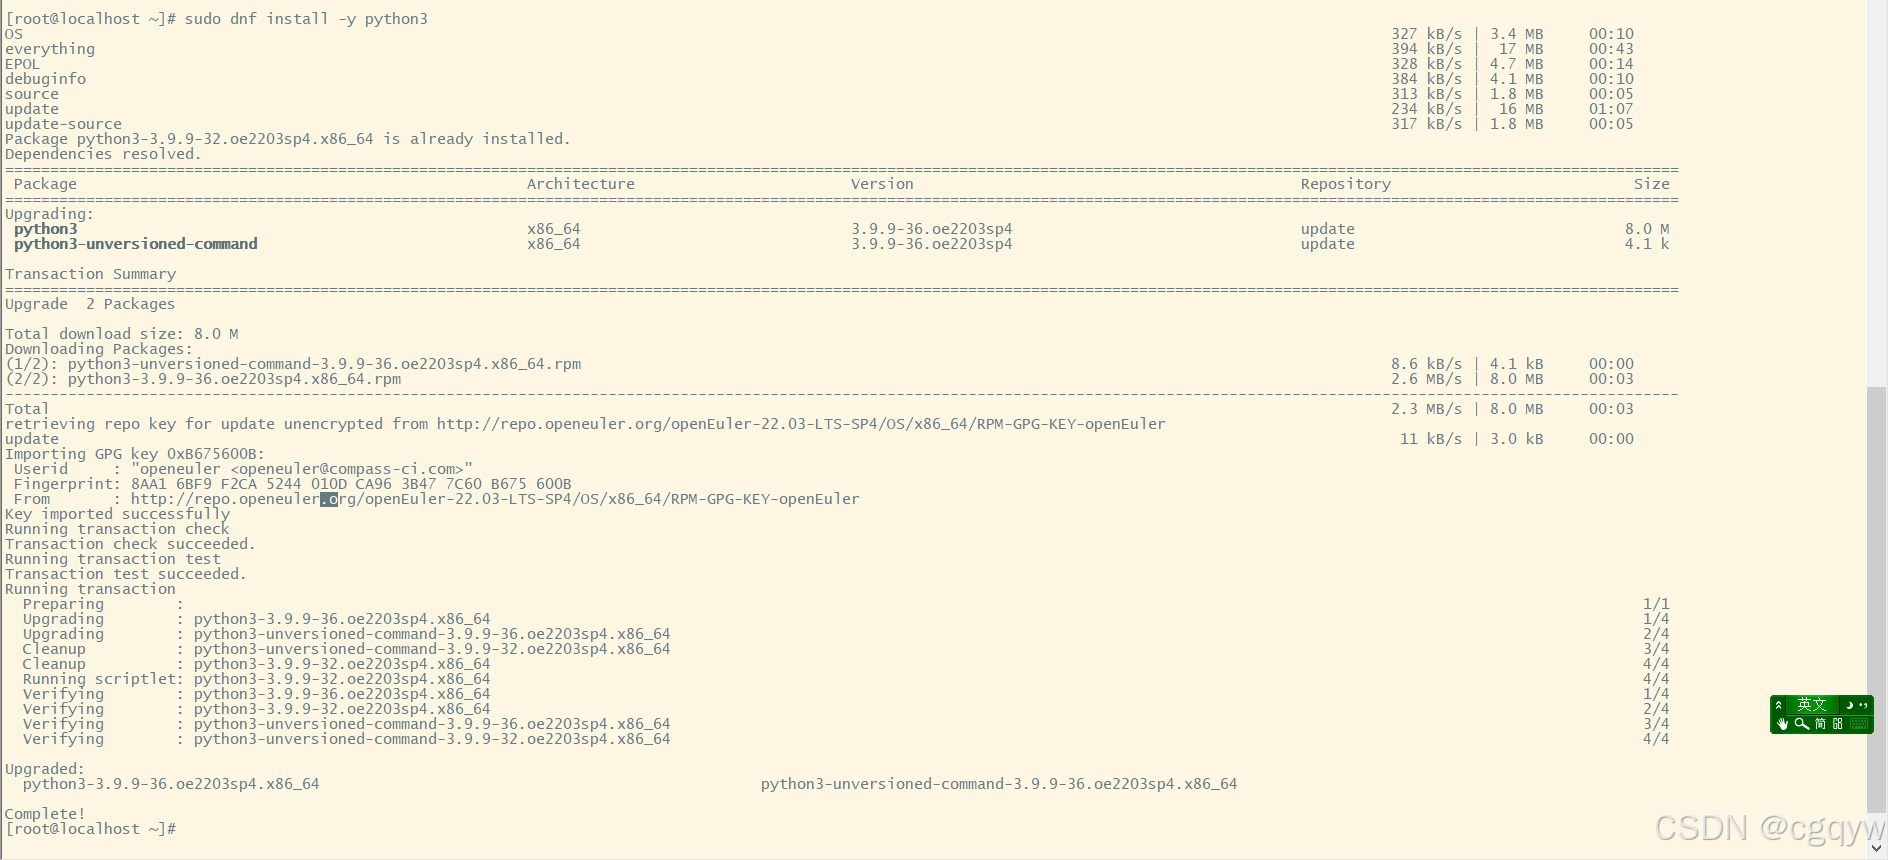 上述 Python 脚本中的依赖库会在运行 Python 脚本时自动安装(如果尚未安装的话)。其中
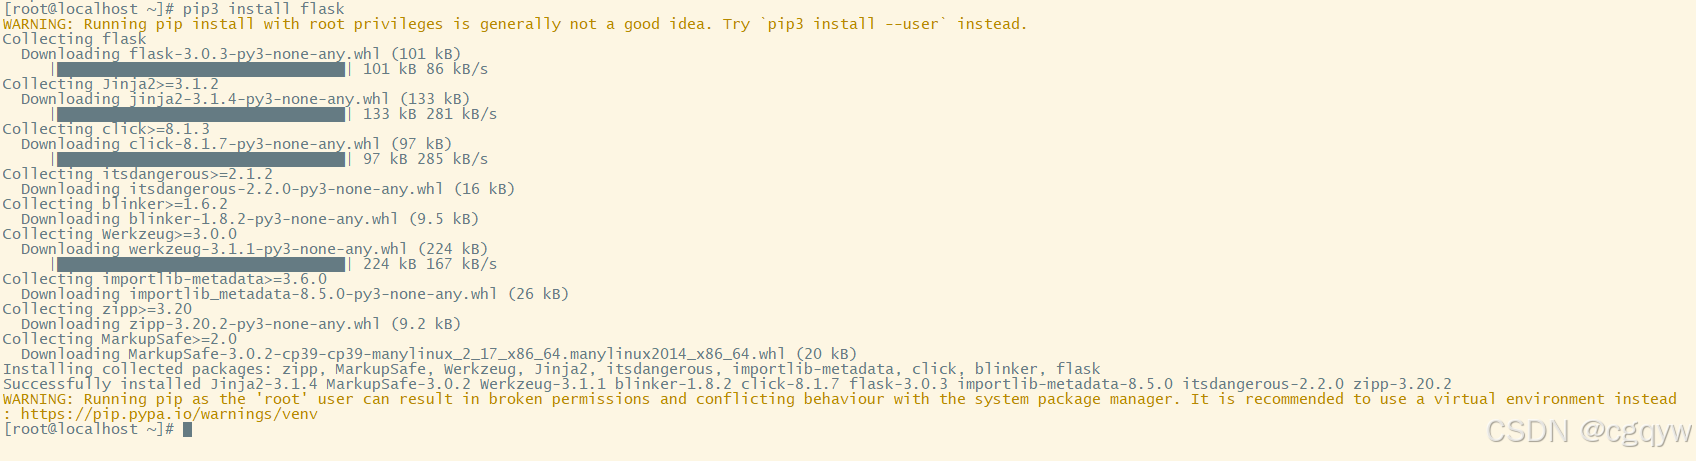
 flask库可以使用以下命令安装:pip3 install flask
(二)初始安装代码
以下代码用于执行系统的初始设置,包括更新系统、配置网络、安装 Nginx 和配置防火墙等操作。
vi /var/www/html/initial_setup.py
将以下代码,复制粘贴到文件中
import os
import subprocess
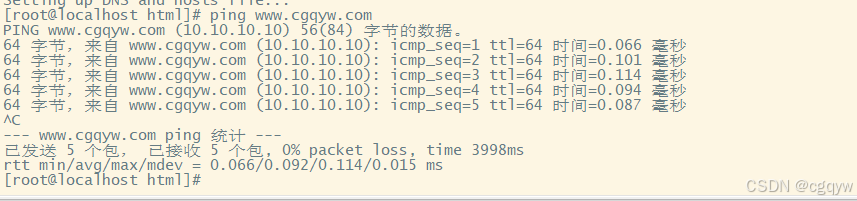
import redef run_command(command):"""执行命令并返回输出"""result = subprocess.run(command, shell=True, stdout=subprocess.PIPE, stderr=subprocess.PIPE, text=True)if result.returncode!= 0:print(f"Error: {result.stderr}")exit(1)return result.stdoutdef update_system():"""更新系统到最新版本"""answer = input("Do you want to update the system? (yes/no): ")if answer.lower() == 'yes':print("Updating system...")run_command("dnf update -y")else:print("To update the system manually, run: dnf update -y")def configure_network():"""配置网络设置"""answer = input("Do you want to configure network settings? (yes/no): ")if answer.lower() == 'yes':# 获取所有网卡信息network_info = run_command("ip -o link show | awk -F': ' '{print $2}'")interfaces = [line.strip() for line in network_info.splitlines() if "lo" not in line]if len(interfaces) == 1:interface = interfaces[0]else:print("Multiple network interfaces detected. Please select one to set the IP address:")for i, iface in enumerate(interfaces, start=1):print(f"{i}. {iface}")choice = int(input("Enter the number of your choice: ")) - 1interface = interfaces[choice]# 设置 IP 地址print(f"Setting IP address for {interface} to 10.10.10.10/24...")run_command(f"nmcli con mod \"{interface}\" ipv4.addresses 10.10.10.10/24")run_command(f"nmcli con mod \"{interface}\" ipv4.gateway 10.10.10.2")run_command(f"nmcli con mod \"{interface}\" ipv4.dns 8.8.8.8")run_command(f"nmcli con up \"{interface}\"")else:print("To configure network settings manually:")print("1. Identify network interfaces using: ip -o link show | awk -F': ' '{print $2}'")print("2. Select an interface and set IP address, gateway and DNS using nmcli commands.")def install_nginx():"""安装 Nginx Web 服务器"""answer = input("Do you want to install Nginx? (yes/no): ")if answer.lower() == 'yes':print("Installing Nginx...")run_command("dnf install -y nginx")run_command("systemctl enable nginx")run_command("systemctl start nginx")else:print("To install Nginx manually:")print("1. Run: dnf install -y nginx")print("2. Enable and start Nginx using systemctl.")def configure_firewall():"""配置防火墙"""answer = input("Do you want to configure firewall? (yes/no): ")if answer.lower() == 'yes':print("Configuring firewall...")run_command("firewall-cmd --permanent --add-port=80/tcp")run_command("firewall-cmd --permanent --add-port=443/tcp")run_command("firewall-cmd --reload")else:print("To configure firewall manually:")print("1. Run: firewall-cmd --permanent --add-port=80/tcp")print("2. Run: firewall-cmd --permanent --add-port=443/tcp")print("3. Reload firewall using: firewall-cmd --reload")def setup_dns_and_hosts():"""设置 DNS 解析和修改 hosts 文件"""answer = input("Do you want to set up DNS and hosts file? (yes/no): ")if answer.lower() == 'yes':print("Setting up DNS and hosts file...")with open("/etc/hosts", "a") as f:f.write("\n10.10.10.10 www.cgqyw.com cgqyw.com\n")else:print("To set up DNS and hosts file manually:")print("Append the following line to /etc/hosts: 10.10.10.10 www.cgqyw.com cgqyw.com")def initial_setup():update_system()configure_network()install_nginx()configure_firewall()setup_dns_and_hosts()if __name__ == "__main__":initial_setup()(三)安装文件上传服务
以下代码用于设置 Flask 文件上传服务,并创建默认的 Nginx 页面。
import os
from flask import Flask, render_template, request, send_from_directoryapp = Flask(__name__)
UPLOAD_FOLDER = '/var/www/html/uploads/'
app.config['UPLOAD_FOLDER'] = UPLOAD_FOLDER# 确保上传文件夹存在
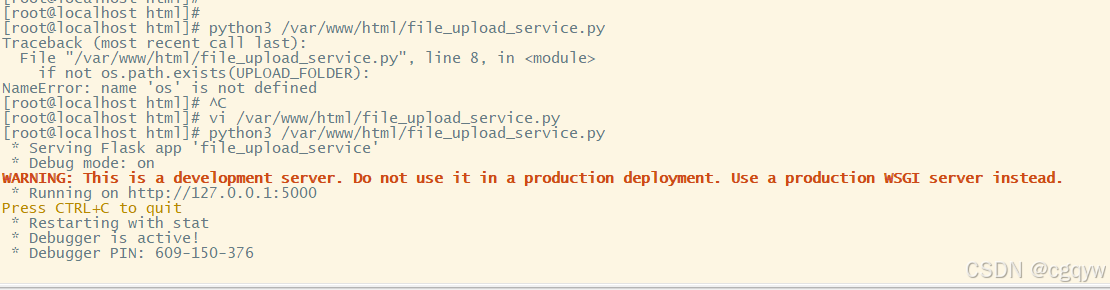
if not os.path.exists(UPLOAD_FOLDER):os.makedirs(UPLOAD_FOLDER)@app.route('/')
def index():# 显示所有已上传的文件列表files = os.listdir(app.config['UPLOAD_FOLDER'])return render_template('index.html', files=files)@app.route('/upload', methods=['POST'])
def upload_file():if 'file' not in request.files:return "No file part"file = request.files['file']if file.filename == '':return "No selected file"if file:filename = file.filenamefile.save(os.path.join(app.config['UPLOAD_FOLDER'], filename))return "File uploaded successfully"@app.route('/download/<filename>')
def download_file(filename):return send_from_directory(app.config['UPLOAD_FOLDER'], filename, as_attachment=True)def setup_file_upload_service():default_html = """<!DOCTYPE html><html><head><title>Welcome to CGQYW</title></head><body><h1>Welcome to CGQYW Server!</h1><p>This is a simple web server.</p></body></html>"""with open("/var/www/html/index.html", "w") as f:f.write(default_html)app.run(debug=True)if __name__ == "__main__":setup_file_upload_service()
(四)运行程序
- 先运行初始安装代码:(注:安装运行需要一些时间,与网速、系统配置相关,耐心等待)
python3 /var/www/html/initial_setup.py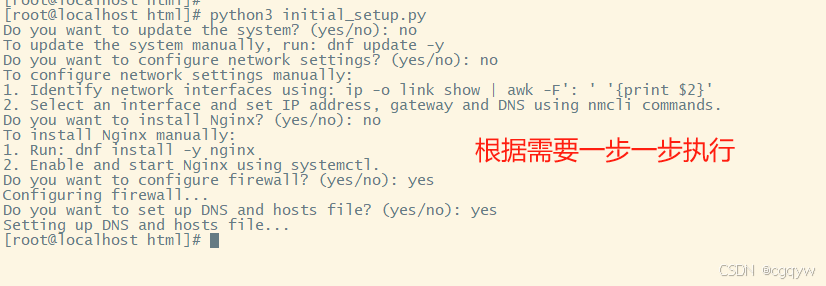
- 再运行文件上传服务代码:
-
python3 /var/www/html/file_upload_service.py