超详细从入门到精通,pytest自动化测试框架实战教程-用例标记/执行(三)
目录:导读
- 前言
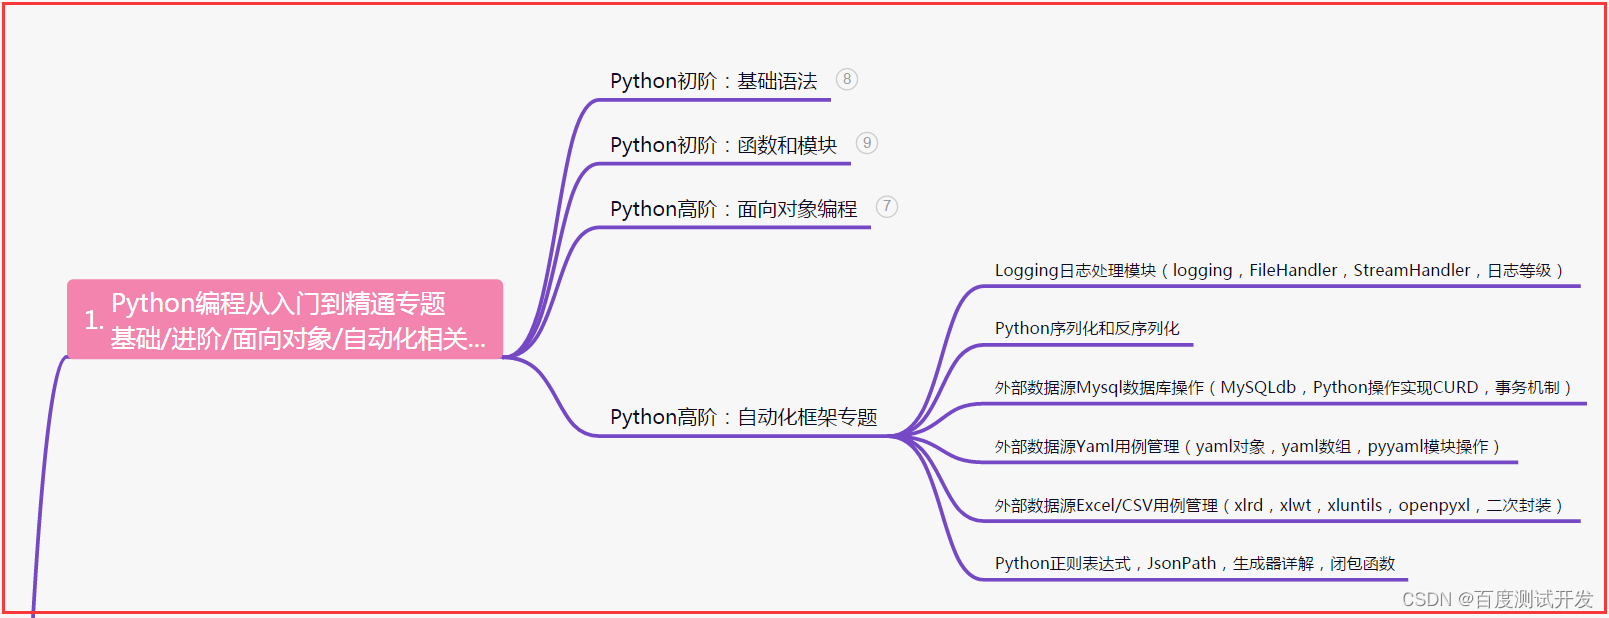
- 一、Python编程入门到精通
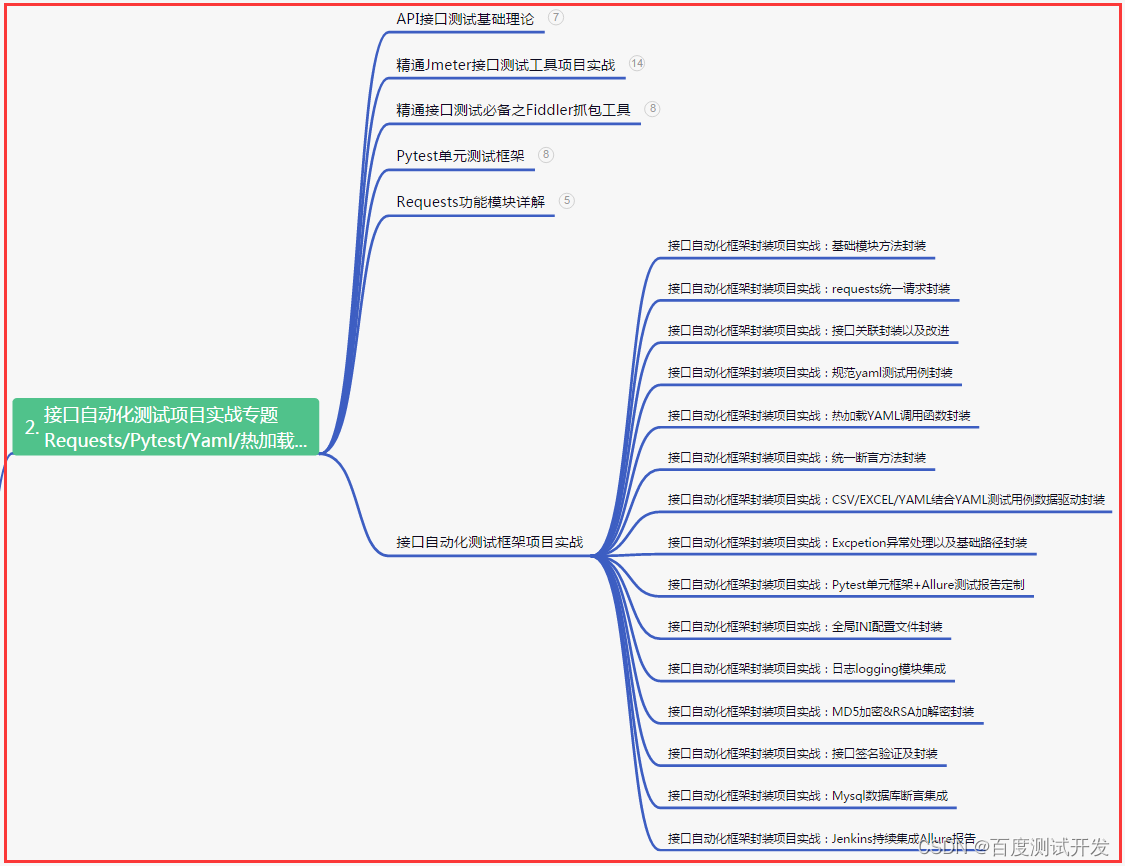
- 二、接口自动化项目实战
- 三、Web自动化项目实战
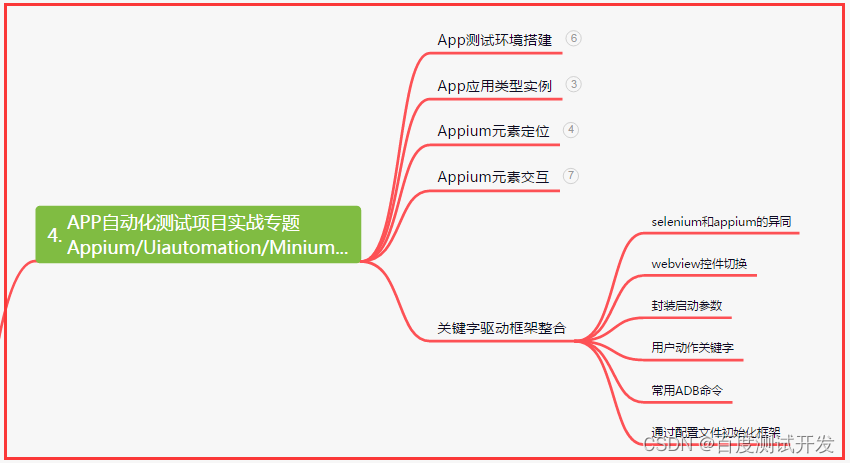
- 四、App自动化项目实战
- 五、一线大厂简历
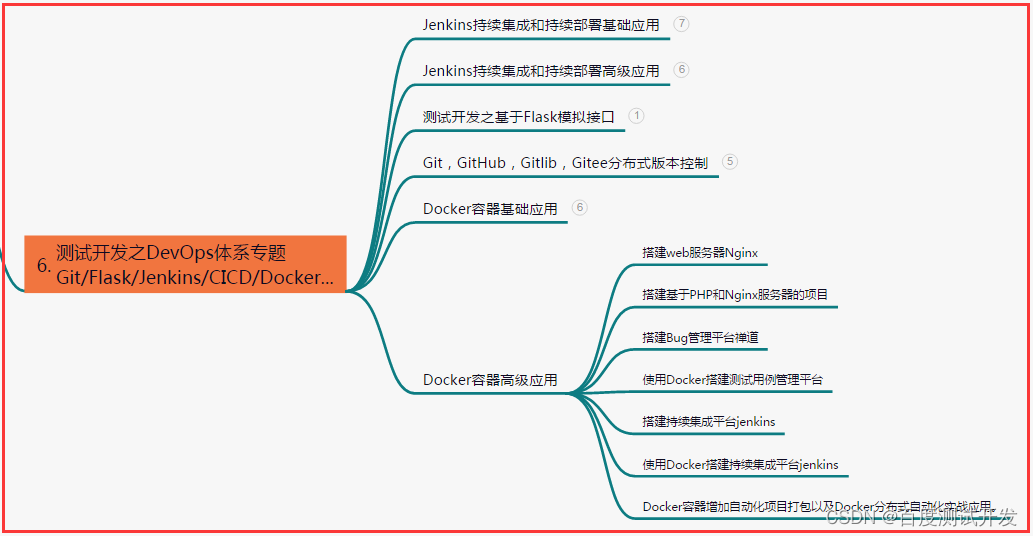
- 六、测试开发DevOps体系
- 七、常用自动化测试工具
- 八、JMeter性能测试
- 九、总结(尾部小惊喜)
前言
pytest可以通过标记将数据传入于测试函数中,也可以通过标记中对执行的用例做筛选
pytest中内置的标记
pytest标记使用需要通过pytest.mark.标记来使用,pytest中为应对各种测试场景也内置了很多的标记。
Pytest自动化测试框架:https://www.bilibili.com/video/BV18K411m7FH/
1)pytest.mark.parametrize:用例参数化的标记
通过parametrize可以将用例数据和用例执行的逻辑代码分离,并实现根据用例,自动生成测试用例。
@pytest.mark.parametrize('item',[11,22,33,44,55,66])
def test_demo(item)assert item > 50
2)pytest.mark.skip:跳过用例执行
通过skip装饰的用例,在执行的时候会无条件跳过,
参数reason:跳过测试函数的原因。
# 不写跳过原因
@pytest.mark.skip
def test_demo()assert item > 50# 写跳过原因
@pytest.mark.skip(reason='不需要执行')
def test_demo()assert item > 50
3)pytest.mark.skipif:根据条件跳过用例
skipif可以根据条件来决定是否跳过用例的执行, 如果条件为True则跳过测试函数执行。
参数 :condition —跳过的条件
参数 : reason —跳过的原因
a = 10
@pytest.mark.skipif(a > 20,reason='条件不成立,不执行')
def test_demo()assert item > 50
4)pytest.mark.xfail:标记预期失败的用例
xfail可以将测试函数标记为预期执行失败的用例。
参数 :condition — 将测试函数标记为 xfail 的条件(True/False )
参数 : reason — 测试函数被标记为 xfail 的原因
参数 : raises — 预期失败的异常类型
参数 : run — 是否应该实际执行测试函数。如果False,该函数将始终 xfail 并且不会被执行 。
参数 : strict — 严格模式(True/False )
a = 10
@pytest.mark.xfail(a > 20,reason='条件不成立,不执行' raises=AssertionError )
def test_demo()assert item > 50
5)pytest.mark.usefixtures:给测试类或模块设置测试夹具
usefixtures标记一般用于给测试类下面的测试方法统一设置测试夹具。
# TestDome这个测试类的所有测试用例均执行my_fixture这个夹具
@pytest.mark.usefixtures('my_fixture这个夹具')
class TestDome:# 函数用例 指定测试夹具def test_02(self):print('----测试用例:test_01------')# 函数用例 指定测试夹具def test_03(self):print('----测试用例:test_02------')
自定义标记
pytest支持通过pytest.ini文件注册自定义的标记。以满足执行用例时,通过标记对用例进行筛选。
1)注册标记
pytest.ini文件注册标记的语法如下:
[pytest]markers =标记1标记2
2)标记函数
# 用例前面加载标签:@pytest.mark.标签名
@pytest.mark.maindef test_demo():pass
3、标记类
# 方式一:直接类上面打标记
@pytest.mark.main
class TestClass(object):def test_demo1(self):assert 10 > 20# 方式二:通过类属性pytestmark,可以同时添加多个标记
class TestClass(object):pytestmark = [pytest.mark.main, pytest.mark.main]def test_demo1(self):assert 10 > 20
通过标记筛选用例执行
用例Demo如下:
import pytest@pytest.mark.yuze
@pytest.mark.musen
def test_01():print("用例一")def test_02():print("用例二")@pytest.mark.musen
def test_03():print("用例三")@pytest.mark.musen
def test_04():print("用例四")@pytest.mark.yuze
def test_05():print("用例五")@pytest.mark.yuze
def test_06():print("用例六")
上面Demo中有6条测试用例,分别通过pytest.mark.yuze和pytest.mark.musen进行标记了,接下来我们一起来看看如何通过标记选择用例执行。
.1、通过单个标记筛选
语法:pytest -m ‘标签名’
pytest -m musen
执行结果如下:
========================== test session starts ==========================
platform win32 -- Python 3.7.3, pytest-5.4.2, py-1.8.0, pluggy-0.13.0
rootdir: C:\project\, inifile: pytest.ini
plugins: allure-pytest-2.8.15, Faker-8.11.0, metadata-1.9.0, parallel-0.0.8, repeat-0.8.0, rerunfailures-9.0, testreport-1.1.2
collected 6 items / 3 deselected / 3 selected
test_mode.py ...      [100%]
========================== 3 passed, 3 deselected in 0.29s ==========================
可以看到执行结果执行了3条用例,3条未选中。
2)同时选中多个标记
语法:pytest -m “标记1 or 标记2”
pytest -m "musen ro yuze"
执行通过musen或者yuze 标记的的用例。执行结果如下:
========================== test session starts ==========================
platform win32 -- Python 3.7.3, pytest-5.4.2, py-1.8.0, pluggy-0.13.0
rootdir: C:\project\, inifile: pytest.ini
plugins: allure-pytest-2.8.15, Faker-8.11.0, metadata-1.9.0, parallel-0.0.8, repeat-0.8.0, rerunfailures-9.0, testreport-1.1.2
collected 6 items / 1 deselected / 5 selected
test_mode.py .....      [100%]
========================== 5 passed, 1 deselected in 0.29s ==========================
从上述结果可以看到,只要加了musen或yuze这两个标记中的任意一个
语法: pytest -m “标记1 and 标记2”
pytest -m "musen and yuze"
执行通过musen和yuze这两个标记同时标记的用例。执行结果如下
========================== test session starts ==========================
platform win32 -- Python 3.7.3, pytest-5.4.2, py-1.8.0, pluggy-0.13.0
rootdir: C:\project\, inifile: pytest.ini
plugins: allure-pytest-2.8.15, Faker-8.11.0, metadata-1.9.0, parallel-0.0.8, repeat-0.8.0, rerunfailures-9.0, testreport-1.1.2
collected 6 items / 5 deselected / 1 selected
test_mode.py .      [100%]
========================== 1 passed, 5 deselected in 0.29s ==========================
| 下面是我整理的2023年最全的软件测试工程师学习知识架构体系图 |
一、Python编程入门到精通
二、接口自动化项目实战
三、Web自动化项目实战

四、App自动化项目实战
五、一线大厂简历

六、测试开发DevOps体系
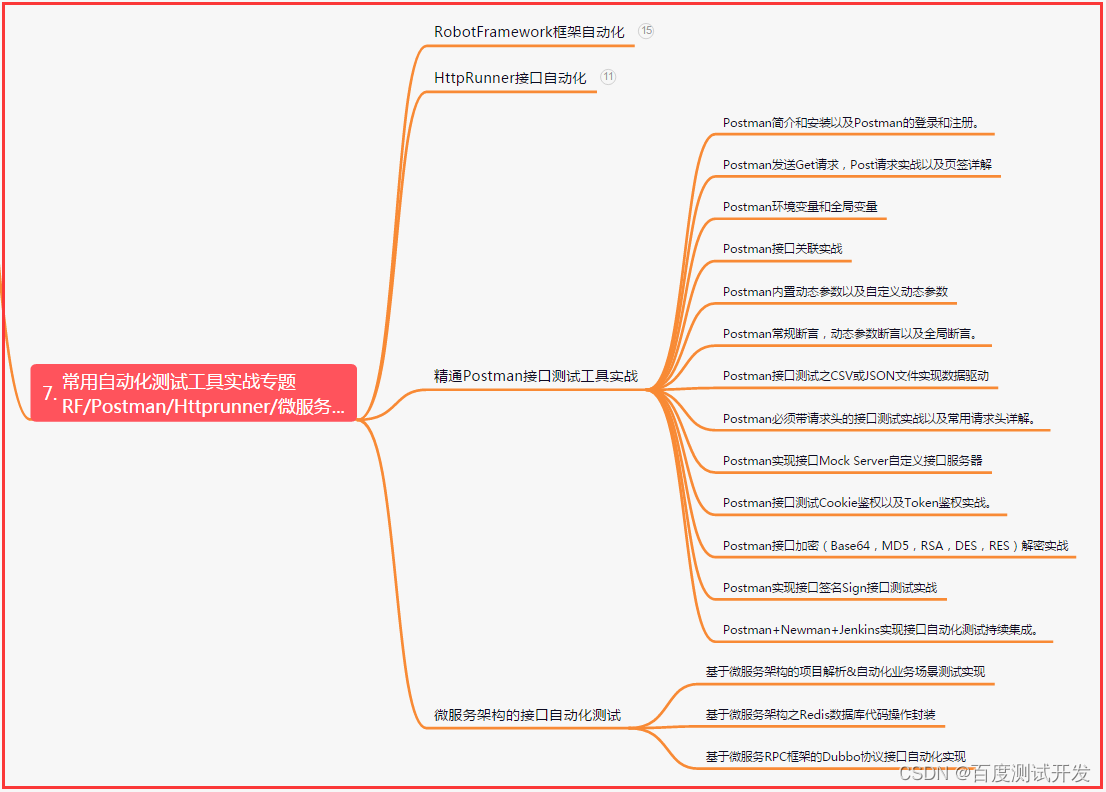
七、常用自动化测试工具
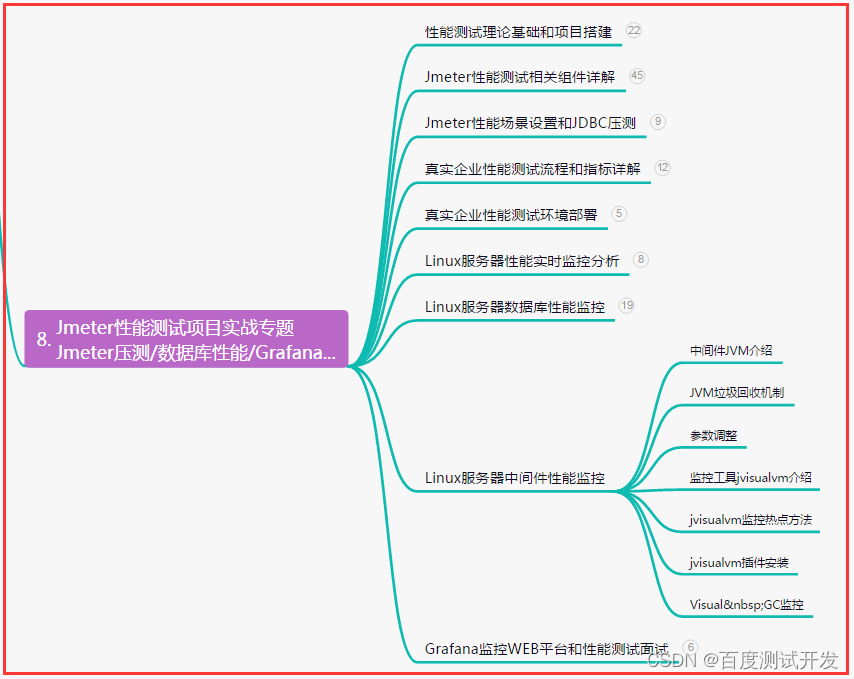
八、JMeter性能测试
九、总结(尾部小惊喜)
努力奋斗的人,总会有所成就。每一次的挑战和坚持,都会让你变得更加强大。相信自己,迎接未来,你将开创更加辉煌的人生。
没有所谓的天才,只有不懈的努力。追逐梦想的道路上,不怕失败,不言放弃。只要坚持不懈,努力追求,最终你一定能够创造属于自己的辉煌!
只有在付出与坚持的过程中,才能领略到成功的滋味。坚持不懈,不惧困难,让自己成为勇往直前的那个人,开创属于自己的辉煌人生!
