【Harmony】轮播图特效,持续更新中。。。。
效果预览
swiper官网例子
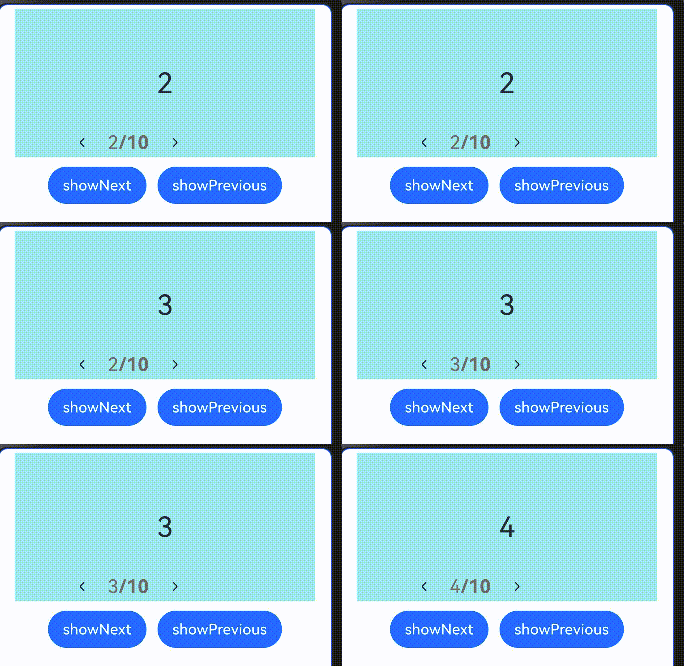
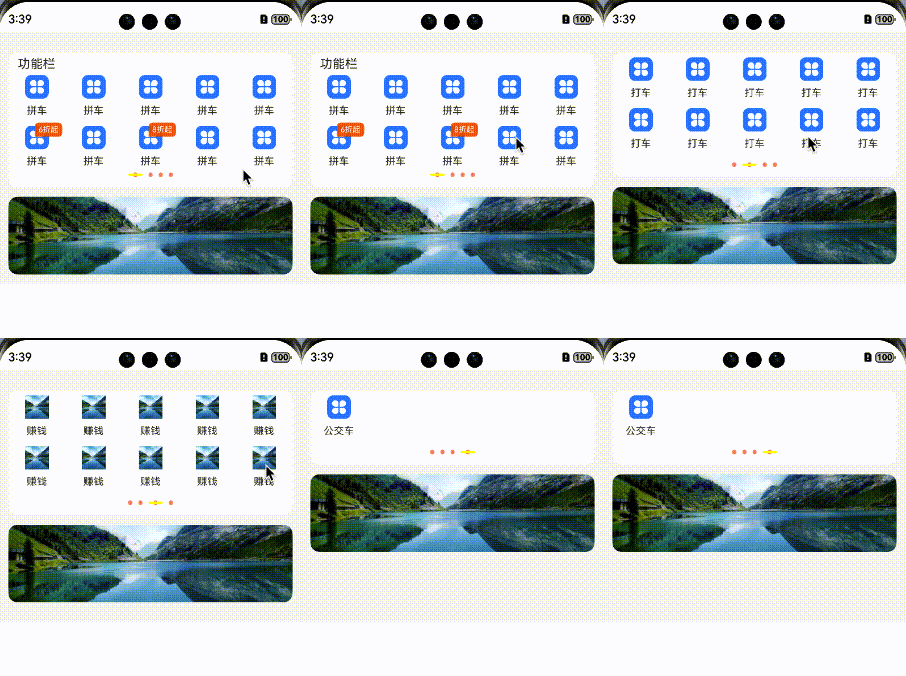
Swiper 高度可变化
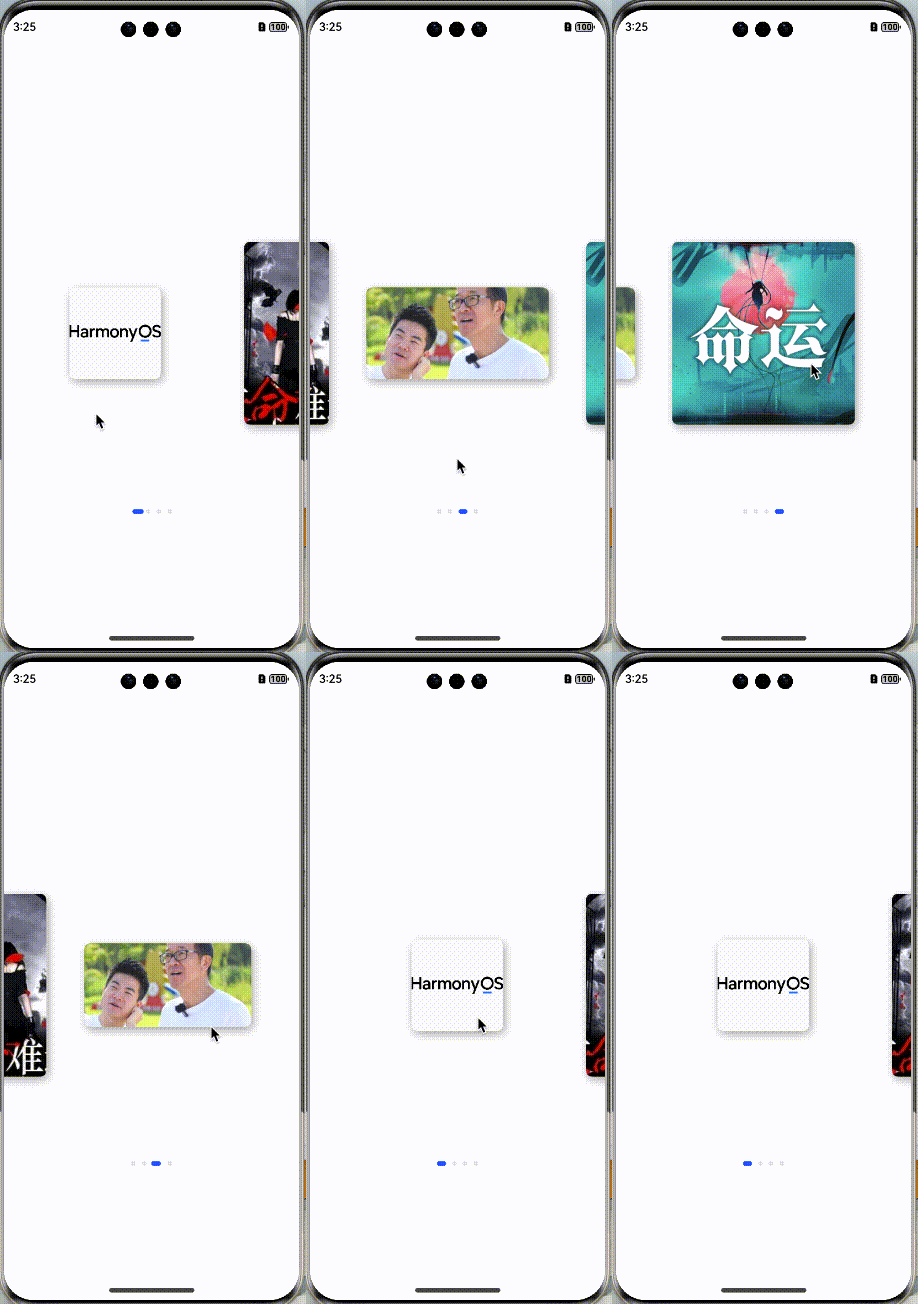
两边等长露出,跟随手指滑动
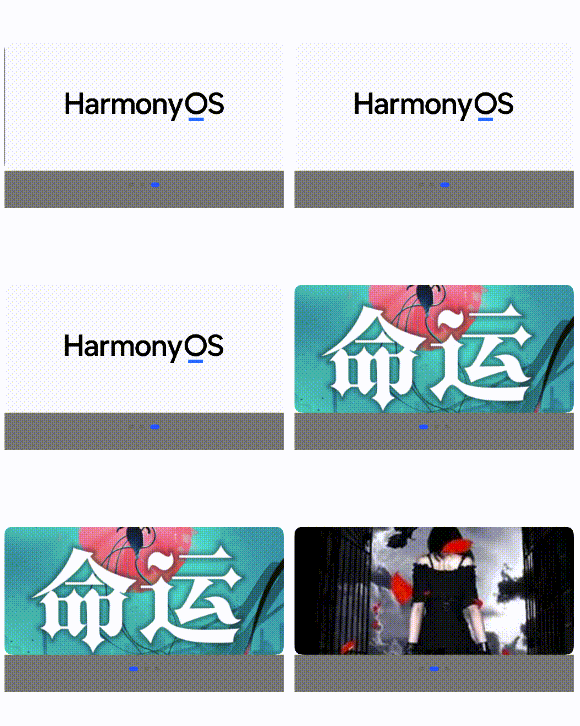
Swiper 指示器导航点位于 Swiper 下方
卡片楼层层叠一

一、官网 例子

参考代码:
// xxx.ets
class MyDataSource implements IDataSource {private list: number[] = []constructor(list: number[]) {this.list = list}totalCount(): number {return this.list.length}getData(index: number): number {return this.list[index]}registerDataChangeListener(listener: DataChangeListener): void {}unregisterDataChangeListener() {}
}@Entry
@Component
struct SwiperExample {private swiperController: SwiperController = new SwiperController()private data: MyDataSource = new MyDataSource([])aboutToAppear(): void {let list: number[] = []for (let i = 1; i <= 10; i++) {list.push(i);}this.data = new MyDataSource(list)}build() {Column({ space: 5 }) {Swiper(this.swiperController) {LazyForEach(this.data, (item: string) => {Text(item.toString()).width('90%').height(160).backgroundColor(0xAFEEEE).textAlign(TextAlign.Center).fontSize(30)}, (item: string) => item)}.cachedCount(2).index(1).autoPlay(true).interval(4000).indicator(Indicator.digit() // 设置数字导航点样式.right("43%").top(200).fontColor(Color.Gray).selectedFontColor(Color.Gray).digitFont({ size: 20, weight: FontWeight.Bold }).selectedDigitFont({ size: 20, weight: FontWeight.Normal })).loop(true).duration(1000).itemSpace(0).displayArrow(true, false)Row({ space: 12 }) {Button('showNext').onClick(() => {this.swiperController.showNext()})Button('showPrevious').onClick(() => {this.swiperController.showPrevious()})}.margin(5)}.width('100%').margin({ top: 5 })}
}
二、Swiper 高度可变化

主要逻辑代码:
// TODO: 知识点: Swiper组件绑定onGestureSwipe事件,在页面跟手滑动过程中,逐帧触发该回调// 性能知识点: onGestureSwipe属于频繁回调,不建议在onGestureSwipe做耗时和冗余操作.onGestureSwipe((index:number,extraInfo:SwiperAnimationEvent)=>{animateTo({duration: Constants.DURATION_SWIPER,curve: Curve.EaseOut,playMode: PlayMode.Normal,onFinish: () => {// logger.info('play end');}}, () => { // 通过左右滑动的距离来计算对应的上下位置的变化if (index === 0 && extraInfo.currentOffset < 0) {this.swiperDistance = extraInfo.currentOffset / Constants.SCROLL_WIDTH * Constants.SMALL_FONT_SIZE;} else if (index === 1 && extraInfo.currentOffset > 0) {this.swiperDistance = extraInfo.currentOffset / Constants.SCROLL_WIDTH * Constants.SMALL_FONT_SIZE - Constants.SMALL_FONT_SIZE;} else if (index === 2 && extraInfo.currentOffset < 0) {this.swiperDistance = extraInfo.currentOffset / Constants.SCROLL_WIDTH * Constants.GRID_SINGLE_HEIGHT - Constants.SMALL_FONT_SIZE;} else if (index === 3 && extraInfo.currentOffset > 0) {this.swiperDistance = extraInfo.currentOffset / Constants.SCROLL_WIDTH * Constants.GRID_SINGLE_HEIGHT - Constants.SMALL_FONT_SIZE - Constants.GRID_SINGLE_HEIGHT;}})}).onAnimationStart((_: number, targetIndex: number)=>{animateTo({duration: Constants.DURATION_DOWN_PAGE,curve: Curve.EaseOut,playMode: PlayMode.Normal,onFinish: () => {// logger.info('play end');}}, () => {if (targetIndex === 0) {this.swiperDistance = 0;} else if (targetIndex === 1 || targetIndex === 2) {this.swiperDistance = -Constants.SMALL_FONT_SIZE;} else {this.swiperDistance = -Constants.SMALL_FONT_SIZE - Constants.GRID_SINGLE_HEIGHT;}})}).indicator(new DotIndicator()// .selectedItemWidth($r('app.float.swipersmoothvariation_select_item_width')).selectedItemWidth('18fp')// .selectedItemHeight($r('app.float.swipersmoothvariation_select_item_height')).selectedItemHeight('3vp')// .itemWidth($r('app.float.swipersmoothvariation_default_item_width')).itemWidth('5vp')// .itemHeight($r('app.float.swipersmoothvariation_default_item_height')).itemHeight('-3vp')// .selectedColor($r('app.color.swipersmoothvariation_swiper_selected_color')).selectedColor(Color.Yellow)// .color($r('app.color.swipersmoothvariation_swiper_unselected_color'))).color('#FFFF8662'))
逻辑结构相对复杂,请查看下面 demo 开源地址
三、Swiper 指示器导航点位于 Swiper 下方

主要是分离内容区域和空白区域给指示器留白蛤
Column() {Swiper(this.swiperController){// TODO 高性能知识点:此处为了演示场景,列表数量只有3个,使用ForEach,列表数量较多的场景,推荐使用LazyForEach+组件复用+缓存列表项实现ForEach(this.swiperData,(item:Resource)=>{Column(){// TODO 知识点:将swiper区域分割成内容区和空白区Image(item).width('100%').height('22%').borderRadius(10)Column().width('100%').height(50).backgroundColor(Color.Gray)}})}.width('95%').loop(true).autoPlay(true)// TODO 知识点:通过indicator属性,将导航点放置到空白区域,实现指示器导航点位于swiper下方的效果.indicator(new DotIndicator().bottom(15))}.height('100%').width('100%').justifyContent(FlexAlign.Center)
四、Swiper组件实现容器视图居中完全展示,两边等长露出,跟随手指滑动

逻辑简约描述:
难点在于偏移的计算
要特别注意宽度和高度值设置,保持统一单位。
在实际的开发过程中,因为单位的马虎导致即使代码是一样的,也出现过多次错位等问题
建议先完整参考代码写一遍之后再按实际需求进行偏移算法修改
比较烧脑,准备两罐红牛缓解疲劳蛤!
偏移计算:
/*** 计算卡片偏移量,并维护偏移量列表。* @param targetIndex { number } swiper target card's index.*/calculateOffset(target: number) {let left = target - 1;let right = target + 1;// 计算上一张卡片的偏移值if (this.isIndexValid(left)) {this.cardsOffset[left] = this.getMaxOffset(left);}// 计算当前卡片的偏移值if (this.isIndexValid(target)) {this.cardsOffset[target] = this.getMaxOffset(target) / 2;}// 下一张片的偏移值if (this.isIndexValid(right)) {this.cardsOffset[right] = 0;}}
滑动触发偏移计算:
.onChange((index) => {// logger.info(TAG, `Target index: ${index}`);this.calculateOffset(index);}).onGestureSwipe((index, event) => {const currentOffset = event.currentOffset;// 获取当前卡片(居中)的原始偏移量const maxOffset = this.getMaxOffset(index) / 2;// 实时维护卡片的偏移量列表,做到跟手效果if (currentOffset < 0) {// 向左偏移/** 此处计算原理为:按照比例设置卡片的偏移量。* 当前卡片居中,向左滑动后将在左边,此时卡片偏移量即为 maxOffset * 2(因为向右对齐)。* 所以手指能够滑动的最大距离(this.displayWidth)所带来的偏移量即为 maxOffset。* 易得公式:卡片实时偏移量 = (手指滑动长度 / 屏幕宽度) * 卡片最大可偏移量 + 当前偏移量。* 之后的计算原理相同,将不再赘述。*/this.cardsOffset[index] = (-currentOffset / this.displayWidth) * maxOffset + maxOffset;if (this.isIndexValid(index + 1)) {// 下一个卡片的偏移量const maxOffset = this.getMaxOffset(index + 1) / 2;this.cardsOffset[index + 1] = (-currentOffset / this.displayWidth) * maxOffset;}if (this.isIndexValid(index - 1)) {// 上一个卡片的偏移量const maxOffset = this.getMaxOffset(index - 1) / 2;this.cardsOffset[index - 1] = (currentOffset / this.displayWidth) * maxOffset + 2 * maxOffset;}} else if (currentOffset > 0) {// 向右滑动this.cardsOffset[index] = maxOffset - (currentOffset / this.displayWidth) * maxOffset;if (this.isIndexValid(index + 1)) {const maxOffset = this.getMaxOffset(index + 1) / 2;this.cardsOffset[index + 1] = (currentOffset / this.displayWidth) * maxOffset;}if (this.isIndexValid(index - 1)) {const maxOffset = this.getMaxOffset(index - 1) / 2;this.cardsOffset[index - 1] = 2 * maxOffset - (currentOffset / this.displayWidth) * maxOffset;}}}).onAnimationStart((index, targetIndex) => {this.calculateOffset(targetIndex);})
五、收尾两侧都有等长偏移的露出
六、卡片叠加楼层效果一:初步实现楼层效果,交互流程度和丝滑待改善

build() {Column() {Stack() {ForEach(this.data, (item: Resource, index) => {Stack({ alignContent: Alignment.Start }){Image(item).width('80%').height('100%').alignSelf(ItemAlign.Center)}.width('100%').offset({ x: this.calculateOffset(index), y: 0 }).zIndex(index !== this.currentIndex && this.getImgOffset(index) === 0 ? 0 : 2 - Math.abs(this.getImgOffset(index))).height(index === this.currentIndex ? 202 : ((index === this.currentIndex - 1 || index === this.currentIndex + 1) ? 192 : 182)).translate({ x: this.translateList[index] }).gesture(PanGesture({ direction: PanDirection.Horizontal}).onActionStart((event: GestureEvent) => {if (event.offsetX < 0) {if(this.currentIndex === index && this.currentIndex != this.data.length -1){this.setAnim(true)}}else {if (this.currentIndex === index && this.currentIndex != 0) {this.setAnim(false)}}})).onClick(() => {})})}.height('50%').width('100%').alignContent(Alignment.Center).clip(true) //裁剪超出 banner 左侧的层叠部分.backgroundColor(Color.Gray).padding({left: 10,right: 10,top: 16,bottom: 16})}.height('100%').width('100%').justifyContent(FlexAlign.Start)}/*** 计算偏移量* @param index:索引值* @returns*/calculateOffset(index: number): number {const offsetIndex: number = this.getImgOffset(index);const tempOffset: number = Math.abs(offsetIndex);let offsetX: number = 0;if (tempOffset === 1) {// 根据图片层级系数来决定左右偏移量offsetX = - 8 * offsetIndex;}if (tempOffset === 2) {// 根据图片层级系数来决定左右偏移量offsetX = -this.offsetXValue * offsetIndex;}return offsetX;}/*** 获取图片系数* @param index:索引值* @returns*/getImgOffset(index: number): number {const coefficient: number = this.currentIndex - index; // 计算图片左右位置const tempCoefficient: number = Math.abs(coefficient);if (tempCoefficient <= this.halfCount) {return coefficient;}const dataLength: number = this.data.length;let tempOffset: number = dataLength - tempCoefficient; // 判断图片位于左右层级位置if (tempOffset <= this.halfCount) { //如果在左侧if (coefficient > 0) {return -tempOffset;}return tempOffset;}return 0;}/*** 设置动画* @param duration:动画持续时间**/setAnim(isLeft:boolean){let dataLength: number = this.data.length;let tempIndex: number = 0animateTo({ duration: 1000}, () => {if (isLeft) {this.translateList[this.currentIndex] = -350tempIndex = this.currentIndex + 1this.currentIndex = tempIndex % dataLength} else {tempIndex = this.currentIndex - 1 + dataLengththis.currentIndex = tempIndex % dataLengththis.translateList[this.currentIndex] = 0}})}~~~~~~~~~~~持续更新中
开源 Demo 工程地址
Demo 工程
