C++:map容器的使用
一、map的使用介绍
map文档介绍
1.1 map的模版参数

Key:键值对中Key的类型
T:键值对中value的类型
Compare:比较器的类型,map中的元素是按照Key来进行比较的,缺省情况(不传参数时)按照小于来比较,一般情况下(内置类型的元素)不需要传递该参数,对于自定义类型无法进行比较时,需要用户自己显式的进行传递比较规则(这里一般是传入仿函数或者函数指针)
Alloc:通过空间配置器来申请底层空间, 不需要用户传递,但是如果不想使用标准库提供的空间配置器时可以自己传递。
注意:使用map时,需要包含
1.2 map的构造
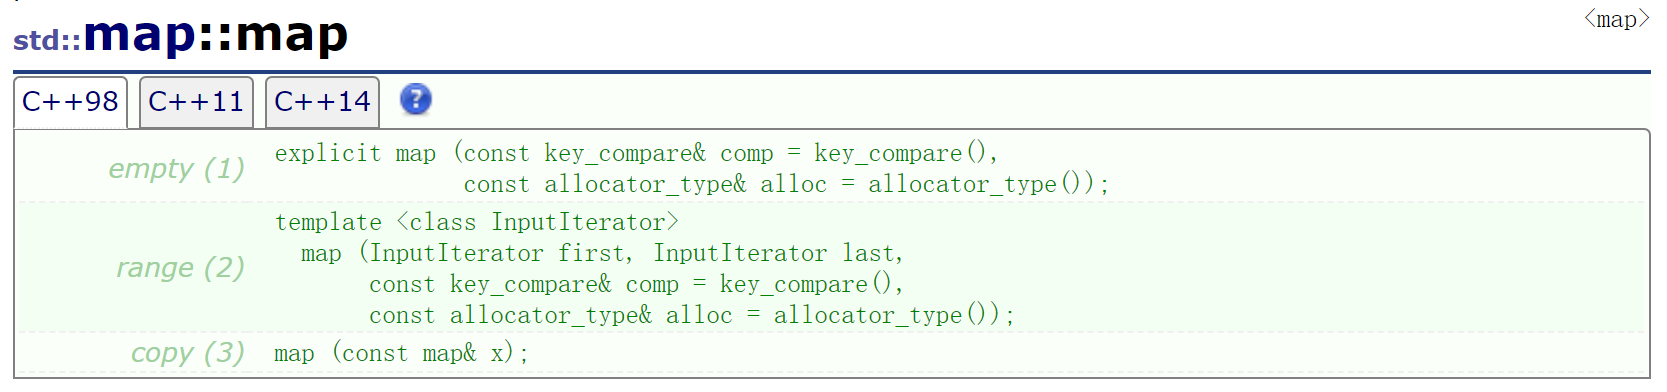
- 默认构造:构造一个空的map,不需要传参
- 使用迭代器区间构造
- 拷贝构造
实例:
void test1()
{//使用无参构造,构造出一个空mapmap<int, int> m;vector<pair<int, int>>tmp = { {1, 2}, {2, 3}, {3, 4}, {4, 5} };//使用迭代器区间构造一个mapmap<int, int> m1(tmp.begin(), tmp.end());cout << "迭代器区间构造:" << endl;for (auto e : m1){cout << e.first << ":" << e.second << endl;}cout << endl;//使用拷贝构造,构造一个mapmap<int, int> m2(m1);cout << "拷贝构造:" << endl;for (auto e : m2){cout << e.first << ":" << e.second << endl;}cout << endl;
}
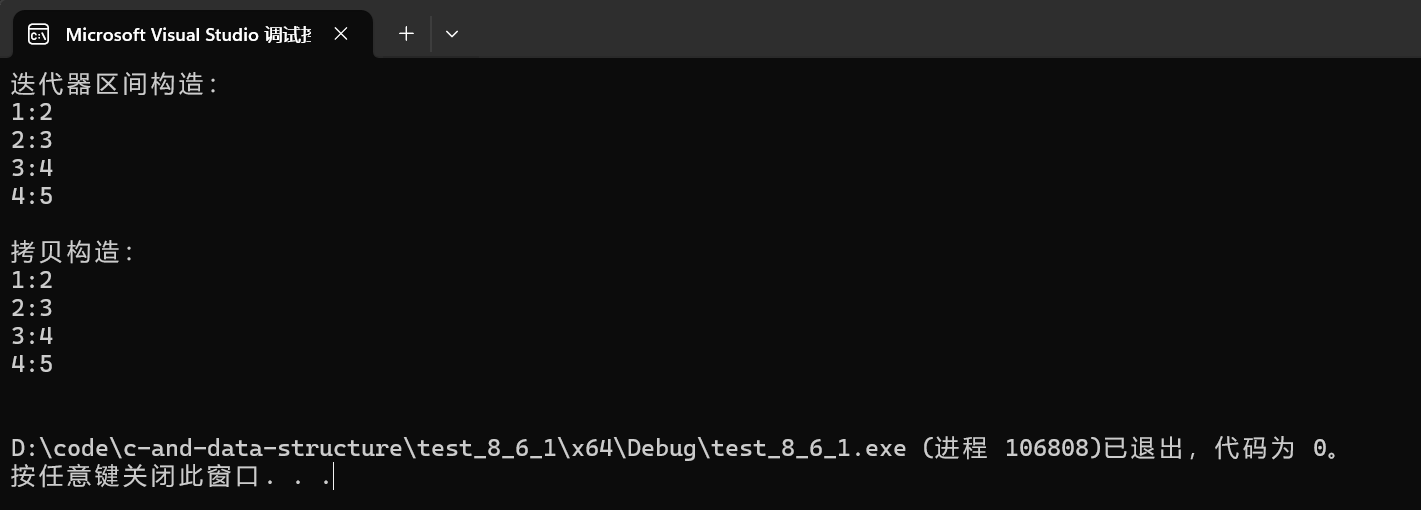
运行结果:
1.3 map的迭代器
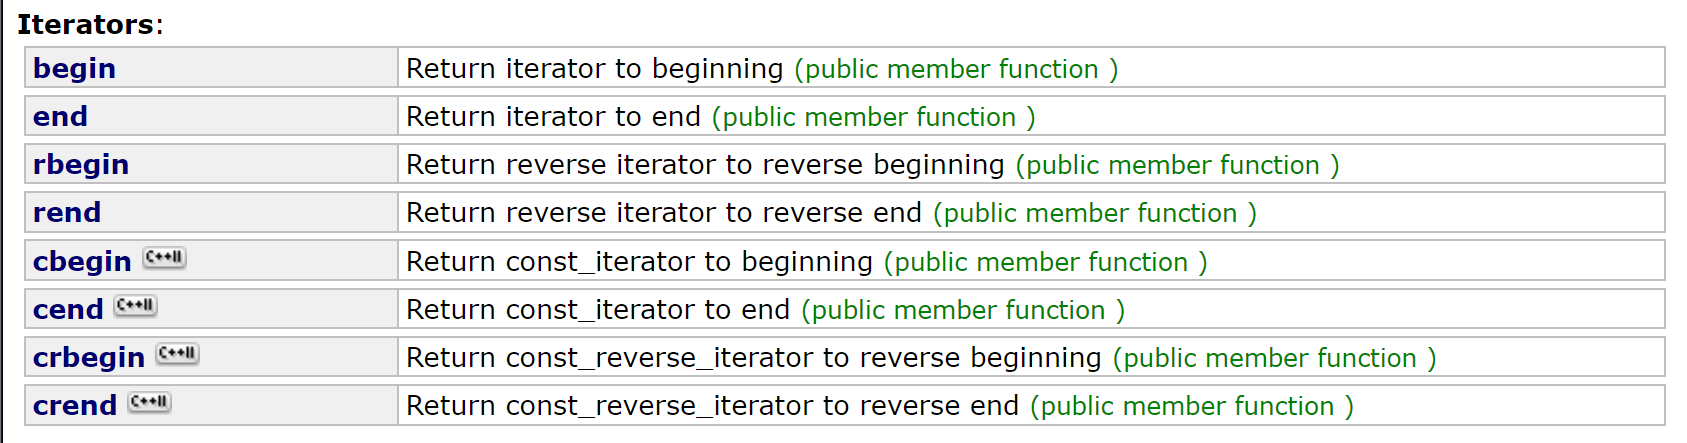
- begin():返回首元素位置的迭代器
- end(): 返回最后一个元素的下一个位置的迭代器
- cbegin(): 返回首元素位置的const迭代器(也就是不能对元素进行修改的迭代器)
- cend(): 返回最后一个元素的下一个位置的const迭代器
- rbegin(): 反向迭代器,返回最后一个元素的下一个位置的反向迭代器相当于end(),++反向迭代器会向前遍历
- rend(): 反向迭代器,返回首元素位置的反向迭代器,相当于begin(), --反向迭代器会向后遍历
- crbegin(): 反向const迭代器,返回最后一个元素的下一个位置的反向const迭代器相当于cend(),++反向迭代器会向前遍历
- crend(): 反向迭代器,返回首元素位置的反向const迭代器,相当于cbegin(), --反向迭代器会向后遍历
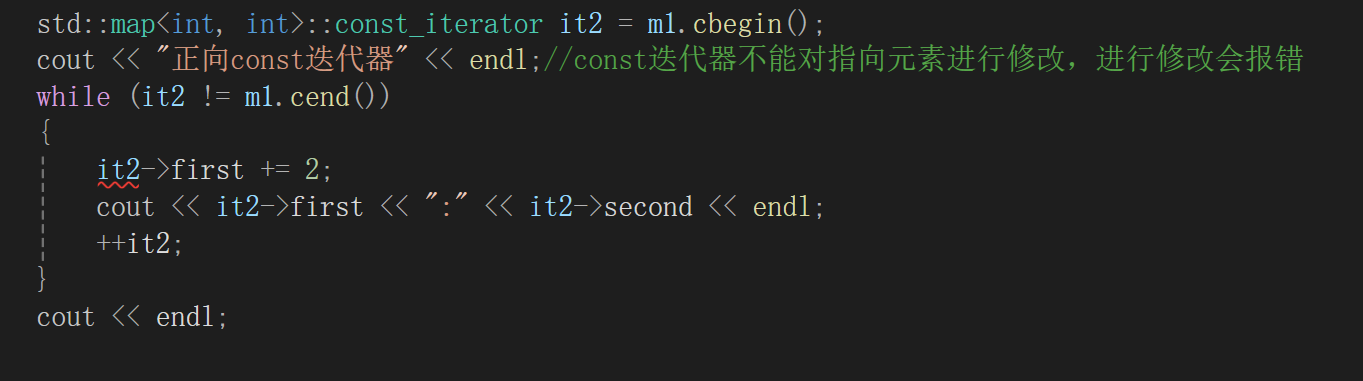
注意:使用const迭代器时不能对指向的元素进行修改,否则编译器会进行报错,如下所示:

实例:
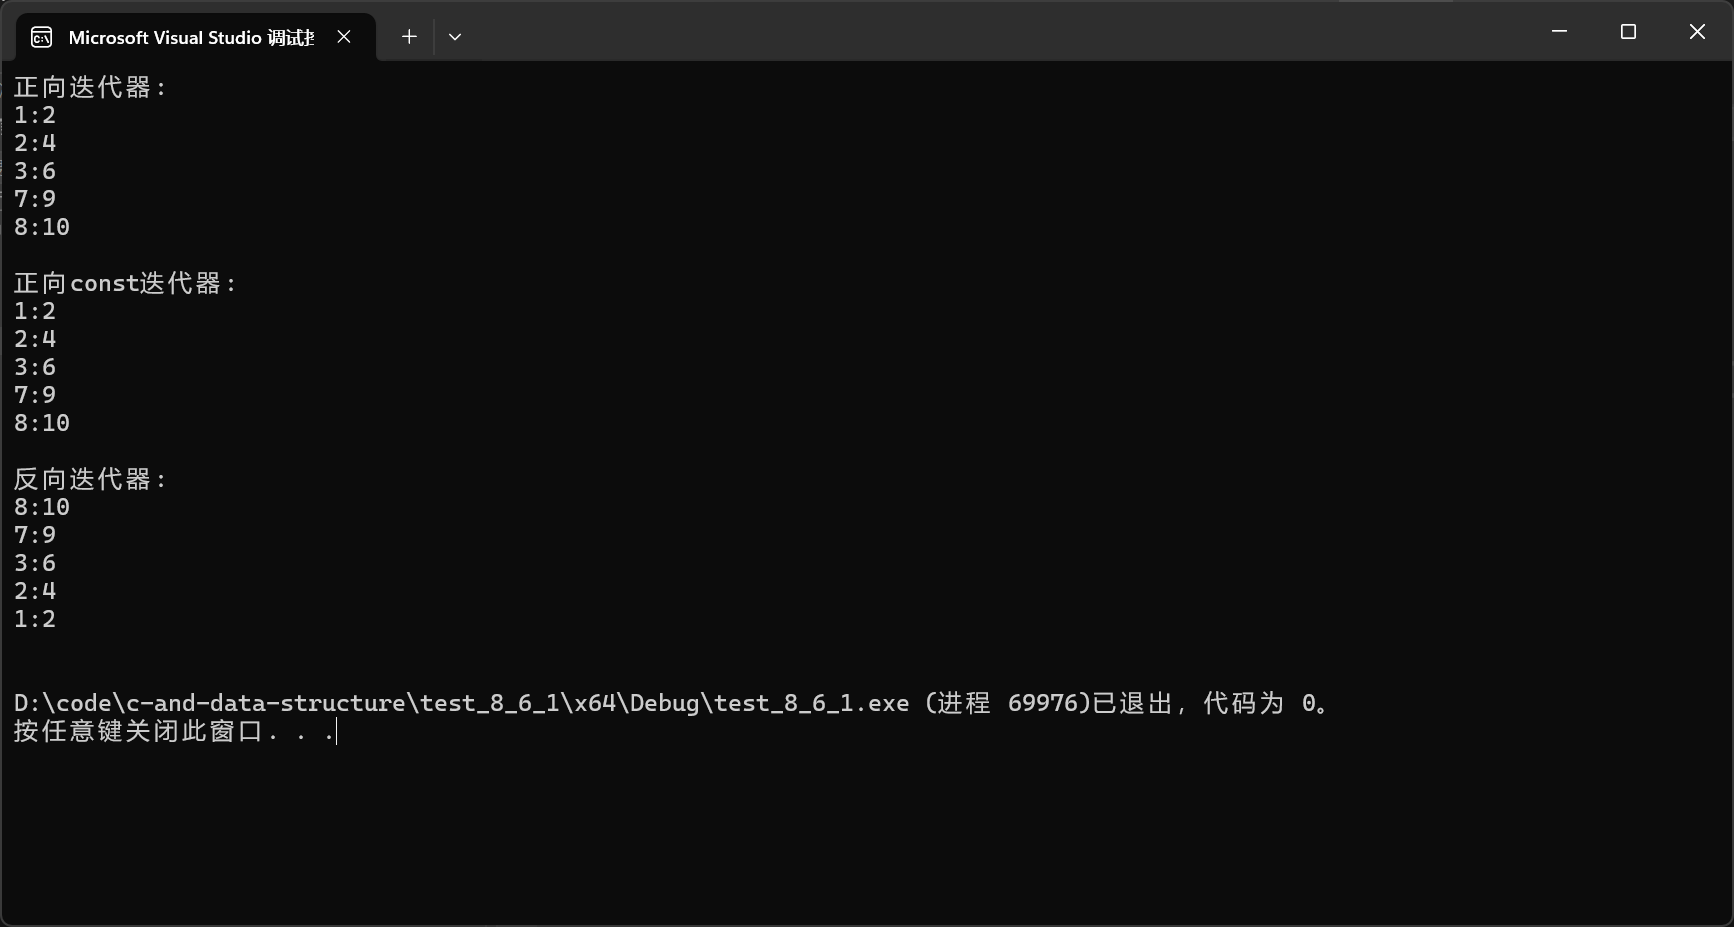
void test2()
{std::map<int, int> m1{ {1, 2}, {2, 4}, {2, 5}, {3, 6}, {7, 9}, {8, 10} };std::map<int, int>::iterator it1 = m1.begin();cout << "正向迭代器: " << endl;while (it1 != m1.end()){cout << it1->first << ":" << it1->second << endl;++it1;}cout << endl;std::map<int, int>::const_iterator it2 = m1.cbegin();cout << "正向const迭代器: " << endl;//const迭代器不能对指向元素进行修改,进行修改会报错while (it2 != m1.cend()){cout << it2->first << ":" << it2->second << endl;++it2;}cout << endl;std::map<int, int>::reverse_iterator it3 = m1.rbegin();cout << "反向迭代器: " << endl;while (it3 != m1.rend()){cout << it3->first << ":" << it3->second << endl;++it3;}cout << endl;
}
运行结果:
1.4 map的容量和元素访问
容量:

empty:如果map容器内是空的话就返回true否则返回false
size:返回map中的有效元素个数
元素访问:

operator[] :根据key去查找value,如果没有对应的key就进行插入
实例:
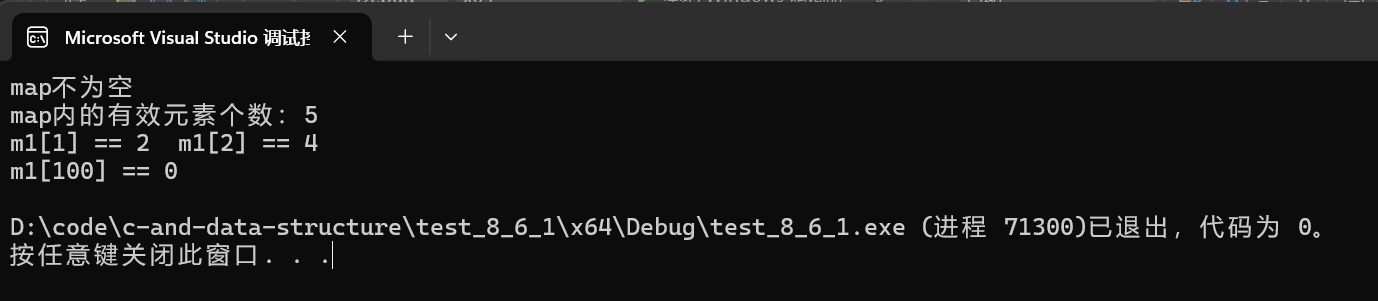
void test3()
{std::map<int, int> m1{ {1, 2}, {2, 4}, {2, 5}, {3, 6}, {7, 9}, {8, 10} };//容量if (!m1.empty())cout << "map不为空" << endl;elsecout << "map为空" << endl;cout << "map内的有效元素个数:" << m1.size() << endl;//元素访问cout << "m1[1] == " << m1[1]  << "  " << "m1[2] == " << m1[2] << endl;//使用operator[]时如果没有对应的key则会进行插入, 插入后value默认给0cout << "m1[100] == " << m1[100] << endl;
}
运行结果:
1.5 map的元素修改

- 使用一个键值对进行插入,val是一个键值对,返回值是一个pair类型,iterator是插入位置的迭代器,bool返回的是是否插入成功,插入成功放回true,否则返回false
- 插入一个键值对val, 插入 val 到尽可能接近正好在 pos 之前的位置。
- 插入来自范围
[first,last)的元素。优先插入键值与map中元素不重叠的元素,如果范围中的多个元素的键比较相等,标准库里没有确定插入规则。
实例:
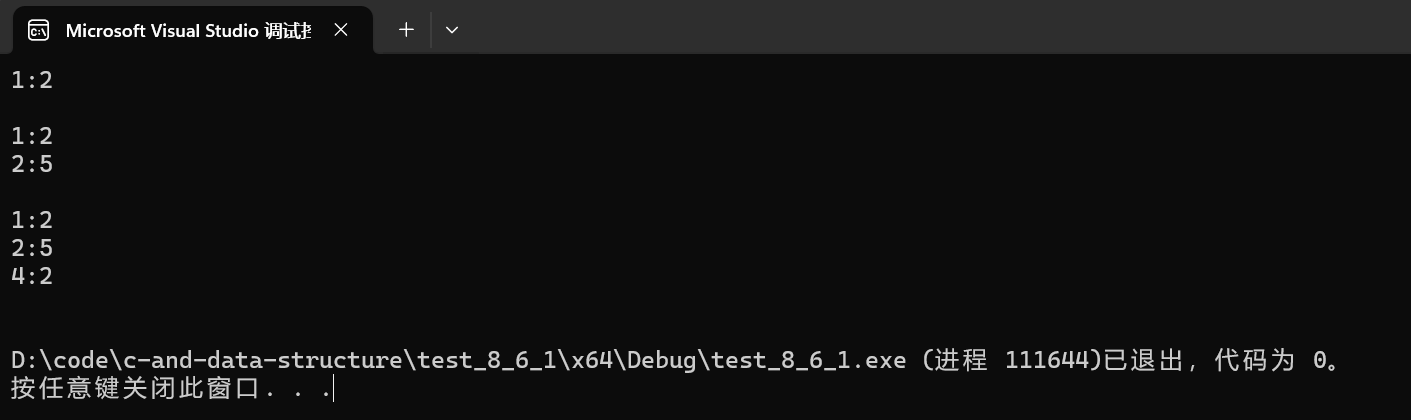
void test4()
{std::map<int, int> m1;//插入一个键值对m1.insert(make_pair(1, 2));for (auto e : m1){cout << e.first << ":" << e.second << endl;}cout << endl;//在尽可能接近pos插入一个键值对m1.insert(m1.begin(), make_pair(2, 5));for (auto e : m1){cout << e.first << ":" << e.second << endl;}cout << endl;//使用迭代器范围插入vector<pair<int, int>> tmp = { {1, 3}, {4, 2} };m1.insert(tmp.begin(), tmp.end());for (auto e : m1){cout << e.first << ":" << e.second << endl;}cout << endl;
}
运行结果:

- 按迭代器pos位置进行删除
- 按key进行删除
- 按迭代器区间进行删除
实例:
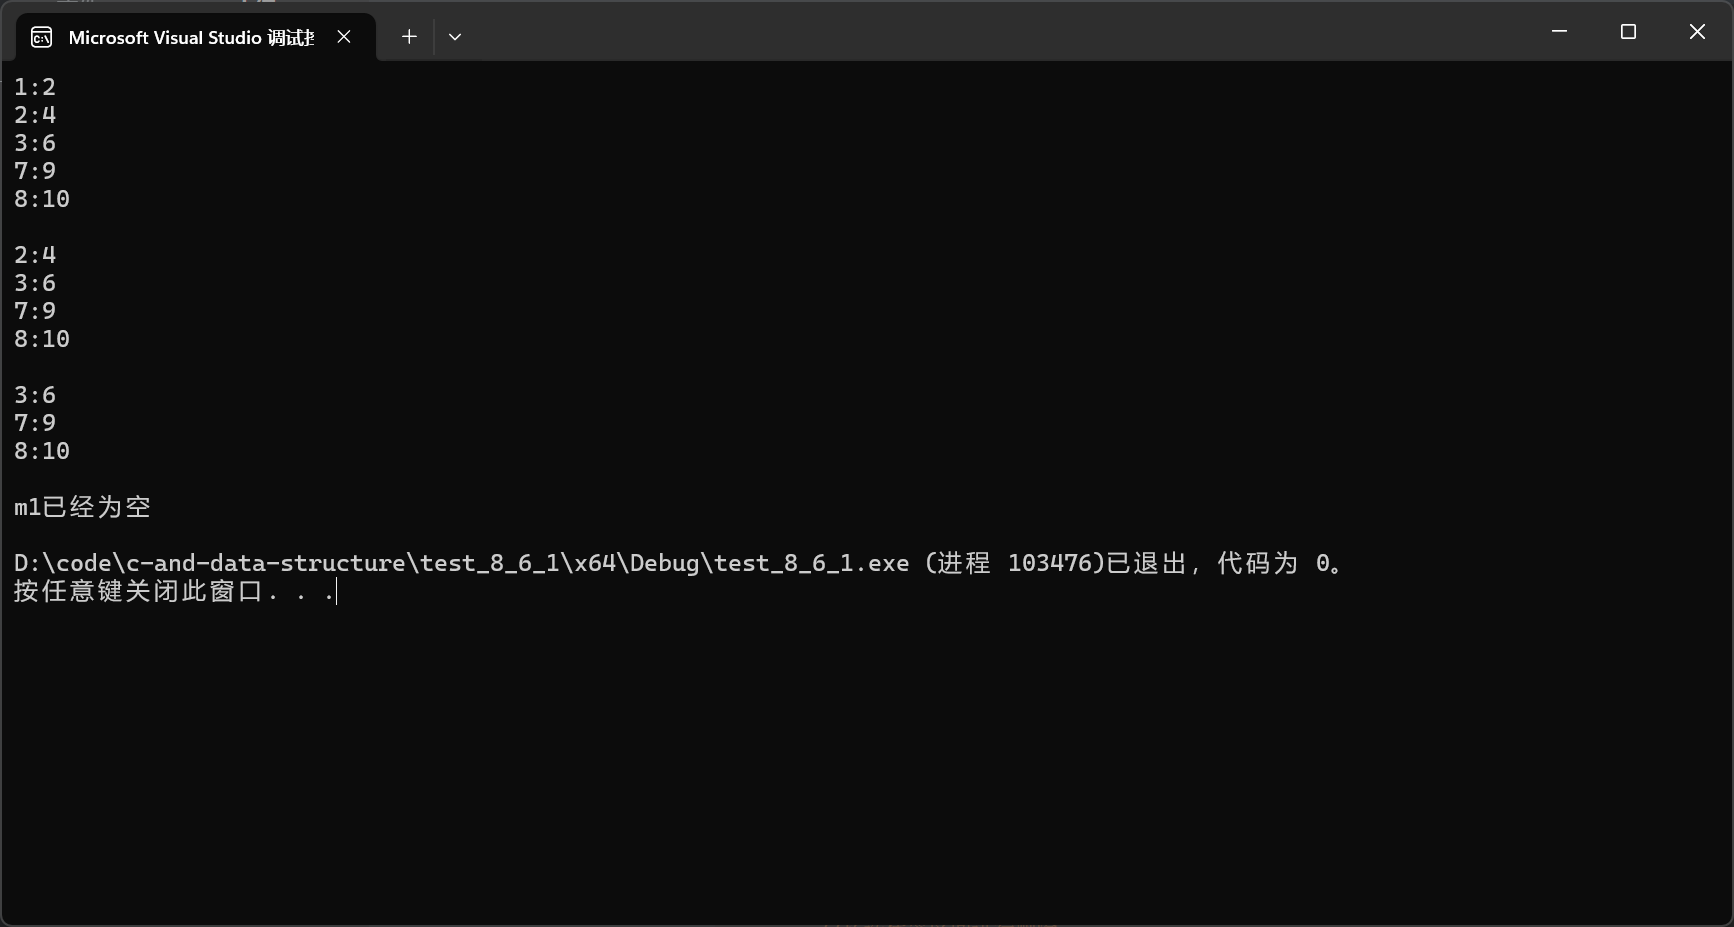
void test5()
{std::map<int, int> m1{ {1, 2}, {2, 4}, {2, 5}, {3, 6}, {7, 9}, {8, 10} };for (auto e : m1){cout << e.first << ":" << e.second << endl;}cout << endl;//按pos位置进行删除auto it = m1.find(1);m1.erase(it);for (auto e : m1){cout << e.first << ":" << e.second << endl;}cout << endl;//按key删除m1.erase(2);for (auto e : m1){cout << e.first << ":" << e.second << endl;}cout << endl;//按迭代器区间进行删除m1.erase(m1.begin(), m1.end());if (m1.empty())cout << "m1已经为空" << endl;}
运行结果:

- 通过key进行查找返回普通迭代器,可以通过返回的迭代器对元素进行修改
- 通过key进行查找返回const迭代器,不能通过返回的迭代器读元素进行修改
实例:
void test6()
{std::map<int, int> m1{ {1, 2}, {2, 4}, {2, 5}, {3, 6}, {7, 9}, {8, 10} };auto pos = m1.find(1);cout << pos->first << ":" << pos->second << endl;auto pos1 = m1.find(8);cout << pos1->first << ":" << pos->second << endl;
}
运行结果:

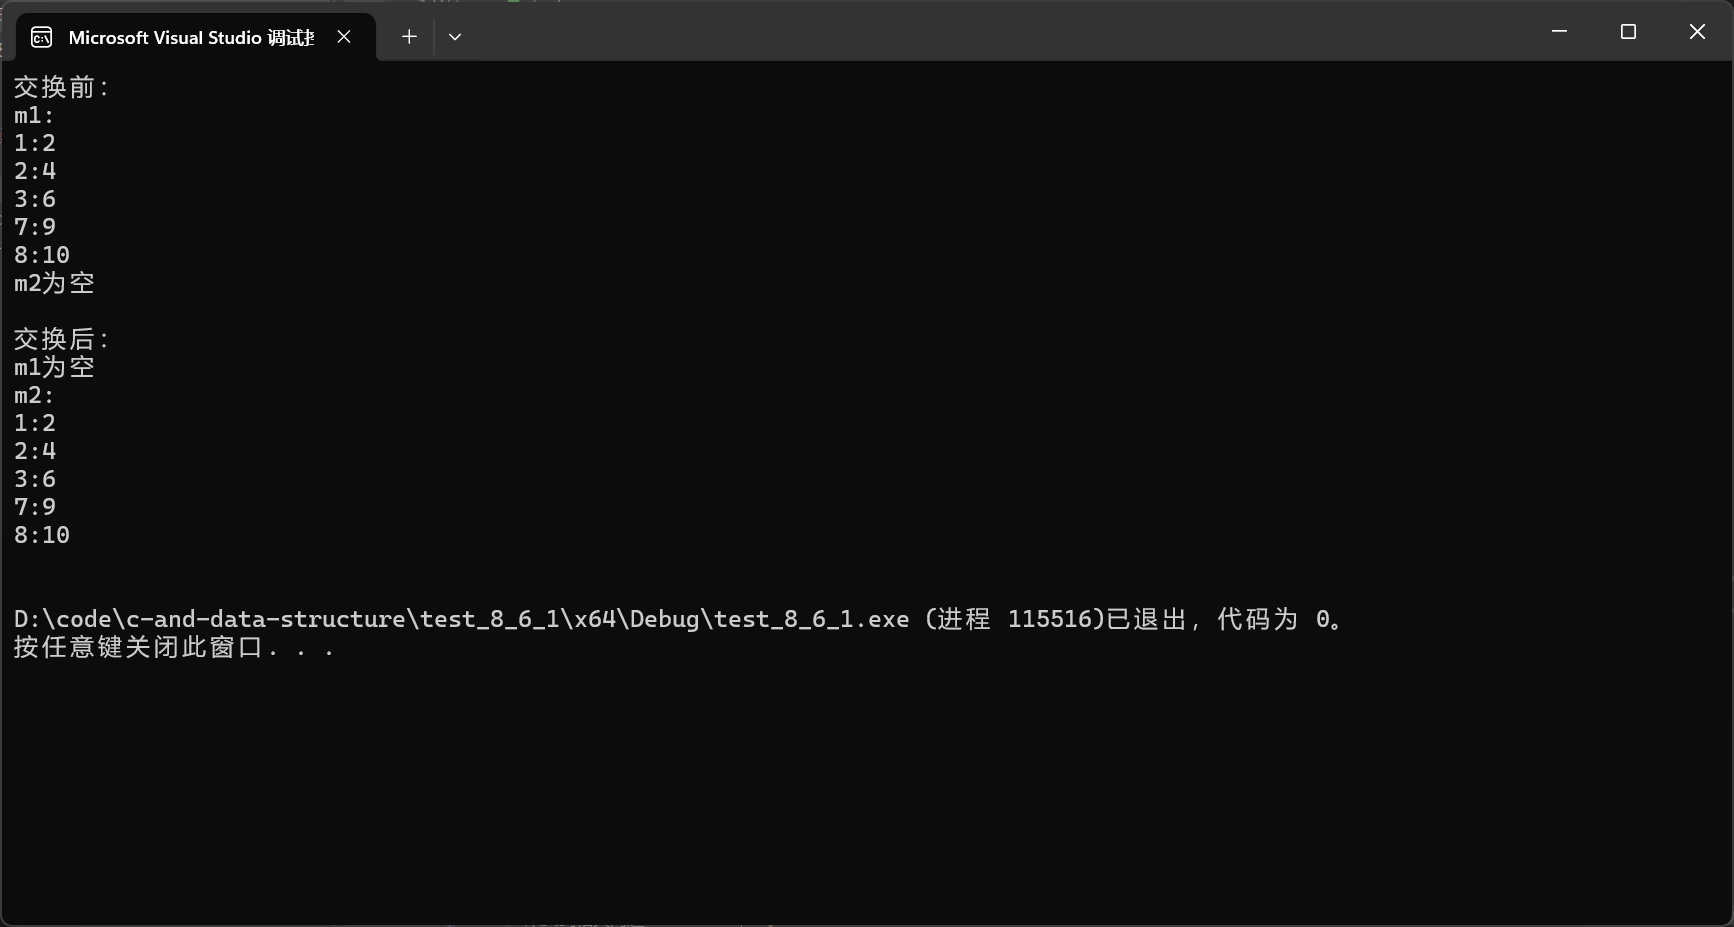
交换两个swap容器里面的元素。
实例:
void test7()
{std::map<int, int> m1{ {1, 2}, {2, 4}, {2, 5}, {3, 6}, {7, 9}, {8, 10} };std::map<int, int> m2;//空map//交换前:cout << "交换前:" << endl;if (!m1.empty()){cout << "m1:" << endl;for (auto e : m1){cout << e.first << ":" << e.second << endl;}}else{cout << "m1为空" << endl;}if (!m2.empty()){cout << "m2:" << endl;for (auto e : m2){cout << e.first << ":" << e.second << endl;}}else{cout << "m2为空" << endl;}cout << endl;//交换后:cout << "交换后:" << endl;m2.swap(m1);if (!m1.empty()){cout << "m1:" << endl;for (auto e : m1){cout << e.first << ":" << e.second << endl;}}else{cout << "m1为空" << endl;}if (!m2.empty()){cout << "m2:" << endl;for (auto e : m2){cout << e.first << ":" << e.second << endl;}}else{cout << "m2为空" << endl;}cout << endl;
}
运行结果:

clear:将一个map里的元素清空。
实例:
void test8()
{std::map<int, int> m1{ {1, 2}, {2, 4}, {2, 5}, {3, 6}, {7, 9}, {8, 10} };if (!m1.empty())cout << "m1的有效数据个数:" << m1.size() << endl;elsecout << "m1为空" << endl;//清空m1m1.clear();if (!m1.empty())cout << "m1的有效数据个数:" << m1.size() << endl;elsecout << "m1为空" << endl;
}
运行结果:


count返回key在map中出现的次数,但是map中key值是不允许重复的,因此返回值不是0,就是1。
可以利用这个特性来判断key是否在map中。
实例:
void test9()
{std::map<int, int> m1{ {1, 2}, {2, 4}, {2, 5}, {3, 6}, {7, 9}, {8, 10} };int x = 0;cin >> x;if (m1.count(x))cout << "key为" << x << "的元素已经存在" << endl;elsecout << "key为" << x << "的元素不存在" << endl;
}
运行结果:

二、map总结
- map中的元素是键值对。
- map中的key是唯一的,并且key是不能进行修改的。
- 默认按照小于的方式对key进行排序。
- map中的元素通过迭代器去遍历,可以得到一个有序序列(map的底层是红黑树,迭代器走的是中序遍历,因此遍历得到的序列是有序的)。
- map的底层是红黑树,查找效率是O(logN)
- map支持[]操作符,重载了operator[]因此可以通过[]对val进行访问。
三、multimap
3.1 multimap的介绍
multimap文档介绍

multimap和map只有一点不同,map的key是唯一的,multimap的key是可以重复的。
multimap的其他方面基本与map相同,使用时需要包含
注意:multimap中没有重载operator[]运算符,因为key不是唯一的不能通过key来对val进行访问。
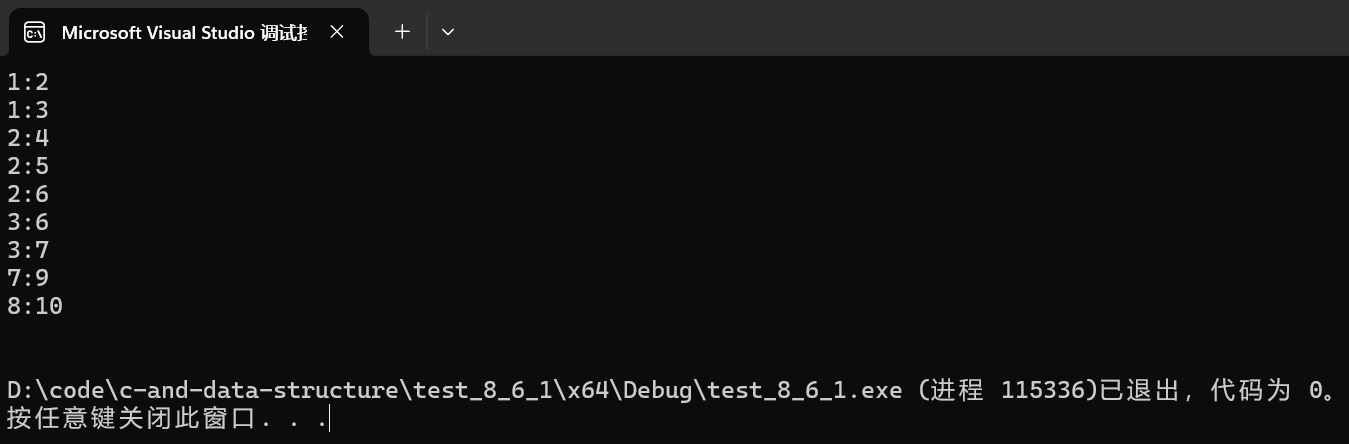
3.2 multimap的使用
实例:
void test_multimap()
{std::multimap<int, int> m1{ {1, 2}, {2, 4}, {2, 5}, {3, 6}, {7, 9}, {8, 10}, {1, 3}, { 2, 6 }, {3, 7} };for (auto e : m1){cout << e.first << ":" << e.second << endl;}cout << endl;
}
运行结果:
四、 multimap总结
multimap的接口可以参考map的接口,功能基本相同。
- multimap中的key是可重复的。
- multimap中的元素默认按照小于比较。
- multimap中没有重载operator[]运算符。
- multimap使用时包含
这篇文章到这里就结束了,主要介绍了map的接口使用以及map和multimap的区别,希望大家通过这篇文章,能够对map的使用有所了解。