Centos安装、迁移gitlab
Centos安装迁移gitlab
- 一、下载安装
- 二、配置rb修改,起服务。
- 三、访问web,个人偏好设置。
- 四、数据迁移
- 1、查看当前GitLab版本
- 2、备份旧服务器的文件
- 3、将上述备份文件拷贝到新服务器同一目录下,恢复GitLab
- 4、停止新gitlab数据连接服务
- 5、恢复备份文件到GitLab
- 6、启动GitLab,验证
一、下载安装
##安装依赖
yum -y install policycoreutils openssh-server openssh-clients postfix policycoreutils-python##命令下载安装
curl https://packages.gitlab.com/install/repositories/gitlab/gitlab-ce/script.rpm.sh | sudo bashyum install gitlab-ce##手动下载安装
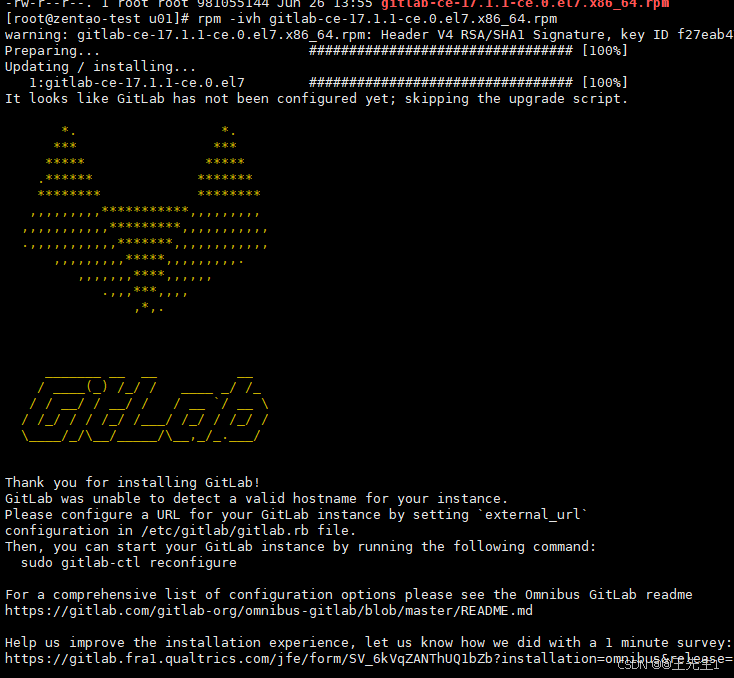
wget https://mirrors.tuna.tsinghua.edu.cn/gitlab-ce/yum/el7/gitlab-ce-17.1.1-ce.0.el7.x86_64.rpmrpm -ivh gitlab-ce-17.1.1-ce.0.el7.x86_64.rpm
二、配置rb修改,起服务。
[root@zentao-test gitlab]# systemctl status postfix
[root@zentao-test gitlab]# systemctl enable postfix[root@zentao-test gitlab]# firewall-cmd --add-service=ssh --permanent
[root@zentao-test gitlab]# firewall-cmd --add-service=http --permanent[root@zentao-test gitlab]# firewall-cmd --reload[root@zentao-test gitlab]#  vim /etc/gitlab/gitlab.rb
external_url  'http://gitlab.test.com'##配置邮箱通知,qq邮箱为例
##[qq邮箱如何获取授权码](https://blog.csdn.net/qq_44637753/article/details/126717153)
# gitlab_rails['gitlab_email_from'] = '1349***626@qq.com'
# gitlab_rails['gitlab_email_display_name'] = 'Gitlab'
# gitlab_rails['gitlab_email_reply_to'] = '1349***626@qq.com'
# gitlab_rails['smtp_enable'] = true
# gitlab_rails['smtp_address'] = "smtp.qq.com"   ##smtp.163.com
# gitlab_rails['smtp_port'] = 465
# gitlab_rails['smtp_user_name'] = "1349***626@qq.com"
# gitlab_rails['smtp_password'] = "qq授权码"
# gitlab_rails['smtp_domain'] = "smtp.qq.com"
# gitlab_rails['smtp_authentication'] = "login"
# gitlab_rails['smtp_enable_starttls_auto'] = false
# gitlab_rails['smtp_tls'] = true
# gitlab_rails['smtp_pool'] = false
#unicorn['worker_processes'] = 2   ##14注释
postgresql['max_worker_processes'] = 4
nginx['listen_port'] = 9099
nginx['worker_processes'] = 2##如果需要https,自制ssl证书后
#nginx['enable'] = true
#nginx['client_max_body_size'] = '2048m'
#nginx['redirect_http_to_https'] = true           #取消#号 更改注释并为true
#nginx['ssl_certificate'] = "/etc/gitlab/ssl/gitlab.test.com.crt"     #更改路径
#nginx['ssl_certificate_key'] = "/etc/gitlab/ssl/gitlab.test.com.key"     #更改路径##重新加载配置,启动gitlab
[root@zentao-test gitlab]#   gitlab-ctl reconfigure
##运行在ruby_block[wait for logrotate service socket] action run卡住情况下
##新开终端运行下列命令,不终止
/opt/gitlab/embedded/bin/runsvdir-star
##邮箱测试
[root@zentao-test gitlab]#  gitlab-rails console
> Notify.test_email('1349***626@qq.com','test Gitlab Email','Test').deliver_now
邮件发送成功


三、访问web,个人偏好设置。
##防火墙放通
[root@zentao-test gitlab]# firewall-cmd --add-port=9099/tcp --permanent
success
[root@zentao-test gitlab]# firewall-cmd --reload[root@zentao-test gitlab]# cat /etc/gitlab/initial_root_password
Password: RN5rmZUR2JHOUWHWS4DfBx0H+IZPGoN7dFSPWKS60kw=
##nginx监听端口:9099访问:ip:9099
##个人偏好设置,中文

四、数据迁移
注:GitLab不能跨版本升级。
1、查看当前GitLab版本
[root@zentao-old gitlab]# cat /opt/gitlab/embedded/service/gitlab-rails/VERSION2、备份旧服务器的文件
##默认备份文件在 /var/opt/gitlab/backups/
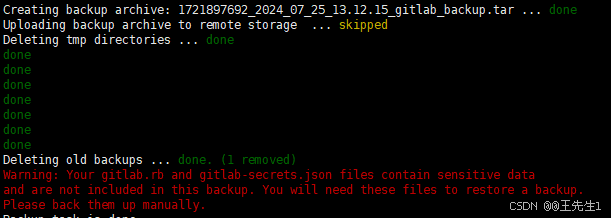
[root@zentao-old backups]# gitlab-rake gitlab:backup:create##手动备份/etc/gitlab目录以下两个文件到迁移服务器目录下
gitlab-secrets.json 主
gitlab.rb 次
3、将上述备份文件拷贝到新服务器同一目录下,恢复GitLab
## 将备份文件权限修改为777,避免出现权限不够的问题
[root@zentao-new backups]#  scp -r 192.168.10.146:/var/opt/gitlab/backups/1721897692_2024_07_25_13.12.15_gitlab_backup.tar /var/opt/gitlab/backups/[root@zentao-new backups]#  chmod 777 1721897692_2024_07_25_13.12.15_gitlab_backup.tar
4、停止新gitlab数据连接服务
[root@zentao-new gitlab]#  gitlab-ctl stop unicorn
[root@zentao-new gitlab]#  gitlab-ctl stop sidekiq
5、恢复备份文件到GitLab
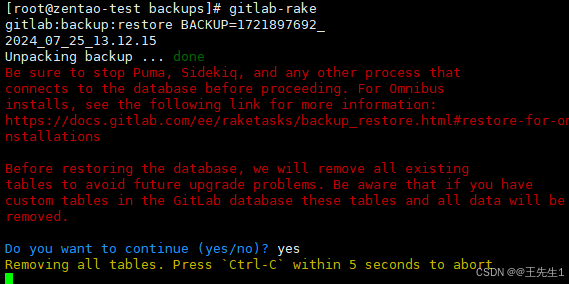
##备份文件编号省略_gitlab_backup.tar
##gitlab-rake gitlab:backup:restore BACKUP=备份文件编号[root@zentao-new gitlab]#  gitlab-rake gitlab:backup:restore BACKUP=1721897692_2024_07_25_13.12.15
6、启动GitLab,验证
[root@zentao-new gitlab]# gitlab-ctl start[root@zentao-new gitlab]# gitlab-ctl restart