RHCE学习日记二
1、在 node1 主机上配置 chrony 时间服务器,将该主机作为时间服务器。
命令:
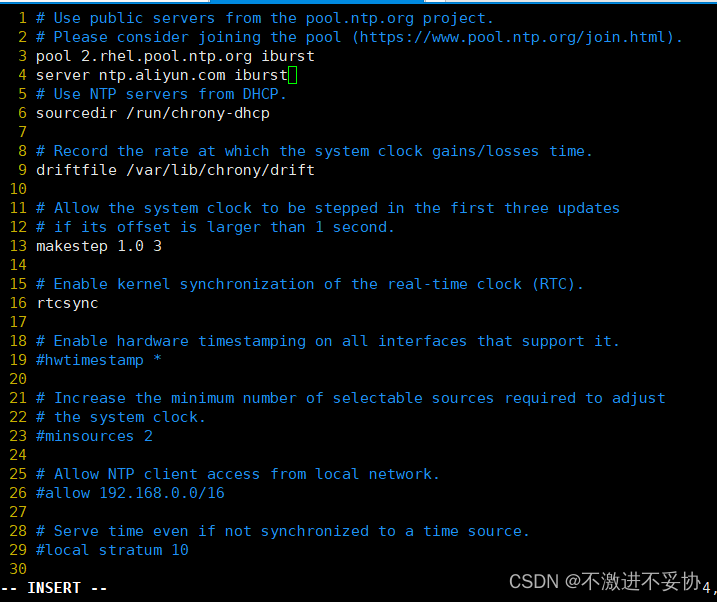
vim /etc/chrony.conf
在文件位置添加命令:
#Use public servers from the pool.ntp.org project.
#Please consider joining the pool (https://www.pool.ntp.org/join.html).
#pool 2.rhel.pool.ntp.org iburst
server ntp.aliyun.com iburst
systemctl status chronyd
chronyc tracking
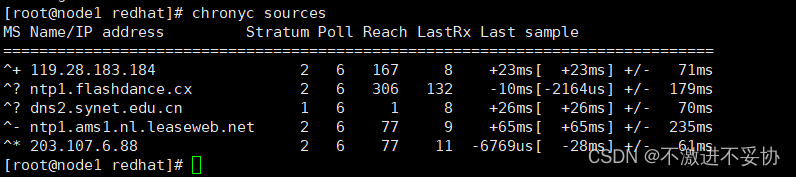
chronyc sources
2、在 node1 主机上创建防火墙区域 testzone, 将 node1 主机网络接口接入该区域,创建新防火墙服务为 timeservice
命令:
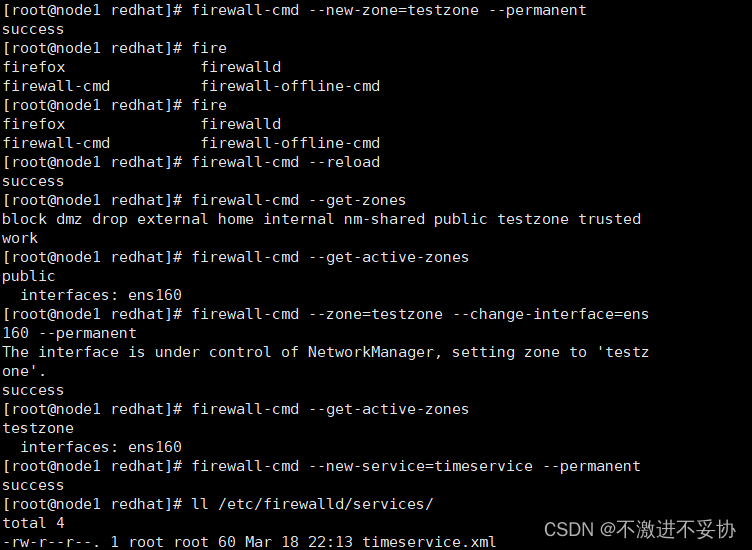
firewall-cmd --new-zone=testzone --permanent
firewall-cmd --reload
firewall-cmd --get-zones
firewall-cmd --get-active-zones
firewall-cmd --zone=testzone --change-interface=ens160 --permanent
firewall-cmd --get-active-zones
firewall-cmd --new-service=timeservice --permanent
ll /etc/firewalld/services/
3、在 node1 将该防火墙服务 timeservice 定义为允许 chrony 服务通过。

命令:
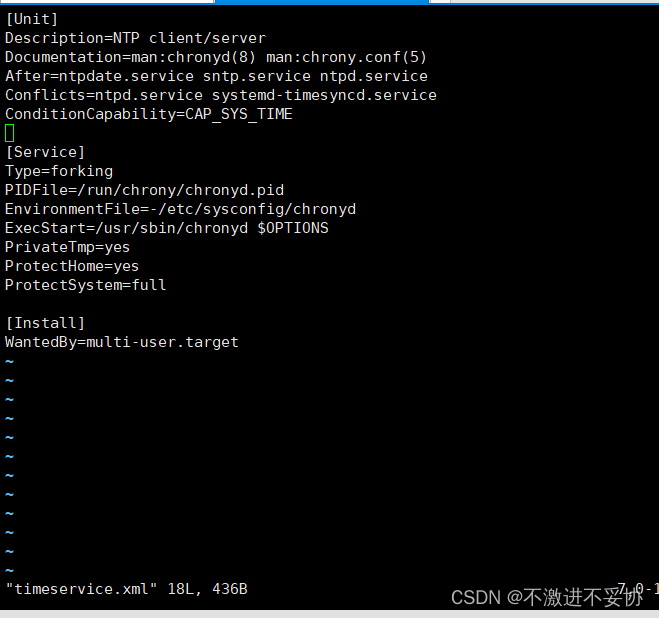
[root@node1 redhat]# cd /usr/lib/systemd/system/
[root@node1 system]# cp chronyd.service /etc/firewalld//services/timeservice.xml
cp: overwrite ‘/etc/firewalld//services/timeservice.xml’? y
[root@node1 system]# cd /etc/firewalld/services/
[root@node1 services]# vim timeservice.xml
4、在 node2 主机上配置 chrony 时间客户端,该主机将 node1 主机作为时间源服务器

命令:
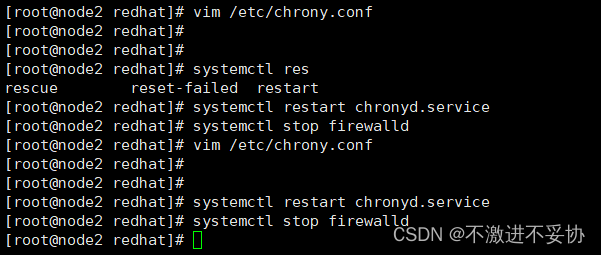
[root@node2 redhat]# vim /etc/chrony.conf
文件位置添加:
#Allow NTP client access from local network.
#allow 192.168.0.0/16
allow 192.168.147.129/24
[root@node2 redhat]# systemctl restart chronyd.service
[root@node2 redhat]# systemctl stop firewalld
[root@node2 redhat]# vim /etc/chrony.conf
在文件位置添加:
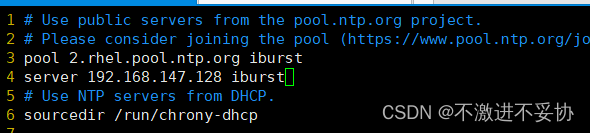
#Use public servers from the pool.ntp.org project.
#Please consider joining the pool (https://www.pool.ntp.org/join.html).
#pool 2.rhel.pool.ntp.org iburst
server 192.168.147.128 iburst
[root@node2 redhat]# systemctl restart chronyd.service
[root@node2 redhat]# systemctl stop firewalld
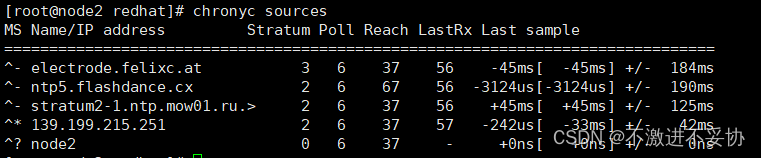
[root@node2 redhat]# chronyc sources
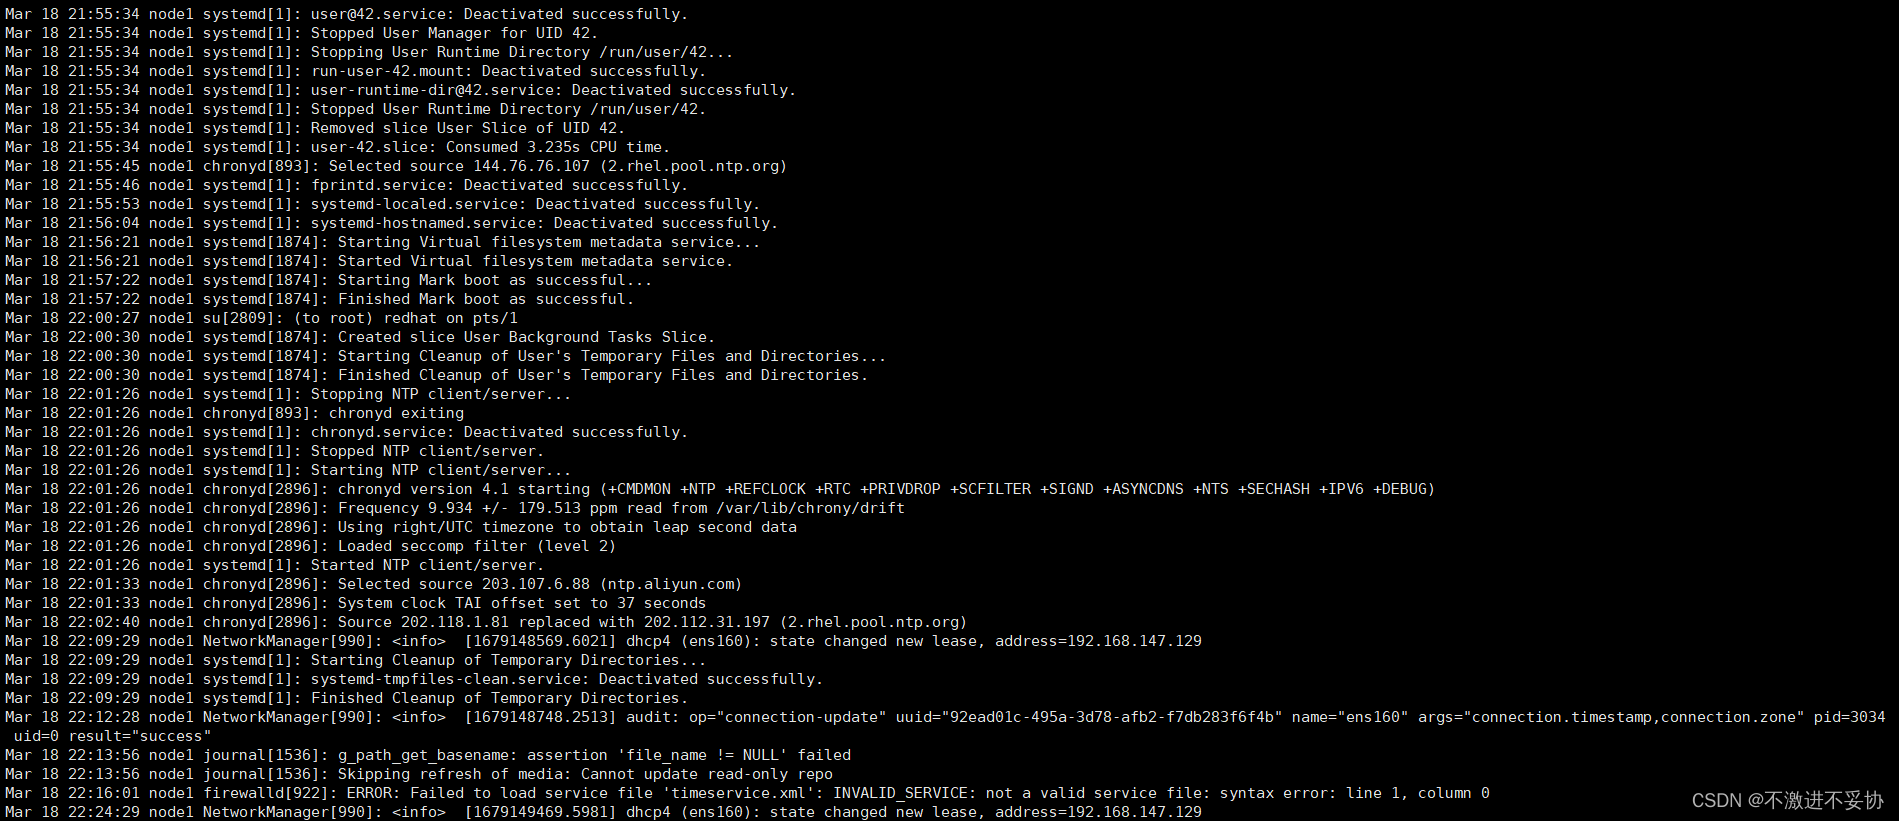
5、配置完防火墙服务之后,node1 和 node2 主机的时间服务器可以正常工作。
查看日志信息是否正常工作:

命令:
[root@node1 services]# cat /var/log/messages