CentOS7 部署单机版 elasticsearch
一、环境准备
1、准备一台系统为CentOS7的服务器
[root@localhost ~]# cat /etc/redhat-release
CentOS Linux release 7.9.2009 (Core)
2、创建新用户,用于elasticsearch服务
# elastic不允许使用root账号启动服务
[root@localhost ~]# useradd elastic
[root@localhost ~]# passwd elastic
Changing password for user elastic.
New password:
BAD PASSWORD: The password is shorter than 8 characters
Retype new password:
passwd: all authentication tokens updated successfully.
3、设置ulimit
[root@localhost ~]# vi /etc/security/limits.conf
# 在文本最后添加如下几行
## 可以打开的最大文件数(软限制)
elastic soft nofile 65536
## 可以打开的最大文件数(硬限制)
elastic hard nofile 65536
## 可以创建的最大进程数(软限制)
elastic soft nproc 65535
## 可以创建的最大进程数(硬限制)
elastic hard nproc 65535[root@localhost ~]# vi /etc/sysctl.conf
# 在文本最后添加下面行
## 设置单个进程可以拥有的最大内存映射区域数量
vm.max_map_count=262144# 重启服务器,使其生效
4、查看ulimit值是否生效
[root@localhost ~]# su - elastic
[elastic@localhost ~]$ ulimit -S -n
65536
[elastic@localhost ~]$ ulimit -H -n
65536
[elastic@localhost ~]$ cat /proc/sys/vm/max_map_count
262144
二、安装elastic search
1、下载安装包
[root@localhost ~]# wget https://artifacts.elastic.co/downloads/elasticsearch/elasticsearch-8.13.4-linux-x86_64.tar.gz2、解压缩
# 解压缩
[root@localhost ~]# tar -zxvf elasticsearch-8.13.4-linux-x86_64.tar.gz
# 移动目录到/opt/下
[root@localhost ~]# mv elasticsearch-8.13.4 /opt/es/
3、设置目录权限
[root@localhost ~]# cd /opt
[root@localhost opt]# chown -R elastic: es
4、修改配置文件
[root@localhost es]# vi /opt/es/config/elasticsearch.yml
# 修改如下内容
## elastic节点名字
node.name: node-1
## 数据存放目录
path.data: /opt/es/data
## 日志存放目录
path.logs: /opt/es/logs
## 对所有IP开放,可以跟据需求修改
network.host: 0.0.0.0
5、设置启动脚本
vi /etc/systemd/system/elasticsearch.service[Unit]
Description=ElasticSearch
After=network.target[Service]
Type=simple
User=elastic
Group=elastic
ExecStart=/opt/es/bin/elasticsearch -d -p /opt/es/elasticsearch.pid
ExecStop=/opt/es/bin/elasticsearch-sysctl stop
PIDFile=/opt/es/elasticsearch.pid
# 修改线程数限制
LimitNPROC=65535
# 修改文件描述符限制
LimitNOFILE=65535[Install]
WantedBy=multi-user.target
6、启动服务
# 重新加载服务
[root@localhost es]# systemctl daemon-reload
# 启动服务
[root@localhost es]# systemctl start elasticsearch.service
# 设置开机自启动
[root@localhost es]# systemctl enable elasticsearch.service
7、查看服务是否启动成功
# 查看9200,9300端口是否启动
[root@localhost es]# netstat -ntpl
Active Internet connections (only servers)
Proto Recv-Q Send-Q Local Address           Foreign Address         State       PID/Program name
tcp6       0      0 :::9200                 :::*                    LISTEN      1605/java
tcp6       0      0 :::9300                 :::*                    LISTEN      1605/java
8、设置密码
[root@localhost es]# /opt/es/bin/elasticsearch-setup-passwords interactive
******************************************************************************
Note: The 'elasticsearch-setup-passwords' tool has been deprecated. This       command will be removed in a future release.
******************************************************************************Initiating the setup of passwords for reserved users elastic,apm_system,kibana,kibana_system,logstash_system,beats_system,remote_monitoring_user.
You will be prompted to enter passwords as the process progresses.
Please confirm that you would like to continue [y/N]yEnter password for [elastic]:
Reenter password for [elastic]:
Enter password for [apm_system]:
Reenter password for [apm_system]:
Enter password for [kibana_system]:
Reenter password for [kibana_system]:
Enter password for [logstash_system]:
Reenter password for [logstash_system]:
Enter password for [beats_system]:
Reenter password for [beats_system]:
Enter password for [remote_monitoring_user]:
Reenter password for [remote_monitoring_user]:
Changed password for user [apm_system]
Changed password for user [kibana_system]
Changed password for user [kibana]
Changed password for user [logstash_system]
Changed password for user [beats_system]
Changed password for user [remote_monitoring_user]
Changed password for user [elastic]
9、修改密码
如果忘记密码,可以通过以下方式修改密码
[root@localhost es]# elasticsearch-reset-password -u elastic -i三、测试
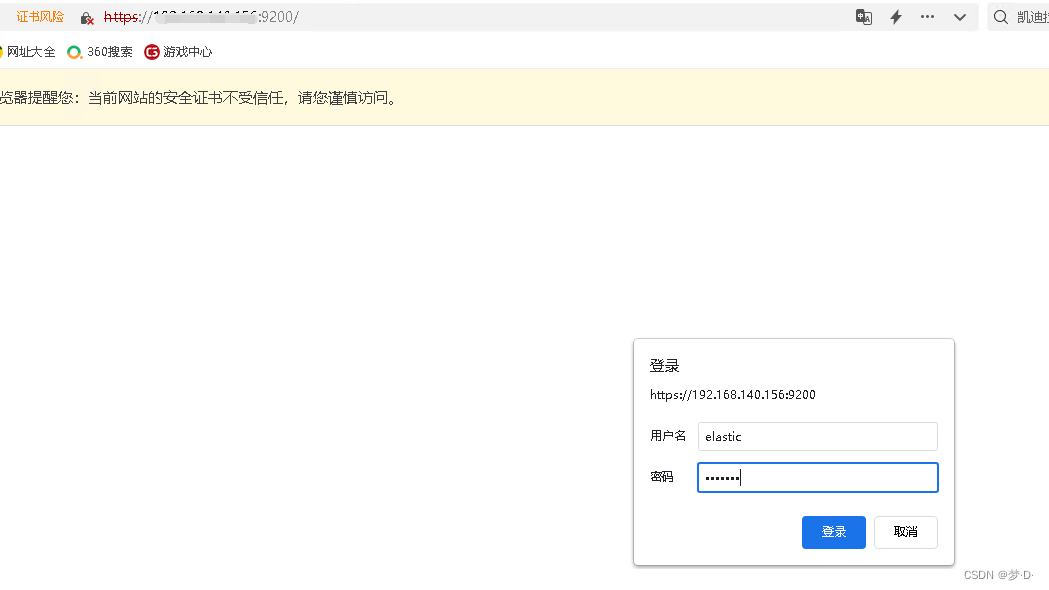
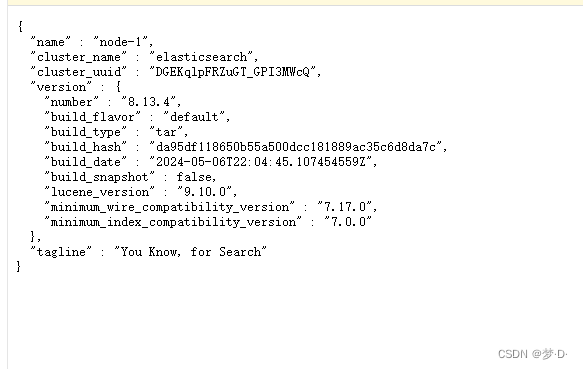
1、浏览器访问测试
浏览器中输入URL:https://IP:9200
输入账号密码