深度学习手写字符识别:训练模型
说明
本篇博客主要是跟着B站中国计量大学杨老师的视频实战深度学习手写字符识别。
第一个深度学习实例手写字符识别
深度学习环境配置
可以参考下篇博客,网上也有很多教程,很容易搭建好深度学习的环境。
Windows11搭建GPU版本PyTorch环境详细过程
数据集
手写字符识别用到的数据集是MNIST数据集(Mixed National Institute of Standards and Technology database);MNIST是一个用来训练各种图像处理系统二进制图像数据集,广泛应用到机器学习中的训练和测试。
作为一个入门级的计算机视觉数据集,发布20多年来,它已经被无数机器学习入门者应用无数遍,是最受欢迎的深度学习数据集之一。
| 序号 | 说明 |
|---|---|
| 发布方 | National Institute of Standards and Technology(美国国家标准技术研究所,简称NIST) |
| 发布时间 | 1998 |
| 背景 | 该数据集的论文想要证明在模式识别问题上,基于CNN的方法可以取代之前的基于手工特征的方法,所以作者创建了一个手写数字的数据集,以手写数字识别作为例子证明CNN在模式识别问题上的优越性。 |
| 简介 | MNIST数据集是从NIST的两个手写数字数据集:Special Database 3 和Special Database 1中分别取出部分图像,并经过一些图像处理后得到的。MNIST数据集共有70000张图像,其中训练集60000张,测试集10000张。所有图像都是28×28的灰度图像,每张图像包含一个手写数字。 |
跟着视频跑源码
- 下载源码:mivlab/AI_course (github.com)
- 下载数据集:https://opendatalab.com/MNIST;网上下载的地址比较多,也可以直接下载B站中国计量大学杨老师的百度网盘位置里的MNIST。
运行源码
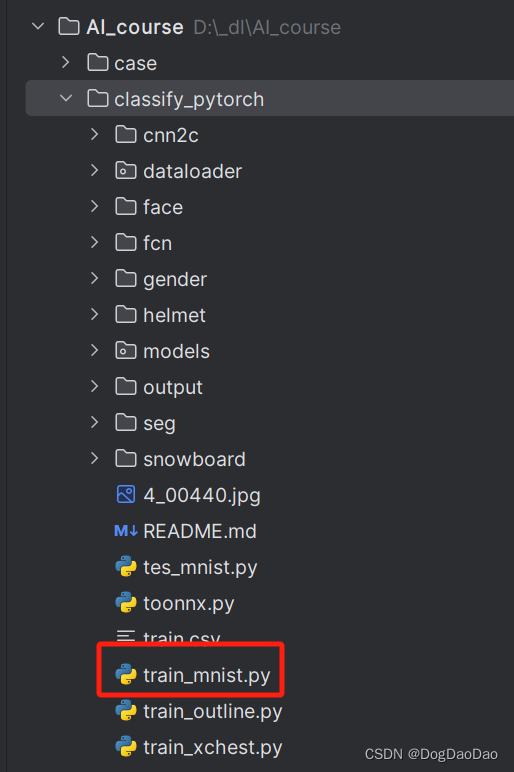
- 在Pycharm中打开
AI_course项目,运行classify_pytorch文件目录里train_mnist.py的Python文件。
train_mnist.py具体的源码如下:
import torch
import math
import torch.nn as nn
from torch.autograd import Variable
from torchvision import transforms, models
import argparse
import os
from torch.utils.data import DataLoaderfrom dataloader import mnist_loader as ml
from models.cnn import Net
from toonnx import to_onnxparser = argparse.ArgumentParser(description='PyTorch MNIST Example')
parser.add_argument('--datapath', required=True, help='data path')
parser.add_argument('--batch_size', type=int, default=256, help='training batch size')
parser.add_argument('--epochs', type=int, default=300, help='number of epochs to train')
parser.add_argument('--use_cuda', default=False, help='using CUDA for training')args = parser.parse_args()
args.cuda = args.use_cuda and torch.cuda.is_available()
if args.cuda:torch.backends.cudnn.benchmark = Truedef train():os.makedirs('./output', exist_ok=True)if True: #not os.path.exists('output/total.txt'):ml.image_list(args.datapath, 'output/total.txt')ml.shuffle_split('output/total.txt', 'output/train.txt', 'output/val.txt')train_data = ml.MyDataset(txt='output/train.txt', transform=transforms.ToTensor())val_data = ml.MyDataset(txt='output/val.txt', transform=transforms.ToTensor())train_loader = DataLoader(dataset=train_data, batch_size=args.batch_size, shuffle=True)val_loader = DataLoader(dataset=val_data, batch_size=args.batch_size)model = Net(10)#model = models.vgg16(num_classes=10)#model = models.resnet18(num_classes=10) # 调用内置模型#model.load_state_dict(torch.load('./output/params_10.pth'))#from torchsummary import summary#summary(model, (3, 28, 28))if args.cuda:print('training with cuda')model.cuda()optimizer = torch.optim.Adam(model.parameters(), lr=0.01, weight_decay=1e-3)scheduler = torch.optim.lr_scheduler.MultiStepLR(optimizer, [20, 30], 0.1)loss_func = nn.CrossEntropyLoss()for epoch in range(args.epochs):# training-----------------------------------model.train()train_loss = 0train_acc = 0for batch, (batch_x, batch_y) in enumerate(train_loader):if args.cuda:batch_x, batch_y = Variable(batch_x.cuda()), Variable(batch_y.cuda())else:batch_x, batch_y = Variable(batch_x), Variable(batch_y)out = model(batch_x) # 256x3x28x28 out 256x10loss = loss_func(out, batch_y)train_loss += loss.item()pred = torch.max(out, 1)[1]train_correct = (pred == batch_y).sum()train_acc += train_correct.item()print('epoch: %2d/%d batch %3d/%d Train Loss: %.3f, Acc: %.3f'% (epoch + 1, args.epochs, batch, math.ceil(len(train_data) / args.batch_size),loss.item(), train_correct.item() / len(batch_x)))optimizer.zero_grad()loss.backward()optimizer.step()scheduler.step() # 更新learning rateprint('Train Loss: %.6f, Acc: %.3f' % (train_loss / (math.ceil(len(train_data)/args.batch_size)),train_acc / (len(train_data))))# evaluation--------------------------------model.eval()eval_loss = 0eval_acc = 0for batch_x, batch_y in val_loader:if args.cuda:batch_x, batch_y = Variable(batch_x.cuda()), Variable(batch_y.cuda())else:batch_x, batch_y = Variable(batch_x), Variable(batch_y)out = model(batch_x)loss = loss_func(out, batch_y)eval_loss += loss.item()pred = torch.max(out, 1)[1]num_correct = (pred == batch_y).sum()eval_acc += num_correct.item()print('Val Loss: %.6f, Acc: %.3f' % (eval_loss / (math.ceil(len(val_data)/args.batch_size)),eval_acc / (len(val_data))))# 保存模型。每隔多少帧存模型,此处可修改------------if (epoch + 1) % 1 == 0:# torch.save(model, 'output/model_' + str(epoch+1) + '.pth')torch.save(model.state_dict(), 'output/params_' + str(epoch + 1) + '.pth')#to_onnx(model, 3, 28, 28, 'params.onnx')if __name__ == '__main__':train()- 报错:没有
cv2,即没有安装OpenCV库。
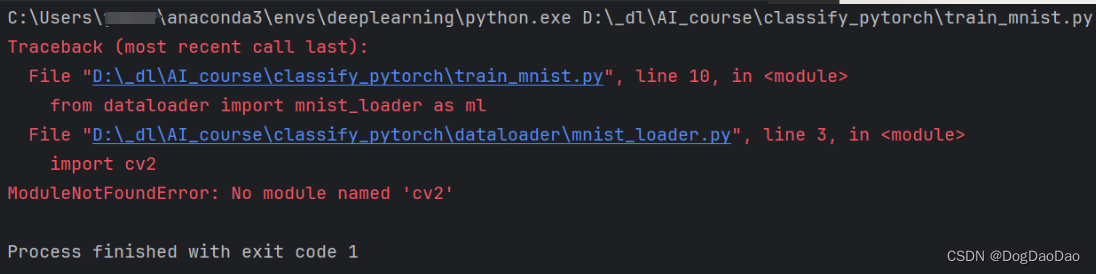
- 安装OpenCV库,可以命令行安装,也可以Pycharm中安装。
- 命令行激活虚拟环境:
conda activate deeplearning - 命令行安装:
pip install opencv-python(也可以Pycharm中下载,可能上梯子安装更快)

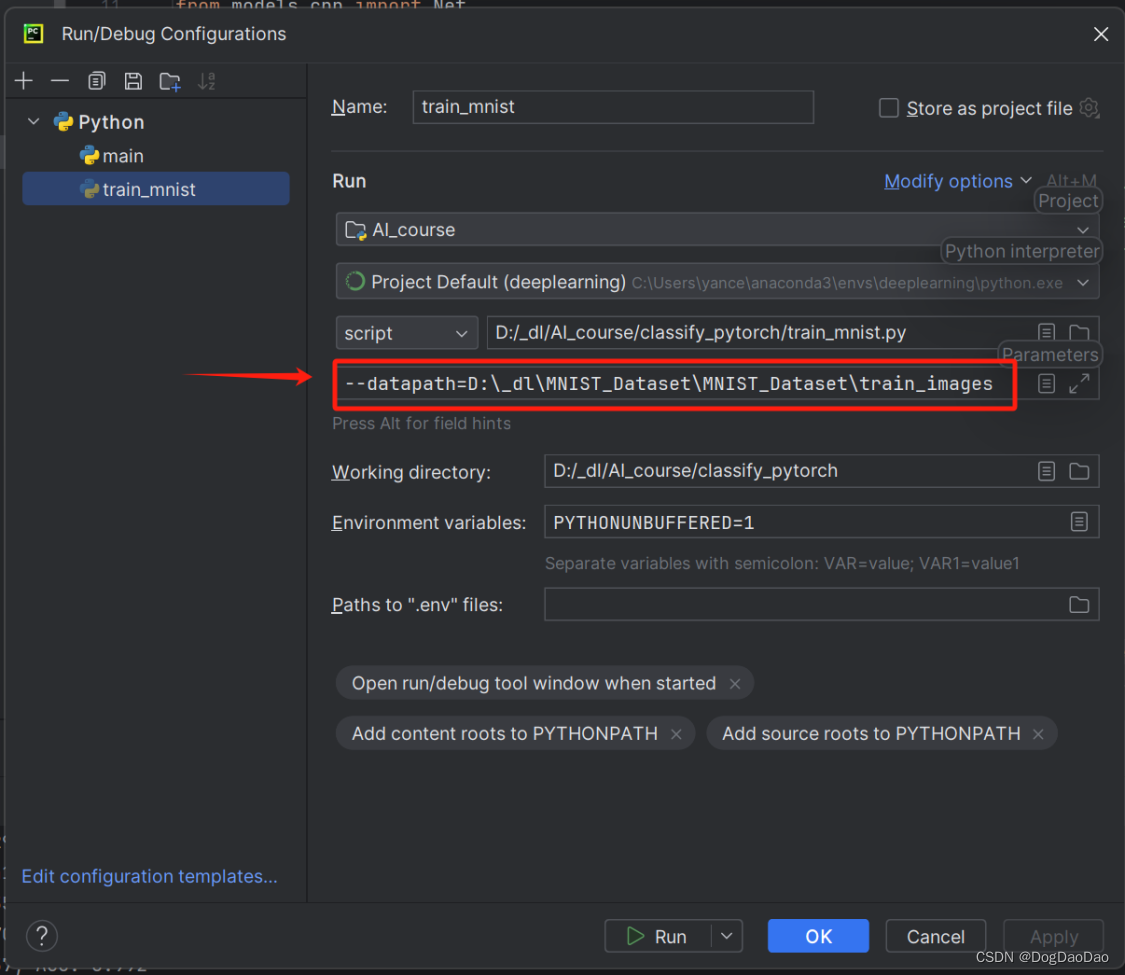
- 再次运行,出现如下图提示,表明需要将下载好的数据集配置到
configure中。

- 加载下载好的数据集,即
--datapath=数据集的路径。
- 点击“
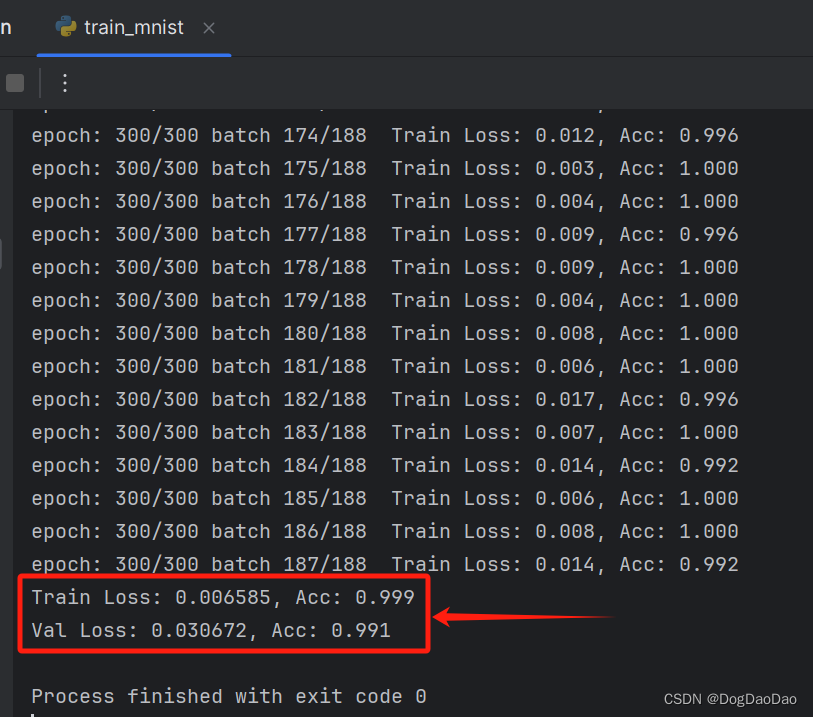
Run”,开始训练,损失和准确率在一直更新,持续训练,直到模型完成,未改动源码的情况下,训练时间可能需要较长。
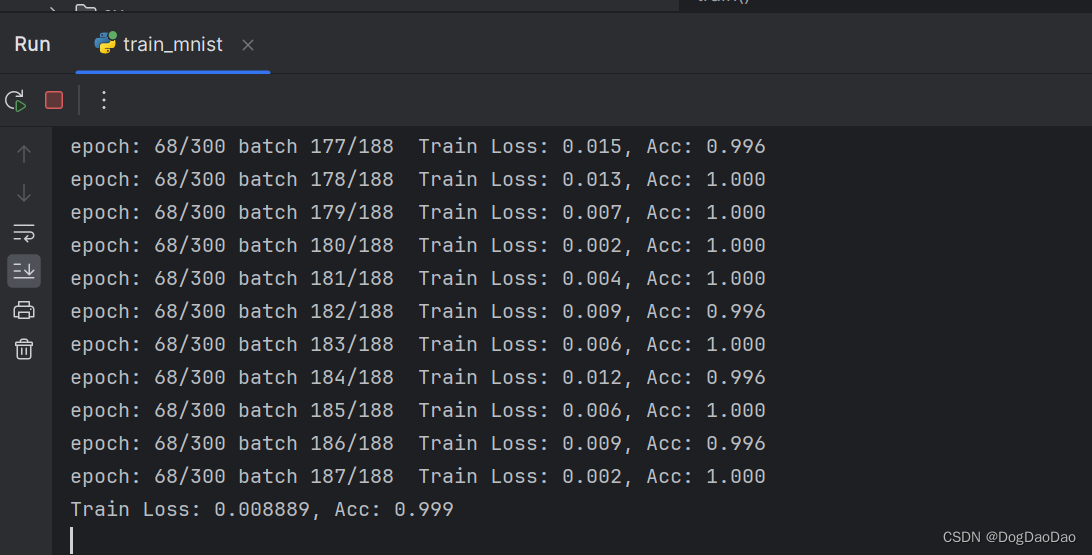
- 在小编的拯救者笔记本电脑上持续训练了10小时才完成最终的模型训练,可以看到训练损失已经很低了,准确度很高水平。
- 在项目中
output文件夹中可以看到已经训练好了很多模型;后面可以利用模型进行推理了。

参考
https://zhuanlan.zhihu.com/p/681236488