three.js实现电子围栏效果(纹理贴图)
实现步骤
- 围栏的坐标
- 坐标转换为几何体顶点,uv顶点坐标
- 加载贴图,移动
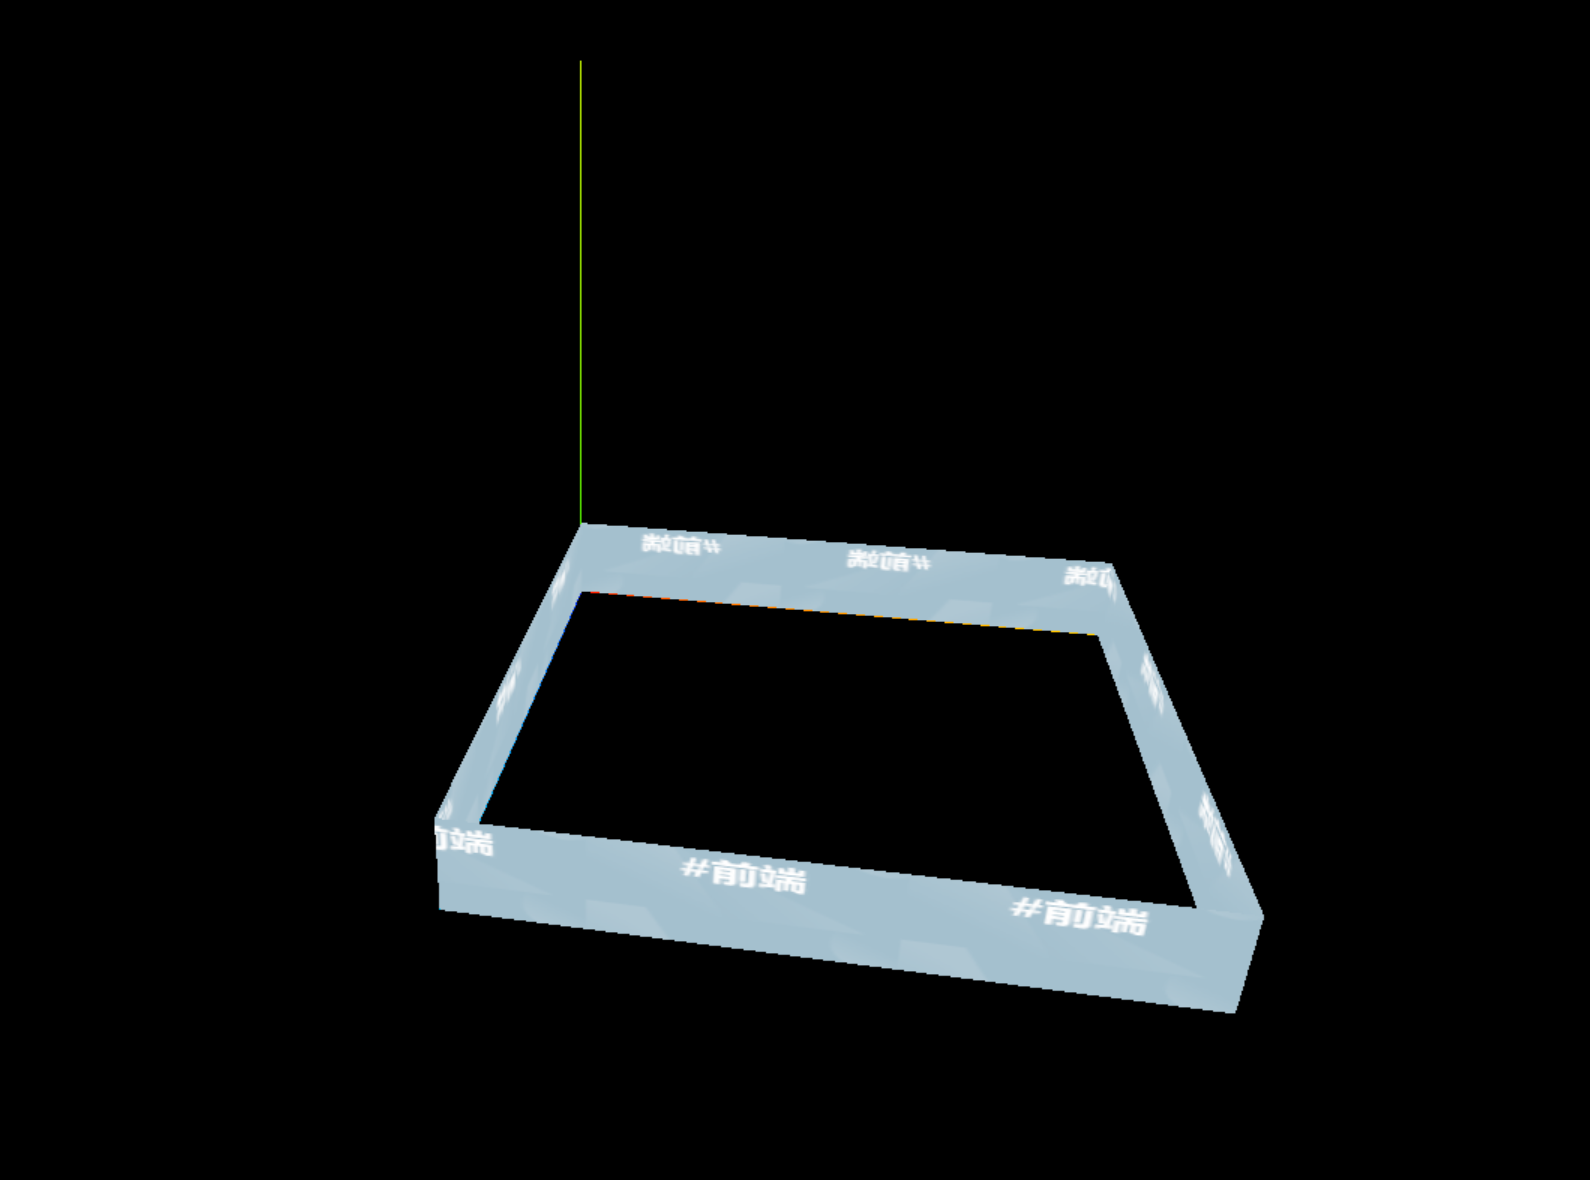
图例
代码
<template><div class="app"><div ref="canvesRef" class="canvas-wrap"></div></div>
</template><script setup>
import { ref, onMounted } from "vue";
import * as THREE from "three";
import { OrbitControls } from "three/addons/controls/OrbitControls.js";const canvesRef = ref(null);
const canvasWidth = window.innerWidth;
const canvasHeight = window.innerHeight;
let scene;
let camera;
let renderer;
let axesHelper;
let cameraControls;init();
render();
function init() {scene = new THREE.Scene();addModel();camera = new THREE.PerspectiveCamera(75,canvasWidth / canvasHeight,0.1,3000);camera.position.set(300, 300, 300);axesHelper = new THREE.AxesHelper(200);scene.add(axesHelper);renderer = new THREE.WebGLRenderer();renderer.setSize(canvasWidth, canvasHeight);cameraControls = new OrbitControls(camera, renderer.domElement);
}
function addModel() {const points = [[0, 0, 0],[0, 0, 200],[200, 0, 200],[200, 0, 0],[0, 0, 0],];const height = 30; const color1 = "#ff00ff"; const pointDistance = [];const distance = points.reduce((totalDistance, point, index) => {let segmentDistance = 0;if (index > 0) {let lastPoint = new THREE.Vector3(...points[index - 1]);let currPoint = new THREE.Vector3(...point);segmentDistance = lastPoint.distanceTo(currPoint);}totalDistance += segmentDistance;pointDistance.push(totalDistance);return totalDistance;}, 0);const geometry = new THREE.BufferGeometry(); const posArr = [];const uvArr = [];points.forEach((point, index) => {if (index == 0) return;const lastPoint = points[index - 1];posArr.push(...lastPoint);uvArr.push(pointDistance[index - 1] / distance, 0);posArr.push(...point);uvArr.push(pointDistance[index] / distance, 0);posArr.push(lastPoint[0], lastPoint[1] + height, lastPoint[2]);uvArr.push(pointDistance[index - 1] / distance, 1);posArr.push(...point);uvArr.push(pointDistance[index] / distance, 0);posArr.push(point[0], point[1] + height, point[2]);uvArr.push(pointDistance[index] / distance, 1);posArr.push(lastPoint[0], lastPoint[1] + height, lastPoint[2]);uvArr.push(pointDistance[index - 1] / distance, 1);});console.log(posArr, uvArr);geometry.setAttribute("position",new THREE.BufferAttribute(new Float32Array(posArr), 3));geometry.setAttribute("uv",new THREE.BufferAttribute(new Float32Array(uvArr), 2));const texture = new THREE.TextureLoader().load("../src/assets/img/icon.png");texture.wrapS = THREE.RepeatWrapping;texture.wrapT = THREE.RepeatWrapping;const material = new THREE.MeshBasicMaterial({map: texture,transparent: true,opacity: 1,depthWrite: false,side: THREE.DoubleSide,});const mesh = new THREE.Mesh(geometry, material);scene.add(mesh);texture.repeat.set(10, 1); textrue_offset(texture, "top", 5);
}
function textrue_offset(texture, direction = "right", speed = 0.5) {const start = Date.now();const h = () => {requestAnimationFrame(h);const now = Date.now();const offset = ((now - start) / 1000) * speed;switch (direction) {case "left":texture.offset = new THREE.Vector2(offset, 0); break;case "right":texture.offset = new THREE.Vector2(-offset, 0);break;case "top":texture.offset = new THREE.Vector2(0, -offset);break;case "left":texture.offset = new THREE.Vector2(0, offset);break;}};h();
}
function render() {renderer.render(scene, camera);requestAnimationFrame(render);
}
onMounted(() => {canvesRef.value.appendChild(renderer.domElement);
});
</script><style lang="scss" scoped>
.app {position: relative;
}
</style>