Python学习笔记-使用Anaconda+VSCode配置开发环境
文章目录
- 概述
- 一、安装Anaconda
- 1.1 下载软件
- 1.2 安装anaconda
- 1.3 配置环境
- 二、配置虚拟环境
- 2.1 使用conda创建一个新的虚拟环境
- 2.1.1 使用search指令查看支持的python的版本:
- 2.1.2 使用create创建指定版本的虚拟环境:
- 2.1.3 使用env list查看虚拟环境列表:
- 2.2 VSCode中切换解释器环境
- 三、问题处理
- 3.1 遇到切换完之后,但是Powershell无法切换到虚拟环境
- 总结
解锋镝
生有生,大道自有徵,死无死,何用百年算。掩筝罢弦听渊默,苍茫天地何解莲

概述
使用Anaconda可以比较简单的管理python以及相关的资源库,而VSCode是最强大的编码工具之一,两者结合使用,可以更为高效的进行开发。
一、安装Anaconda
1.1 下载软件
下载路径为:Anaconda下载地址

根据自己需要选择相关的平台进行下载。
1.2 安装anaconda
本文以windows平台版本为例。
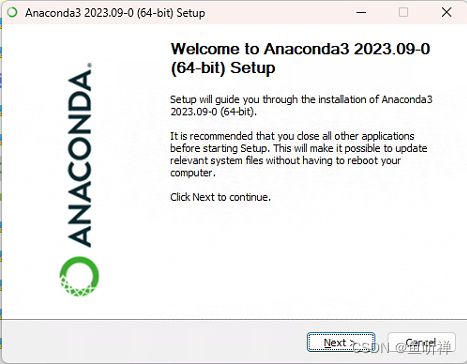
右键点击安装包选择以管理员权限运行:

选择next:
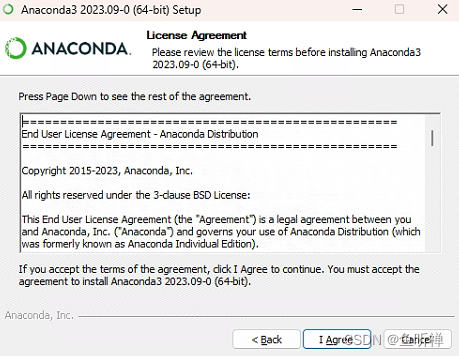
选择I Agree:
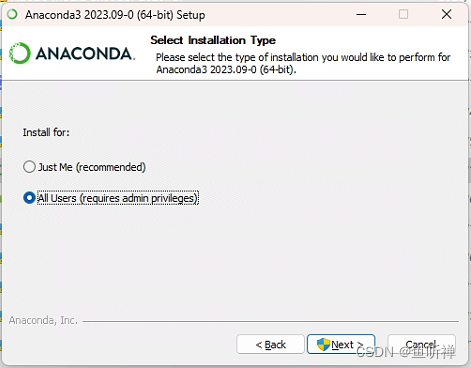
根据自己需要选择是否只为自己安装还是为所有用户安装,一般选择所有用户,然后next:
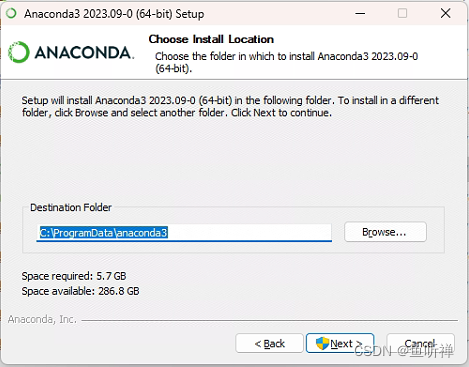
选择安装目录,如果C盘不够大,那就安装到其他盘中,然后next:
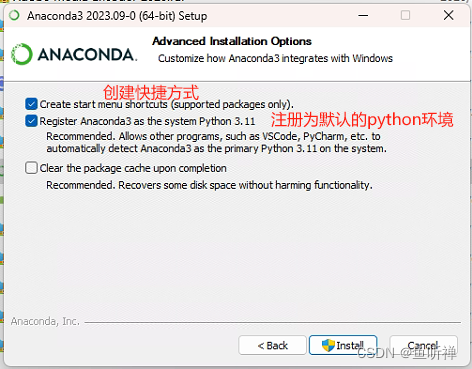
选择默认安装选项,然后Install:
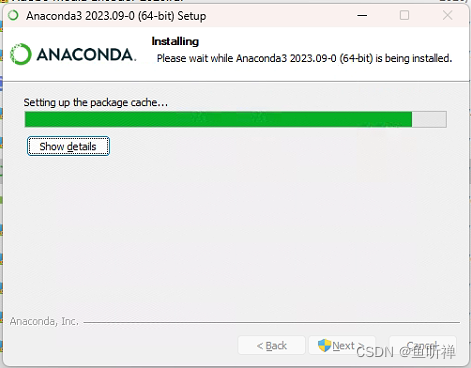
等待安装完毕:
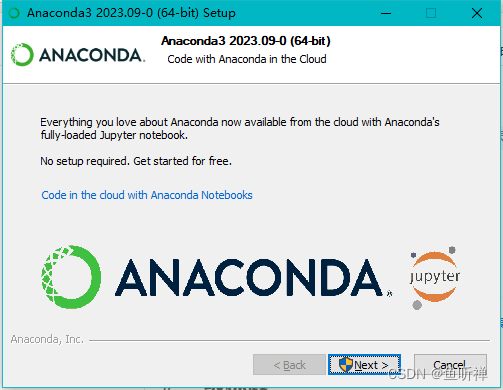
继续next:

还是next:
看自己需要确认是否查看,我直接取消勾选,然后Finish:
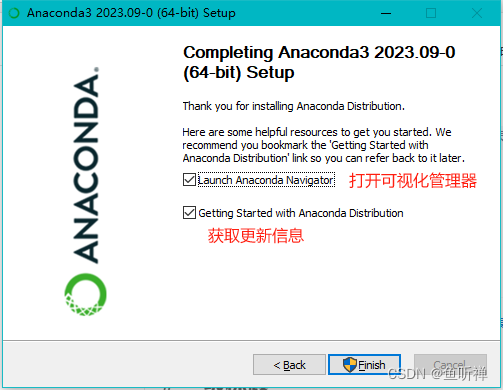
安装完毕。
1.3 配置环境
安装过程没有将环境信息添加到系统环境中,需要手动添加。
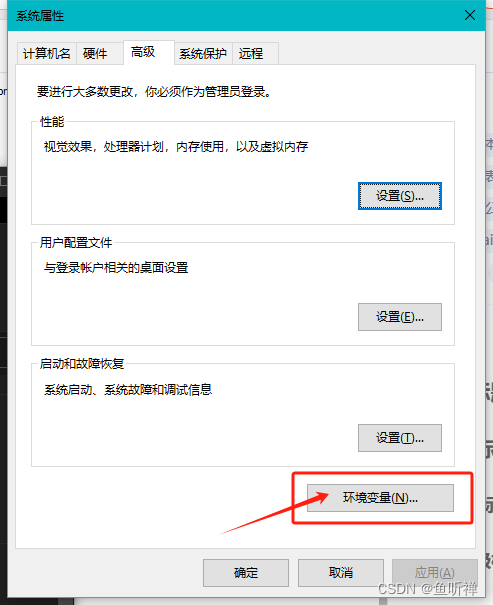
Win+Q调出搜索框,搜索高级系统设置:

点击环境变量:
打开系统变量中的path设置:
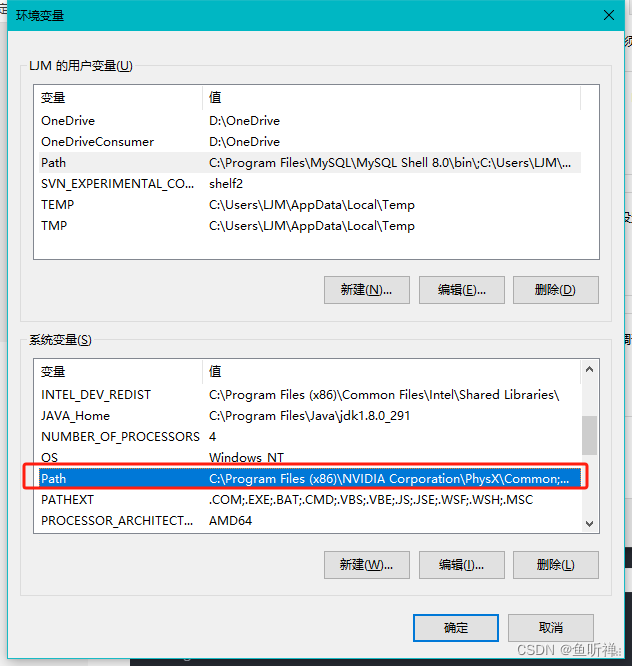
将安装目录、Library\bin、及安装目录下的Scripts目录的路径添加进去:

完事。
二、配置虚拟环境
2.1 使用conda创建一个新的虚拟环境
2.1.1 使用search指令查看支持的python的版本:
PS C:\WINDOWS\system32> conda search python
Loading channels: done
# Name                       Version           Build  Channel
python                        2.7.13     h1b6d89f_16  pkgs/main
python                        2.7.13     h9912b81_15  pkgs/main
python                        2.7.13     hb034564_12  pkgs/main
python                        2.7.14     h2765ee6_18  pkgs/main
python                        2.7.14     h3e68818_15  pkgs/main
python                        2.7.14     h4084c39_22  pkgs/main
python                        2.7.14     h4a10d90_30  pkgs/main
python                        2.7.14     h4a10d90_31  pkgs/main
python                        2.7.14     h59f5a59_20  pkgs/main
python                        2.7.14     h819644d_16  pkgs/main
python                        2.7.14     h8c3f1cb_23  pkgs/main
...
2.1.2 使用create创建指定版本的虚拟环境:
# 创建指定版本的虚拟环境
conda create --name envname python=version
PS E:\Zero.Apps\EasyAnswer> conda create -n py310 python=3.10
Collecting package metadata (current_repodata.json): done
Solving environment: done==> WARNING: A newer version of conda exists. <==current version: 23.7.4latest version: 23.11.0Please update conda by running$ conda update -n base -c defaults condaOr to minimize the number of packages updated during conda update useconda install conda=23.11.0## Package Plan ##environment location: C:\Users\LJM\.conda\envs\py310added / updated specs:- python=3.10The following NEW packages will be INSTALLED:bzip2              anaconda/pkgs/main/win-64::bzip2-1.0.8-he774522_0ca-certificates    anaconda/pkgs/main/win-64::ca-certificates-2023.12.12-haa95532_0libffi             anaconda/pkgs/main/win-64::libffi-3.4.4-hd77b12b_0openssl            anaconda/pkgs/main/win-64::openssl-3.0.12-h2bbff1b_0pip                anaconda/pkgs/main/win-64::pip-23.3.1-py310haa95532_0python             anaconda/pkgs/main/win-64::python-3.10.13-he1021f5_0setuptools         anaconda/pkgs/main/win-64::setuptools-68.2.2-py310haa95532_0sqlite             anaconda/pkgs/main/win-64::sqlite-3.41.2-h2bbff1b_0tk                 anaconda/pkgs/main/win-64::tk-8.6.12-h2bbff1b_0tzdata             anaconda/pkgs/main/noarch::tzdata-2023d-h04d1e81_0vc                 anaconda/pkgs/main/win-64::vc-14.2-h21ff451_1vs2015_runtime     anaconda/pkgs/main/win-64::vs2015_runtime-14.27.29016-h5e58377_2wheel              anaconda/pkgs/main/win-64::wheel-0.41.2-py310haa95532_0xz                 anaconda/pkgs/main/win-64::xz-5.4.5-h8cc25b3_0zlib               anaconda/pkgs/main/win-64::zlib-1.2.13-h8cc25b3_0Proceed ([y]/n)? yDownloading and Extracting PackagesPreparing transaction: done
Verifying transaction: done
Executing transaction: done
#
# To activate this environment, use
#
#     $ conda activate py310
#
# To deactivate an active environment, use
#
#     $ conda deactivate
2.1.3 使用env list查看虚拟环境列表:
PS D:\Zero.App\EasyAnswer> conda env list
# conda environments:
#
py3.10.13                C:\Users\LJM\.conda\envs\py3.10.13
base                     D:\ProgramData\anaconda3
2.2 VSCode中切换解释器环境
点击右下角解释器:
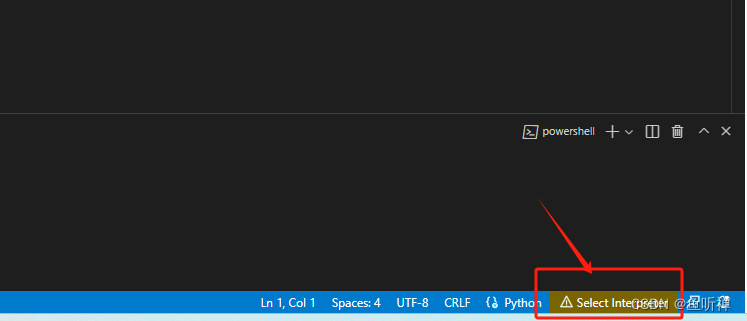
点击选择新的解释器选项:

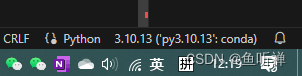
在弹出来的选项中选择刚拆功能键的虚拟环境(py3.10):

切换成功:
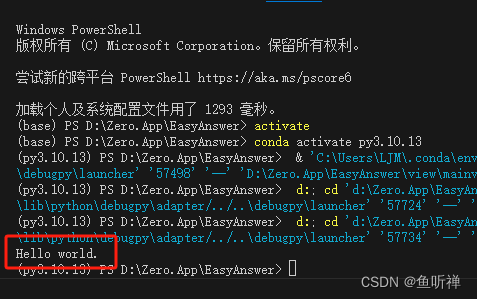
试运行:
三、问题处理
3.1 遇到切换完之后,但是Powershell无法切换到虚拟环境
如下powershell使用activate切换虚拟环境失败:
PS D:\Zero.App\EasyAnswer> activate py3.10.13
PS D:\Zero.App\EasyAnswer> conda activate py3.10.13
usage: conda-script.py [-h] [--no-plugins] [-V] COMMAND ...
conda-script.py: error: argument COMMAND: invalid choice: 'activate' (choose from 'clean', 'compare', 'config', 'create', 'info', 'init', 'install', 'list', 'notices', 'package', 'remove', 'uninstall', 'rename', 'run', 'search', 'update', 'upgrade', 'build', 'content-trust', 'convert', 'debug', 'develop', 'doctor', 'index', 'inspect', 'metapackage', 'render', 'skeleton', 'pack', 'verify', 'server', 'token', 'repo', 'env')
PS D:\Zero.App\EasyAnswer> *  History restored
处理方法:
以管理员运行PowerShell,然后运行conda init powershell指令:
PS C:\WINDOWS\system32> conda init powershell
no change     D:\ProgramData\anaconda3\Scripts\conda.exe
no change     D:\ProgramData\anaconda3\Scripts\conda-env.exe
no change     D:\ProgramData\anaconda3\Scripts\conda-script.py
no change     D:\ProgramData\anaconda3\Scripts\conda-env-script.py
no change     D:\ProgramData\anaconda3\condabin\conda.bat
no change     D:\ProgramData\anaconda3\Library\bin\conda.bat
no change     D:\ProgramData\anaconda3\condabin\_conda_activate.bat
no change     D:\ProgramData\anaconda3\condabin\rename_tmp.bat
no change     D:\ProgramData\anaconda3\condabin\conda_auto_activate.bat
no change     D:\ProgramData\anaconda3\condabin\conda_hook.bat
no change     D:\ProgramData\anaconda3\Scripts\activate.bat
no change     D:\ProgramData\anaconda3\condabin\activate.bat
no change     D:\ProgramData\anaconda3\condabin\deactivate.bat
no change     D:\ProgramData\anaconda3\Scripts\activate
no change     D:\ProgramData\anaconda3\Scripts\deactivate
no change     D:\ProgramData\anaconda3\etc\profile.d\conda.sh
no change     D:\ProgramData\anaconda3\etc\fish\conf.d\conda.fish
no change     D:\ProgramData\anaconda3\shell\condabin\Conda.psm1
no change     D:\ProgramData\anaconda3\shell\condabin\conda-hook.ps1
no change     D:\ProgramData\anaconda3\Lib\site-packages\xontrib\conda.xsh
no change     D:\ProgramData\anaconda3\etc\profile.d\conda.csh
no change     D:\Documents\WindowsPowerShell\profile.ps1
No action taken.
然后关闭所有终端,重新启动。
其中后默认使用anaconda的默认终端base,就是已经配置成功。
Windows PowerShell
版权所有 (C) Microsoft Corporation。保留所有权利。尝试新的跨平台 PowerShell https://aka.ms/pscore6加载个人及系统配置文件用了 1244 毫秒。
(base) PS C:\WINDOWS\system32>
此时重新打开vscode就可以正常运行了。
总结
不管什么工具和软件还是需要实际操作才能发现问题,看似简单但是可能有一点小问题就可能耗很久才能解决。
好好实践,碰到一个问题就是学到一点知识。