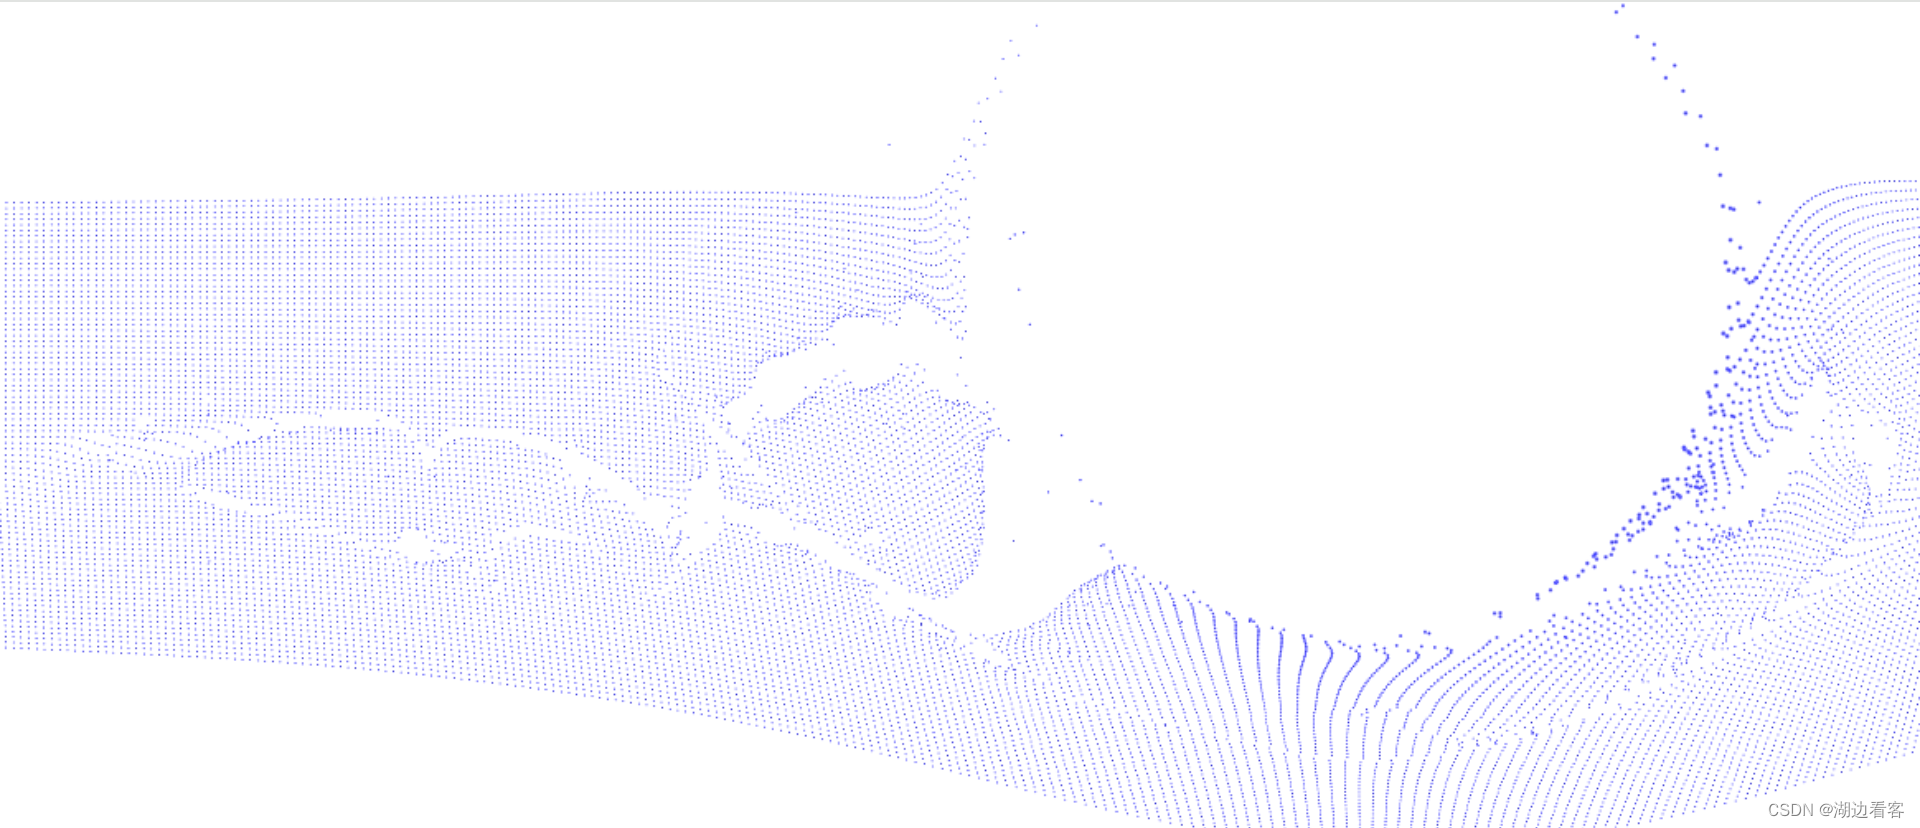
效果:
代码:
<!doctype html>
<html>
<head><meta charset="utf-8"><title>HTML5鼠标经过粒子散开动画特效</title><style>html, body {position: absolute;overflow: hidden;margin: 0;padding: 0;width: 100%;height: 100%;background: #fff;touch-action: none;content-zooming: none;}canvas {position: absolute;width: 100%;height: 100%;background: #fff;}</style>
</head>
<body>
<canvas></canvas><script>"use strict";{// particles classclass Particle {constructor(k, i, j) {this.i = i;this.j = j;this.init();this.x = this.x0;this.y = this.y0;this.pos = posArray.subarray(k * 3, k * 3 + 3);this.pointer = pointer;}init() {this.x0 = canvas.width * 0.5 + this.i * canvas.width / 240;this.y0 = canvas.height * 0.5 + this.j * canvas.height / 160;}move() {const dx = this.pointer.x - this.x;const dy = this.pointer.y - this.y;const d = Math.sqrt(dx * dx + dy * dy);const s = 1000 / d;this.x += -s * (dx / d) + (this.x0 - this.x) * 0.02;this.y += -s * (dy / d) + (this.y0 - this.y) * 0.02;// update buffer positionthis.pos[0] = this.x;this.pos[1] = this.y;this.pos[2] = 0.15 * s * s;}}// webGL canvasconst canvas = {init(options) {// set webGL contextthis.elem = document.querySelector("canvas");const gl = (this.gl =this.elem.getContext("webgl", options) ||this.elem.getContext("experimental-webgl", options));if (!gl) return false;// compile shadersconst vertexShader = gl.createShader(gl.VERTEX_SHADER);gl.shaderSource(vertexShader,`precision highp float;attribute vec3 aPosition;uniform vec2 uResolution;void main() {gl_PointSize = max(2.0, min(30.0, aPosition.z));gl_Position = vec4(( aPosition.x / uResolution.x * 2.0) - 1.0, (-aPosition.y / uResolution.y * 2.0) + 1.0, 0.0,1.0);}`);gl.compileShader(vertexShader);const fragmentShader = gl.createShader(gl.FRAGMENT_SHADER);gl.shaderSource(fragmentShader,`precision highp float;void main() {vec2 pc = 2.0 * gl_PointCoord - 1.0;gl_FragColor = vec4(0.2, 0.2, 0.8, 1.0 - dot(pc, pc));}`);gl.compileShader(fragmentShader);const program = (this.program = gl.createProgram());gl.attachShader(this.program, vertexShader);gl.attachShader(this.program, fragmentShader);gl.linkProgram(this.program);gl.useProgram(this.program);// resolutionthis.uResolution = gl.getUniformLocation(this.program, "uResolution");gl.enableVertexAttribArray(this.uResolution);// canvas resizethis.resize();window.addEventListener("resize", () => this.resize(), false);return gl;},resize() {this.width = this.elem.width = this.elem.offsetWidth;this.height = this.elem.height = this.elem.offsetHeight;for (const p of particles) p.init();this.gl.uniform2f(this.uResolution, this.width, this.height);this.gl.viewport(0,0,this.gl.drawingBufferWidth,this.gl.drawingBufferHeight);}};const pointer = {init(canvas) {this.x = 0.1 + canvas.width * 0.5;this.y = canvas.height * 0.5;this.s = 0;["mousemove", "touchstart", "touchmove"].forEach((event, touch) => {document.addEventListener(event,e => {if (touch) {e.preventDefault();this.x = e.targetTouches[0].clientX;this.y = e.targetTouches[0].clientY;} else {this.x = e.clientX;this.y = e.clientY;}},false);});}};// init webGL canvasconst particles = [];const gl = canvas.init({alpha: true,stencil: true,antialias: true,depth: false});// additive blending "lighter"gl.blendFunc(gl.SRC_ALPHA, gl.ONE);gl.enable(gl.BLEND);// init pointerpointer.init(canvas);// init particlesconst nParticles = 240 * 80;const posArray = new Float32Array(nParticles * 3);let k = 0;for (let i = -120; i < 120; i++) {for (let j = -40; j < 40; j++) {particles.push(new Particle(k++, i, j));}}// create position bufferconst aPosition = gl.getAttribLocation(canvas.program, "aPosition");gl.enableVertexAttribArray(aPosition);const positionBuffer = gl.createBuffer();// draw all particlesconst draw = () => {gl.bindBuffer(gl.ARRAY_BUFFER, positionBuffer);gl.vertexAttribPointer(aPosition, 3, gl.FLOAT, false, 0, 0);gl.bufferData(gl.ARRAY_BUFFER,posArray,gl.DYNAMIC_DRAW);gl.drawArrays(gl.GL_POINTS, 0, nParticles);}// main animation loopconst run = () => {requestAnimationFrame(run);for (const p of particles) p.move();draw();};requestAnimationFrame(run);}
</script>
<div style="text-align:center;margin:50px 0; font:normal 14px/24px 'MicroSoft YaHei';"></div>
</body>
</html>