efcore反向共工程,单元测试
1.安装efcore需要的nuget
<PackageReference Include="Microsoft.EntityFrameworkCore" Version="6.0.24" />
<PackageReference Include="Microsoft.EntityFrameworkCore.SqlServer" Version="6.0.24" />
<PackageReference Include="Microsoft.EntityFrameworkCore.Tools" Version="6.0.24" />
<PackageReference Include="Microsoft.EntityFrameworkCore.Design" Version="6.0.23"><PrivateAssets>all</PrivateAssets><IncludeAssets>runtime; build; native; contentfiles; analyzers; buildtransitive</IncludeAssets></PackageReference>
2.安装efcore cli工具
dotnet tool install --global dotnet-ef
3.在终端中执行下面的命令

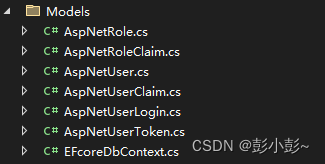
dotnet ef dbcontext scaffold "server=.;uid=sa;pwd=peng@123;database=ide" Microsoft.EntityFrameworkCore.SqlServer --output-dir Models -c EFcoreDbContext
执行完成后生成你数据库中对应的实体代码和数据上下文
4.每次的查询结果输出sql(在上下文中添加logTo方法)
  protected override void OnConfiguring(DbContextOptionsBuilder optionsBuilder){//每次运行时生成sql语句optionsBuilder.LogTo(Console.WriteLine, LogLevel.Information);if (!optionsBuilder.IsConfigured){
#warning To protect potentially sensitive information in your connection string, you should move it out of source code. You can avoid scaffolding the connection string by using the Name= syntax to read it from configuration - see https://go.microsoft.com/fwlink/?linkid=2131148. For more guidance on storing connection strings, see http://go.microsoft.com/fwlink/?LinkId=723263.optionsBuilder.UseSqlServer("server=.;uid=sa;pwd=peng@123;database=ide");}}
5.安装nunit单元测试Nuget
<PackageReference Include="Microsoft.NET.Test.Sdk" Version="17.8.0" /><PackageReference Include="NUnit" Version="3.13.2" /><PackageReference Include="NUnit3TestAdapter" Version="4.3.0" />
6.创建测试类
using EfcoreTest.Models;
using Microsoft.EntityFrameworkCore;
using NUnit.Framework;
using System;
using System.Collections.Generic;
using System.Linq;
using System.Text;
using System.Threading.Tasks;namespace EfcoreTest
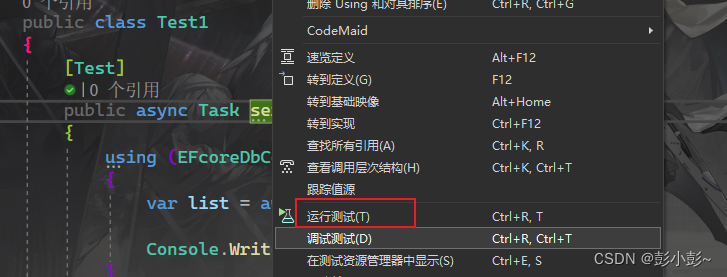
{public class Test1{[Test]public async Task serach(){using (EFcoreDbContext efcore = new EFcoreDbContext()){var list = await efcore.AspNetRoles.ToListAsync();Console.WriteLine(list.Count);}}}
}
7.点击方法右击运行测试
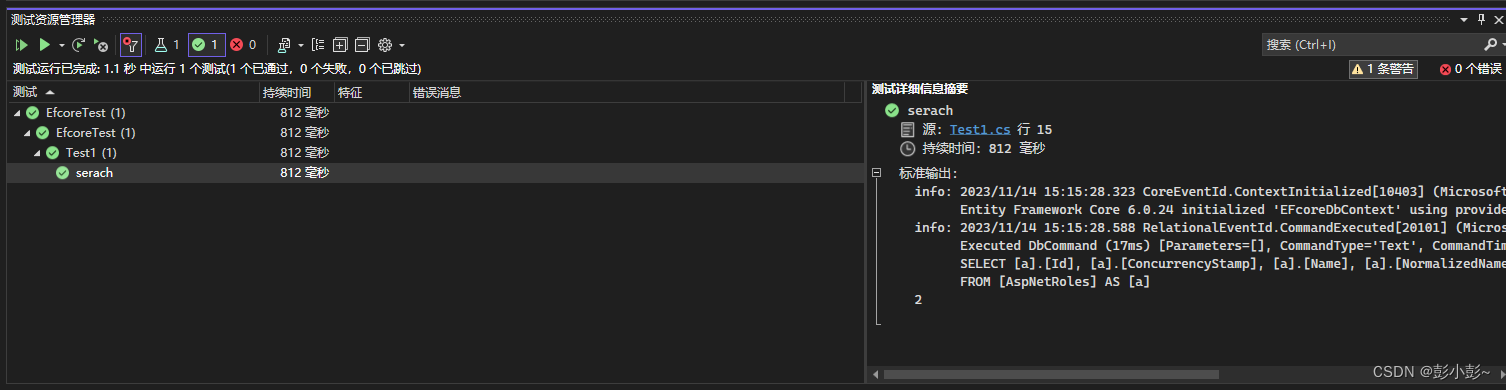
8.查看输出结果
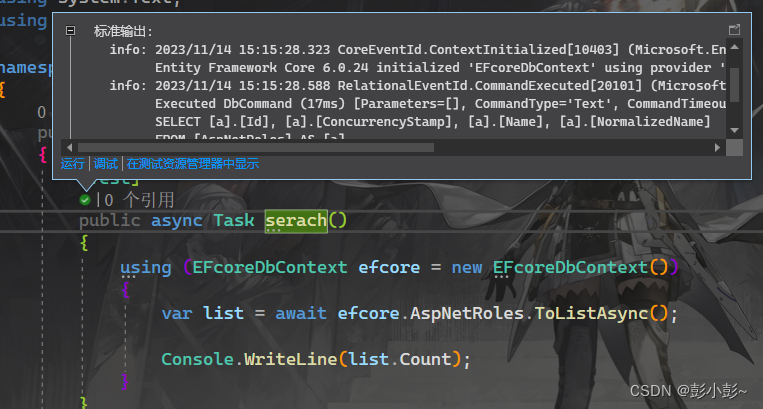
也可以在测试资源管理器中查看
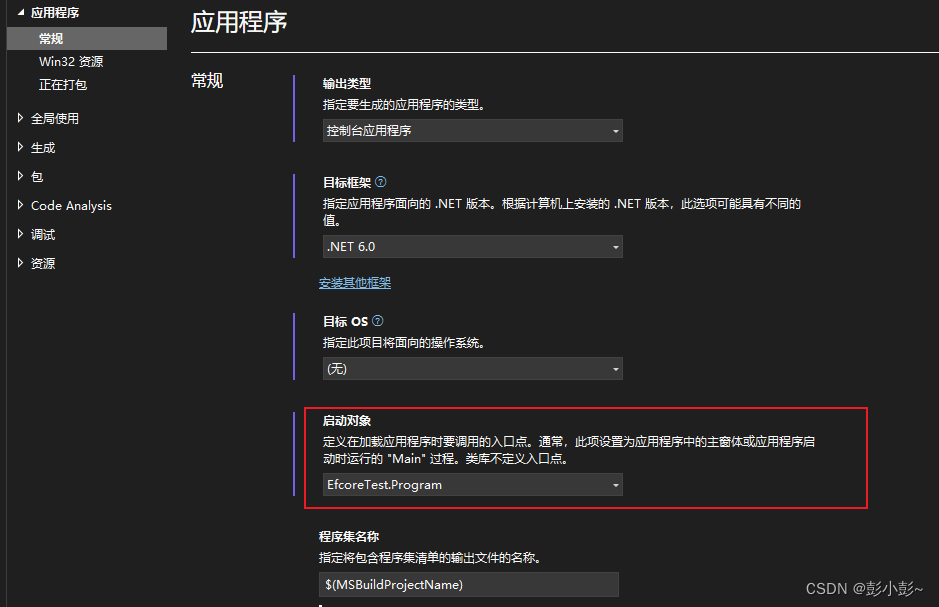
补充:运行时提示有多个入口点,需要指定入口文件
项目右击-属性-应用程序-常规-启动对象(选择自己项目启动的文件入口)