异步使用langchain
文章目录
- 一.先利用langchain官方文档的AI功能问问
- 二.langchain async api
- 三.串行,异步速度比较
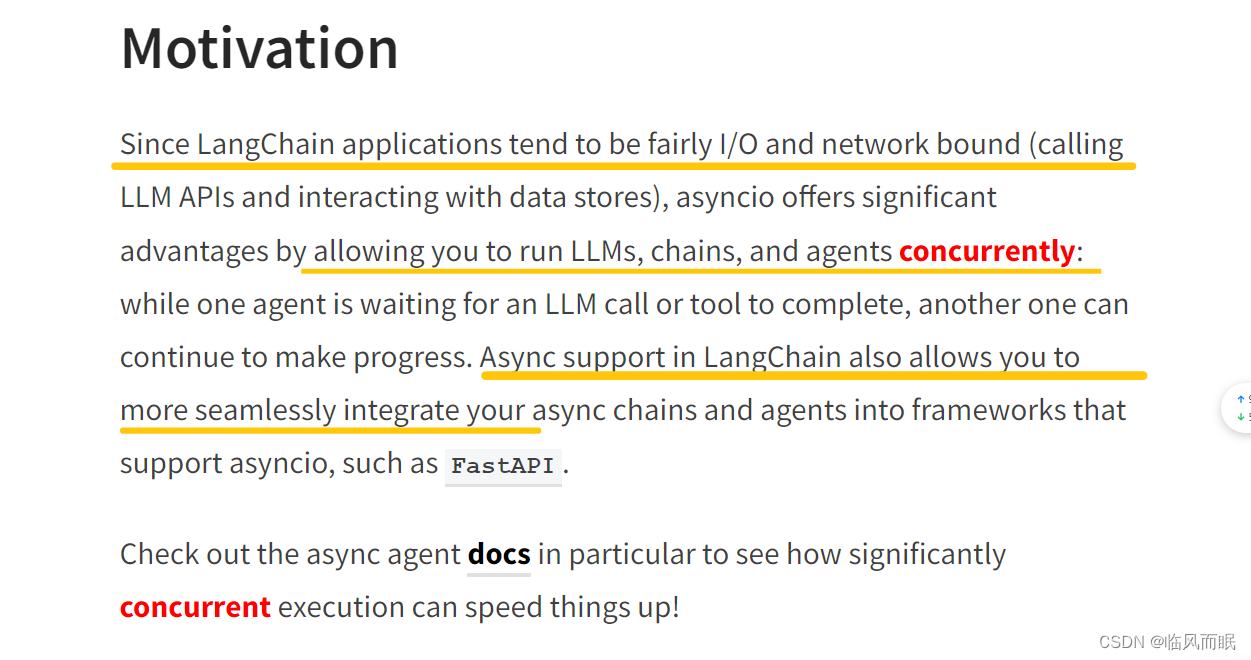
一.先利用langchain官方文档的AI功能问问
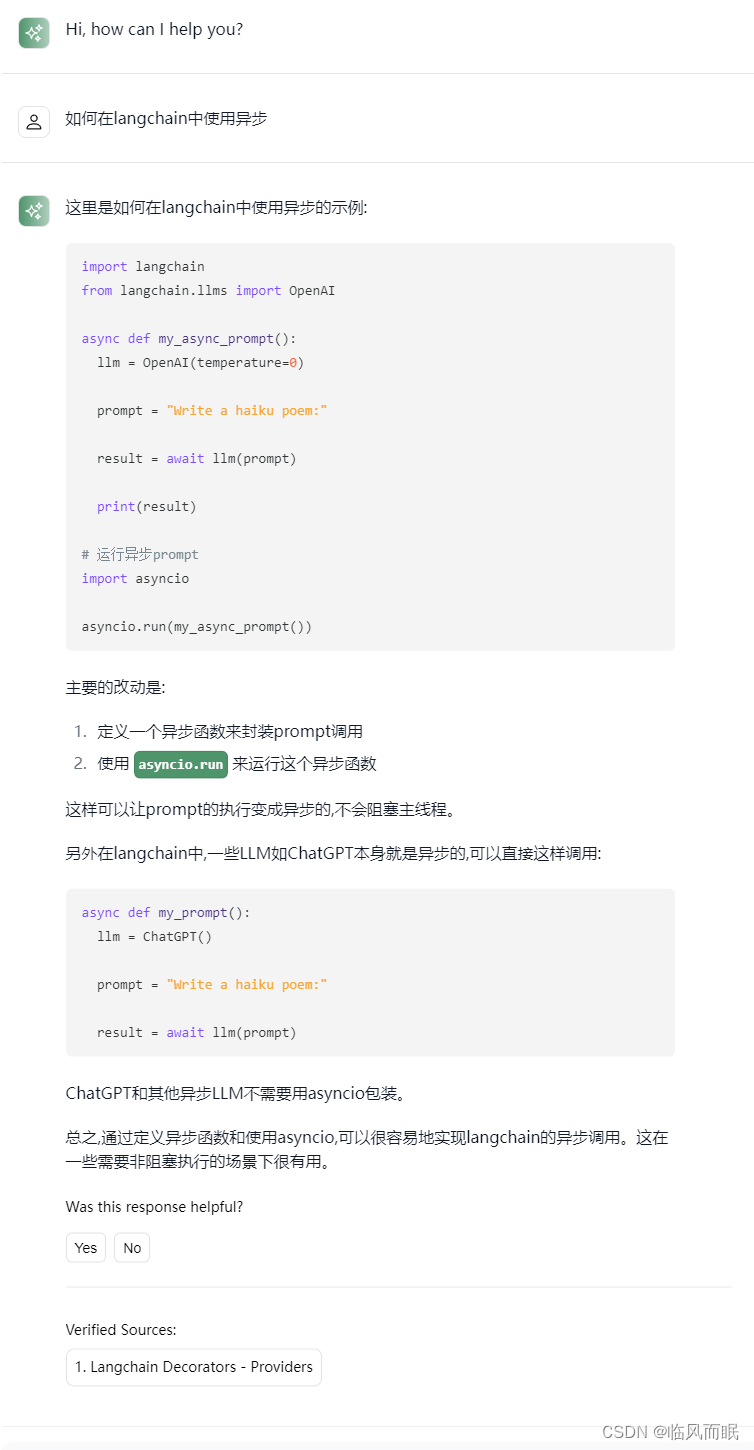
- 然后看他给的 Verified Sources
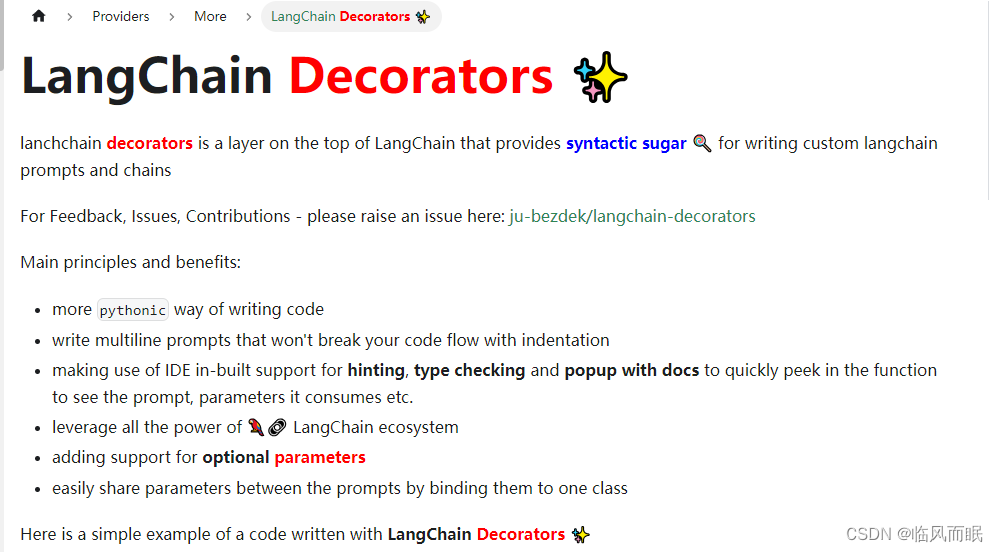
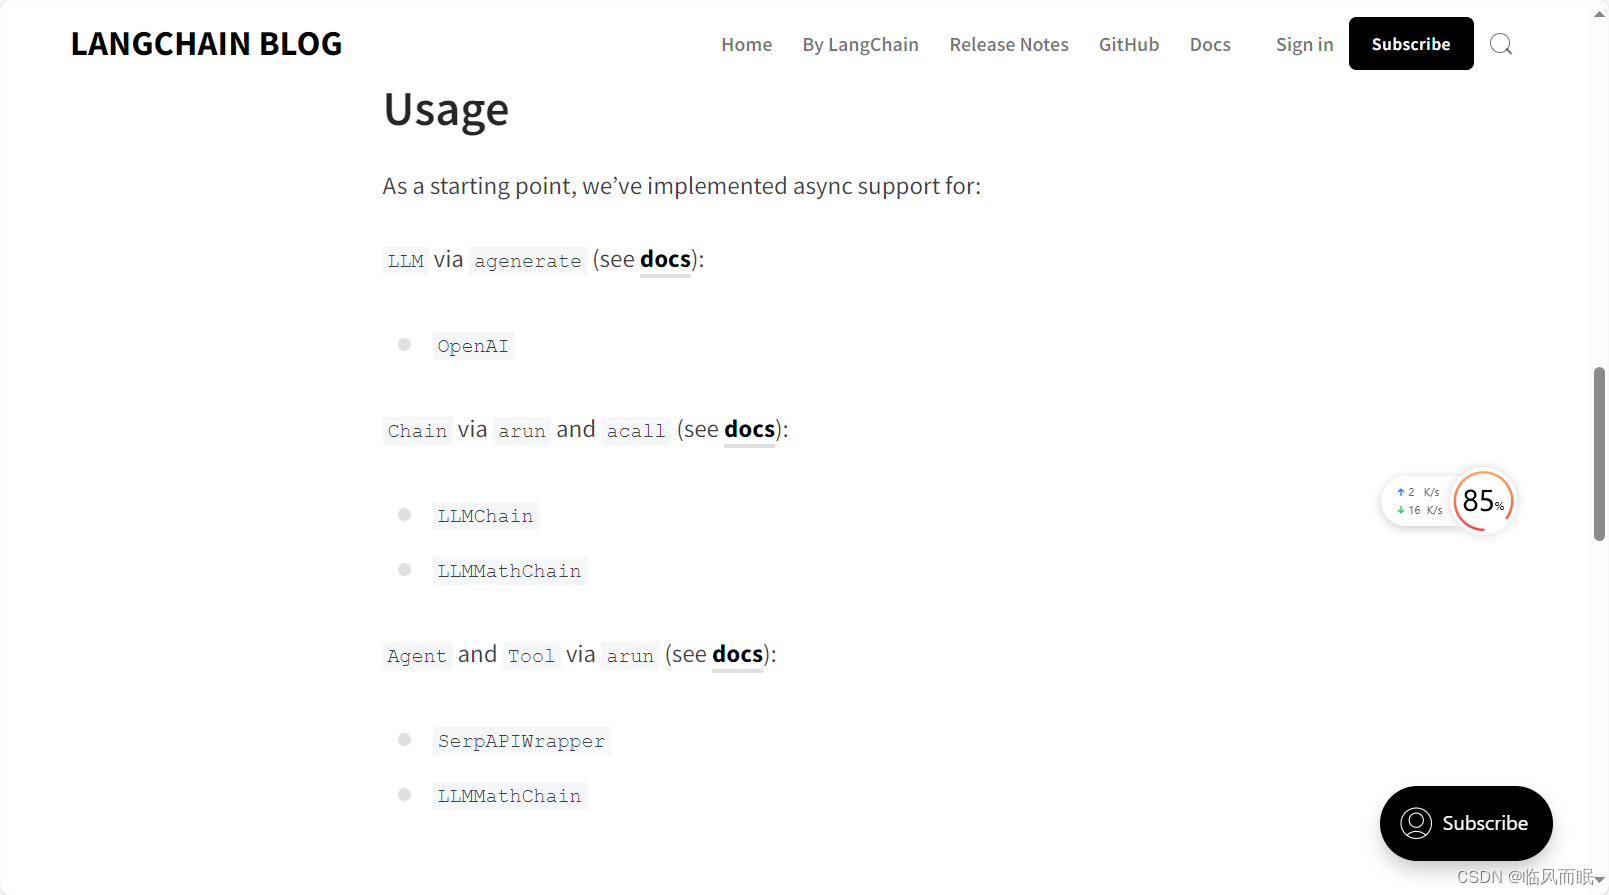
- 这个页面里面虽然有些函数是异步函数,但是并非专门讲解异步的
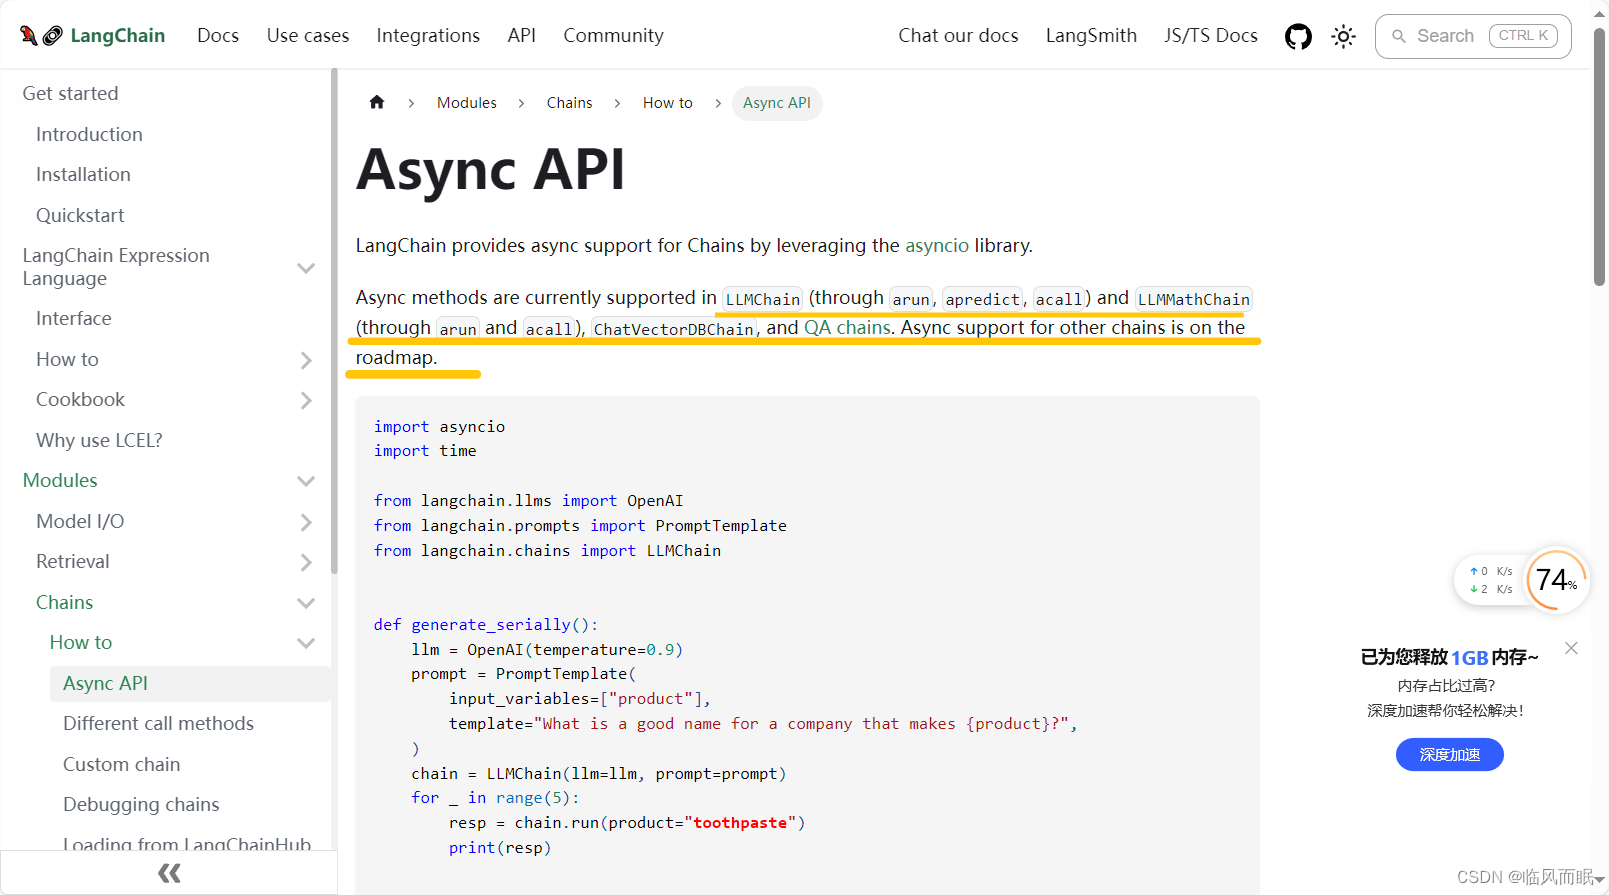
二.langchain async api
还不如直接谷歌搜😂 一下搜到, 上面那个AI文档问答没给出这个链接
-
官方示例
import asyncio import timefrom langchain.llms import OpenAI from langchain.prompts import PromptTemplate from langchain.chains import LLMChaindef generate_serially():llm = OpenAI(temperature=0.9)prompt = PromptTemplate(input_variables=["product"],template="What is a good name for a company that makes {product}?",)chain = LLMChain(llm=llm, prompt=prompt)for _ in range(5):resp = chain.run(product="toothpaste")print(resp)async def async_generate(chain):resp = await chain.arun(product="toothpaste")print(resp)async def generate_concurrently():llm = OpenAI(temperature=0.9)prompt = PromptTemplate(input_variables=["product"],template="What is a good name for a company that makes {product}?",)chain = LLMChain(llm=llm, prompt=prompt)tasks = [async_generate(chain) for _ in range(5)]await asyncio.gather(*tasks)s = time.perf_counter() # If running this outside of Jupyter, use asyncio.run(generate_concurrently()) await generate_concurrently() elapsed = time.perf_counter() - s print("\033[1m" + f"Concurrent executed in {elapsed:0.2f} seconds." + "\033[0m")s = time.perf_counter() generate_serially() elapsed = time.perf_counter() - s print("\033[1m" + f"Serial executed in {elapsed:0.2f} seconds." + "\033[0m") -
不过官方代码报错了

-
我让copilot修改一下,能跑了
import time
import asyncio
from langchain.llms import OpenAI
from langchain.prompts import PromptTemplate
from langchain.chains import LLMChaindef generate_serially():llm = OpenAI(temperature=0.9)prompt = PromptTemplate(input_variables=["product"],template="What is a good name for a company that makes {product}?",)chain = LLMChain(llm=llm, prompt=prompt)for _ in range(5):resp = chain.run(product="toothpaste")print(resp)async def async_generate(chain):resp = await chain.arun(product="toothpaste")print(resp)async def generate_concurrently():llm = OpenAI(temperature=0.9)prompt = PromptTemplate(input_variables=["product"],template="What is a good name for a company that makes {product}?",)chain = LLMChain(llm=llm, prompt=prompt)tasks = [async_generate(chain) for _ in range(5)]await asyncio.gather(*tasks)async def main():s = time.perf_counter()await generate_concurrently()elapsed = time.perf_counter() - sprint("\033[1m" + f"Concurrent executed in {elapsed:0.2f} seconds." + "\033[0m")s = time.perf_counter()generate_serially()elapsed = time.perf_counter() - sprint("\033[1m" + f"Serial executed in {elapsed:0.2f} seconds." + "\033[0m")asyncio.run(main())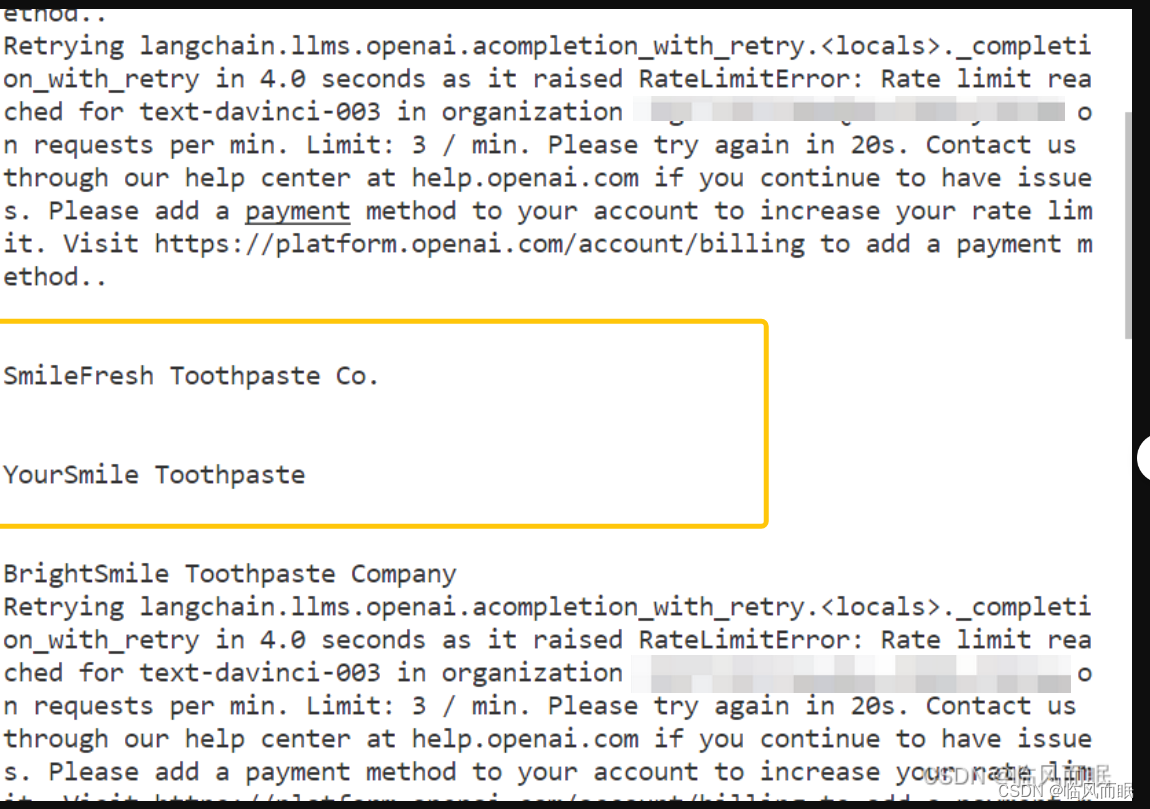
-
这还有一篇官方blog
三.串行,异步速度比较
- 先学习一下掘金上看到的一篇:https://juejin.cn/post/7231907374688436284
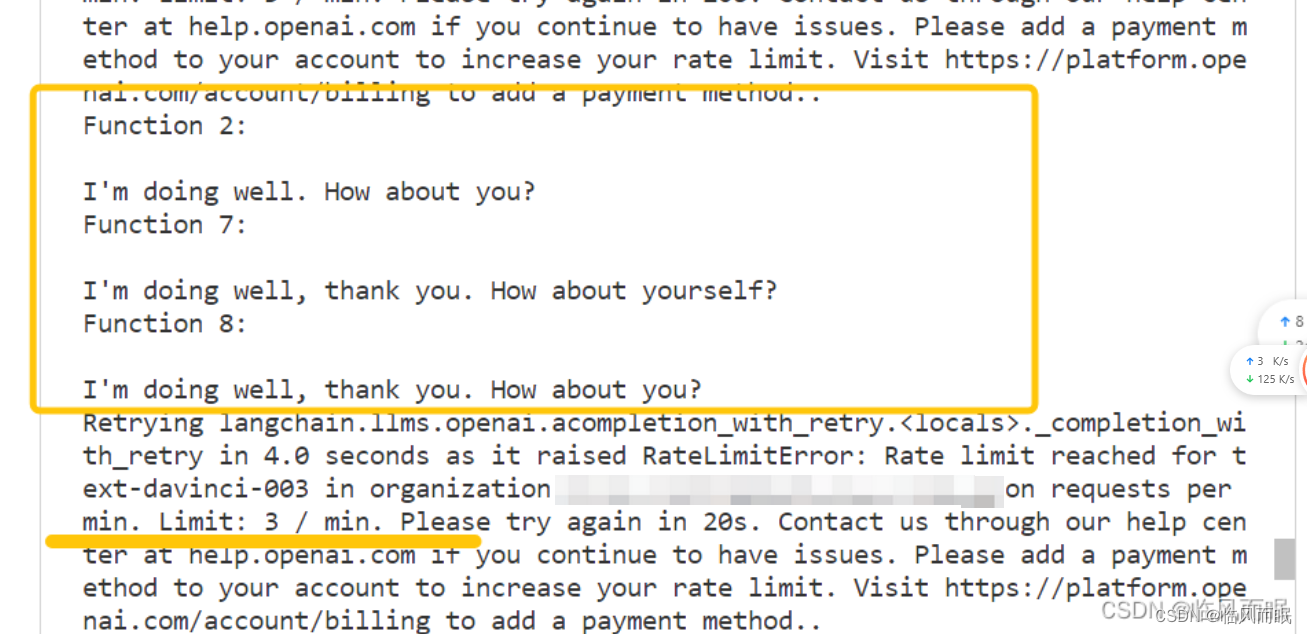
- 为了更方便的看到异步效果,我在原博主的基础上,print里面加了一个提示


# 引入time和asyncio模块
import time
import asyncio
# 引入OpenAI类
from langchain.llms import OpenAI# 定义异步函数async_generate,该函数接收一个llm参数和一个name参数
async def async_generate(llm, name):# 调用OpenAI类的agenerate方法,传入字符串列表["Hello, how are you?"]并等待响应resp = await llm.agenerate(["Hello, how are you?"])# 打印响应结果的生成文本和函数名print(f"{name}: {resp.generations[0][0].text}")# 定义异步函数generate_concurrently
async def generate_concurrently():# 创建OpenAI实例,并设置temperature参数为0.9llm = OpenAI(temperature=0.9)# 创建包含10个async_generate任务的列表tasks = [async_generate(llm, f"Function {i}") for i in range(10)]# 并发执行任务await asyncio.gather(*tasks)# 主函数
# 如果在Jupyter Notebook环境运行该代码,则无需手动调用await generate_concurrently(),直接在下方执行单元格即可执行该函数
# 如果在命令行或其他环境下运行该代码,则需要手动调用asyncio.run(generate_concurrently())来执行该函数
asyncio.run(generate_concurrently())
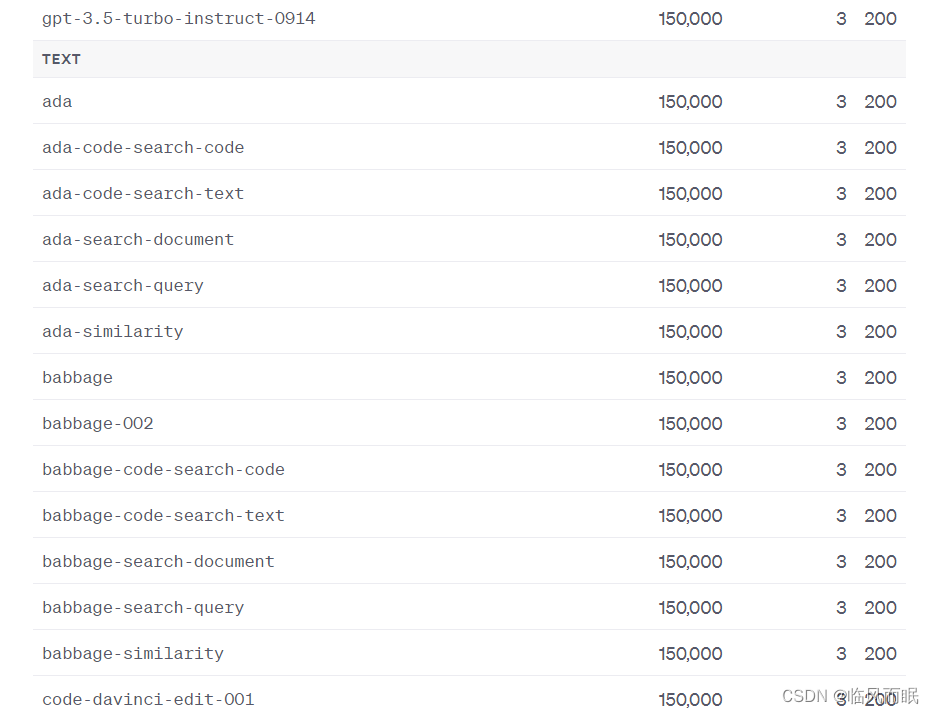
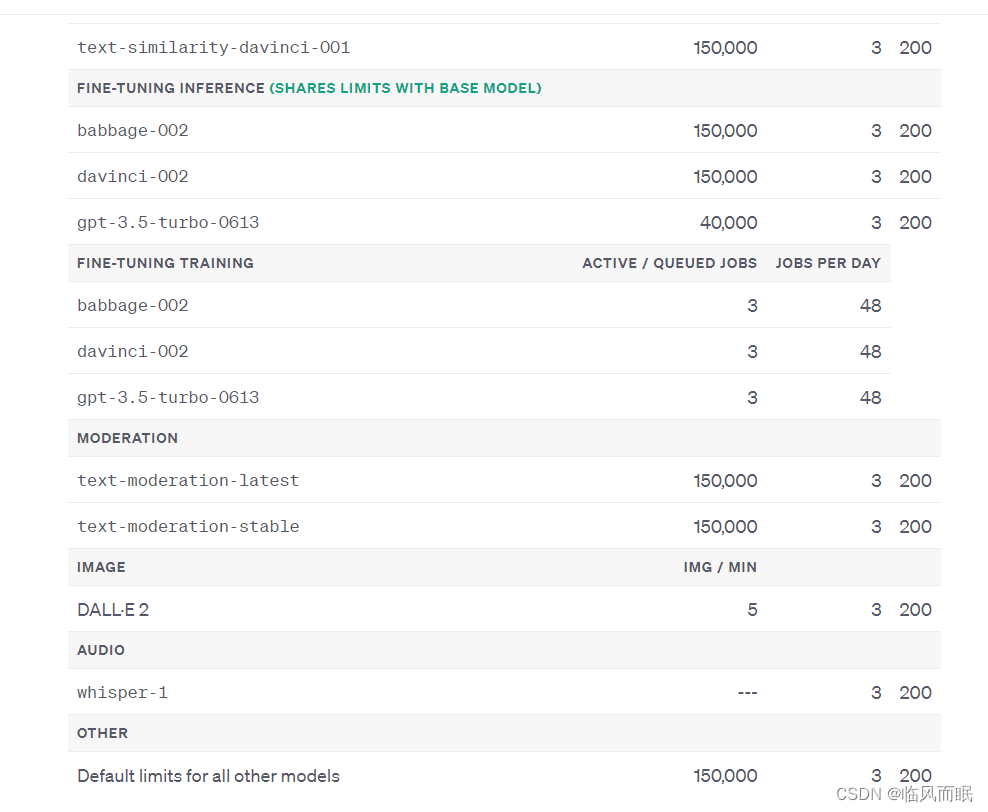
免费用户一分钟只能3次,实在是有点难蚌
-
整合一下博主的代码,对两个速度进行比较,但是这个调用限制真的很搞人啊啊啊
import time
import asyncio
from langchain.llms import OpenAIasync def async_generate(llm, name):resp = await llm.agenerate(["Hello, how are you?"])# print(f"{name}: {resp.generations[0][0].text}")async def generate_concurrently():llm = OpenAI(temperature=0.9)tasks = [async_generate(llm, f"Function {i}") for i in range(3)]await asyncio.gather(*tasks)def generate_serially():llm = OpenAI(temperature=0.9)for _ in range(3):resp = llm.generate(["Hello, how are you?"])# print(resp.generations[0][0].text)async def main():s = time.perf_counter()await generate_concurrently()elapsed = time.perf_counter() - sprint("\033[1m" + f"Concurrent executed in {elapsed:0.2f} seconds." + "\033[0m")s = time.perf_counter()generate_serially()elapsed = time.perf_counter() - sprint("\033[1m" + f"Serial executed in {elapsed:0.2f} seconds." + "\033[0m")asyncio.run(main())


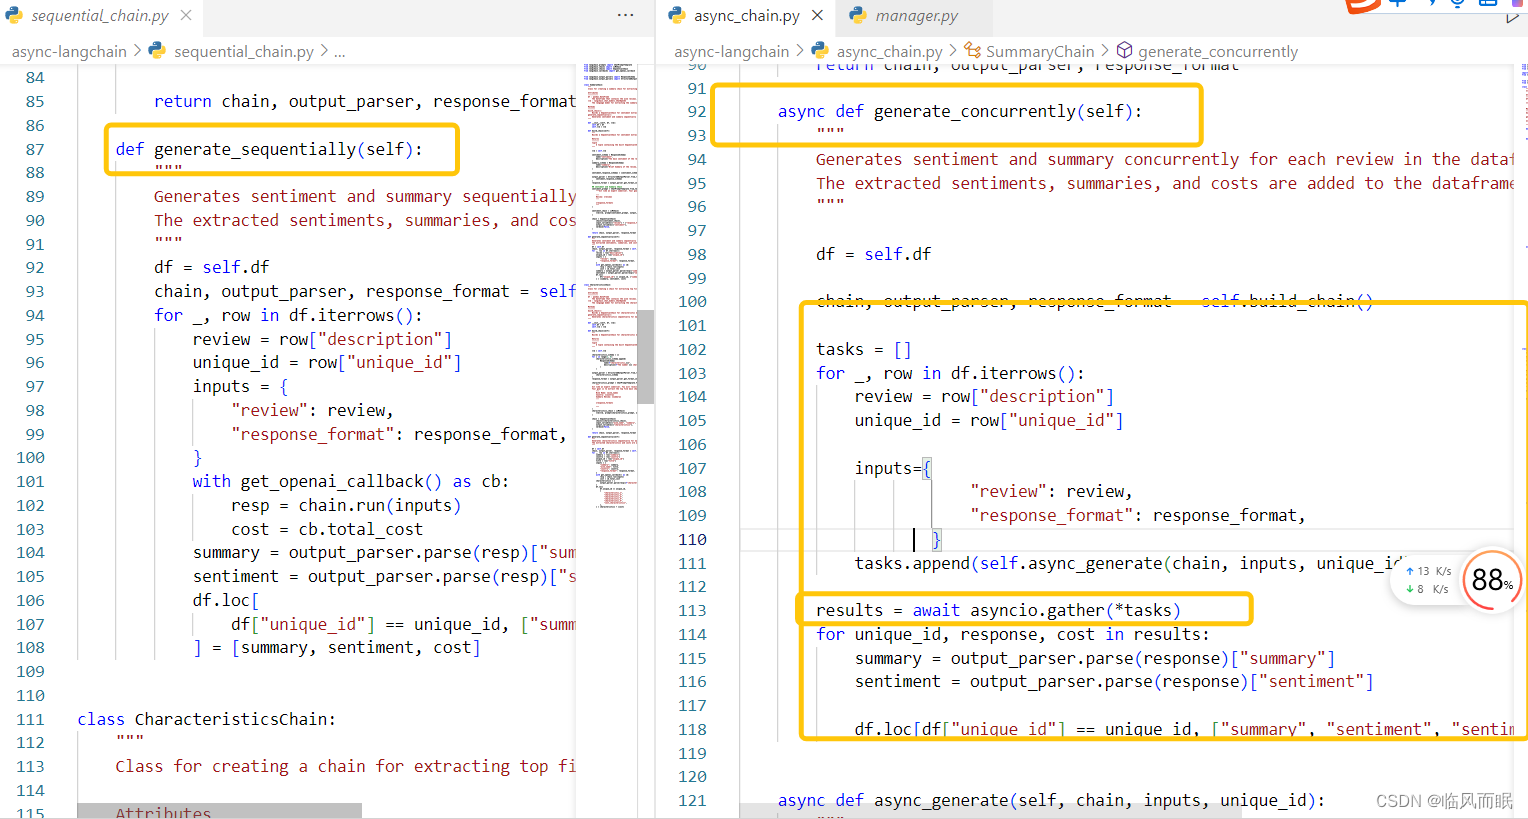
- 再看一篇blog
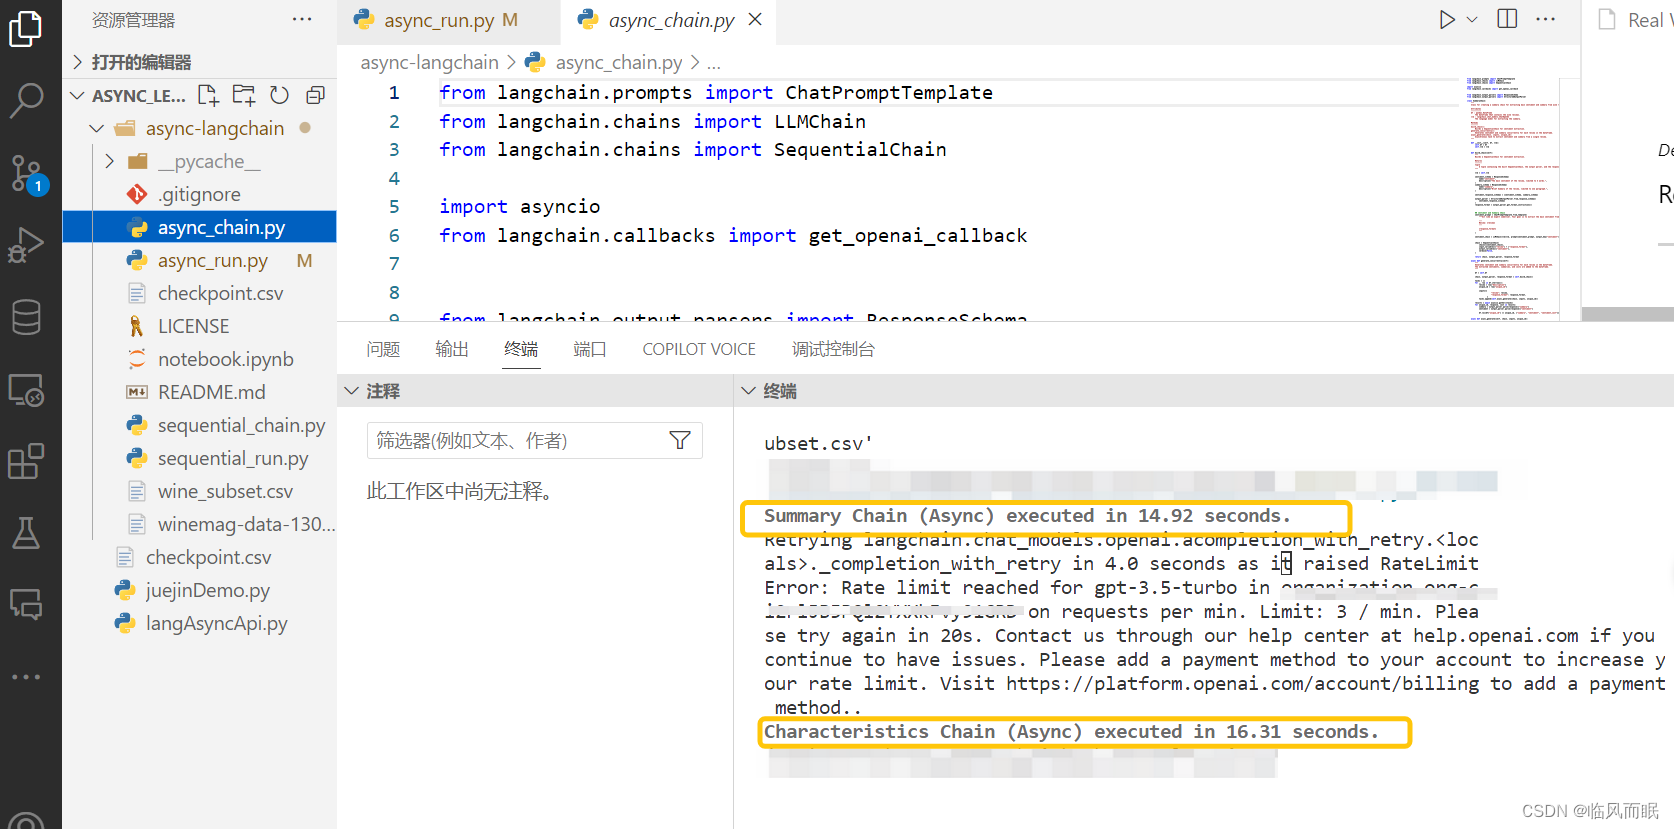
- 作者将代码开源在这里了:https://github.com/gabrielcassimiro17/async-langchain
- 测试一下它的async_chain.py文件
- 读取csv的时候路径一直报错,还好不久前总结了一篇blog:Python中如何获取各种目录路径
-
直接获取当前脚本路径了
import os import pandas as pd# Get the directory where the script is located script_directory = os.path.dirname(os.path.abspath(__file__))# Construct the path to the CSV file csv_path = os.path.join(script_directory, 'wine_subset.csv')# Read the CSV file df = pd.read_csv(csv_path)- sequential_run.py 就不跑了… 一天200次调用都快没了
-
- 主要是看看两者区别