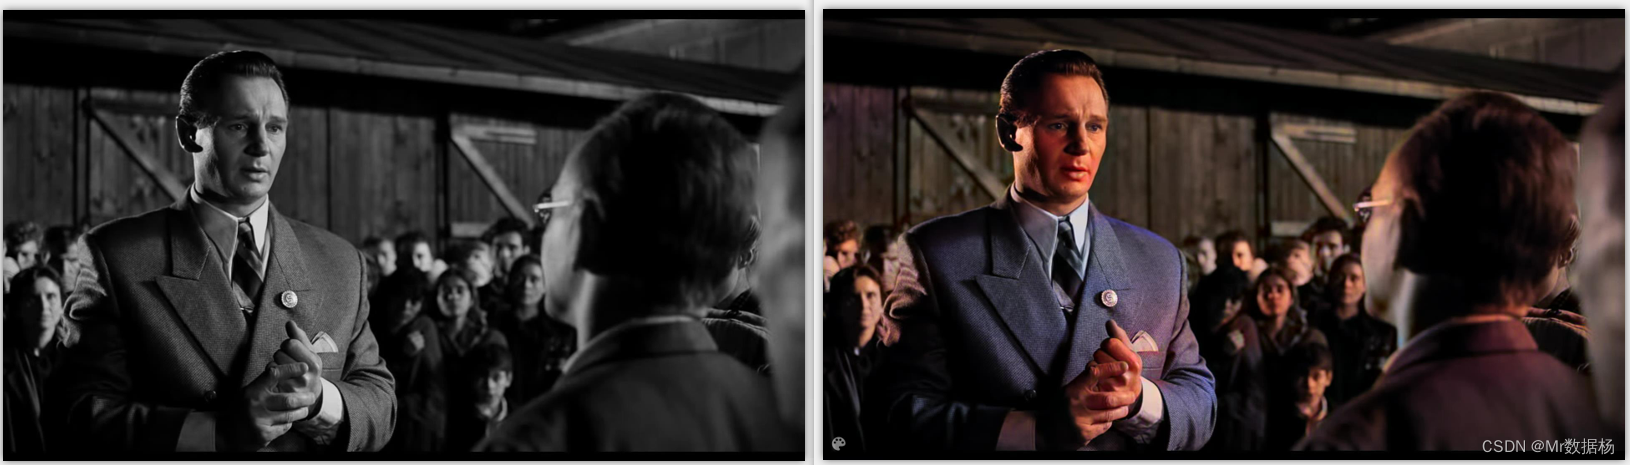
基于DeOldify的给黑白照片、视频上色
老照片常常因为当时的技术限制而只有黑白版本。然而现代的 AI 技术,如 DeOldify,可以让这些照片重现色彩。
本教程将详细介绍如何使用 DeOldify 来给老照片上色。
文章目录
- 准备工作
- 执行代码
- 图片上色
- 视频上色
- 总结
准备工作
这里用 git clone 命令克隆了 DeOldify 的 GitHub 仓库,然后安装了所需的依赖库。
git clone https://github.com/jantic/DeOldify.git
常规的需要创建和激活虚拟环境,并安装相关依赖包。
conda create --name python38 python=3.8
conda activate python38 pip install -r requirements.txt
然后会可能会提示
ERROR: pip's dependency resolver does not currently take into account all the packages that are installed. This behaviour is the source of the following dependency conflicts.
onnxruntime 1.14.1 requires flatbuffers, which is not installed.
onnxruntime 1.14.1 requires sympy, which is not installed.
这里还需要安装flatbuffers和sympy。
pip install flatbuffers sympy
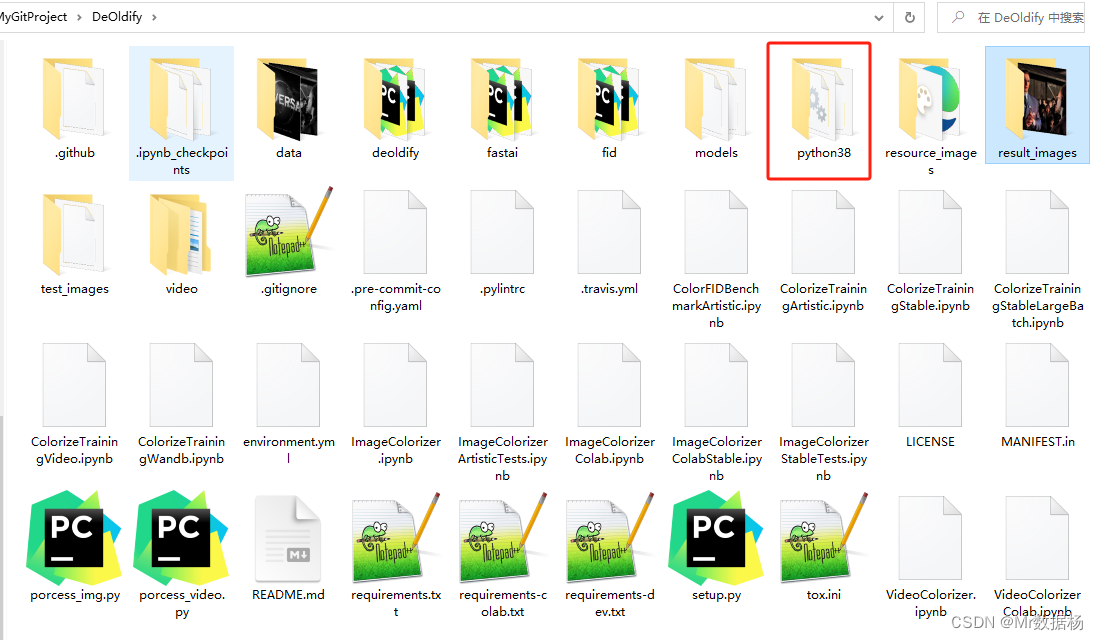
安装完成之后你的文件目录是这样的,然后将虚拟环境目录移动到当前目录下。
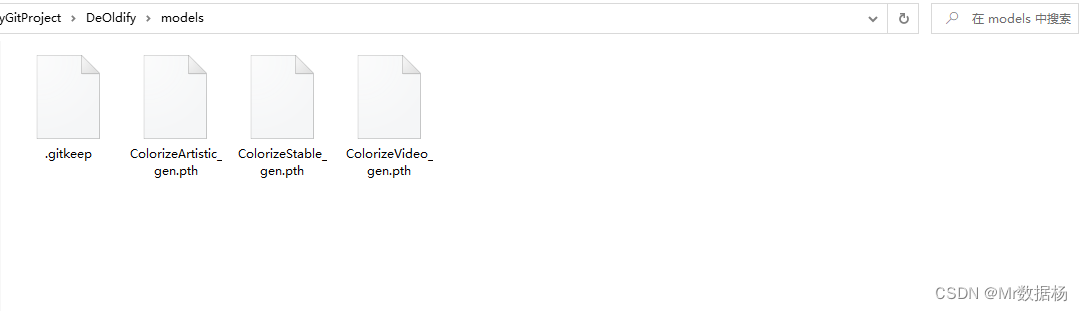
接下来需要下载模型文件。
下载地址在 https://huggingface.co/spensercai/DeOldify/tree/main 。

将下载好的文件移动到models文件夹下即可。
执行代码
图片上色
- 导入依赖库:包括DeOldify库、matplotlib.pyplot、torch等。这些库用于图像处理、可视化以及深度学习任务。
- 设置设备:使用DeOldify库的
device.set()函数将计算设备设置为GPU0。这意味着后续的图像处理任务将在GPU上进行加速处理,如果有多个GPU可用,可以根据需要进行选择。 - 设置图像风格:使用
plt.style.use('dark_background')设置了Matplotlib图形的风格,使其采用黑色背景。 - 禁用警告:使用
warnings.filterwarnings()函数来忽略特定类型的警告,这里忽略了UserWarning类型的警告消息。 - 创建着色器:使用
get_image_colorizer(artistic=True)创建了一个图像着色器对象,其中artistic=True表示使用艺术化的着色方式。 - 设置参数:
render_factor定义了渲染因子,影响着色的细节程度。source_url和source_path分别指定了输入图像的URL和本地路径。result_path用于存储着色后的图像的路径,初始设置为None。
- 图像着色:
- 代码根据
source_url是否为空,选择不同的方式来进行图像着色。如果source_url不为空,将从URL加载图像并进行着色,否则从本地路径加载图像进行着色。着色后的结果将存储在result_path中。
- 代码根据
# env setup.py/py
# -*- coding: UTF-8 -*-
'''
@Project :setup.py
@File    :porcess_img.py
@IDE     :PyCharm
@Author  :Mr数据杨
@Date    :2023/10/11 12:43
'''from deoldify import device
from deoldify.device_id import DeviceId# choices:  CPU, GPU0...GPU7
device.set(device=DeviceId.GPU0)from deoldify.visualize import *plt.style.use('dark_background')
torch.backends.cudnn.benchmark = True
import warningswarnings.filterwarnings("ignore", category=UserWarning, message=".*?Your .*? set is empty.*?")colorizer = get_image_colorizer(artistic=True)render_factor = 35
source_url = None
source_path = 'data/img.jpg'
result_path = Noneif source_url is not None:result_path = colorizer.plot_transformed_image_from_url(url=source_url, path=source_path, render_factor=render_factor, compare=True)
else:result_path = colorizer.plot_transformed_image(path=source_path, render_factor=render_factor, compare=True)show_image_in_notebook(result_path)
最后会在result_images文件夹下生成结果图片。

视频上色
执行代码之前需要在项目目录下创建video文件夹,并在文件夹下创建source文件夹。
这里执行的代码不再解释,理论上和上面图片的差不多,就是处理的时候先将视频转帧然后依次上色最后再合并在一起,保存成视频。
# env setup.py/py
# -*- coding: UTF-8 -*-
'''
@Project :setup.py
@File    :porcess_img.py
@IDE     :PyCharm
@Author  :Mr数据杨
@Date    :2023/10/11 12:43
'''from deoldify import device
from deoldify.device_id import DeviceId# choices:  CPU, GPU0...GPU7
device.set(device=DeviceId.GPU0)from deoldify.visualize import *plt.style.use('dark_background')
import warningswarnings.filterwarnings("ignore", category=UserWarning, message=".*?Your .*? set is empty.*?")colorizer = get_video_colorizer()render_factor = 21# source_url='https://twitter.com/silentmoviegifs/status/1116751583386034176'
source_url = None
file_name = 'video'
file_name_ext = file_name + '.mp4'
result_path = Noneif source_url is not None:result_path = colorizer.colorize_from_url(source_url, file_name_ext, render_factor=render_factor)
else:result_path = colorizer.colorize_from_file_name(file_name_ext, render_factor=render_factor)show_video_in_notebook(result_path)
总结
DeOldify 不仅能够给老照片上色,还能用于其他许多有趣的应用,如老电影修复等。希望这个简单的教程能帮助读者更容易地掌握这一技术。
如果想使用Stable Diffusion进行操作的话可以参考 Stable diffusion 用DeOldify给黑白照片、视频上色。