MySQL基础终端命令与Python简单操作MySQL
文章目录
- MySQL终端命令
- 1. 进入mysql
- 2. 创建数据库
- 3. 选择数据库
- 4. 创建数据表
- 1. 主键约束
- 2. 外键约束
- 3. 非空约束
- 4. 唯一约束
- 5. 使用默认约束
- 6. 设置id为自增列
- 5. 查看数据表
- 6. 修改数据表
- 1. 修改表名
- 2. 修改表的字段类型
- 3. 修改表的字段名
- 4. 为表添加字段
- 5. 删除字段
- 6. 调整字段的位置
- 7. 删除表的外键约束
- 8. 删除数据表
- 7. 数据表的操作
- 1. 新增数据
- 2. 查询数据
- 3. 修改数据
- 4. 删除数据
- 5. replace
- Python操作MySQL
- 1. 连接数据库
- 2. 创建表
- 3. 插入数据
- 4. 查询数据
- 5. 更新数据
- 6. 删除数据
MySQL终端命令
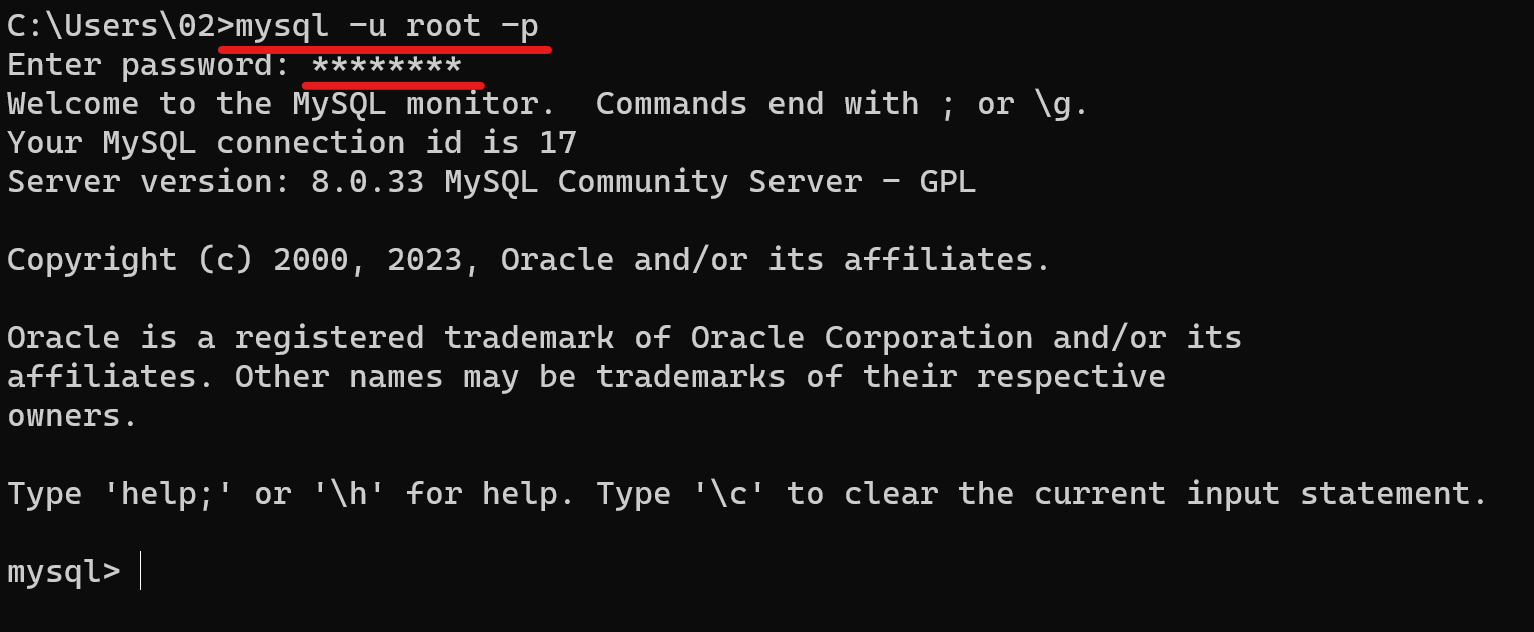
1. 进入mysql
win+r输入cmd进入终端
输入:
mysql -u root -p
再输入密码进入mysql
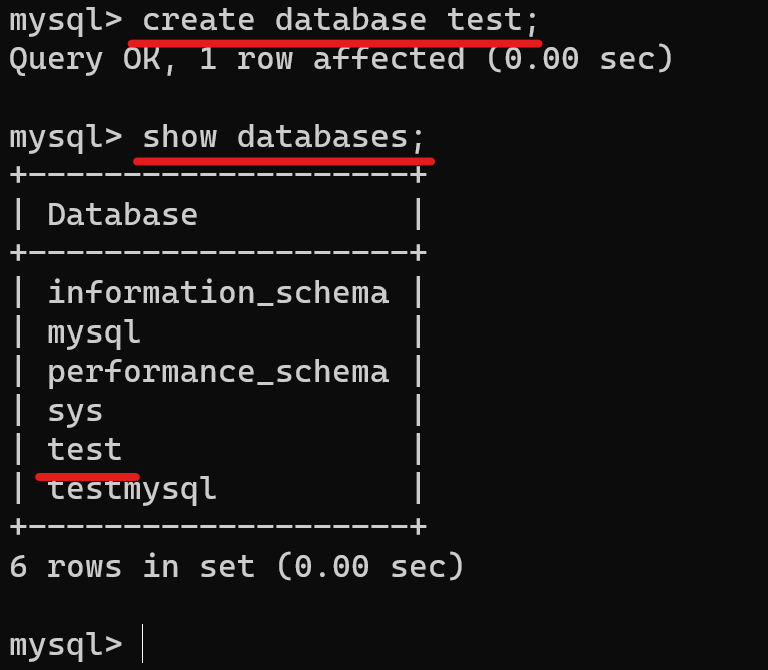
2. 创建数据库
输入(注意语句后面一定要加“ ; ”):
create database test;
创建好后查看数据库:
show databases;
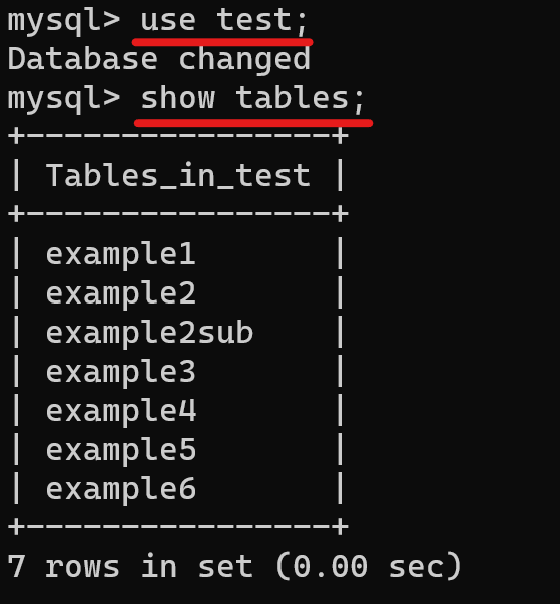
3. 选择数据库
输入:
use test;
进入test数据库。

4. 创建数据表
1. 主键约束
输入:
create table example1 (id int(3),name varchar(20),age int(3),primary key(id, name));

2. 外键约束
create table example2(id int primary key, name varchar(20));create table example2sub(id int primary key, name varchar(20), age int, c_id int, constraint p_c_id foreign key(c_id) references example2(id));

p_c_id是外键约束的名字,c_id是添加了外键约束的列,id是父表中定义的主键列
3. 非空约束
create table example3(id int, name varchar(20) not null);

4. 唯一约束
create table example4(id int unique, name varchar(20));

5. 使用默认约束
create table example5(id int, name varchar(20) default "hahaha");

6. 设置id为自增列
create table example6(id int primary key auto_increment, name varchar(20));

5. 查看数据表
先选择数据库,再查看该数据库的表
use test;show tables;
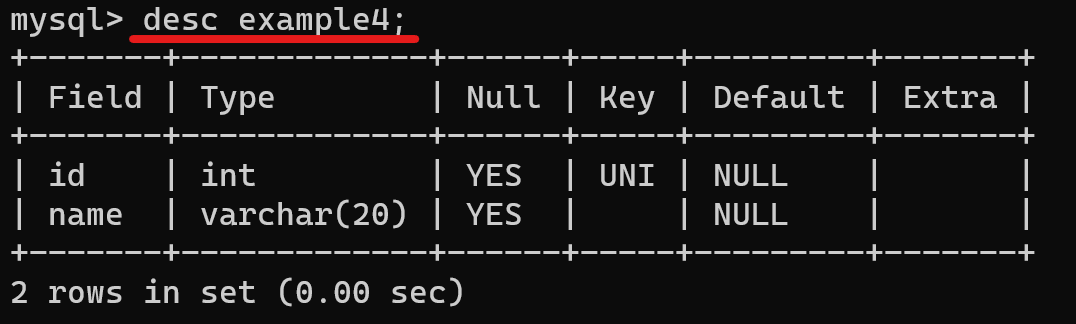
查看表中各个列的定义:
desc example4;
6. 修改数据表
1. 修改表名
alter table example1 rename my_example1;

2. 修改表的字段类型
alter table my_example1 modify name varchar(55);

3. 修改表的字段名
alter table my_example1 change name my_name varchar(55);

4. 为表添加字段
alter table my_example1 add column gender varchar(2) not null;

5. 删除字段
alter table my_example1 drop column age;

6. 调整字段的位置
将my_example1表中的my_name改为第一列
alter table my_example1 modify my_name varchar(55) first;

将id调整到gender后
alter table my_example1 id int after gender;

7. 删除表的外键约束
alter table example2sub drop foreign key p_c_id;

8. 删除数据表
drop table example4, example5, example6;

7. 数据表的操作
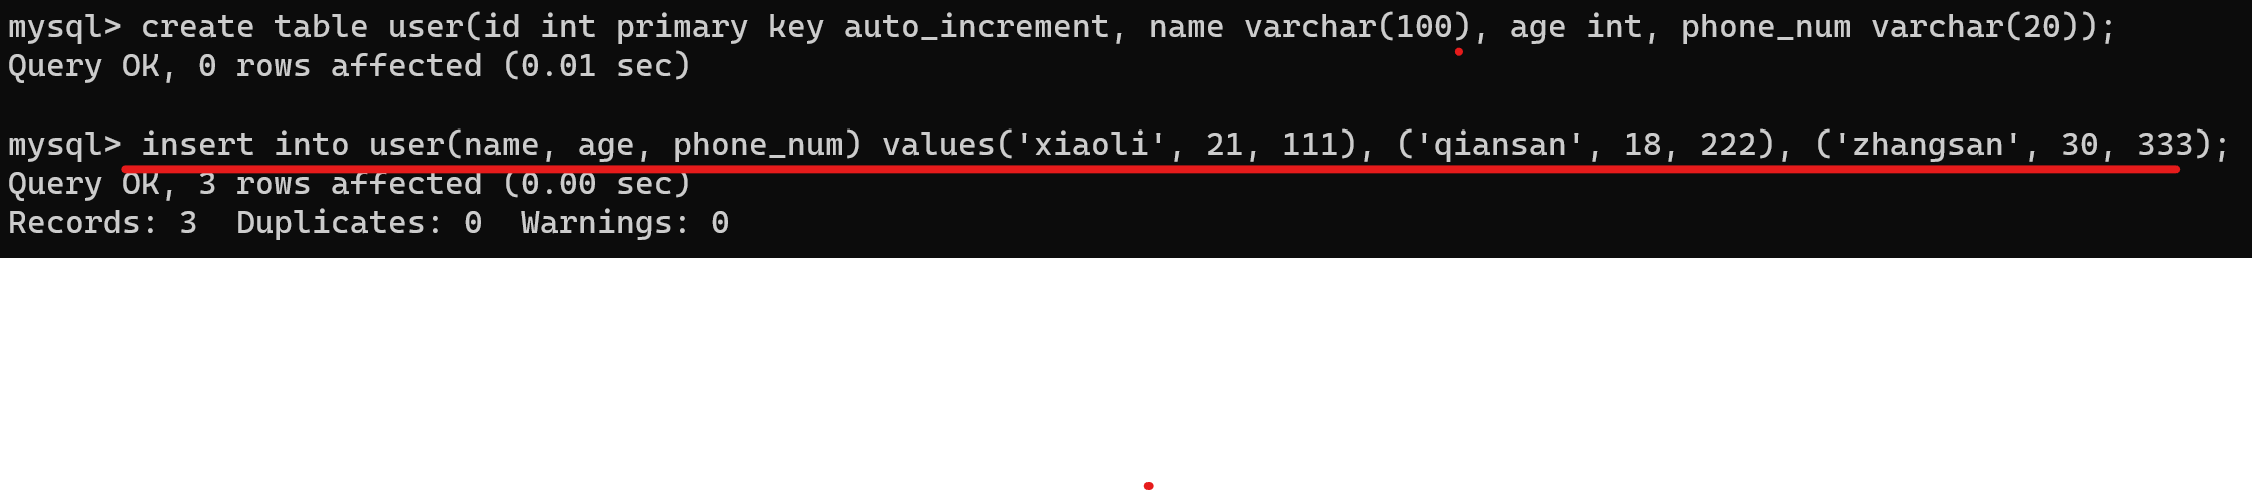
1. 新增数据
create table user(id int primary key auto_increment, name varchar(100), age int, phone_num varchar(20));insert into user(name, age, phone_num) values('xiaoli', 21, 111), ('qiansan', 18, 222), ('zhangsan', 30, 333);
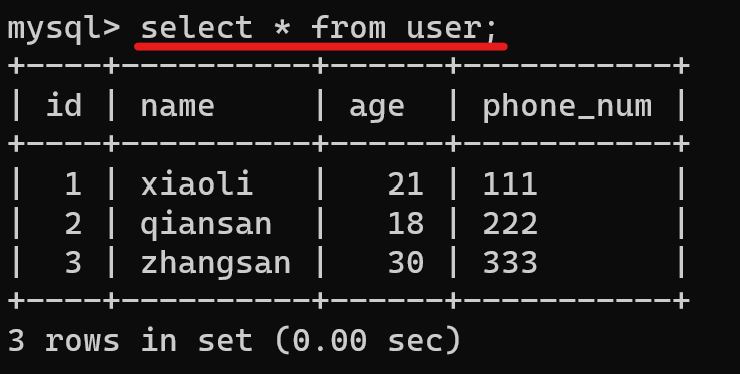
2. 查询数据
查询全部数据
select * from user;
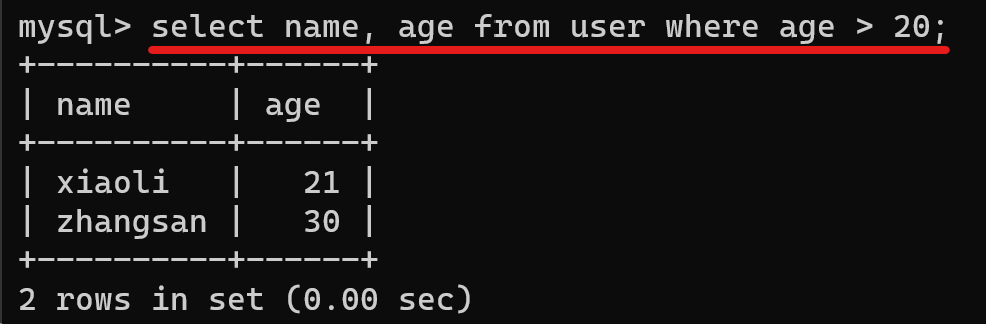
查询年龄大于20的用户
select name, age from user where age > 20;
3. 修改数据
将用户id为1的年龄更新为22
update user set age = 22 where id = 1;

4. 删除数据
删除年龄在25以上的用户
delete from user where age > 25;

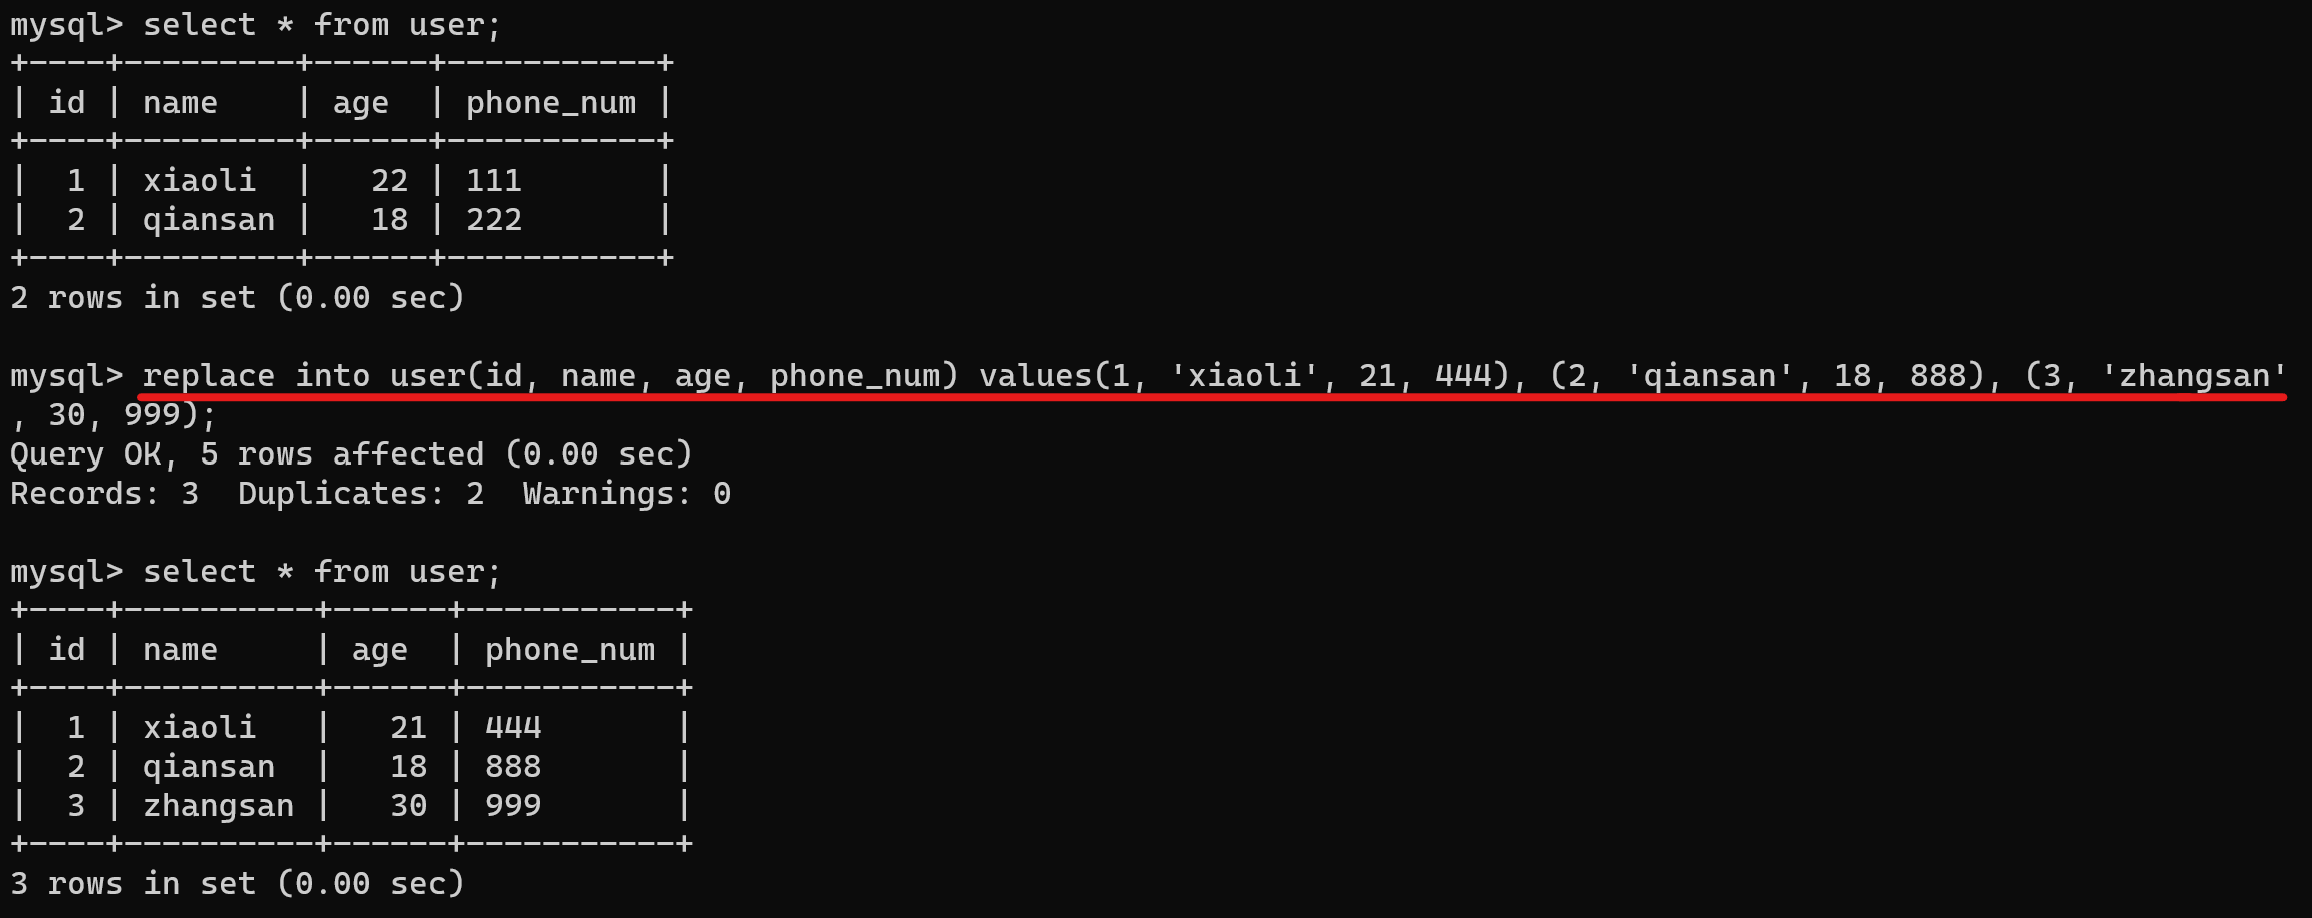
5. replace
如果表中存在相同主键的数据,replace的作用相当于修改操作;否则就是插入操作
select * from user;replace into user(id, name, age, phone_num) values(1, 'xiaoli', 21, 444), (2, 'qiansan', 18, 888), (3, 'zhangsan', 30, 999);select * from user;
Python操作MySQL
1. 连接数据库
数据库的访问是通过连接对象来实现的。程序模块中必须提供连接对象构造函数。
import pymysql# connect是连接对象构造函数
# db是connect对象实例
db = pymysql.connect(# 连接的数据库服务器主机名,默认为本地主机(localhost)host = 'localhost',	# 连接数据库的用户名,默认为当前用户user = 'root',# 连接密码password = '020202ly',# 连接的数据库名database = 'testmysql',
)# 创建一个游标对象
cursor = db.cursor()cursor.execute("select version()")# fetchone():从查询结果中获取下一行数据,返回值为一个值的序列,如果没有更多数据则返回None。
# 通过游标获取sql语句执行的结果。如果没有下面的代码,则执行python代码并不能看到在MySQL中执行的结果。
result = cursor.fetchone()print(result)# 关闭游标
cursor.close()# 关闭数据连接
db.close()
若程序成功执行,则会打印MySQL的版本。
2. 创建表
import pymysqldb = pymysql.connect(host = 'localhost',user = 'root',password = '020202ly',database = 'testmysql',charset = 'utf8'
)cursor = db.cursor()sql = """
create table example(id int not null auto_increment,name varchar(45),age int null,primary key(id))
"""# 运行sql语句,创建数据表example
cursor.execute(sql)# 查询创建的新表的结构
cursor.execute("desc example")
# fetchall():从查询结果中获取结果的所有行数据,返回值包含序列的序列。
result = cursor.fetchall()print(result)cursor.close()db.close()
执行结果
使用pprint.pprint(result)打印出来的结果如下:

可以看到使用pprint打印的结果可读性更强,看着更舒服。
pprint也是python中的一个打印模块,在使用前需要导入包。pprint()的作用也就是使打印出来的数据结构更加完整,每行为一个数据结构,更加方便阅读打印输出结果。
3. 插入数据
需要注意的是,在execute后需要调用commit方法提交对数据的修改,否则数据并不会真的插入到数据库中。
import pymysqldb = pymysql.connect(host = 'localhost',user = 'root',password = '020202ly',database = 'testmysql',charset = 'utf8'
)cursor = db.cursor()sql = """insert into example(id, name, age) values(1, '小明', 20), (2, '小红', 40)
"""# 运行sql语句,创建数据表example
try:cursor.execute(sql)db.commit()print('数据提交成功!!')
except Exception as e:# 调用此方法将导致数据库回滚到事事务开始时的状态。# 关闭数据库连接之前没有明确调用commit()提交数据更新,将导致一个隐含的回滚动作,rollback()被执行。db.rollback()cursor.close()
db.close()

4. 查询数据
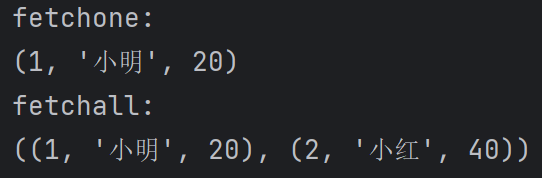
用fetchone()方法返回一行数据,用fetchall()方法返回多行数据。
import pymysql
import pprint
db = pymysql.connect(host = 'localhost',user = 'root',password = '020202ly',database = 'testmysql',charset = 'utf8'
)cursor = db.cursor()cursor.execute("select * from example")# fetchone方法
result1 = cursor.fetchone()
print("fetchone: ")
pprint.pprint(result1)# 在第一次查询获取数据后一定要再执行一次查询语句,因为上面fetchone获取了一条数据,游标向后移动,就只剩一条数据了。
cursor.execute("select * from example")# fetchall方法
result2 = cursor.fetchall()
print("fetchall: ")
pprint.pprint(result2)cursor.close()
db.close()
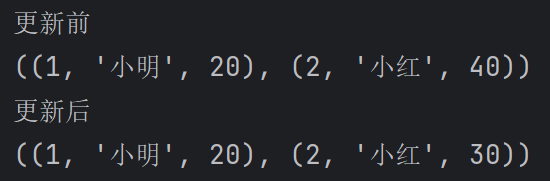
5. 更新数据
更新操作和插入操作类似,在修改完成后需要调用commit方法提交修改。
import pymysql
import pprint
db = pymysql.connect(host = 'localhost',user = 'root',password = '020202ly',database = 'testmysql',charset = 'utf8'
)cursor = db.cursor()cursor.execute("select * from example")# fetchone方法
result = cursor.fetchall()
print('更新前')
pprint.pprint(result)cursor.execute('update example set age = 30 where id = 2')cursor.execute("select * from example")# fetchall方法
result = cursor.fetchall()
print("更新后")
pprint.pprint(result)cursor.close()
db.close()
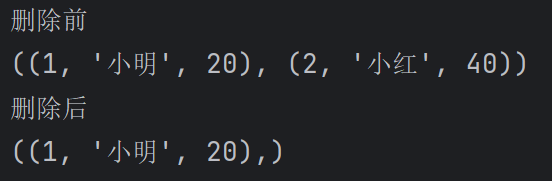
6. 删除数据
删除数据操作完后也需要调用commit方法提交
import pymysql
import pprint
db = pymysql.connect(host = 'localhost',user = 'root',password = '020202ly',database = 'testmysql',charset = 'utf8'
)cursor = db.cursor()cursor.execute("select * from example")
result = cursor.fetchall()
print('删除前')
pprint.pprint(result)cursor.execute('delete from example where id = 2')
cursor.execute("select * from example")
result = cursor.fetchall()
print("删除后")
pprint.pprint(result)cursor.close()
db.close()