【深度学习实验】线性模型(五):使用Pytorch实现线性模型:基于鸢尾花数据集,对模型进行评估(使用随机梯度下降优化器)
目录
一、实验介绍
二、实验环境
1. 配置虚拟环境
2. 库版本介绍
三、实验内容
0. 导入库
1. 线性模型linear_model
2. 损失函数loss_function
3. 鸢尾花数据预处理
4. 初始化权重和偏置
5. 优化器
6. 迭代
7. 测试集预测
8. 实验结果评估
9. 完整代码
一、实验介绍
线性模型是机器学习中最基本的模型之一,通过对输入特征进行线性组合来预测输出。本实验旨在展示使用随机梯度下降优化器训练线性模型的过程,并评估模型在鸢尾花数据集上的性能。
二、实验环境
本系列实验使用了PyTorch深度学习框架,相关操作如下:
1. 配置虚拟环境
conda create -n DL python=3.7 conda activate DLpip install torch==1.8.1+cu102 torchvision==0.9.1+cu102 torchaudio==0.8.1 -f https://download.pytorch.org/whl/torch_stable.html
conda install matplotlib conda install scikit-learn2. 库版本介绍
| 软件包 | 本实验版本 | 目前最新版 |
| matplotlib | 3.5.3 | 3.8.0 |
| numpy | 1.21.6 | 1.26.0 |
| python | 3.7.16 | |
| scikit-learn | 0.22.1 | 1.3.0 |
| torch | 1.8.1+cu102 | 2.0.1 |
| torchaudio | 0.8.1 | 2.0.2 |
| torchvision | 0.9.1+cu102 | 0.15.2 |
三、实验内容
0. 导入库
import torch
import torch.optim as optim
from sklearn.datasets import load_iris
from sklearn.model_selection import train_test_split
from sklearn import metrics- PyTorch
- 优化器模块(
optim)
- 优化器模块(
- scikit-learn
- 数据模块(load_iris)
- 数据划分(train_test_split)
- 评估指标模块(
metrics)
1. 线性模型linear_model
该函数接受输入数据x,使用随机生成的权重w和偏置b,计算输出值output。这里的线性模型的形式为 output = x * w + b。
def linear_model(x):return torch.matmul(x, w) + b2. 损失函数loss_function
这里使用的是均方误差(MSE)作为损失函数,计算预测值与真实值之间的差的平方。
def loss_function(y_true, y_pred):loss = (y_pred - y_true) ** 2return loss3. 鸢尾花数据预处理
-
加载鸢尾花数据集并进行预处理
-
将数据集分为训练集和测试集
-
将数据转换为PyTorch张量
-
iris = load_iris()
x_train, x_test, y_train, y_test = train_test_split(iris.data, iris.target, test_size=0.2, random_state=42)
x_train = torch.tensor(x_train, dtype=torch.float32)
y_train = torch.tensor(y_train, dtype=torch.float32).view(-1, 1)
x_test = torch.tensor(x_test, dtype=torch.float32)
y_test = torch.tensor(y_test, dtype=torch.float32).view(-1, 1)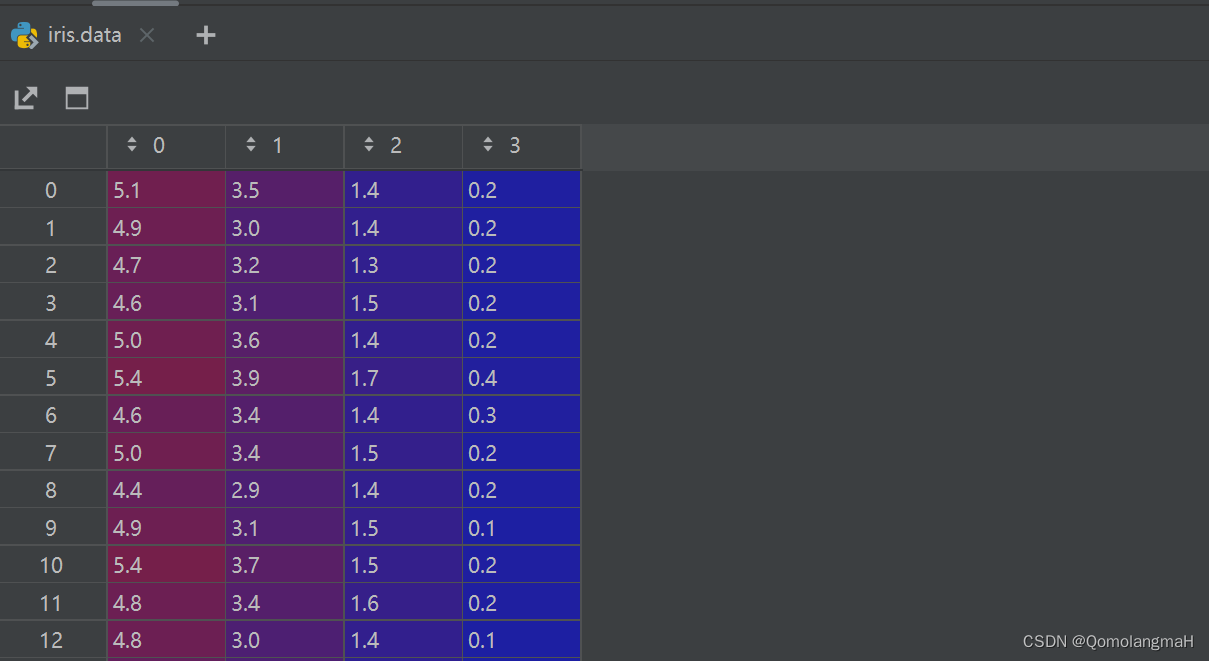
4. 初始化权重和偏置
w = torch.rand(1, 1, requires_grad=True)
b = torch.randn(1, requires_grad=True)
5. 优化器
使用随机梯度下降(SGD)优化器进行模型训练,指定学习率和待优化的参数w, b。
optimizer = optim.SGD([w, b], lr=0.01) # 使用SGD优化器
6. 迭代
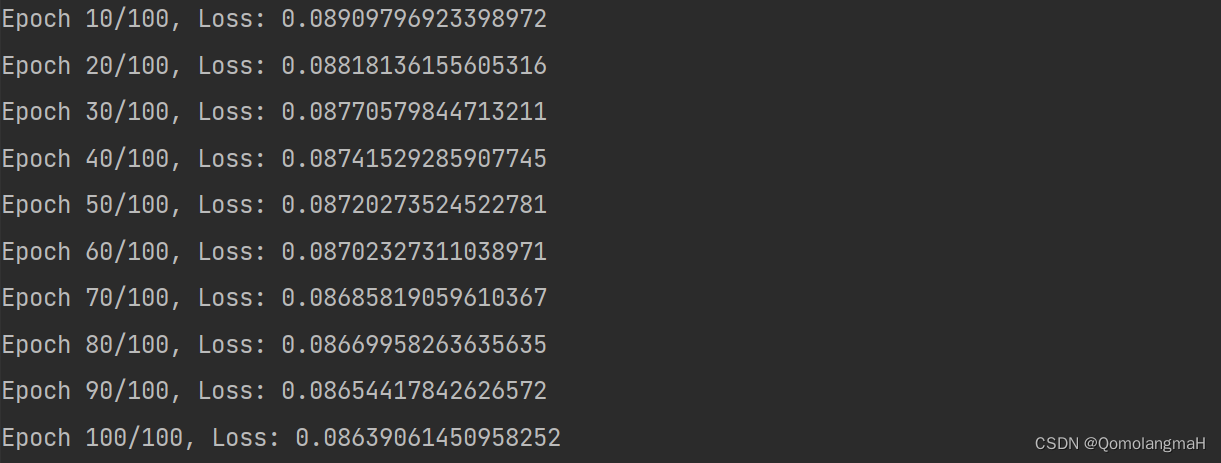
num_epochs = 100
for epoch in range(num_epochs):optimizer.zero_grad()       # 梯度清零prediction = linear_model(x_train, w, b)loss = loss_function(y_train, prediction)loss.mean().backward()      # 计算梯度optimizer.step()            # 更新参数if (epoch + 1) % 10 == 0:print(f"Epoch {epoch+1}/{num_epochs}, Loss: {loss.mean().item()}")
-
在每个迭代中:
-
将优化器的梯度缓存清零,然后使用当前的权重和偏置对输入
x进行预测,得到预测结果prediction。 -
使用
loss_function计算预测结果与真实标签之间的损失,得到损失张量loss。 -
调用
loss.mean().backward()计算损失的平均值,并根据计算得到的梯度进行反向传播。 -
调用
optimizer.step()更新权重和偏置,使用优化器进行梯度下降更新。 -
每隔 10 个迭代输出当前迭代的序号、总迭代次数和损失的平均值。
-
7. 测试集预测
在测试集上进行预测,使用训练好的模型对测试集进行预测
with torch.no_grad():test_prediction = linear_model(x_test, w, b)test_prediction = torch.round(test_prediction) # 四舍五入为整数test_prediction = test_prediction.detach().numpy()8. 实验结果评估
- 使用
metrics模块计算分类准确度(accuracy)、精确度(precision)、召回率(recall)和F1得分(F1 score)。 - 输出经过优化后的参数
w和b,以及在测试集上的评估指标。
accuracy = metrics.accuracy_score(y_test, test_prediction)
precision = metrics.precision_score(y_test, test_prediction, average='macro')
recall = metrics.recall_score(y_test, test_prediction, average='macro')
f1 = metrics.f1_score(y_test, test_prediction, average='macro')
print("The optimized parameters are:")
print("w:", w.flatten().tolist())
print("b:", b.item())print("Accuracy:", accuracy)
print("Precision:", precision)
print("Recall:", recall)
print("F1 Score:", f1)
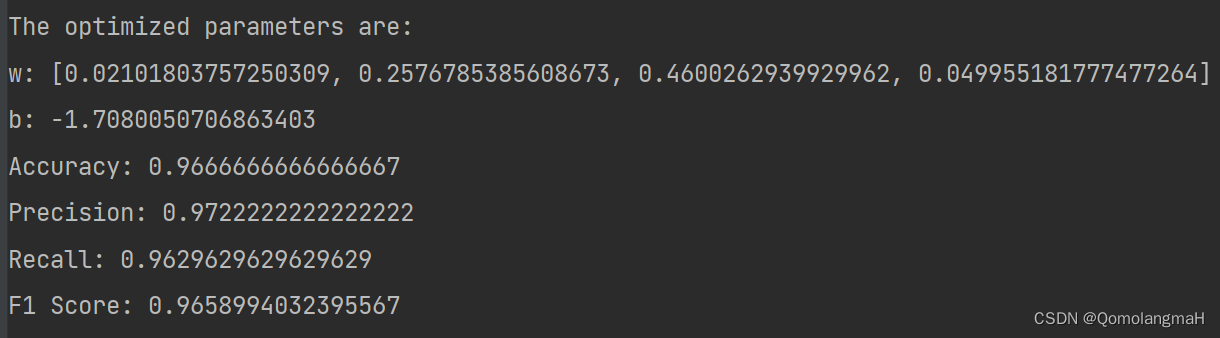
本实验使用随机梯度下降优化器训练线性模型,并在鸢尾花数据集上取得了较好的分类性能。实验结果表明,经过优化后的模型能够对鸢尾花进行准确的分类,并具有较高的精确度、召回率和F1得分。
9. 完整代码
import torch
import torch.optim as optim
from sklearn.datasets import load_iris
from sklearn.model_selection import train_test_split
from sklearn import metricsdef linear_model(x, w, b):return torch.matmul(x, w) + bdef loss_function(y_true, y_pred):loss = (y_pred - y_true) ** 2return loss# 加载鸢尾花数据集并进行预处理
iris = load_iris()
x_train, x_test, y_train, y_test = train_test_split(iris.data, iris.target, test_size=0.2, random_state=42)
x_train = torch.tensor(x_train, dtype=torch.float32)
y_train = torch.tensor(y_train, dtype=torch.float32).view(-1, 1)
x_test = torch.tensor(x_test, dtype=torch.float32)
y_test = torch.tensor(y_test, dtype=torch.float32).view(-1, 1)w = torch.rand(x_train.shape[1], 1, requires_grad=True)
b = torch.randn(1, requires_grad=True)
optimizer = optim.SGD([w, b], lr=0.01) # 使用SGD优化器num_epochs = 100
for epoch in range(num_epochs):optimizer.zero_grad()       # 梯度清零prediction = linear_model(x_train, w, b)loss = loss_function(y_train, prediction)loss.mean().backward()      # 计算梯度optimizer.step()            # 更新参数if (epoch + 1) % 10 == 0:print(f"Epoch {epoch+1}/{num_epochs}, Loss: {loss.mean().item()}")# 在测试集上进行预测
with torch.no_grad():test_prediction = linear_model(x_test, w, b)test_prediction = torch.round(test_prediction) # 四舍五入为整数test_prediction = test_prediction.detach().numpy()accuracy = metrics.accuracy_score(y_test, test_prediction)
precision = metrics.precision_score(y_test, test_prediction, average='macro')
recall = metrics.recall_score(y_test, test_prediction, average='macro')
f1 = metrics.f1_score(y_test, test_prediction, average='macro')
print("The optimized parameters are:")
print("w:", w.flatten().tolist())
print("b:", b.item())print("Accuracy:", accuracy)
print("Precision:", precision)
print("Recall:", recall)
print("F1 Score:", f1)