Ansible学习笔记2
Ansible是Python开发的自动化运维工具,集合了众多运维工具(Puppet、cfengine、chef、func、fabric)的优点,实现了批量系统配置,批量程序部署、批量运行命令等功能。
特点:
1)部署简单;
2)默认使用ssh进行管理,基于Python里的paramiko模块开发;
3)管理端和被管理端不需要启动服务;
4)配置简单、功能强大、拓展性强;
5)能playbook剧本进行多任务的编排;

实验准备:
三台机器:一台管理、两台被管理。
| 主机 | IP地址 | 备注信息 |
| 管理机Master | 192.168.17.104 | |
| 被管理机1 | 192.168.17.105 | |
| 被管理机2 | 192.168.17.106 |
实验过程:
1)在管理机上安装ansible,被管理机上必须打开ssh服务。
yum install -y epel-release
yum install ansible[root@localhost ~]# ansible --version
ansible 2.9.27config file = /etc/ansible/ansible.cfgconfigured module search path = [u'/root/.ansible/plugins/modules', u'/usr/share/ansible/plugins/modules']ansible python module location = /usr/lib/python2.7/site-packages/ansibleexecutable location = /usr/bin/ansiblepython version = 2.7.5 (default, Jun 20 2023, 11:36:40) [GCC 4.8.5 20150623 (Red Hat 4.8.5-44)]
2)实现master对agent的免密登录,只有master上做。(如果这步不做的话,则在后面操作agent时候要加上-k参数传密码,或者在主机清单里传密码。)
ssh-keygenssh-copy-id -i 192.168.17.105
ssh-copy-id -i 192.168.17.106
3)在master上定义主机组,并测试连接性。
说明:inventory:财产清单,库存等。
在hosts清单中添加两个机器IP地址。
[root@localhost ansible]# tail -3 hosts
[group1]
192.168.17.105
192.168.17.106
[root@localhost ansible]# ansible all -m ping
192.168.17.105 | SUCCESS => {"ansible_facts": {"discovered_interpreter_python": "/usr/bin/python"},"changed": false,"ping": "pong"
}
192.168.17.106 | SUCCESS => {"ansible_facts": {"discovered_interpreter_python": "/usr/bin/python"},"changed": false,"ping": "pong"
}
说明:all是所有机器。-m是module的意思,ping是模块。
[root@localhost ansible]# ansible group1 -m ping
192.168.17.106 | SUCCESS => {"ansible_facts": {"discovered_interpreter_python": "/usr/bin/python"},"changed": false,"ping": "pong"
}
192.168.17.105 | SUCCESS => {"ansible_facts": {"discovered_interpreter_python": "/usr/bin/python"},"changed": false,"ping": "pong"
}
服务器分组:
ansible通过一个主机清单功能来实现服务器分组。
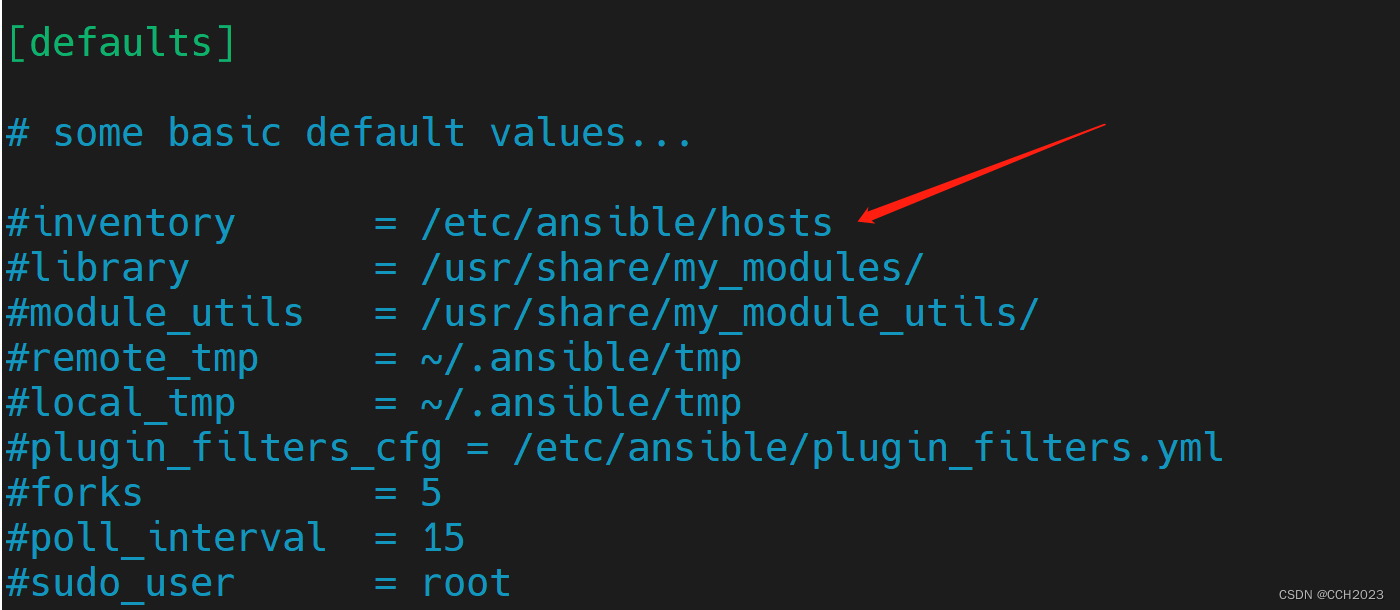
Ansible的默认主机清单配置文件为/etc/ansible/hosts

另外,如果服务器比较多的情况下,也可以写:
[nginx]
apache[1:10].aaa.com
nginx[a:z].aaa.com
10.1.1.[11:15]
[root@localhost ansible]# tail -2 hosts
[group1]
192.168.17.[105:106]
然后再用ping模块测试:
[root@localhost ansible]# ansible group1 -m ping
192.168.17.106 | SUCCESS => {"ansible_facts": {"discovered_interpreter_python": "/usr/bin/python"},"changed": false,"ping": "pong"
}
192.168.17.105 | SUCCESS => {"ansible_facts": {"discovered_interpreter_python": "/usr/bin/python"},"changed": false,"ping": "pong"
}
再看一个例子:
[nginx]
10.1.1.13:2222
表示的是10.1.1.13这台机器,但是端口是2222端口。
[root@localhost ansible]# tail -3 hosts
[group1]
192.168.17.105
192.168.17.106:2222
[root@localhost ansible]# ansible group1 -m ping
192.168.17.105 | SUCCESS => {"ansible_facts": {"discovered_interpreter_python": "/usr/bin/python"},"changed": false,"ping": "pong"
}
192.168.17.106 | SUCCESS => {"ansible_facts": {"discovered_interpreter_python": "/usr/bin/python"},"changed": false,"ping": "pong"
}
别名的写法:
定义10.1.1.12:2222 这台服务器的别名nginx1。
nginx1 ansible_ssh_hosts=10.1.1.13 ansible_ssh_port=2222
没有做免密登录的服务器可以指定用户名和密码
nginx1 ansible_ssh_host=10.1.1.13 ansible_ssh_port=2222 ansible_ssh_user=root ansible_ssh_pass="123456"
nginx2 ansible_ssh_host=10.1.1.12# /etc/ansible/hosts
[nginx]
nginx1
nginx2
说明:密码最好是一个加密字符串。
[root@localhost ansible]# tail -6 hosts
nginx1 ansible_ssh_host=192.168.17.106 ansible_ssh_port=2222 ansible_ssh_user=root ansible_ssh_pass="1q2w3e4r"## db-[99:101]-node.example.com
[group1]
192.168.17.105
nginx1
别名的测试。
[root@localhost ansible]# ansible group1 -m ping
192.168.17.105 | SUCCESS => {"ansible_facts": {"discovered_interpreter_python": "/usr/bin/python"},"changed": false,"ping": "pong"
}
nginx1 | SUCCESS => {"ansible_facts": {"discovered_interpreter_python": "/usr/bin/python"},"changed": false,"ping": "pong"
}
小结:
主机清单的作用:服务器分组。主机清单就是服务器分组。
主机清单的常见功能:
1)可以通过IP范围来分,主机名的名称来分;
2)如果ssh端口不是22,可以传入新端口;
3)没有做免密登录,可以传密码。
不论是哪种环境(免密或不免密,端口是否22),请最终将两台被管理机器加入到group1组即可。