android多屏触摸相关的详解方案-安卓framework开发手机车载车机系统开发课程
背景
直播免费视频课程地址:https://www.bilibili.com/video/BV1hN4y1R7t2/
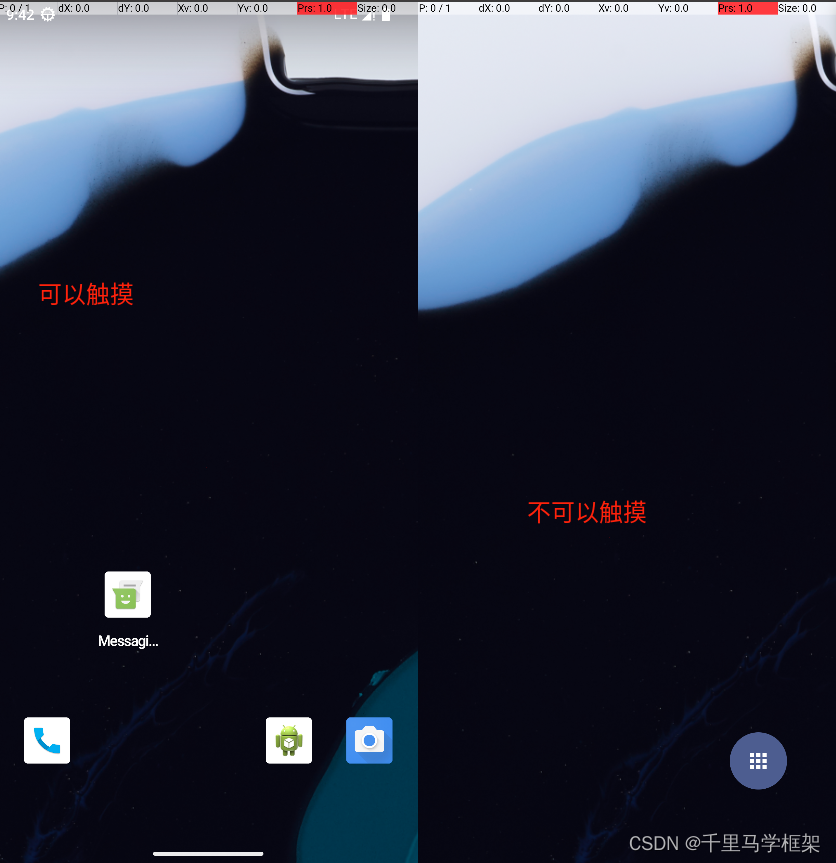
在做双屏相关需求开发过程中,经常会有对两个屏幕都要求可以正确触摸的场景。但是目前我们模拟器默认创建的双屏其实是没有办法进行触摸的
修改方案1
静态修改方案
使用命令查看display2即副屏的信息情况
adb shell dumpsys display
Display 2:mDisplayId=2mPhase=1mLayerStack=2mHasContent=truemDesiredDisplayModeSpecs={baseModeId=2 allowGroupSwitching=false primaryRefreshRateRange=[0 Infinity] appRequestRefreshRateRange=[0 Infinity]}mRequestedColorMode=0mDisplayOffset=(0, 0)mDisplayScalingDisabled=falsemPrimaryDisplayDevice=HDMI ScreenmBaseDisplayInfo=DisplayInfo{"HDMI Screen", displayId 2", displayGroupId 0, FLAG_SECURE, FLAG_SUPPORTS_PROTECTED_BUFFERS, FLAG_PRESENTATION, FLAG_TRUSTED, real 1440 x 2960, largest app 1440 x 2960, smallest app 1440 x 2960, appVsyncOff 2000000, presDeadline 75, mode 2, defaultMode 2, modes [{id=2, width=1440, height=2960, fps=1.3333333E7, alternativeRefreshRates=[]}], hdrCapabilities HdrCapabilities{mSupportedHdrTypes=[], mMaxLuminance=500.0, mMaxAverageLuminance=500.0, mMinLuminance=0.0}, userDisabledHdrTypes [], minimalPostProcessingSupported false, rotation 0, state ON, type EXTERNAL, uniqueId "local:4619827551948147201", app 1440 x 2960, density 560 (215152.0 x 214811.02) dpi, layerStack 2, colorMode 0, supportedColorModes [0], address {port=1, model=0x401cecae7d6e8a}, deviceProductInfo DeviceProductInfo{name=EMU_display_1, manufacturerPnpId=GGL, productId=4660, modelYear=null, manufactureDate=ManufactureDate{week=12, year=2021}, connectionToSinkType=0}, removeMode 0, refreshRateOverride 0.0, brightnessMinimum 0.0, brightnessMaximum 1.0, brightnessDefault 0.5, installOrientation ROTATION_0}
这里主要看对应的uniqueId “local:4619827551948147201”
然后结合input中需要这个uniqueId,更新地方:
2: virtio_input_multi_touch_7Classes: TOUCH | TOUCH_MT | SWITCHPath: /dev/input/event8Enabled: trueDescriptor: e1c836c7be888adb29ca6646292e486f96461e97Location: virtio17/input0ControllerNumber: 0UniqueId: Identifier: bus=0x0006, vendor=0x0000, product=0x0000, version=0x0000KeyLayoutFile: KeyCharacterMapFile: ConfigurationFile: /vendor/usr/idc/virtio_input_multi_touch_7.idcVideoDevice: <none>
就是这个 ConfigurationFile: /vendor/usr/idc/virtio_input_multi_touch_7.idc
去源码的out路径下修改/aosp/out/target/product/emulator_x86_64/vendor/usr/idc/virtio_input_multi_touch_7.idc
主要把touch.displayId 变成上面的获取的local:4619827551948147201
device.internal = 1touch.deviceType = touchScreen
touch.orientationAware = 1cursor.mode = navigation
cursor.orientationAware = 1# This displayID matches the unique ID of the virtual display created for Emulator.
# This will indicate to input flinger than it should link this input device
# with the virtual display.
touch.displayId = local:4619827551948147201
再进行整体编译即可以
修改方案2
动态修改方案
思路通过调用input中相关方法对config进行相关修改
对应方法如下:

即只需要通过这个方法即可以指定触摸的input —》对应显示display进行映射
注意这里使用是port阿,不是displayId
port也可以通过dumpsys display查看哈:
在对应的address有对于的port值,一般就是第一个屏幕0,第二屏幕1
address {port=1, model=0x401cecae7d6e8a}, deviceProductInfo DeviceProductInfo{name=EMU_display_1, manufacturerPnpId=GGL, productId=4660, modelYear=null, manufactureDate=ManufactureDate{week=12, year=2021}
确定了了display的port还有一个input相关inputPort参数,这个就直接通过dumpsy input获取哈,在dumpsys寻找对应屏幕的event,从而找到对应的Device
2: virtio_input_multi_touch_7Classes: TOUCH | TOUCH_MT | SWITCHPath: /dev/input/event8Enabled: trueDescriptor: e1c836c7be888adb29ca6646292e486f96461e97Location: virtio17/input0ControllerNumber: 0UniqueId: Identifier: bus=0x0006, vendor=0x0000, product=0x0000, version=0x0000KeyLayoutFile: KeyCharacterMapFile: ConfigurationFile: /vendor/usr/idc/virtio_input_multi_touch_7.idcVideoDevice: <none>就是这里的 Location: virtio17/input0,virtio17/input0就是我们要的
做好一个动态调用触发,这里直接也使用dumpsys input命令里面进行:
commit 72193cfb966307940457148bedc793c316d67af5 (HEAD)
Author: Your Name <you@example.com>
Date:   Fri Aug 25 17:23:22 2023 +0800add displayfortouch modifydiff --git a/services/core/java/com/android/server/input/InputManagerService.java b/services/core/java/com/android/server/input/InputManagerService.java
index 72612a0468cd..587a7b313b8f 100644
--- a/services/core/java/com/android/server/input/InputManagerService.java
+++ b/services/core/java/com/android/server/input/InputManagerService.java
@@ -2678,6 +2678,14 @@ public class InputManagerService extends IInputManager.Stubif (!DumpUtils.checkDumpPermission(mContext, TAG, pw)) return;pw.println("INPUT MANAGER (dumpsys input)\n");
+        pw.println("INPUT MANAGER args size = "+args.length + "\n");
+        if (args.length == 3 && args[0].equals("displayForInput")) {
+            String location = args[1];
+            int port = Integer.parseInt(args[2]);
+            addPortAssociation(location,port);
+            pw.println("INPUT MANAGER addPortAssociation location= "+location +" port = " +port+ " \n");
+            return;
+        }String dumpStr = mNative.dump();if (dumpStr != null) {pw.println(dumpStr);
最后使用命令:
adb shell dumpsys input displayForInput virtio17/input0 1