DirectExchange直连交换机
目录
一、简介
二、使用步骤
三、demo
父pom文件
pom文件
配置文件
config
消费者
生产者
测试
一、简介
直连型交换机,根据消息携带的路由键将消息投递给对应队列。
大致流程,有一个队列绑定到一个直连交换机上,同时赋予一个路由键 routing key 。
然后当一个消息携带着路由值为abc,这个消息通过生产者发送给交换机时,交换机就会根据这个路由值abc去寻找绑定值也是X的队列。
二、使用步骤
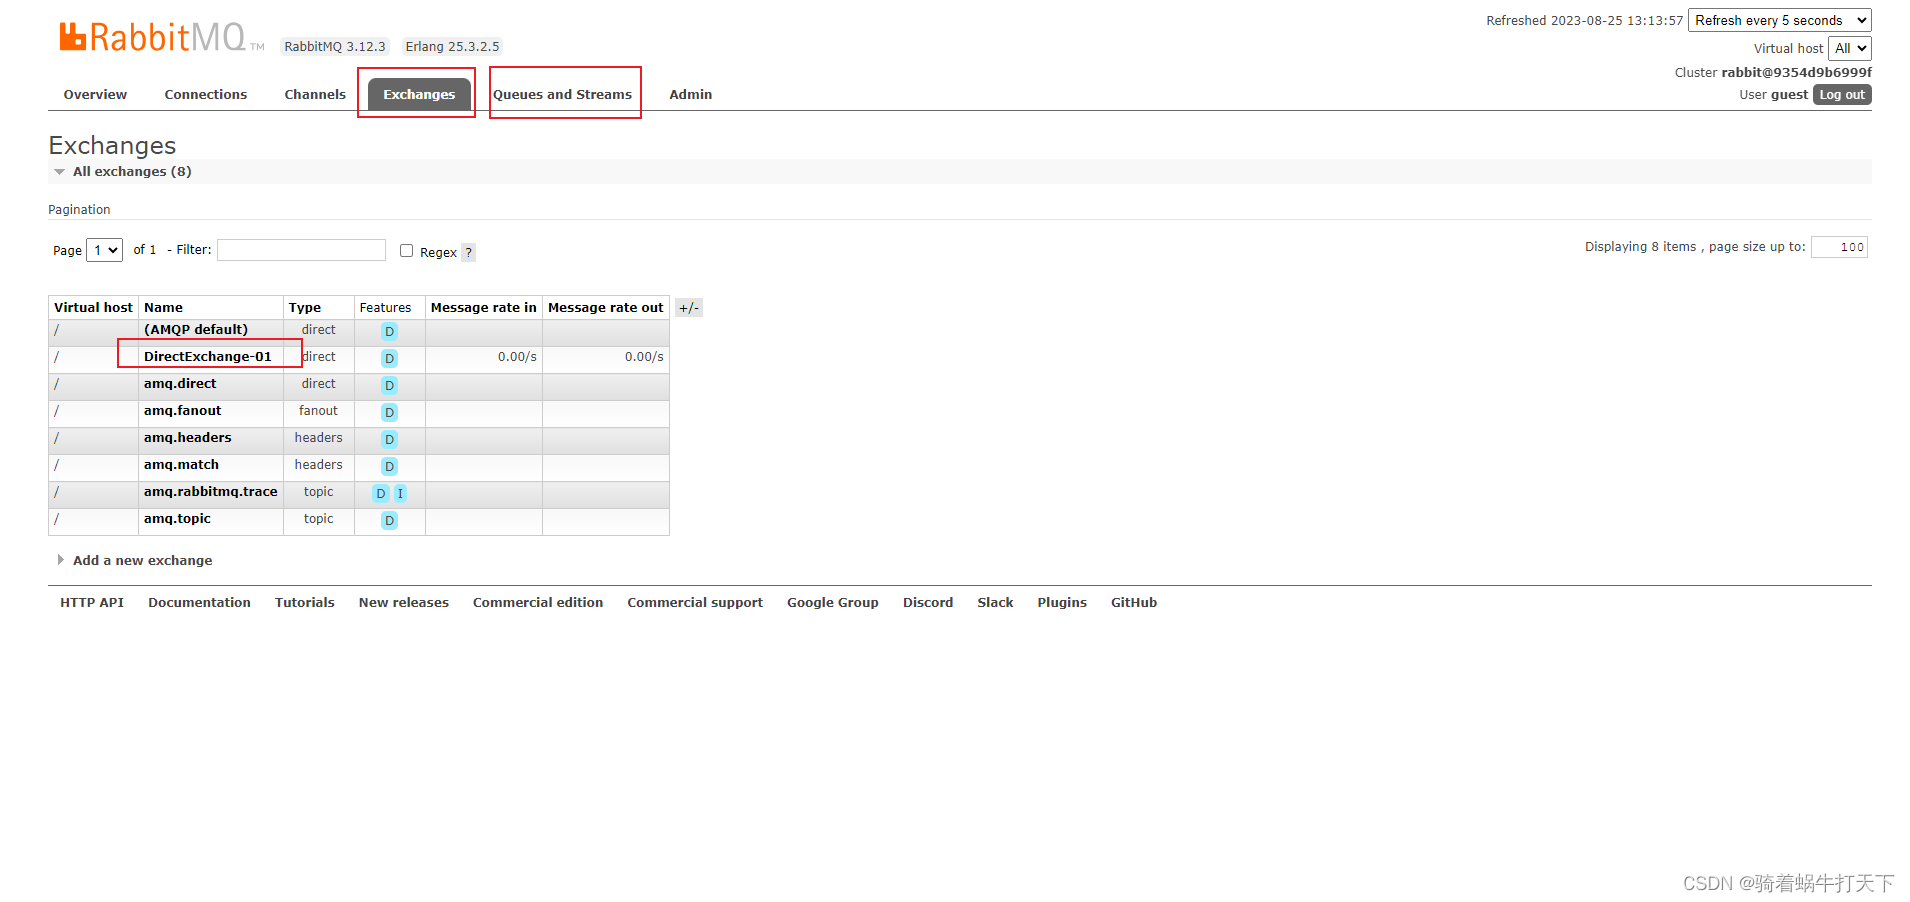
** 步骤:* 1、交换机注入bean* 2、队列注入bean* 3、队列与交换机绑定* 注意:虽然交换机、队列、绑定关系都已注入bean中,但是rabbitMQ中还是没有创建的交换机和队列。* 那是因为消费者还未创建,当消费者创建并与队列绑定后就能在rabbitMQ服务中看到创建的交换机和队列;* 那么,若想在rabbitMQ服务中查看到创建的交换机和队列,还需要第4步,创建消费者* 4、创建消费者consumer
三、demo

父pom文件
<?xml version="1.0" encoding="UTF-8"?>
<project xmlns="http://maven.apache.org/POM/4.0.0" xmlns:xsi="http://www.w3.org/2001/XMLSchema-instance"xsi:schemaLocation="http://maven.apache.org/POM/4.0.0 https://maven.apache.org/xsd/maven-4.0.0.xsd"><modelVersion>4.0.0</modelVersion><parent><groupId>org.springframework.boot</groupId><artifactId>spring-boot-starter-parent</artifactId><version>2.7.1</version>
<!--        <version>2.2.5.RELEASE</version>--><relativePath/> <!-- lookup parent from repository --></parent><groupId>com.chensir</groupId><artifactId>spring-boot-rabbitmq</artifactId><version>0.0.1-SNAPSHOT</version><name>spring-boot-rabbitmq</name><properties><java.version>8</java.version><hutool.version>5.8.3</hutool.version><lombok.version>1.18.24</lombok.version></properties><description>spring-boot-rabbitmq</description><packaging>pom</packaging><modules><module>direct-exchange</module><module>fanout-exchange</module><module>topic-exchange</module><module>game-exchange</module><module>dead-letter-queue</module><module>delay-queue</module><module>delay-queue2</module></modules><dependencyManagement><dependencies><dependency><groupId>cn.hutool</groupId><artifactId>hutool-all</artifactId><version>${hutool.version}</version></dependency><dependency><groupId>org.projectlombok</groupId><artifactId>lombok</artifactId><version>${lombok.version}</version></dependency></dependencies></dependencyManagement></project>
pom文件
<?xml version="1.0" encoding="UTF-8"?>
<project xmlns="http://maven.apache.org/POM/4.0.0" xmlns:xsi="http://www.w3.org/2001/XMLSchema-instance"xsi:schemaLocation="http://maven.apache.org/POM/4.0.0 https://maven.apache.org/xsd/maven-4.0.0.xsd"><modelVersion>4.0.0</modelVersion><parent><groupId>com.chensir</groupId><artifactId>spring-boot-rabbitmq</artifactId><version>0.0.1-SNAPSHOT</version><relativePath>../pom.xml</relativePath></parent><artifactId>direct-exchange</artifactId><dependencies><dependency><groupId>cn.hutool</groupId><artifactId>hutool-all</artifactId></dependency><dependency><groupId>org.projectlombok</groupId><artifactId>lombok</artifactId><optional>true</optional></dependency><dependency><groupId>org.springframework.boot</groupId><artifactId>spring-boot-starter-amqp</artifactId></dependency><dependency><groupId>org.springframework.boot</groupId><artifactId>spring-boot-starter-web</artifactId></dependency><dependency><groupId>org.springframework.boot</groupId><artifactId>spring-boot-starter-test</artifactId><scope>test</scope></dependency><dependency><groupId>org.springframework.amqp</groupId><artifactId>spring-rabbit-test</artifactId><scope>test</scope></dependency></dependencies><build><plugins><plugin><groupId>org.springframework.boot</groupId><artifactId>spring-boot-maven-plugin</artifactId></plugin></plugins></build></project>
配置文件
server.port=8081logging.level.com.chensir=debug
#host
spring.rabbitmq.host=121.40.100.52
#默认5672
spring.rabbitmq.port=5672
#用户名
spring.rabbitmq.username=guest
#密码
spring.rabbitmq.password=guest
#连接到代理时用的虚拟主机
spring.rabbitmq.virtual-host=/
#每个消费者每次可最大处理的nack消息数量 默认是250个 可在服务界面看到;意思是每批投递的数量
spring.rabbitmq.listener.simple.prefetch=1
#表示消息确认方式,其有三种配置方式,分别是none、manual(手动)和auto(自动);默认auto
spring.rabbitmq.listener.simple.acknowledge-mode=auto
#监听重试是否可用
spring.rabbitmq.listener.simple.retry.enabled=true
#最大重试次数
#spring.rabbitmq.listener.simple.retry.max-attempts=5
#最大重试时间间隔
spring.rabbitmq.listener.simple.retry.max-interval=20000ms
#第一次和第二次尝试传递消息的时间间隔
spring.rabbitmq.listener.simple.retry.initial-interval=3000ms
#应用于上一重试间隔的乘数
spring.rabbitmq.listener.simple.retry.multiplier=2
#决定被拒绝的消息是否重新入队;默认是true(与参数acknowledge-mode有关系)
spring.rabbitmq.listener.simple.default-requeue-rejected=false
config
在config中去注入交换机、队列、以及配置队列与交换机的绑定;
一个交换机可以有多个队列与之绑定;
一个队列可以多个消费者绑定消费;
下面为config注入bean的方式;还有种使用注解的方式(使用注解则不需要config配置,但是需要在每个消费者上使用注解配置,这样的缺点有不方便管理)
config注入
package com.chensir.config;import org.springframework.amqp.core.*;
import org.springframework.amqp.support.converter.Jackson2JsonMessageConverter;
import org.springframework.context.annotation.Bean;
import org.springframework.context.annotation.Configuration;/*** 步骤:* 1、交换机注入bean* 2、队列注入bean* 3、队列与交换机绑定* 注意:虽然交换机、队列、绑定关系都已注入bean中,但是rabbitMQ中还是没有创建的交换机和队列。*     那是因为消费者还未创建,当消费者创建并与队列绑定后就能在rabbitMQ服务中看到创建的交换机和队列;*     那么,若想在rabbitMQ服务中查看到创建的交换机和队列,还需要第4步,创建消费者* 4、创建消费者consumer*/
@Configuration
public class RabbitConfig {//解决对象类型乱码  默认的对象类型时base64@Beanpublic Jackson2JsonMessageConverter messageConverter(){return new Jackson2JsonMessageConverter();}/*** 直连交换机 一个交换机可绑定多个队列*/@Beanpublic DirectExchange directExchange(){// name:交换机名称 durable:是否持久化 autoDelete:是否自动删除(没人用时是否自动删除)DirectExchange directExchange = new DirectExchange("DirectExchange-01", true, false);return directExchange;}/*** 队列 一个队列可多个消费者使用* @return*/@Beanpublic Queue directQueue(){//autoDelete() 队列自动删除,当消费者不存在,队列自动删除;注意,这个并不常用!容易丢失消息(队列本来就是存放消息的,自动删除就没意义了)
//        Queue queue = QueueBuilder.durable("DirectQueue-01").autoDelete().build();//durable 持久化;持久化到server硬盘中; 使用这个后每次本地服务(项目)重启 rabbitMQ服务上会自动创建此队列Queue queue = QueueBuilder.durable("DirectQueue-01").build();return queue;}/*** 绑定队列与交换机* @return*/@Beanpublic Binding binding(){//绑定directQueue这个队列给 directExchange 这个交换机Binding binding = BindingBuilder.bind(directQueue()).to(directExchange()).with("Direct-RoutingKey-01");return binding;}//    @Bean
//    public Queue directQueue2(){
//        Queue queue = QueueBuilder.durable("DirectQueue-02").autoDelete().build();
//        Queue queue = QueueBuilder.durable("DirectQueue-02").build();
//        return queue;
//    }/*** 也与交换机DirectExchange-01 绑定;一个交换机可以绑定多个队列* @return*/
//    @Bean
//    public Binding binding2(){
//        Binding binding = BindingBuilder.bind(directQueue2()).to(directExchange()).with("Direct-RoutingKey-01");
//        return binding;
//    }
}
使用注解
使用注解需要在消费者上使用注解并把交换机、队列、key值配置上去即可;
使用了注解方式就不需要在config中配置了。
  @RabbitHandler@RabbitListener(bindings = @QueueBinding(value = @Queue(value = "DirectQueue-01",durable = "true",autoDelete = "false"),exchange = @Exchange(value = "DirectExchange-01",type = ExchangeTypes.DIRECT),key = "Direct-RoutingKey-01"))
//    @RabbitListener(queues = {"DirectQueue-01","DirectQueue-02"})public void process2(Message message) {System.out.println(message);String test = new String(message.getBody());System.out.println("消费2消费了"+test);}
消费者
package com.chensir.consumer;import cn.hutool.json.JSONUtil;
import com.chensir.model.User;import lombok.extern.slf4j.Slf4j;
import com.rabbitmq.client.Channel;
import org.springframework.amqp.core.ExchangeTypes;
import org.springframework.amqp.core.Message;
import org.springframework.amqp.rabbit.annotation.*;
import org.springframework.stereotype.Component;import java.io.IOException;/*** 消费者*/@Component
@Slf4j
public class DirectConsumer {/*** 消费者process 消费DirectQueue-01队列;可多个消费之消费同一个队列** @param message*/@RabbitHandler@RabbitListener(queues = "DirectQueue-01")
//    @RabbitListener(queues = {"DirectQueue-01","DirectQueue-02"})public void process(Message message) {System.out.println(message);String test = new String(message.getBody());System.out.println("消费1消费了" + test);}/*** 消费者process2 也消费DirectQueue-01队列;与消费者process验证多个消费者消费同一个队列* @param message*/@RabbitHandler@RabbitListener(queues = "DirectQueue-01")public void process2(Message message) {System.out.println(message);String test = new String(message.getBody());System.out.println("消费2消费了" + test);}}
生产者
package com.chensir.provider;import com.chensir.model.User;
import lombok.extern.slf4j.Slf4j;
import org.springframework.amqp.core.Message;
import org.springframework.amqp.core.MessageProperties;
import org.springframework.amqp.core.ReturnedMessage;
import org.springframework.amqp.rabbit.connection.CorrelationData;
import org.springframework.amqp.rabbit.core.RabbitTemplate;
import org.springframework.stereotype.Component;import javax.annotation.PostConstruct;
import javax.annotation.Resource;
import java.io.UnsupportedEncodingException;
import java.nio.charset.StandardCharsets;/*** 生产者*/
@Component
@Slf4j
public class DirectProvider {@Resourceprivate RabbitTemplate rabbitTemplate;/*** 生产者-简单的发送消息*/public void send0() {// TODO: 2023/8/25 消息内容若为字符串则会报消息类型不匹配的错误,数字可以正常发生与接受,记得22年测试中文时可以成功发送与接收。Message message = new Message(("这是生产者发送的消息").getBytes());// 往DirectExchange-01交换机中发送消息,交换机的密钥为Direct-RoutingKey-01
//        rabbitTemplate.send("DirectExchange-01", "Direct-RoutingKey-01", message);rabbitTemplate.convertAndSend("DirectExchange-01", "Direct-RoutingKey-01", message);}
}
测试