Go语言GIN框架安装与入门
Go语言GIN框架安装与入门
文章目录
- Go语言GIN框架安装与入门
- 1. 创建配置环境
- 2. 配置环境
- 3. 下载最新版本Gin
- 4. 编写第一个接口
- 5. 静态页面和资源文件加载
- 6. 各种传参方式
- 6.1 URL传参
- 6.2 路由形式传参
- 6.3 前端给后端传递JSON格式
- 6.4 表单形式传参
- 7. 路由和路由组
- 8. 项目代码main.go
- 9. 总结
之前学习了一周的GO语言,学会了GO语言基础,现在尝试使用GO语言最火的框架GIN来写一些简单的接口。看了B站狂神说的GIN入门视频,基本明白如何写接口了,下面记录一下基本的步骤。
1. 创建配置环境
我们使用Goland创建第一个新的开发环境,这里只要在windows下面安装好Go语言,Goroot都能自动识别。
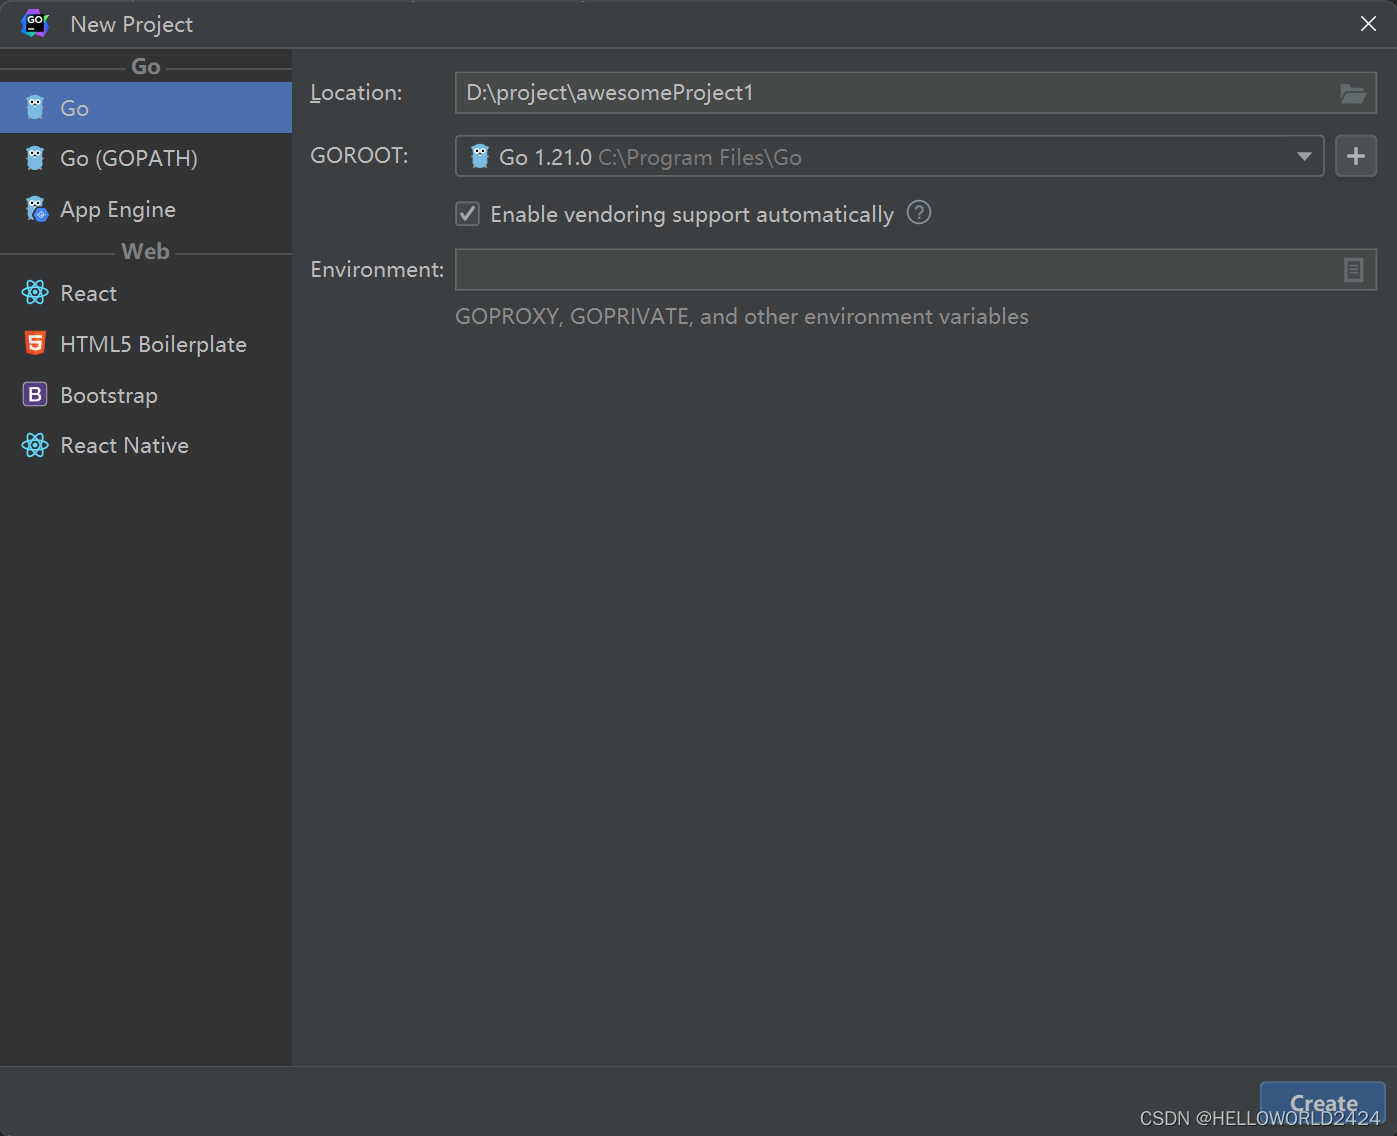
新的项目也就只有1个go.mod的文件,用来表明项目中使用到的第三方库。

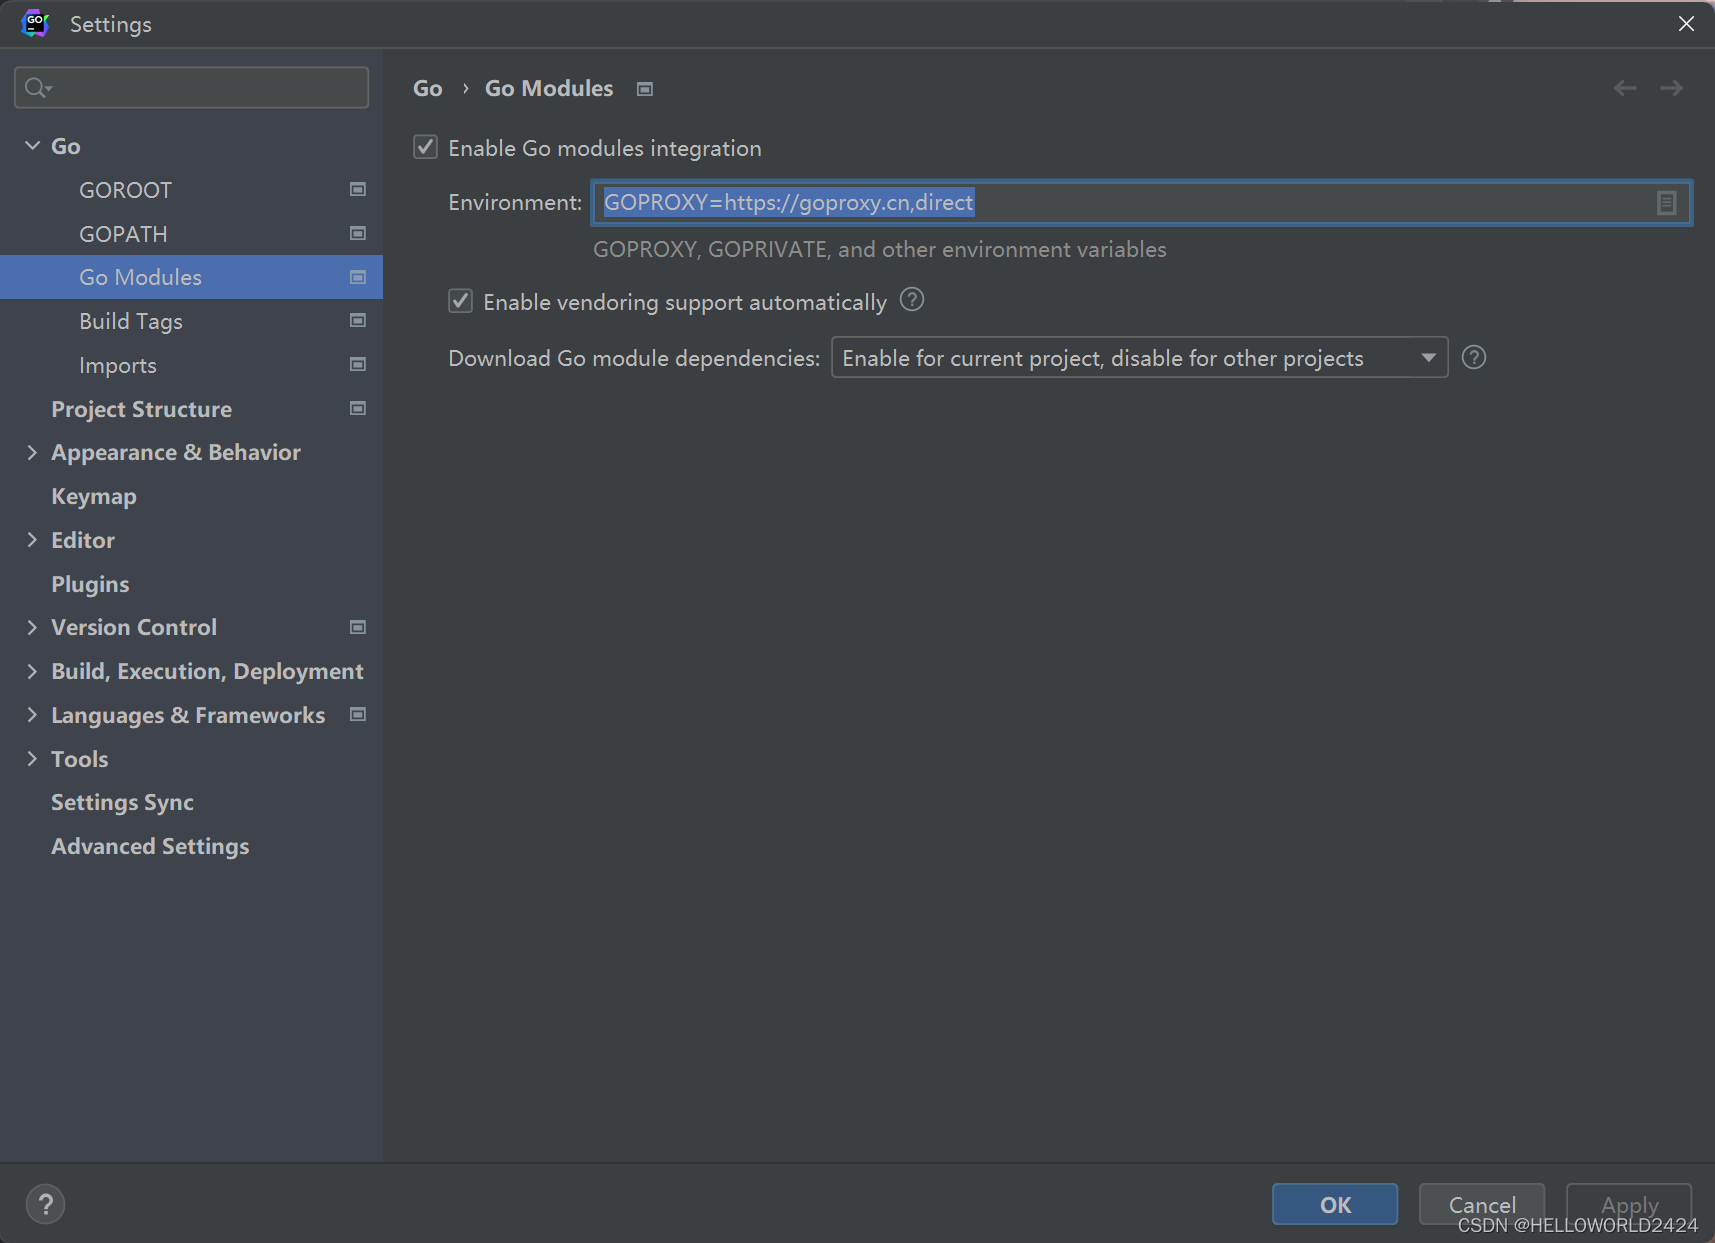
2. 配置环境
我们使用第三方库是需要从github下载的,但是github会经常连不上,所以我们就需要先配置第三方的代理地址。我们再Settings->Go->Go Modules->Environment下面配上代理地址。
GOPROXY=https://goproxy.cn,direct
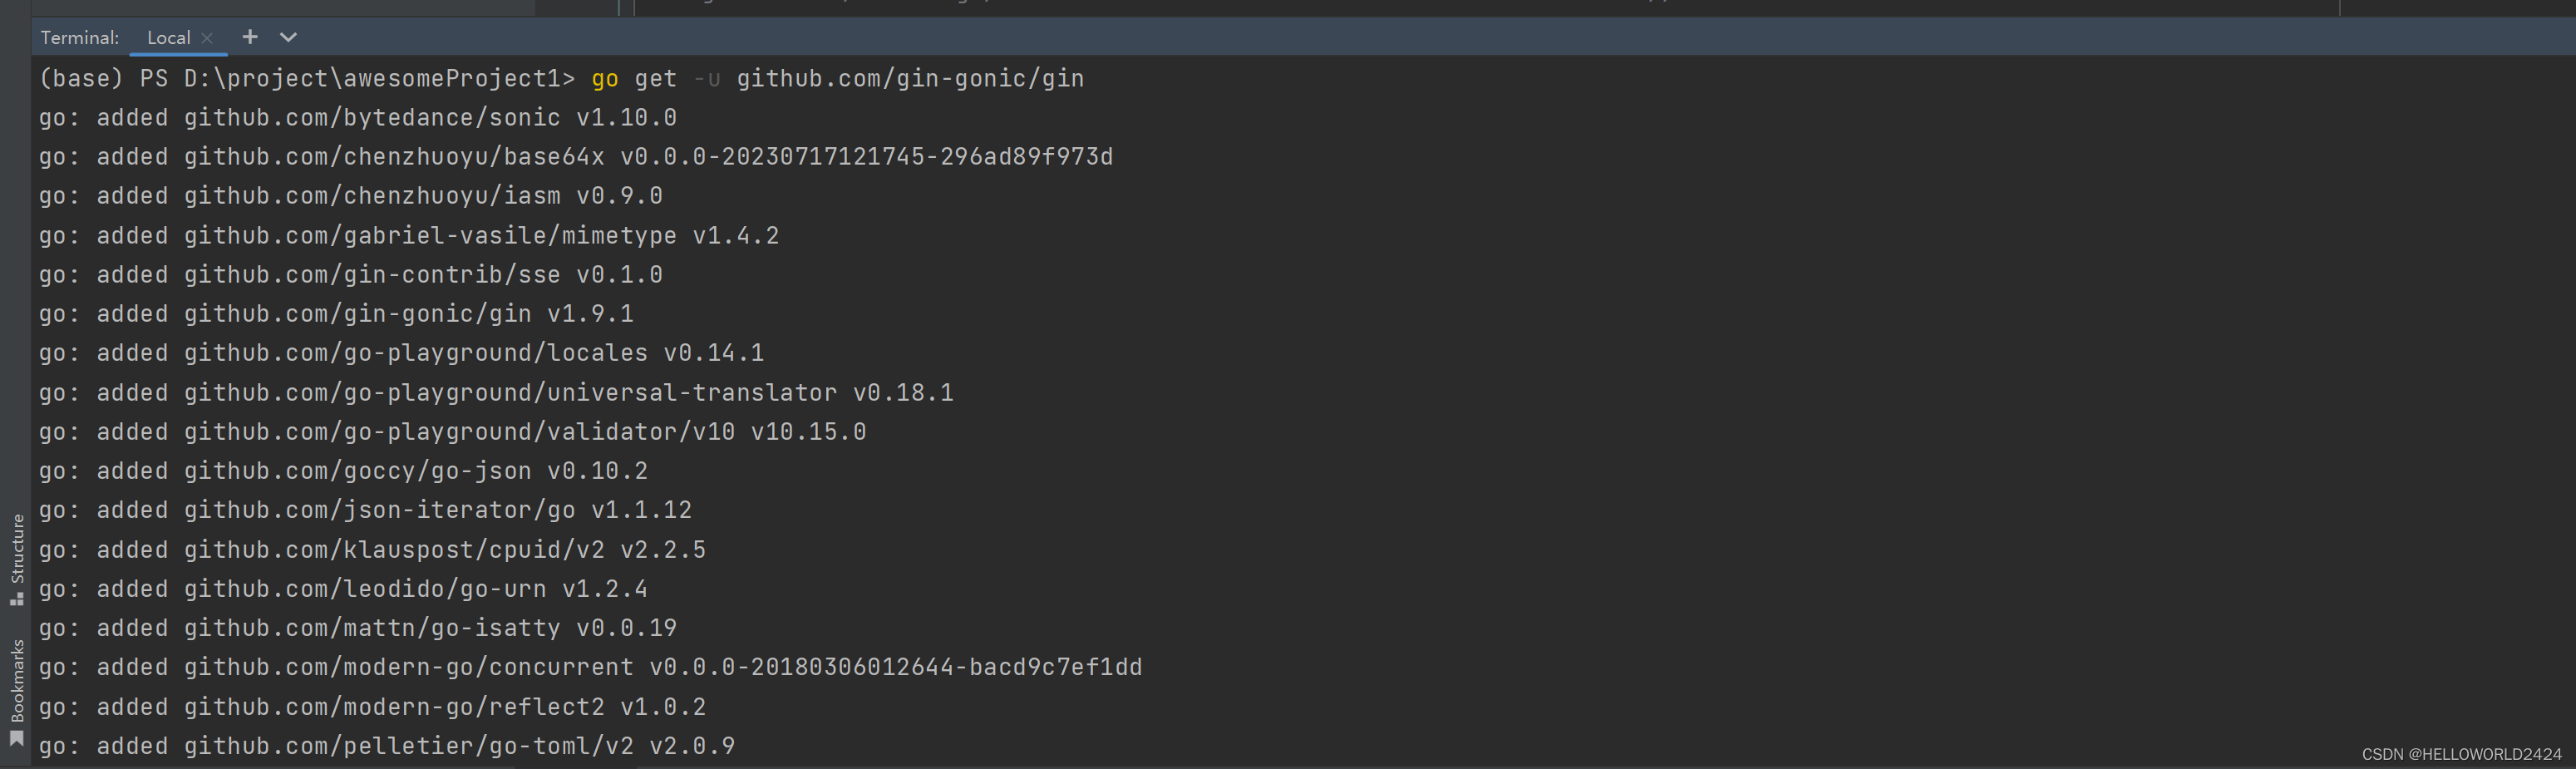
3. 下载最新版本Gin
在IDE里面的Terminal下面安装Gin框架,使用下面的命令安装Gin,安装完成以后,go.mod下面require就会自动添加依赖。
go get -u github.com/gin-gonic/gin
4. 编写第一个接口
创建main.go文件,然后编写以下代码,这里定义了一个/hello的路由。
package mainimport "github.com/gin-gonic/gin"func main() {ginServer := gin.Default()ginServer.GET("/hello", func(context *gin.Context) {context.JSON(200, gin.H{"msg": "hello world"})})ginServer.Run(":8888")}
编译运行通过浏览器访问,就可以输出JSON。

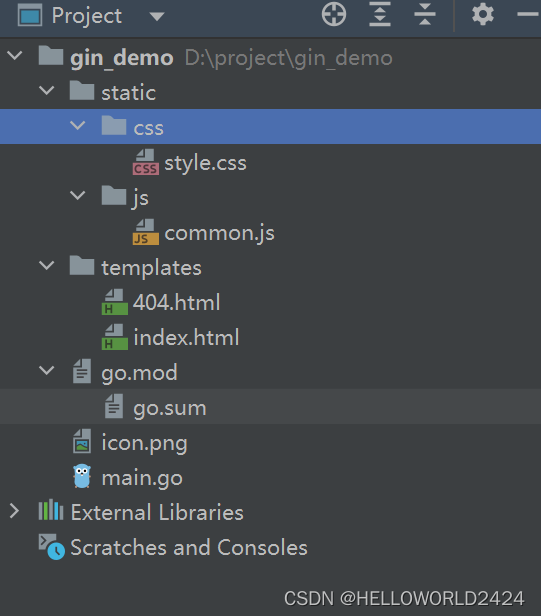
5. 静态页面和资源文件加载
使用下面代码加入项目下面的静态页面(HTML文件),以及动态资源(JS)。
// 加载静态页面ginSever.LoadHTMLGlob("templates/*")// 加载资源文件ginSever.Static("/static", "./static")这是项目的资源文件列表
其中index.html文件如下
<!DOCTYPE html>
<html lang="en">
<head><meta charset="UTF-8"><title>我的第一个GO web页面</title><link rel="stylesheet" href="/static/css/style.css"><script src="/static/js/common.js"></script>
</head>
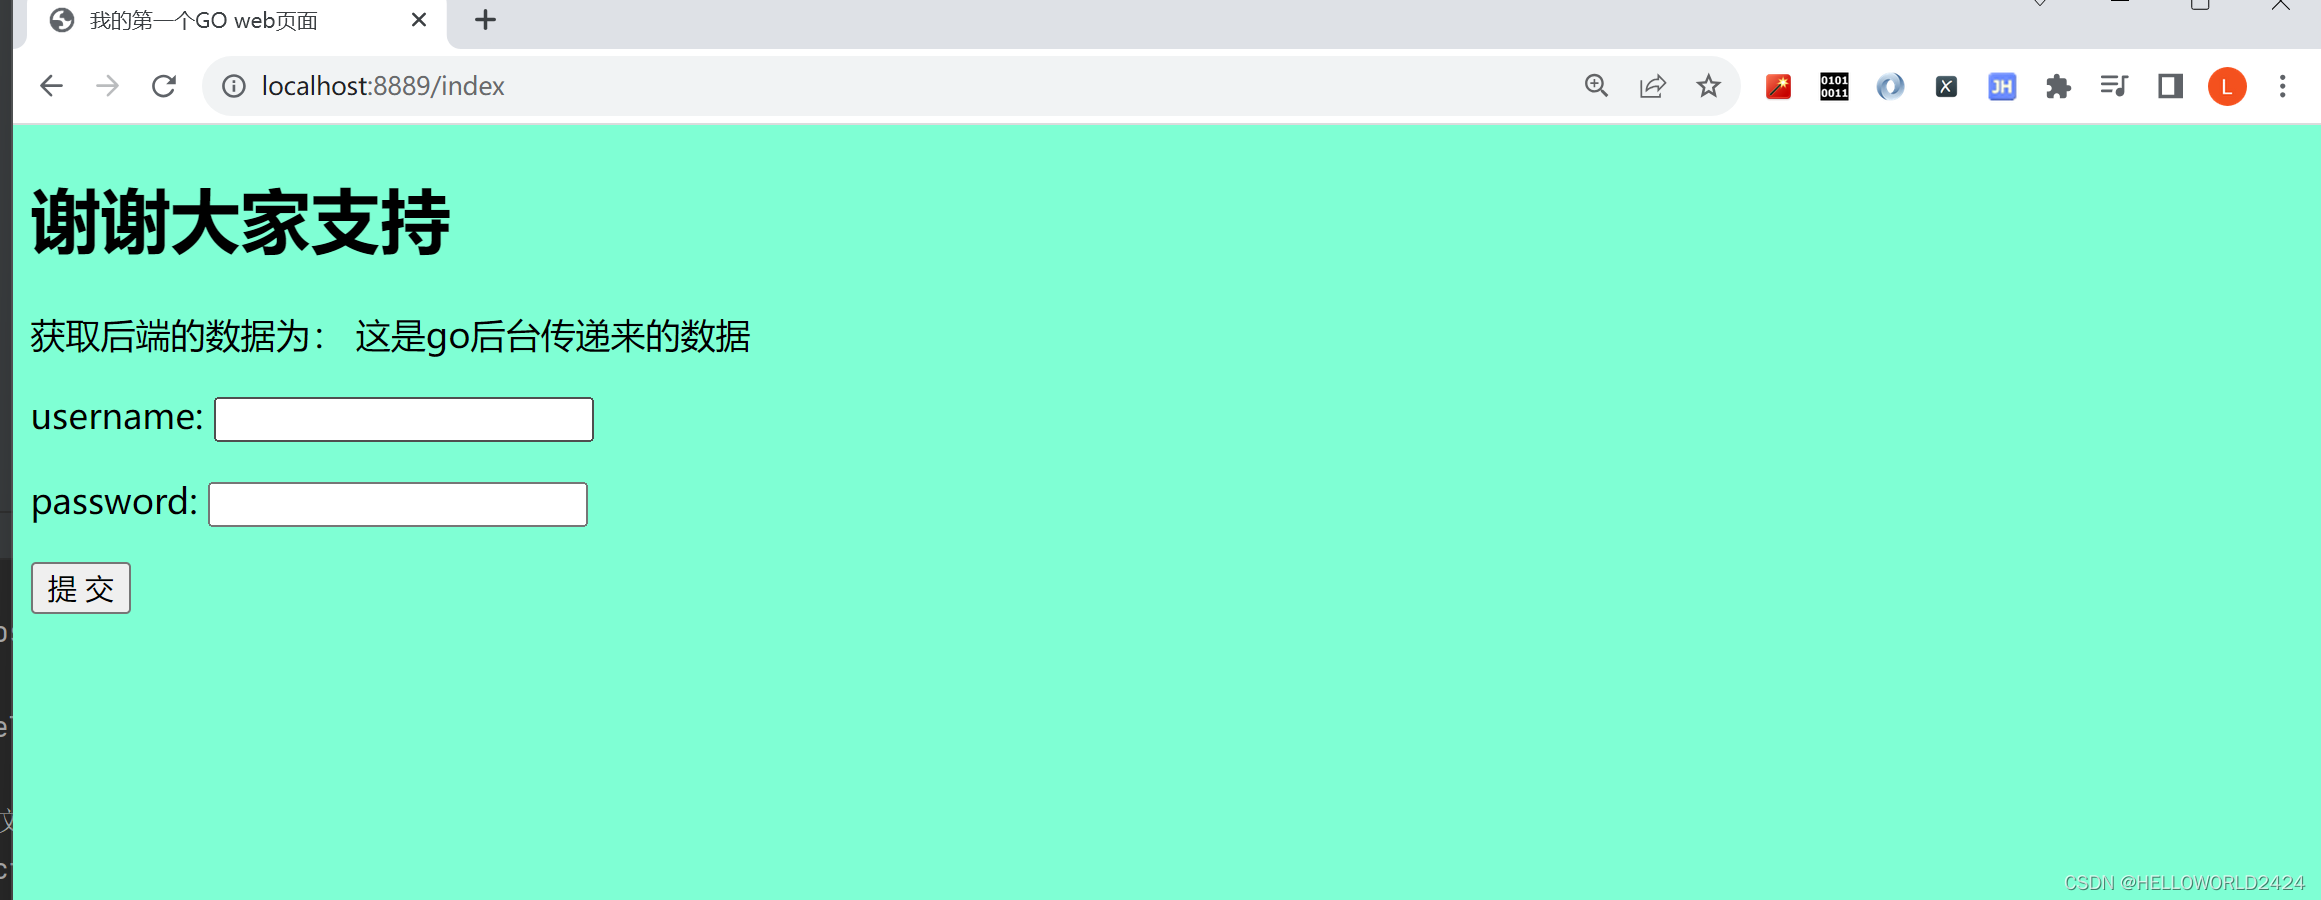
<body><h1>谢谢大家支持</h1>获取后端的数据为:
{{.msg}}<form action="/user/add" method="post"><p>username: <input type="text" name="username"></p><p>password: <input type="text" name="password"></p><button type="submit"> 提 交 </button>
</form></body>
</html>
接着就可以响应一个页面给前端了。
// 响应一个页面给前端ginSever.GET("/index", func(context *gin.Context) {context.HTML(http.StatusOK, "index.html", gin.H{"msg": "这是go后台传递来的数据",})})
6. 各种传参方式
6.1 URL传参
在后端获取URL传递来的参数。
// 传参方式//http://localhost:8082/user/info?userid=123&username=dfaginSever.GET("/user/info", myHandler(), func(context *gin.Context) {// 取出中间件中的值usersession := context.MustGet("usersession").(string)log.Println("==========>", usersession)userid := context.Query("userid")username := context.Query("username")context.JSON(http.StatusOK, gin.H{"userid": userid,"username": username,})})其中上面多加了一个中间键,就是接口代码运行之前执行的代码,myHandler的定义如下:
// go自定义中间件
func myHandler() gin.HandlerFunc {return func(context *gin.Context) {// 设置值,后续可以拿到context.Set("usersession", "userid-1")context.Next() // 放行}
}
6.2 路由形式传参
// http://localhost:8082/user/info/123/dfaginSever.GET("/user/info/:userid/:username", func(context *gin.Context) {userid := context.Param("userid")username := context.Param("username")context.JSON(http.StatusOK, gin.H{"userid": userid,"username": username,})})
6.3 前端给后端传递JSON格式
// 前端给后端传递jsonginSever.POST("/json", func(context *gin.Context) {// request.bodydata, _ := context.GetRawData()var m map[string]interface{}_ = json.Unmarshal(data, &m)context.JSON(http.StatusOK, m)})
6.4 表单形式传参
ginSever.POST("/user/add", func(context *gin.Context) {username := context.PostForm("username")password := context.PostForm("password")context.JSON(http.StatusOK, gin.H{"msg": "ok","username": username,"password": password,})})
7. 路由和路由组
// 路由ginSever.GET("/test", func(context *gin.Context) {context.Redirect(http.StatusMovedPermanently, "https://www.baidu.com")})// 404ginSever.NoRoute(func(context *gin.Context) {context.HTML(http.StatusNotFound, "404.html", nil)})// 路由组userGroup := ginSever.Group("/user"){userGroup.GET("/add")userGroup.POST("/login")userGroup.POST("/logout")}orderGroup := ginSever.Group("/order"){orderGroup.GET("/add")orderGroup.DELETE("delete")}
8. 项目代码main.go
package mainimport ("encoding/json""github.com/gin-gonic/gin""log""net/http"
)// go自定义中间件
func myHandler() gin.HandlerFunc {return func(context *gin.Context) {// 设置值,后续可以拿到context.Set("usersession", "userid-1")context.Next() // 放行}
}func main() {// 创建一个服务ginSever := gin.Default()//ginSever.Use(favicon.New("./icon.png"))// 加载静态页面ginSever.LoadHTMLGlob("templates/*")// 加载资源文件ginSever.Static("/static", "./static")//ginSever.GET("/hello", func(context *gin.Context) {//	context.JSON(200, gin.H{"msg": "hello world"})//})//ginSever.POST("/user", func(c *gin.Context) {//	c.JSON(200, gin.H{"msg": "post,user"})//})//ginSever.PUT("/user")//ginSever.DELETE("/user")// 响应一个页面给前端ginSever.GET("/index", func(context *gin.Context) {context.HTML(http.StatusOK, "index.html", gin.H{"msg": "这是go后台传递来的数据",})})// 传参方式//http://localhost:8082/user/info?userid=123&username=dfaginSever.GET("/user/info", myHandler(), func(context *gin.Context) {// 取出中间件中的值usersession := context.MustGet("usersession").(string)log.Println("==========>", usersession)userid := context.Query("userid")username := context.Query("username")context.JSON(http.StatusOK, gin.H{"userid":   userid,"username": username,})})// http://localhost:8082/user/info/123/dfaginSever.GET("/user/info/:userid/:username", func(context *gin.Context) {userid := context.Param("userid")username := context.Param("username")context.JSON(http.StatusOK, gin.H{"userid":   userid,"username": username,})})// 前端给后端传递jsonginSever.POST("/json", func(context *gin.Context) {// request.bodydata, _ := context.GetRawData()var m map[string]interface{}_ = json.Unmarshal(data, &m)context.JSON(http.StatusOK, m)})// 表单ginSever.POST("/user/add", func(context *gin.Context) {username := context.PostForm("username")password := context.PostForm("password")context.JSON(http.StatusOK, gin.H{"msg":      "ok","username": username,"password": password,})})// 路由ginSever.GET("/test", func(context *gin.Context) {context.Redirect(http.StatusMovedPermanently, "https://www.baidu.com")})// 404ginSever.NoRoute(func(context *gin.Context) {context.HTML(http.StatusNotFound, "404.html", nil)})// 路由组userGroup := ginSever.Group("/user"){userGroup.GET("/add")userGroup.POST("/login")userGroup.POST("/logout")}orderGroup := ginSever.Group("/order"){orderGroup.GET("/add")orderGroup.DELETE("delete")}// 端口ginSever.Run(":8888")}
9. 总结
以上就是Gin入门的所有内容了,大家觉得还有帮助,欢迎点赞收藏哦。