Linux CentOS快速安装VNC并开启服务
以下是在 CentOS 上安装并开启 VNC 服务的步骤:
-
安装 VNC 服务器软件包。运行以下命令:
sudo yum install tigervnc-server输出
$ sudo yum install tigervnc-server
Loaded plugins: fastestmirror, langpacks
Repository 'epel' is missing name in configuration, using id
Loading mirror speeds from cached hostfile* base: centos.mirror.far.fi* epel: epel.mirror.serveriai.lt* extras: centos.mirror.far.fi* updates: centos.mirror.far.fi
Resolving Dependencies
--> Running transaction check
---> Package tigervnc-server.x86_64 0:1.8.0-25.el7_9 will be installed
--> Finished Dependency ResolutionDependencies Resolved===================================================================================================================================================================Package                                    Arch                              Version                                     Repository                          Size
===================================================================================================================================================================
Installing:tigervnc-server                            x86_64                            1.8.0-25.el7_9                              updates                            212 kTransaction Summary
===================================================================================================================================================================
Install  1 PackageTotal download size: 212 k
Installed size: 498 k
Is this ok [y/d/N]: y
Downloading packages:
tigervnc-server-1.8.0-25.el7_9.x86_64.rpm                                                                                                   | 212 kB  00:00:01
Running transaction check
Running transaction test
Transaction test succeeded
Running transactionInstalling : tigervnc-server-1.8.0-25.el7_9.x86_64 1/1Verifying : tigervnc-server-1.8.0-25.el7_9.x86_64 1/1Installed:tigervnc-server.x86_64 0:1.8.0-25.el7_9Complete!-
桌面环境安装
如果你没有安装 GNOME 或 Xfce 桌面环境,则可能会导致 VNC 无法启动桌面环境。可以尝试安装一个桌面环境,并编辑 VNC 配置文件以启动该桌面环境。
例如,在 CentOS 上安装 Xfce 桌面环境可以使用以下命令:
sudo yum install epel-release
sudo yum groupinstall "Xfce"-
创建一个 VNC 用户账户和密码
运行以下命令:
sudo useradd vncuser
sudo passwd vncuser
在上面的命令中,将“vncuser”替换为你想要的用户名。在设置密码时,建议使用强密码。
-
切换到 VNC 用户账户(如果你当前不在该账户下)
运行以下命令:
su - vncuser-
生成 VNC 配置文件
运行以下命令:
vncserver输出
$ vncserverYou will require a password to access your desktops.Password:
Password must be at least 6 characters - try again
Password:
Verify:
Would you like to enter a view-only password (y/n)? n
A view-only password is not usedNew 'xxx:1 (xxx)' desktop is xxx:1Creating default startup script /home/xxx/.vnc/xstartup
Creating default config /home/xxx/.vnc/config
Starting applications specified in /home/xxx/.vnc/xstartup
Log file is /home/xxx/.vnc/xxx:1.log
在第一次运行时,你将被要求设置 VNC 服务器密码。设置密码后,系统将为你生成一个 VNC 配置文件。
-
关闭VNC :1
vncserver -kill :1-
编辑 VNC 配置文件以指定 VNC 服务器的启动选项
运行以下命令:
$vi ~/.vnc/xstartup
然后将以下代码添加到文件中:
#!/bin/shunset SESSION_MANAGER
unset DBUS_SESSION_BUS_ADDRESS
#/etc/X11/xinit/xinitrc
startxfce4 &
[ -x /etc/vnc/xstartup ] && exec /etc/vnc/xstartup
[ -r $HOME/.Xresources ] && xrdb $HOME/.Xresources
xsetroot -solid grey
vncconfig -iconic &
这将启动 xfce4 桌面环境。如果你想使用其他桌面环境,请将“startxfce4”替换为你想使用的桌面环境的启动命令。
-
启动 VNC 服务器
运行以下命令:
vncserver输出
$ vncserver :1New 'xxx:1 (ute)' desktop is xxx:1Starting applications specified in /home/xxx/.vnc/xstartup
Log file is /home/xxx/.vnc/xxx:1.log
-
配置防火墙以允许 VNC 连接
运行以下命令:
sudo firewall-cmd --permanent --add-service=vnc-server
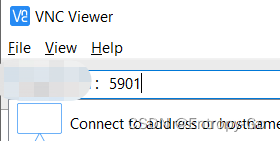
sudo firewall-cmd --reload这将打开 VNC 端口(默认为 5901)并允许远程连接。
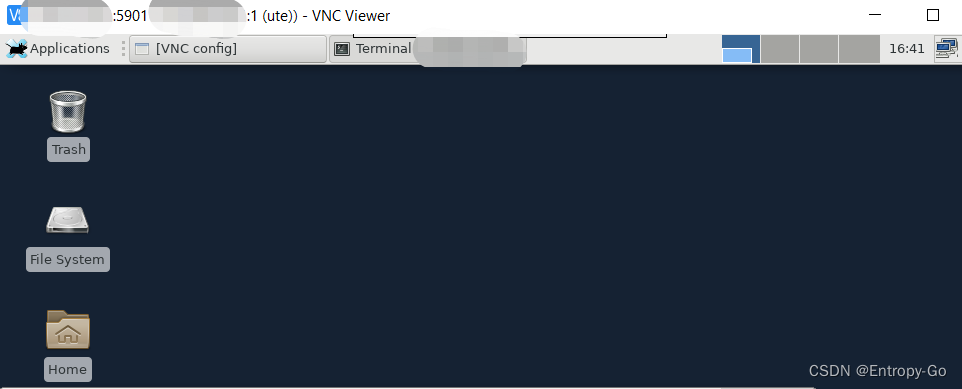
现在,你已经在 CentOS 上安装并开启了 VNC 服务。你可以使用任何 VNC 客户端连接到你的服务器并登录到你的 VNC 用户账户。
-
VNC Viewer访问