QT桌面项目(状态栏和导航栏设置)
文章目录
- 前言
- 一、状态栏
- 二、导航栏
- 三、同时添加状态栏和导航栏
- 总结
前言
为了和我们这个项目做的更加真实,这里为我们的项目添加上状态栏和导航栏让他变成更加接近手机的桌面效果。
一、状态栏
这个状态栏就是显示时间和wifi状态,电池电量的,这里把颜色都设置为白色因为设置为白色后就不会受到壁纸更换的影响了。

那么如何来编写这个状态栏呢?这里先建一个MyStatusBar的类:
他继承QWidegt。
这个状态栏的编写方法也是非常简单的,只需要在这个QWidegt中使用QHBoxLayout布局管理器进行布局即可,使用addStretch函数在中间添加一个可伸缩的空间,让显示时间和wifi状态进行左右分隔。
MyStatusBar.cpp
#include "MyStatusBar.h"
#include <QHBoxLayout>
#include <QDateTime>
#include <QPixmap>MyStatusBar::MyStatusBar(QWidget *parent): QWidget{parent}, m_time(this), m_Electricity(this), m_Signal(this)
{QHBoxLayout* Hlayout = new QHBoxLayout(this);QDateTime currentTime = QDateTime::currentDateTime();m_time.setStyleSheet("color : white ;");m_time.setText(currentTime.toString("hh:mm"));QPixmap pix;pix = QPixmap(":/signal.png").scaled(30, 30);m_Signal.setPixmap(pix);pix = QPixmap(":/Power.png").scaled(30, 30);m_Electricity.setPixmap(pix);Hlayout->addWidget(&m_time);Hlayout->addStretch(); // 添加一个可伸缩的空间Hlayout->addWidget(&m_Signal);Hlayout->addWidget(&m_Electricity);Hlayout->setContentsMargins(5, 0, 5, 0);m_timer.start(30000);connect(&m_timer, SIGNAL(timeout()), this, SLOT(Timeout()));}void MyStatusBar::Timeout()
{QDateTime currentTime = QDateTime::currentDateTime();m_time.setText(currentTime.toString("hh:mm"));
}
MyStatusBar.h
#ifndef MYSTATUSBAR_H
#define MYSTATUSBAR_H#include <QWidget>
#include <QLabel>
#include <QTimer>class MyStatusBar : public QWidget
{Q_OBJECTQLabel m_time;QLabel m_Electricity;QLabel m_Signal;QTimer m_timer;public:explicit MyStatusBar(QWidget *parent = nullptr);signals:protected slots:void Timeout();};#endif // MYSTATUSBAR_H
使用方法:
使用垂直布局管理器将这个状态栏添加进入主界面即可。
MyStatusBar* mystatusbar = new MyStatusBar();QVBoxLayout* Vlayout = new QVBoxLayout(this);Vlayout->addWidget(mystatusbar);Vlayout->addStretch();Vlayout->setSpacing(0);Vlayout->setContentsMargins(0, 0, 0, 0);
二、导航栏
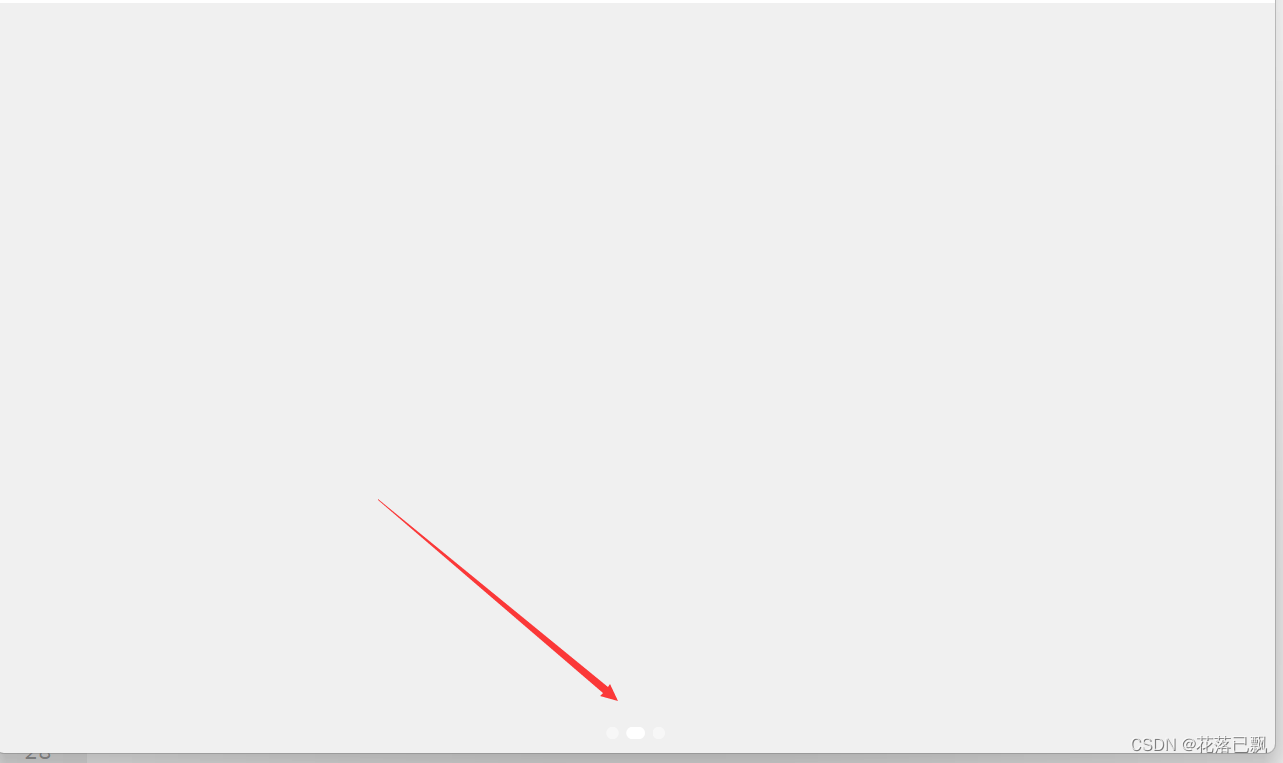
导航栏就是像手机下面的三个小点,指示现在是在第几个界面。这几个小点使用QPushbutton来设置即可。同样的也将他设置为白色防止壁纸对他的干扰。
和上面的状态栏一样,我们这里也新建一个NavigationBar类:
NavigationBar.h
在NavigationBar这个类中提供三个按键(你的主界面有几个就提供几个按键)
再提供两个按键修改函数ButtonNormalStyle和ButtonSelectStyle函数,分别设置不同状态下的按键。
当显示到对应的界面时按键的样式变为长方形圆角样式,当没有显示到对应界面时按键变为圆形样式。
QPushButton button1;QPushButton button2;QPushButton button3;void ButtonNormalStyle(QPushButton& button);void ButtonSelectStyle(QPushButton& button);
NavigationBar.cpp
使用水平布局管理器将这三个按键管理起来,并且在头部和尾部使用addStretch函数让这三个按键排布在中间位置。
QHBoxLayout* Hlayout = new QHBoxLayout();Hlayout->addStretch();
Hlayout->addWidget(&button1);
Hlayout->addWidget(&button2);
Hlayout->addWidget(&button3);
Hlayout->addStretch();void Widget::ButtonNormalStyle(QPushButton& button)
{button.setFixedSize(10, 10);button.setStyleSheet("QPushButton {\border: none;\border-radius: 5px;\background-color: rgba(255, 255, 255, 0.5);\color: white;\text-align: center;\}");
}void Widget::ButtonSelectStyle(QPushButton& button)
{button.setFixedSize(15, 10);button.setStyleSheet("QPushButton {\border: none;\border-radius: 5px;\background-color: white;\color: white;\text-align: center;\}");
}
三、同时添加状态栏和导航栏
同时将状态栏和导航栏添加进桌面也是很简单的,只需要使用QVBoxLayout垂直布局管理器进行管理即可,将主界面显示在中间位置即可完成效果。
总结
当我们完成这一步后我们的桌面就有模有样了哈哈哈。希望大家可以继续跟着我学习,一起做出一个完整的桌面项目。