SpringSecurity框架学习与使用
SpringSecurity框架学习与使用
- SpringSecurity学习
- SpringSecurity入门
- SpringSecurity深入
- 认证
- 授权
- 自定义授权失败页面
- 权限注解
- @Secured
- @PreAuthorize
- @PostAuthorize
- @PostFilter
- @PreFilter
- 参考
SpringSecurity学习
SpringSecurity入门
引入相关的依赖,SpringBoot的版本是2.7.10;
<dependency><groupId>org.thymeleaf.extras</groupId><artifactId>thymeleaf-extras-springsecurity6</artifactId><version>3.1.1.RELEASE</version></dependency><dependency><groupId>org.springframework.boot</groupId><artifactId>spring-boot-starter-thymeleaf</artifactId></dependency><dependency><groupId>org.springframework.boot</groupId><artifactId>spring-boot-starter-security</artifactId></dependency>
前端页面编写,home.html、hello.html、login.html
hello.html
<!DOCTYPE html>
<html xmlns="http://www.w3.org/1999/xhtml" xmlns:th="https://www.thymeleaf.org"xmlns:sec="https://www.thymeleaf.org/thymeleaf-extras-springsecurity6">
<head><title>Hello World!</title>
</head>
<body>
<h1 th:inline="text">Hello <span th:remove="tag" sec:authentication="name">thymeleaf</span>!</h1>
<form th:action="@{/logout}" method="post"><input type="submit" value="Sign Out"/>
</form>
</body>
</html>
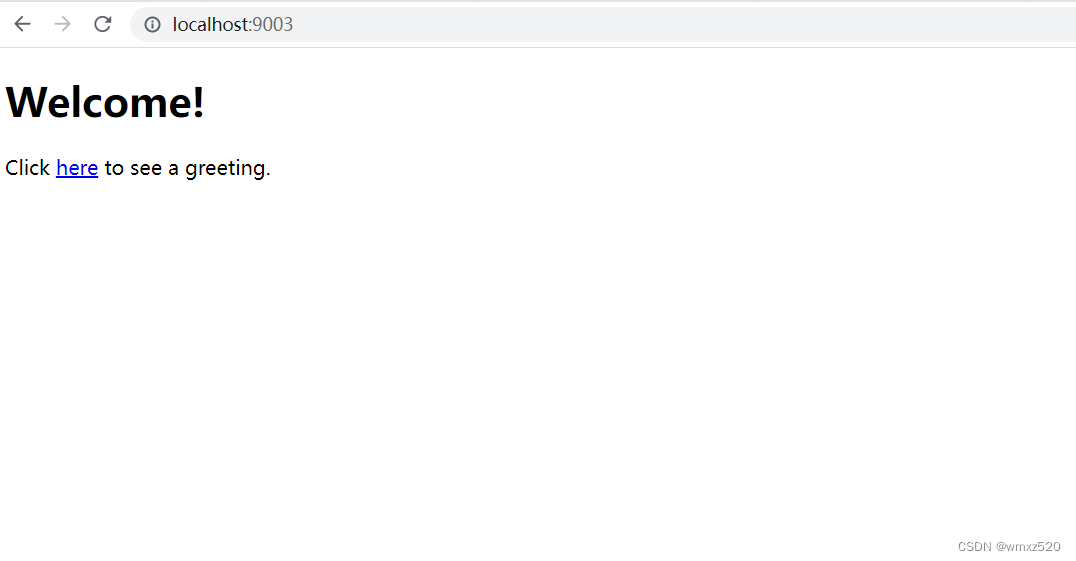
home.html
<!DOCTYPE html>
<html xmlns="http://www.w3.org/1999/xhtml" xmlns:th="https://www.thymeleaf.org">
<head><title>Spring Security Example</title>
</head>
<body>
<h1>Welcome!</h1><p>Click <a th:href="@{/templates/hello.html}">here</a> to see a greeting.</p>
</body>
</html>
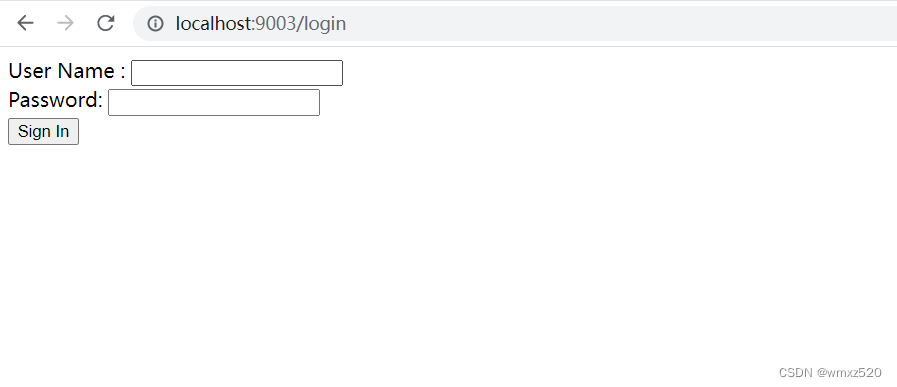
login.html
<!DOCTYPE html>
<html xmlns="http://www.w3.org/1999/xhtml" xmlns:th="https://www.thymeleaf.org">
<head><title>Spring Security Example </title>
</head>
<body>
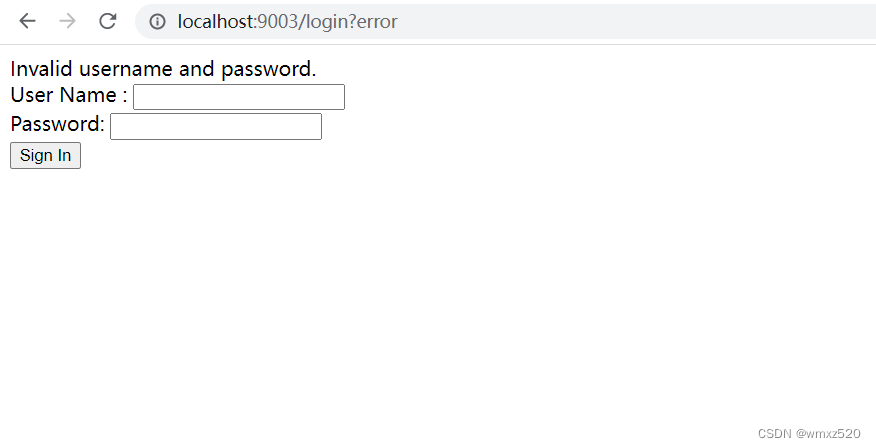
<div th:if="${param.error}">Invalid username and password.
</div>
<div th:if="${param.logout}">You have been logged out.
</div>
<form th:action="@{/login}" method="post"><div><label> User Name : <input type="text" name="username"/> </label></div><div><label> Password: <input type="password" name="password"/> </label></div><div><input type="submit" value="Sign In"/></div>
</form>
</body>
</html>
视图控制,访问对应的url跳转到不同的页面
/*** 视图配置*/
@Configuration
public class MvcConfig implements WebMvcConfigurer {@Overridepublic void addViewControllers(ViewControllerRegistry registry) {WebMvcConfigurer.super.addViewControllers(registry);//请求/home时显示home.html页面registry.addViewController("/home").setViewName("home");registry.addViewController("/").setViewName("home");registry.addViewController("/hello").setViewName("hello");registry.addViewController("/login").setViewName("login");}
}
SpringSecurity配置
@Configuration
@EnableWebSecurity
public class WebSecurityConfig {@Beanpublic SecurityFilterChain securityFilterChain(HttpSecurity http) throws Exception {http.authorizeHttpRequests(request -> {request.antMatchers("/").permitAll()// /home、/  的请求可以访问.antMatchers("/home").permitAll() //除了上面的请求,其它的请求必须认证通过.anyRequest().authenticated();  })//设置登录页面以及允许访问登录页面,springSecurity是有自带的默认登录页面的,如果不		      	设置会跳转到默认的登录页面.formLogin((form) -> form.loginPage("/login").permitAll())  //允许访问登出页面.logout(LogoutConfigurer::permitAll);return http.build();}/*** 设置默认的登录密码,这里是直接使用存放在内存中的密码;* 实际开发从数据库中查询读取* @return*/@Beanpublic UserDetailsService userDetailsService() {UserDetails user = User.withDefaultPasswordEncoder().username("user").password("password").roles("USER").build();return new InMemoryUserDetailsManager(user);}
}
结果
登录失败时
登录成功
SpringSecurity深入
认证
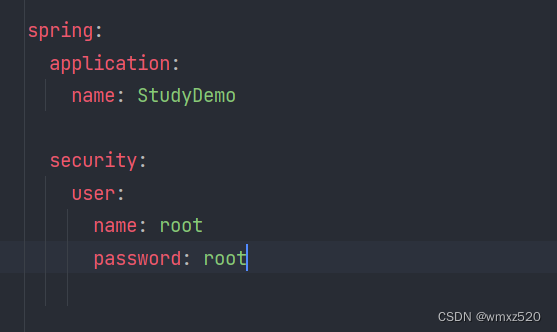
上面的demo中,我们是把登录密码放在内存中记录着的,除了这种方式外我们还可以在配置文件中设置登录用户名和密码;
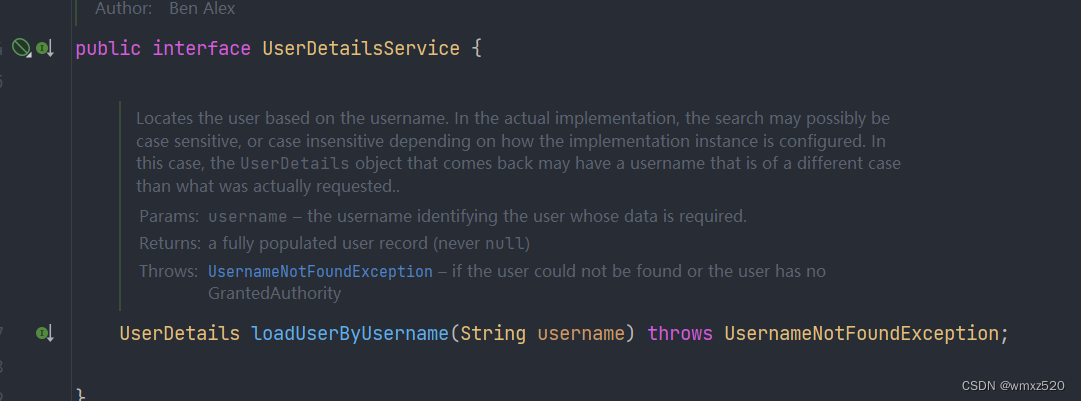
实际开发中一般都从数据库中进行读取;因此我们需要实现UserDetailsService接口,这个接口中有一个loadUserByUsername方法,我们在这个方法中根据username查询用户的信息,如果查询到了,就把用户的信息封装成UserDetails返回。
用户输入的密码会被我们注入的PasswordEncoder加密,所以在后面模拟的从数据库中查询用户密码的时候,对输入的密码使用PasswordEncoder加密了。
/*** 密码加密* @return*/@Beanpublic PasswordEncoder passwordEncoder() {return new BCryptPasswordEncoder();}
用户认证接口实现
@Service("userDetailService")
public class MyUserDetailServiceImpl implements UserDetailsService {@Autowiredprivate PasswordEncoder passwordEncoder;@Overridepublic UserDetails loadUserByUsername(String username) throws UsernameNotFoundException {//模拟从数据库中查询出密码if ("zhangsan".equals(username)) {username = "zhangsan";String password = passwordEncoder.encode("root");return new User(username, password, true, true, true, true,AuthorityUtils.commaSeparatedStringToAuthorityList("admin, ROLE_SALES"));}throw new UsernameNotFoundException("用户没有找到");}}
授权
前面我们对用户认证进行了讲解,接下来讲如何授权。
在SpringSecurity中用户认证和授权的过程是很紧密的,在loadUserByUsername方法返回的UserDetails的构造函数中最后一个参数就是用户具有的权限。而在Shiro中,授权和认证是分为两个方法的。
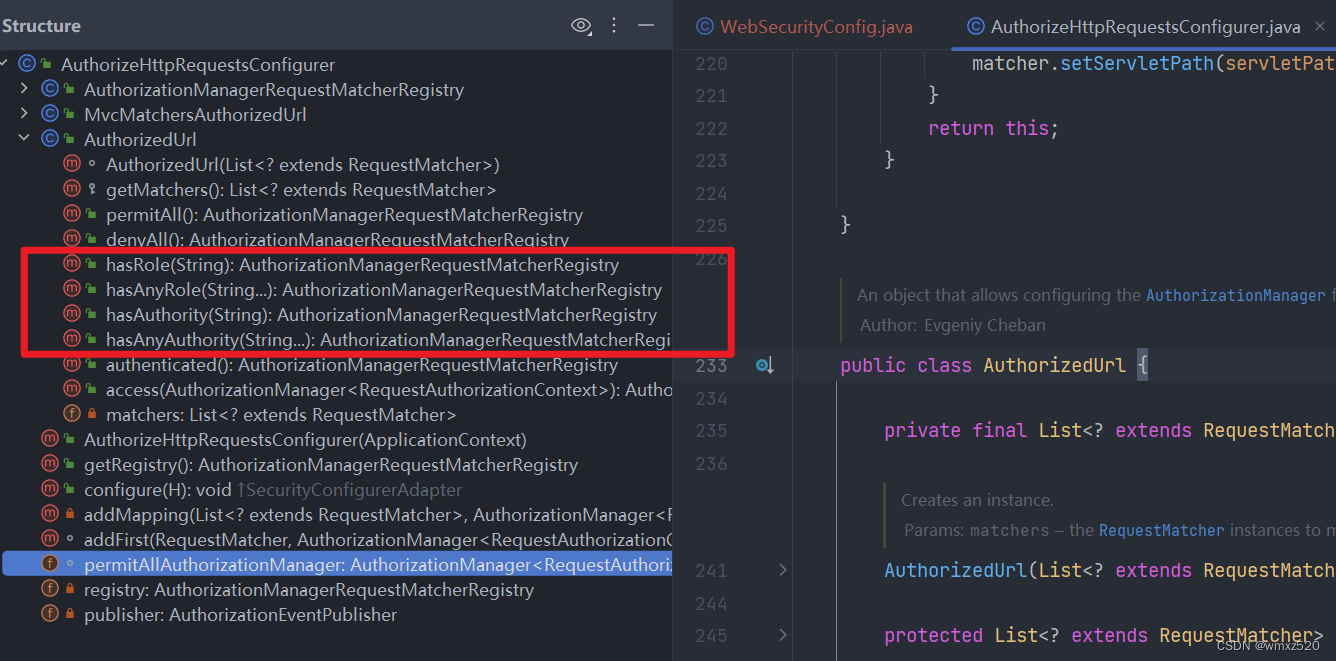
在SpringSecurity中我们通过AuthorizedUrl类的方法来确定访问指定的url需要的请求和角色。
| 方法 | 作用 |
|---|---|
| hasAuthority | 如果当前的主体具有指定的权限,则返回 true,否则返回 false |
| hasAnyAuthority | 如果当前的主体有任何提供的角色(给定的作为一个逗号分隔的字符串列表)的话,返回true |
| hasRole | 如果用户具备给定角色就允许访问,否则出现 403。如果当前主体具有指定的角色,则返回 true |
| hasAnyRole | 表示用户具备任何一个条件都可以访问 |
url:/test/test1,只有SALES角色才能访问;
url:/test/test2,只有admin权限才能访问;
@Beanpublic SecurityFilterChain securityFilterChain(HttpSecurity http) throws Exception {http.authorizeHttpRequests(request -> {request.antMatchers("/").permitAll().antMatchers("/home").permitAll() // /home、/ 的请求可以访问//需要SALES角色才可以访问.antMatchers("/test/test1").hasRole("SALES")//需要admin权限才能访问.antMatchers("/test/test2").hasAuthority("admin").anyRequest().authenticated(); //除了上面的,其它的请求必须认证通过}).formLogin((form) -> form.loginPage("/login").permitAll()) //设置登录页面以及允许访问登录页面.logout(LogoutConfigurer::permitAll);return http.build();}
自定义授权失败页面
@Beanpublic SecurityFilterChain securityFilterChain(HttpSecurity http) throws Exception {http.authorizeHttpRequests(request -> {request.antMatchers("/").permitAll().antMatchers("/home").permitAll() // /home、/ 的请求可以访问.antMatchers("/test/test1").hasRole("SALES").antMatchers("/test/test2").hasAuthority("admin").anyRequest().authenticated(); //除了上面的,其它的请求必须认证通过});//设置没有权限访问跳转自定义页面http.exceptionHandling().accessDeniedPage("/error.html");http.formLogin((form) -> {//设置登录页面以及允许访问登录页面form.loginPage("/login").permitAll()//登录访问路径.loginProcessingUrl("/login")//登录成功之后的跳转路径.defaultSuccessUrl("/hello").permitAll(); }).logout(LogoutConfigurer::permitAll);return http.build();}权限注解
| 注解 | 作用 |
|---|---|
| @Secured | 判断是否具有角色,另外需要注意的是这里匹配的字符串需要添加前缀“ROLE_ |
| @PreAuthorize | 注解适合进入方法前的权限验证, @PreAuthorize 可以将登录用户的 roles/permissions 参数传到方法中 |
| @PostAuthorize | 在方法执行后再进行权限验证,适合验证带有返回值的权限 |
| @PostFilter | 权限验证之后对数据进行过滤 留下用户名是 admin1 的数据 |
@Secured
@Secured:判断是否具有角色,另外需要注意的是这里匹配的字符串需要添加前缀“ROLE_“
使用@Secured注解之前需要先使用注解@EnableGlobalMethodSecurity(securedEnabled=true)开启此功能;
@RequestMapping("testSecured")
@ResponseBody
@Secured({"ROLE_normal","ROLE_admin"}) //判断是否有normal、admin角色
public String helloUser() {
return "hello,user";
}
@PreAuthorize
@PreAuthorize:注解适合进入方法前的权限验证, @PreAuthorize 可以将登录用户的 roles/permissions 参数传到方法中;同样的使用之前也需要使用@EnableGlobalMethodSecurity(prePostEnabled = true)开启此功能;
@RequestMapping("/preAuthorize")
@ResponseBody
@PreAuthorize("hasAnyAuthority('menu:system')")
public String preAuthorize(){System.out.println("preAuthorize");
return "preAuthorize";
}
@PostAuthorize
@PostAuthorize:在方法执行后再进行权限验证,适合验证带有返回值的权限;
@RequestMapping("/testPostAuthorize")
@ResponseBody
@PostAuthorize("hasAnyAuthority('menu:system')")
public String preAuthorize(){
System.out.println("test--PostAuthorize");
return "PostAuthorize";
}
@PostFilter
@PostFilter :权限验证之后对数据进行过滤 留下用户名是 admin1 的数据;
表达式中的 filterObject 引用的是方法返回值 List 中的某一个元素;
@RequestMapping("getAll")
@PreAuthorize("hasRole('ROLE_管理员')")
@PostFilter("filterObject.username == 'admin1'")
@ResponseBody
public List<UserInfo> getAllUser(){ArrayList<UserInfo> list = new ArrayList<>();list.add(new UserInfo(1l,"admin1","6666"));list.add(new UserInfo(2l,"admin2","888"));
return list;
}
@PreFilter
@PreFilter: 进入控制器之前对数据进行过滤
@RequestMapping("getTestPreFilter")
@PreAuthorize("hasRole('ROLE_管理员')")
@PreFilter(value = "filterObject.id%2==0")
@ResponseBody
public List<UserInfo> getTestPreFilter(@RequestBody List<UserInfo>
list){list.forEach(t-> {System.out.println(t.getId()+"\t"+t.getUsername());});
return list;
}
除了上面提到的注解外,还有权限表达式,权限表达式
参考
- SpringSecurity视频
- SpringSecurity教程
- SpringSecurity文档