iOS —— UI(2)
一、导航控制器和工具栏
在 iOS 开发中,UINavigationController 是一个视图控制器管理器,用于在多个视图控制器之间进行有层级的导航(如页面的前进、返回),就像网页的前进/后退一样。
继承关系:NSObject->UIResponder->UIViewController->UINavigationController
#import <UIKit/UIKit.h>NS_ASSUME_NONNULL_BEGIN@interface VCRoot : UIViewController@endNS_ASSUME_NONNULL_END
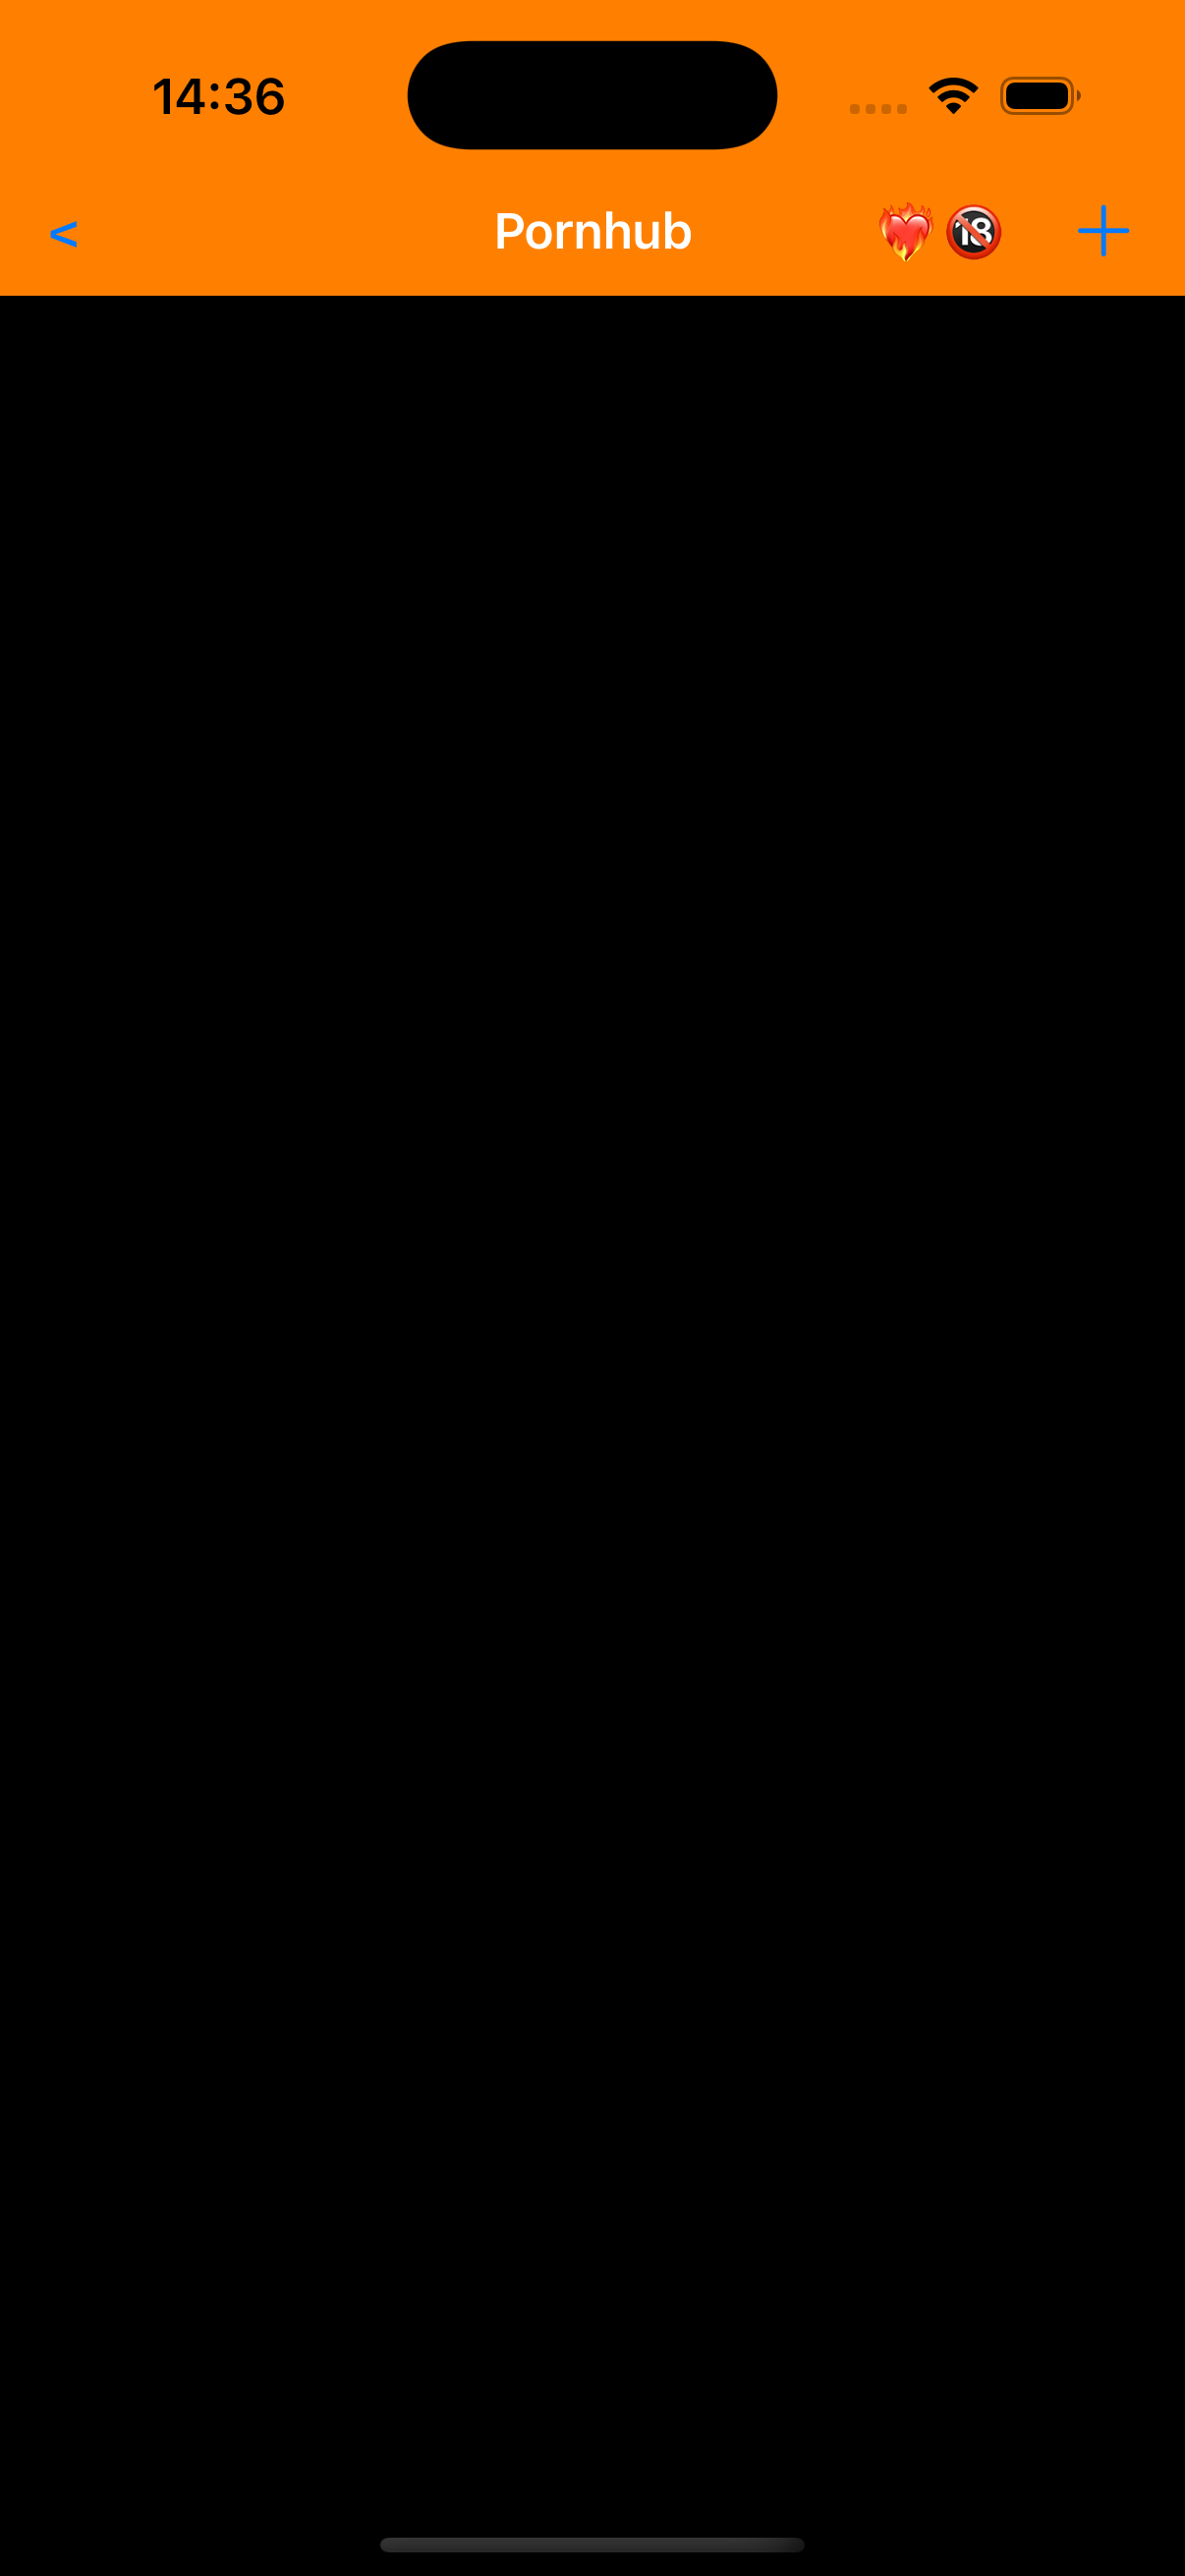
#import "VCRoot.h"@interface VCRoot ()@end@implementation VCRoot- (void)viewDidLoad {[super viewDidLoad];[super viewDidLoad];self.view.backgroundColor = [UIColor blackColor];self.navigationItem.title = @"Pornhub";UINavigationBarAppearance *appearance = [[UINavigationBarAppearance alloc] init];[appearance configureWithOpaqueBackground];appearance.backgroundColor = [UIColor orangeColor];
appearance.titleTextAttributes = @{ NSForegroundColorAttributeName : [UIColor whiteColor] };self.navigationController.navigationBar.standardAppearance = appearance;self.navigationController.navigationBar.scrollEdgeAppearance = appearance;//创建一个导航栏左侧的按钮,这是根据title文字来创建的,传入四个参数//第一个参数是按钮上的文字内容;第二个参数是按钮风格//第三个参数是事件的拥有者;第四个参数是按钮的事件函数UIBarButtonItem *leftBtn = [[UIBarButtonItem alloc] initWithTitle: @"<" style: UIBarButtonItemStyleDone target: self action: @selector(pressLeft)];//给导航栏的左侧按钮属性赋值为我们创建好的左侧按钮self.navigationItem.leftBarButtonItem = leftBtn;//右侧按钮//和左侧按钮不同的是,这里创建右侧按钮的时候我们使用的初始化方法是不一样的//这里的初始化方法不需要输入文字内容,而是指定了系统提供的风格样式,系统风格的按钮内容或标题文字不可更改UIBarButtonItem *rightBtn = [[UIBarButtonItem alloc] initWithBarButtonSystemItem: UIBarButtonSystemItemAdd target: self action: @selector(pressRight)];self.navigationItem.rightBarButtonItem = rightBtn;//创建多按钮://先创建一个标签对象UILabel *label = [[UILabel alloc] initWithFrame: CGRectMake(10, 10, 50, 40)];label.text = @"❤️🔥🔞";//将label设置为居中label.textAlignment = NSTextAlignmentCenter;label.textColor = [UIColor orangeColor];//将UIlabel类型的控件添加到导航栏按钮//initWithCustomView就代表以自定义控件来初始化UIBarButtonItem *item3 = [[UIBarButtonItem alloc] initWithCustomView: label];//创建一个按钮数组NSArray *arrayBtn = [NSArray arrayWithObjects: rightBtn, item3, nil];//将右侧按钮数组赋值self.navigationItem.rightBarButtonItems = arrayBtn;}- (void) pressLeft {NSLog(@"左侧按钮被按下");
}- (void) pressRight {NSLog(@"右侧按钮被按下");
}/*
#pragma mark - Navigation
// In a storyboard-based application, you will often want to do a little preparation before navigation
- (void)prepareForSegue:(UIStoryboardSegue *)segue sender:(id)sender {// Get the new view controller using [segue destinationViewController].// Pass the selected object to the new view controller.
}
*/@end#import "SceneDelegate.h"
#import "VCRoot.h"
@interface SceneDelegate ()@end@implementation SceneDelegate- (void)scene:(UIScene *)scene
willConnectToSession:(UISceneSession *)sessionoptions:(UISceneConnectionOptions *)connectionOptions
{// 初始化 window 并绑定到当前 sceneself.window = [[UIWindow alloc] initWithWindowScene:(UIWindowScene *)scene];self.window.frame = [UIScreen mainScreen].bounds;// 创建根视图控制器VCRoot* root = [[VCRoot alloc] init];// 创建导航控制器并设置根视图控制器UINavigationController* nav = [[UINavigationController alloc] initWithRootViewController:root];// 设置 window 的根控制器self.window.rootViewController = nav;// 显示窗口[self.window makeKeyAndVisible];
}- (void)sceneDidDisconnect:(UIScene *)scene {// Called as the scene is being released by the system.// This occurs shortly after the scene enters the background, or when its session is discarded.// Release any resources associated with this scene that can be re-created the next time the scene connects.// The scene may re-connect later, as its session was not necessarily discarded (see `application:didDiscardSceneSessions` instead).
}- (void)sceneDidBecomeActive:(UIScene *)scene {// Called when the scene has moved from an inactive state to an active state.// Use this method to restart any tasks that were paused (or not yet started) when the scene was inactive.
}- (void)sceneWillResignActive:(UIScene *)scene {// Called when the scene will move from an active state to an inactive state.// This may occur due to temporary interruptions (ex. an incoming phone call).
}- (void)sceneWillEnterForeground:(UIScene *)scene {// Called as the scene transitions from the background to the foreground.// Use this method to undo the changes made on entering the background.
}- (void)sceneDidEnterBackground:(UIScene *)scene {// Called as the scene transitions from the foreground to the background.// Use this method to save data, release shared resources, and store enough scene-specific state information// to restore the scene back to its current state.
}@end
导航控制器切换
#import "VCRoot.h"
#import "VCSecond.h"
@interface VCRoot ()@end@implementation VCRoot- (void)viewDidLoad {[super viewDidLoad];[super viewDidLoad];self.view.backgroundColor = [UIColor blackColor];self.navigationItem.title = @"Pornhub";UINavigationBarAppearance *appearance = [[UINavigationBarAppearance alloc] init];[appearance configureWithOpaqueBackground];appearance.backgroundColor = [UIColor orangeColor];
appearance.titleTextAttributes = @{ NSForegroundColorAttributeName : [UIColor whiteColor] };self.navigationController.navigationBar.standardAppearance = appearance;self.navigationController.navigationBar.scrollEdgeAppearance = appearance;//创建一个导航栏左侧的按钮,这是根据title文字来创建的,传入四个参数//第一个参数是按钮上的文字内容;第二个参数是按钮风格//第三个参数是事件的拥有者;第四个参数是按钮的事件函数UIBarButtonItem *leftBtn = [[UIBarButtonItem alloc] initWithTitle: @"<" style: UIBarButtonItemStyleDone target: self action: @selector(pressLeft)];//给导航栏的左侧按钮属性赋值为我们创建好的左侧按钮self.navigationItem.leftBarButtonItem = leftBtn;//右侧按钮//和左侧按钮不同的是,这里创建右侧按钮的时候我们使用的初始化方法是不一样的//这里的初始化方法不需要输入文字内容,而是指定了系统提供的风格样式,系统风格的按钮内容或标题文字不可更改
// UIBarButtonItem *rightBtn = [[UIBarButtonItem alloc] initWithBarButtonSystemItem: UIBarButtonSystemItemAdd target: self action: @selector(pressRight)];
// self.navigationItem.rightBarButtonItem = rightBtn;UIBarButtonItem *next = [[UIBarButtonItem alloc] initWithTitle: @">>" style: UIBarButtonItemStylePlain target: self action: @selector(pressNext)];self.navigationItem.rightBarButtonItem = next;//创建多按钮://先创建一个标签对象UILabel *label = [[UILabel alloc] initWithFrame: CGRectMake(10, 10, 50, 40)];label.text = @"❤️🔥🔞";//将label设置为居中label.textAlignment = NSTextAlignmentCenter;label.textColor = [UIColor orangeColor];//将UIlabel类型的控件添加到导航栏按钮//initWithCustomView就代表以自定义控件来初始化UIBarButtonItem *item3 = [[UIBarButtonItem alloc] initWithCustomView: label];//创建一个按钮数组// NSArray *arrayBtn = [NSArray arrayWithObjects: rightBtn, item3, nil];//将右侧按钮数组赋值
// self.navigationItem.description = label;}- (void) pressLeft {NSLog(@"左侧按钮被按下");
}- (void)pressNext {//创建新的视图控制器VCSecond *vcSecond = [[VCSecond alloc] init];//使用当前视图控制器的导航控制器对象[self.navigationController pushViewController: vcSecond animated: YES];
}/*
#pragma mark - Navigation
// In a storyboard-based application, you will often want to do a little preparation before navigation
- (void)prepareForSegue:(UIStoryboardSegue *)segue sender:(id)sender {// Get the new view controller using [segue destinationViewController].// Pass the selected object to the new view controller.
}
*/@end
#import "VCSecond.h"
#import "VCThird.h"@interface VCSecond ()@end@implementation VCSecond- (void)viewDidLoad {[super viewDidLoad];//设置视图二的标题和颜色self.view.backgroundColor = [UIColor whiteColor];self.title = @"欧美";//为视图控制器导航栏设置右侧按钮UIBarButtonItem *btnNext = [[UIBarButtonItem alloc] initWithTitle: @"下一级" style: UIBarButtonItemStylePlain target: self action: @selector(pressNext)];self.navigationItem.rightBarButtonItem = btnNext;//为视图控制器导航栏设置返回的左侧按钮UIBarButtonItem *btnLeft = [[UIBarButtonItem alloc] initWithTitle: @"返回上一级" style: UIBarButtonItemStylePlain target: self action: @selector(pressBack)];self.navigationItem.leftBarButtonItem = btnLeft;
}- (void)pressNext {//创建新的视图控制器VCThird *vcThird = [[VCThird alloc] init];//推入第三个视图控制器对象[self.navigationController pushViewController: vcThird animated: YES];}- (void)pressBack {//将当前视图控制器弹出,返回到上一级界面[self.navigationController popViewControllerAnimated: YES];
}/*
#pragma mark - Navigation
// In a storyboard-based application, you will often want to do a little preparation before navigation
- (void)prepareForSegue:(UIStoryboardSegue *)segue sender:(id)sender {// Get the new view controller using [segue destinationViewController].// Pass the selected object to the new view controller.
}
*/@end
#import "VCThird.h"@interface VCThird ()@end@implementation VCThird- (void)viewDidLoad {[super viewDidLoad];self.view.backgroundColor = [UIColor colorWithRed: 0.7 green: 0.2 blue: 0.5 alpha: 1];self.title = @"亚非";UIBarButtonItem *btnLeft = [[UIBarButtonItem alloc] initWithTitle: @"返回上一级" style: UIBarButtonItemStylePlain target: self action: @selector(pressBack)];self.navigationItem.leftBarButtonItem = btnLeft;UIBarButtonItem *btnRight = [[UIBarButtonItem alloc] initWithTitle: @"返回根视图" style: UIBarButtonItemStylePlain target: self action: @selector(pressRoot)];self.navigationItem.rightBarButtonItem = btnRight;
}- (void)pressBack {//将当前视图控制器弹出,返回到上一级界面[self.navigationController popViewControllerAnimated: YES];
}- (void)pressRoot {//将当前视图弹出,并返回根视图[self.navigationController popToRootViewControllerAnimated: YES];
}/*
#pragma mark - Navigation
// In a storyboard-based application, you will often want to do a little preparation before navigation
- (void)prepareForSegue:(UIStoryboardSegue *)segue sender:(id)sender {// Get the new view controller using [segue destinationViewController].// Pass the selected object to the new view controller.
}
*/@end
#import "SceneDelegate.h"
#import "VCRoot.h"@interface SceneDelegate ()@end@implementation SceneDelegate- (void)scene:(UIScene *)scene willConnectToSession:(UISceneSession *)session options:(UISceneConnectionOptions *)connectionOptions {self.window.frame = [UIScreen mainScreen].bounds;//在这里创建了一个根视图控制器,直接将这个根视图控制器赋值给了导航控制器的根视图对象,然后这个导航控制器又作为了window的根视图控制器self.window.rootViewController = [[UINavigationController alloc] initWithRootViewController: [[VCRoot alloc] init]];[self.window makeKeyAndVisible];
}- (void)sceneDidDisconnect:(UIScene *)scene {// Called as the scene is being released by the system.// This occurs shortly after the scene enters the background, or when its session is discarded.// Release any resources associated with this scene that can be re-created the next time the scene connects.// The scene may re-connect later, as its session was not necessarily discarded (see `application:didDiscardSceneSessions` instead).
}- (void)sceneDidBecomeActive:(UIScene *)scene {// Called when the scene has moved from an inactive state to an active state.// Use this method to restart any tasks that were paused (or not yet started) when the scene was inactive.
}- (void)sceneWillResignActive:(UIScene *)scene {// Called when the scene will move from an active state to an inactive state.// This may occur due to temporary interruptions (ex. an incoming phone call).
}- (void)sceneWillEnterForeground:(UIScene *)scene {// Called as the scene transitions from the background to the foreground.// Use this method to undo the changes made on entering the background.
}- (void)sceneDidEnterBackground:(UIScene *)scene {// Called as the scene transitions from the foreground to the background.// Use this method to save data, release shared resources, and store enough scene-specific state information// to restore the scene back to its current state.
}@end
导航栏和工具栏
分栏控制器
有以下几个属性:
UITabBarltem:分栏按钮元素对象
badgeValue:分栏按钮提示信息
selectedIndex:分栏控制器选中的控制索引
viewControllers:分栏控制器管理数组
selectedViewController:分栏控制器选中的控制器对象
要注意的是,在SceneDelegate中改了按钮的标题内容,然后又在创建的视图控制器对象的.m文件中更改标题时,应该在SceneDelegate中把会用到视图控制器对象的.m中的viewDidLoad函数的语句放在在SceneDelegate的标题赋值语句的后面,因为如果不放在后面就会导致标题被覆盖,无法更改为创建的视图控制器对象的标题内容
代码演示:
首先需要创建三个视图控制器:FirstVC、SecondVC、ThirdVC:
#import "FirstVC.h"@interface FirstVC ()@end@implementation FirstVC- (void)viewDidLoad {[super viewDidLoad];UITabBarItem* tabBarItem = [[UITabBarItem alloc] initWithTabBarSystemItem:UITabBarSystemItemSearchtag:101];self.tabBarItem = tabBarItem;// Do any additional setup after loading the view.
}/*
#pragma mark - Navigation// In a storyboard-based application, you will often want to do a little preparation before navigation
- (void)prepareForSegue:(UIStoryboardSegue *)segue sender:(id)sender {// Get the new view controller using [segue destinationViewController].// Pass the selected object to the new view controller.
}
*/@end
#import "SecondVC.h"@interface SecondVC ()@end@implementation SecondVC- (void)viewDidLoad {[super viewDidLoad];//根据系统风格设置分栏控制器按钮,传入两个参数//第一个参数指分栏控制器的按钮风格,第二个参数是分栏控件对象的标签值UITabBarItem *tabBarItem = [[UITabBarItem alloc] initWithTabBarSystemItem: UITabBarSystemItemContacts tag: 103];//为分栏按钮设置提示的标记值信息,是系统的,无法变更tabBarItem.badgeValue = @"99";self.tabBarItem = tabBarItem;}/*
#pragma mark - Navigation
// In a storyboard-based application, you will often want to do a little preparation before navigation
- (void)prepareForSegue:(UIStoryboardSegue *)segue sender:(id)sender {// Get the new view controller using [segue destinationViewController].// Pass the selected object to the new view controller.
}
*/@end
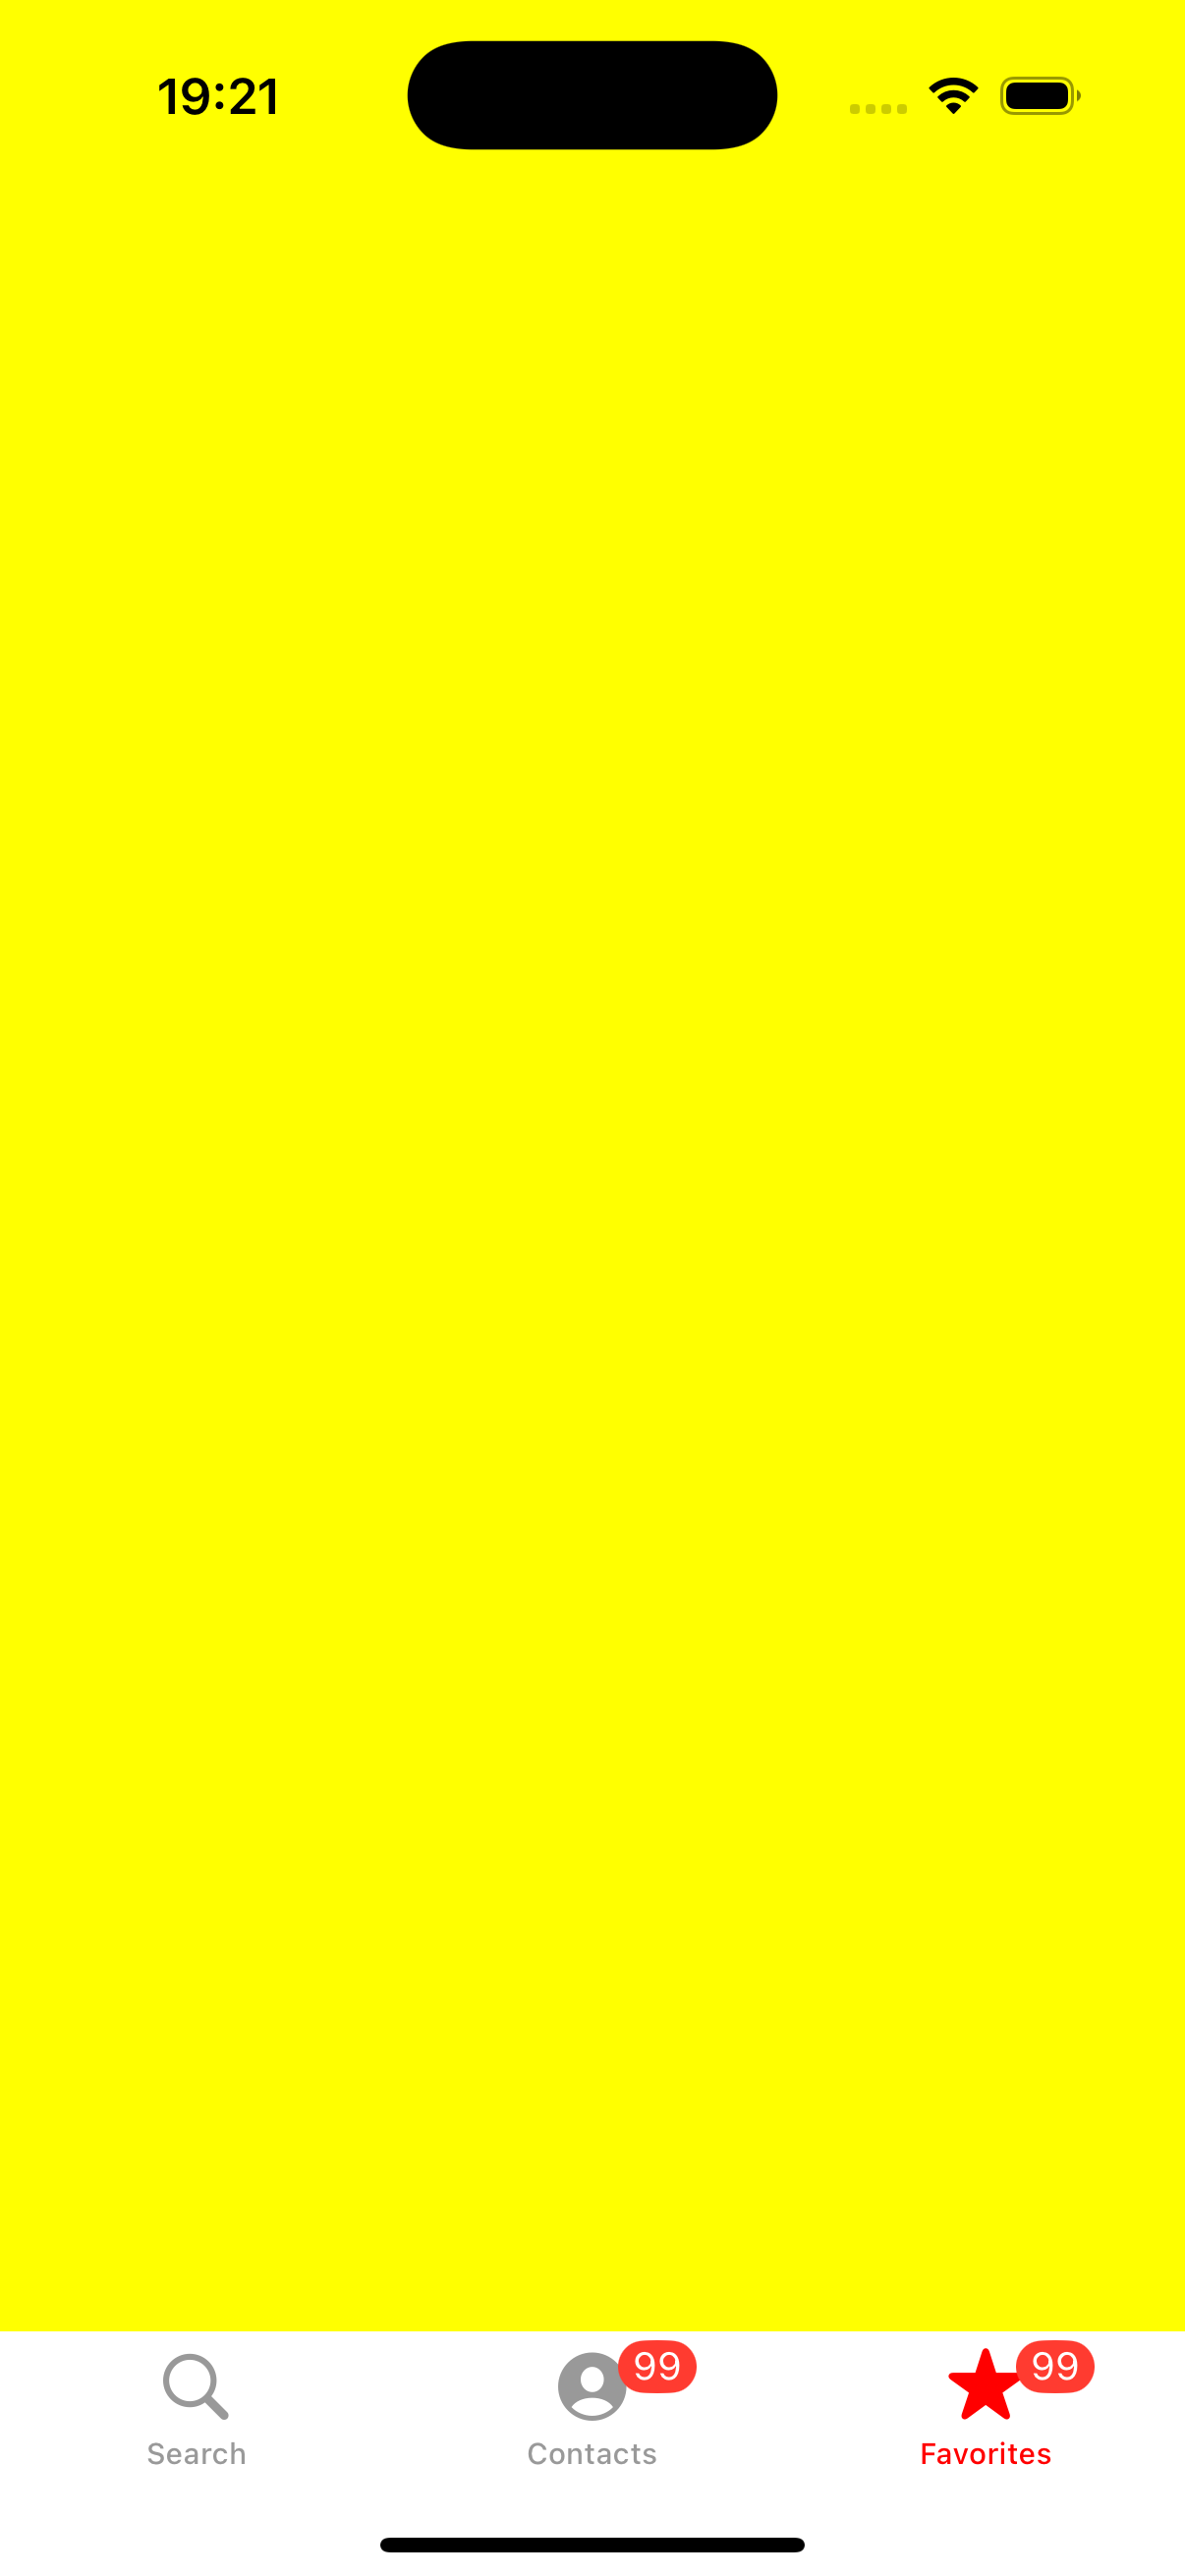
#import "ThirdVC.h"@interface ThirdVC ()@end@implementation ThirdVC- (void)viewDidLoad {[super viewDidLoad];UITabBarItem *tabBarItem = [[UITabBarItem alloc] initWithTabBarSystemItem:UITabBarSystemItemFavoritestag: 103];//为分栏按钮设置提示的标记值信息,是系统的,无法变更tabBarItem.badgeValue = @"99";self.tabBarItem = tabBarItem;// Do any additional setup after loading the view.
}/*
#pragma mark - Navigation
// In a storyboard-based application, you will often want to do a little preparation before navigation
- (void)prepareForSegue:(UIStoryboardSegue *)segue sender:(id)sender {// Get the new view controller using [segue destinationViewController].// Pass the selected object to the new view controller.
}
*/@end
#import "SceneDelegate.h"
#import "FirstVC.h"
#import "SecondVC.h"
#import "ThirdVC.h"@interface SceneDelegate ()@end@implementation SceneDelegate- (void)scene:(UIScene *)scene willConnectToSession:(UISceneSession *)session options:(UISceneConnectionOptions *)connectionOptions {//创建三个视图控制器并更改背景颜色和标题FirstVC *vc1 = [[FirstVC alloc] init];vc1.title = @"视图1";SecondVC *vc2 = [[SecondVC alloc] init];vc2.title = @"视图2";ThirdVC *vc3 = [[ThirdVC alloc] init];vc3.title = @"视图3";vc1.view.backgroundColor = [UIColor brownColor];vc2.view.backgroundColor = [UIColor orangeColor];vc3.view.backgroundColor = [UIColor yellowColor];//创建分栏控制器对象UITabBarController *tbc = [[UITabBarController alloc] init];//创建一个控制器数组对象,并将所有要被分栏控制器管理的对象添加进数组//分栏控制器的按钮的位置就取决于在数组中存放的位置NSArray *arrVC = [NSArray arrayWithObjects: vc1, vc2, vc3, nil];//将分栏控制器管理数组赋值tbc.viewControllers = arrVC;//将分栏控制器做为根视图控制器self.window.rootViewController = tbc;//设置选中的视图控制器的索引//通过索引来确定一打开程序的时候是显示的哪一个视图控制器,并且此时分栏控制器选中的控制器对象就是索引为2的视图控制器tbc.selectedIndex = 2;//分栏控制器选中的控制器对象if (tbc.selectedViewController == vc3) {NSLog(@"分栏控制器选中的控制器对象是索引为2的视图控制器");}//设置分栏控制器的工具栏的透明度tbc.tabBar.translucent = NO;//设置分栏控制器工具栏的背景颜色tbc.tabBar.backgroundColor = [UIColor whiteColor];//设置分栏控制器工具栏的按钮选择时颜色tbc.tabBar.tintColor = [UIColor redColor];}- (void)sceneDidDisconnect:(UIScene *)scene {// Called as the scene is being released by the system.// This occurs shortly after the scene enters the background, or when its session is discarded.// Release any resources associated with this scene that can be re-created the next time the scene connects.// The scene may re-connect later, as its session was not necessarily discarded (see `application:didDiscardSceneSessions` instead).
}- (void)sceneDidBecomeActive:(UIScene *)scene {// Called when the scene has moved from an inactive state to an active state.// Use this method to restart any tasks that were paused (or not yet started) when the scene was inactive.
}- (void)sceneWillResignActive:(UIScene *)scene {// Called when the scene will move from an active state to an inactive state.// This may occur due to temporary interruptions (ex. an incoming phone call).
}- (void)sceneWillEnterForeground:(UIScene *)scene {// Called as the scene transitions from the background to the foreground.// Use this method to undo the changes made on entering the background.
}- (void)sceneDidEnterBackground:(UIScene *)scene {// Called as the scene transitions from the foreground to the background.// Use this method to save data, release shared resources, and store enough scene-specific state information// to restore the scene back to its current state.
}@end
分栏控制器高级
一些方法:
willBeginCustomizingViewControllers:即将显示编辑方法
willEndCustomizingViewControllers:即将结束编辑方法
didEndCustomizingViewControllers:已经结束编辑方法
didSelectViewController:选中控制器切换方法
在给分栏控件添加按钮的时候,为了用户体验,下面页面最多显示五个按钮,当添加的按钮多于五个的时候,系统就会自动把最后一个按钮替换成“more”,然后点开more,才能看见被折叠的其他按钮。然后在点开more后的页面中的右上角会有一个edit按钮,这个按钮点开后,会出现我们创建的全部视图,拖动上面的任意视图到下面的分栏视图中,可以交换被折叠和被显示的那两个视图
UITabBarControllerDelegate协议
为了实现UITabBarControllerDelegate协议,要在SceneDelegate.h中先引用该协议
代码演示:
在此之前需要创建六个视图控制器:FirstViewController、SecondViewController、ThirdViewController、ForthViewController、FifthViewController、sixthViewController
然后在在SceneDelegate.m中:
#import "SceneDelegate.h"
#import "FirstViewController.h"
#import "SecondViewController.h"
#import "ThirdViewController.h"
#import "ForthViewController.h"
#import "FifthViewController.h"
#import "SixthViewController.h"@interface SceneDelegate ()@end@implementation SceneDelegate- (void)scene:(UIScene *)scene willConnectToSession:(UISceneSession *)session options:(UISceneConnectionOptions *)connectionOptions {FirstViewController *vc1 = [[FirstViewController alloc] init];SecondViewController *vc2 = [[SecondViewController alloc] init];ThirdViewController *vc3 = [[ThirdViewController alloc] init];ForthViewController *vc4 = [[ForthViewController alloc] init];FifthViewController *vc5 = [[FifthViewController alloc] init];sixthViewController *vc6 = [[sixthViewController alloc] init];vc1.title = @"视图1";vc2.title = @"视图2";vc3.title = @"视图3";vc4.title = @"视图4";vc5.title = @"视图5";vc6.title = @"视图6";vc1.view.backgroundColor = [UIColor redColor];vc2.view.backgroundColor = [UIColor orangeColor];vc3.view.backgroundColor = [UIColor yellowColor];vc4.view.backgroundColor = [UIColor greenColor];vc5.view.backgroundColor = [UIColor blueColor];vc6.view.backgroundColor = [UIColor purpleColor];NSArray *arrVC = [NSArray arrayWithObjects: vc1, vc2, vc3, vc4, vc5, vc6, nil];UITabBarController *btc = [[UITabBarController alloc] init];btc.viewControllers = arrVC;self.window.rootViewController = btc;//处理UITabBarControllerDelegate协议函数//设置代理btc.delegate = self;
}//以下是协议中函数的用法,其中“编辑”是指在分栏控制器中的more中通过拖动更改和交换显示和折叠的视图控制器的操作------------------------------------------------------------
//即将开始编辑前会调用此协议函数
- (void)tabBarController:(UITabBarController *)tabBarController willBeginCustomizingViewControllers:(NSArray<__kindof UIViewController *> *)viewControllers {NSLog(@"编辑前");
}//即将结束前调用该协议函数
- (void)tabBarController:(UITabBarController *)tabBarController willEndCustomizingViewControllers:(NSArray<__kindof UIViewController *> *)viewControllers changed:(BOOL)changed {NSLog(@"即将结束前");
}//已经结束编辑时调用该协议函数
- (void)tabBarController:(UITabBarController *)tabBarController didEndCustomizingViewControllers:(NSArray<__kindof UIViewController *> *)viewControllers changed:(BOOL)changed {if (changed == YES) {NSLog(@"顺序发生改变");}NSLog(@"已经结束编辑");
}//选中控制器对象时调用该协议函数
- (void)tabBarController:(UITabBarController *)tabBarController didSelectViewController:(UIViewController *)viewController {
//    if (tabBarController.viewControllers[tabBarController.selectedIndex] == viewController) {
//        NSLog(@"选中的视图索引与当前传入的视图索引相同");
//    }NSLog(@"选中控制器对象");
}- (void)sceneDidDisconnect:(UIScene *)scene {// Called as the scene is being released by the system.// This occurs shortly after the scene enters the background, or when its session is discarded.// Release any resources associated with this scene that can be re-created the next time the scene connects.// The scene may re-connect later, as its session was not necessarily discarded (see `application:didDiscardSceneSessions` instead).
}- (void)sceneDidBecomeActive:(UIScene *)scene {// Called when the scene has moved from an inactive state to an active state.// Use this method to restart any tasks that were paused (or not yet started) when the scene was inactive.
}- (void)sceneWillResignActive:(UIScene *)scene {// Called when the scene will move from an active state to an inactive state.// This may occur due to temporary interruptions (ex. an incoming phone call).
}- (void)sceneWillEnterForeground:(UIScene *)scene {// Called as the scene transitions from the background to the foreground.// Use this method to undo the changes made on entering the background.
}- (void)sceneDidEnterBackground:(UIScene *)scene {// Called as the scene transitions from the foreground to the background.// Use this method to save data, release shared resources, and store enough scene-specific state information// to restore the scene back to its current state.
}@end
多界面传值
在 iOS 开发中,多界面之间**传值(数据传递)**是非常常见的场景,比如:
-
登录页把用户名传到个人中心页;
-
设置页把用户修改的偏好设置返回给主界面;
-
从商品列表点进详情页传递商品信息;
-
在这里附上学长总结的博客:
iOS多界面传值_ios navigationcontroller 隔层页面传值-CSDN博客
UITableView
这部分是UI中的重中之重。
UITableView是iOS开发中的一个控件,用于展示列表数据。它类似于HTML中的表格,但更加强大和灵活。UITbleView可以支持滚动、选中、插入、删除等操作,并且可以高度自定义。
(1)创建UITableView实例;
(2)设置UITableView的delegate和dataSource;
(3)实现UITableViewDelegate和UITableViewDataSource协议中的方法;
(4)将UITableView添加到视图中。