html,css,js的粒子效果
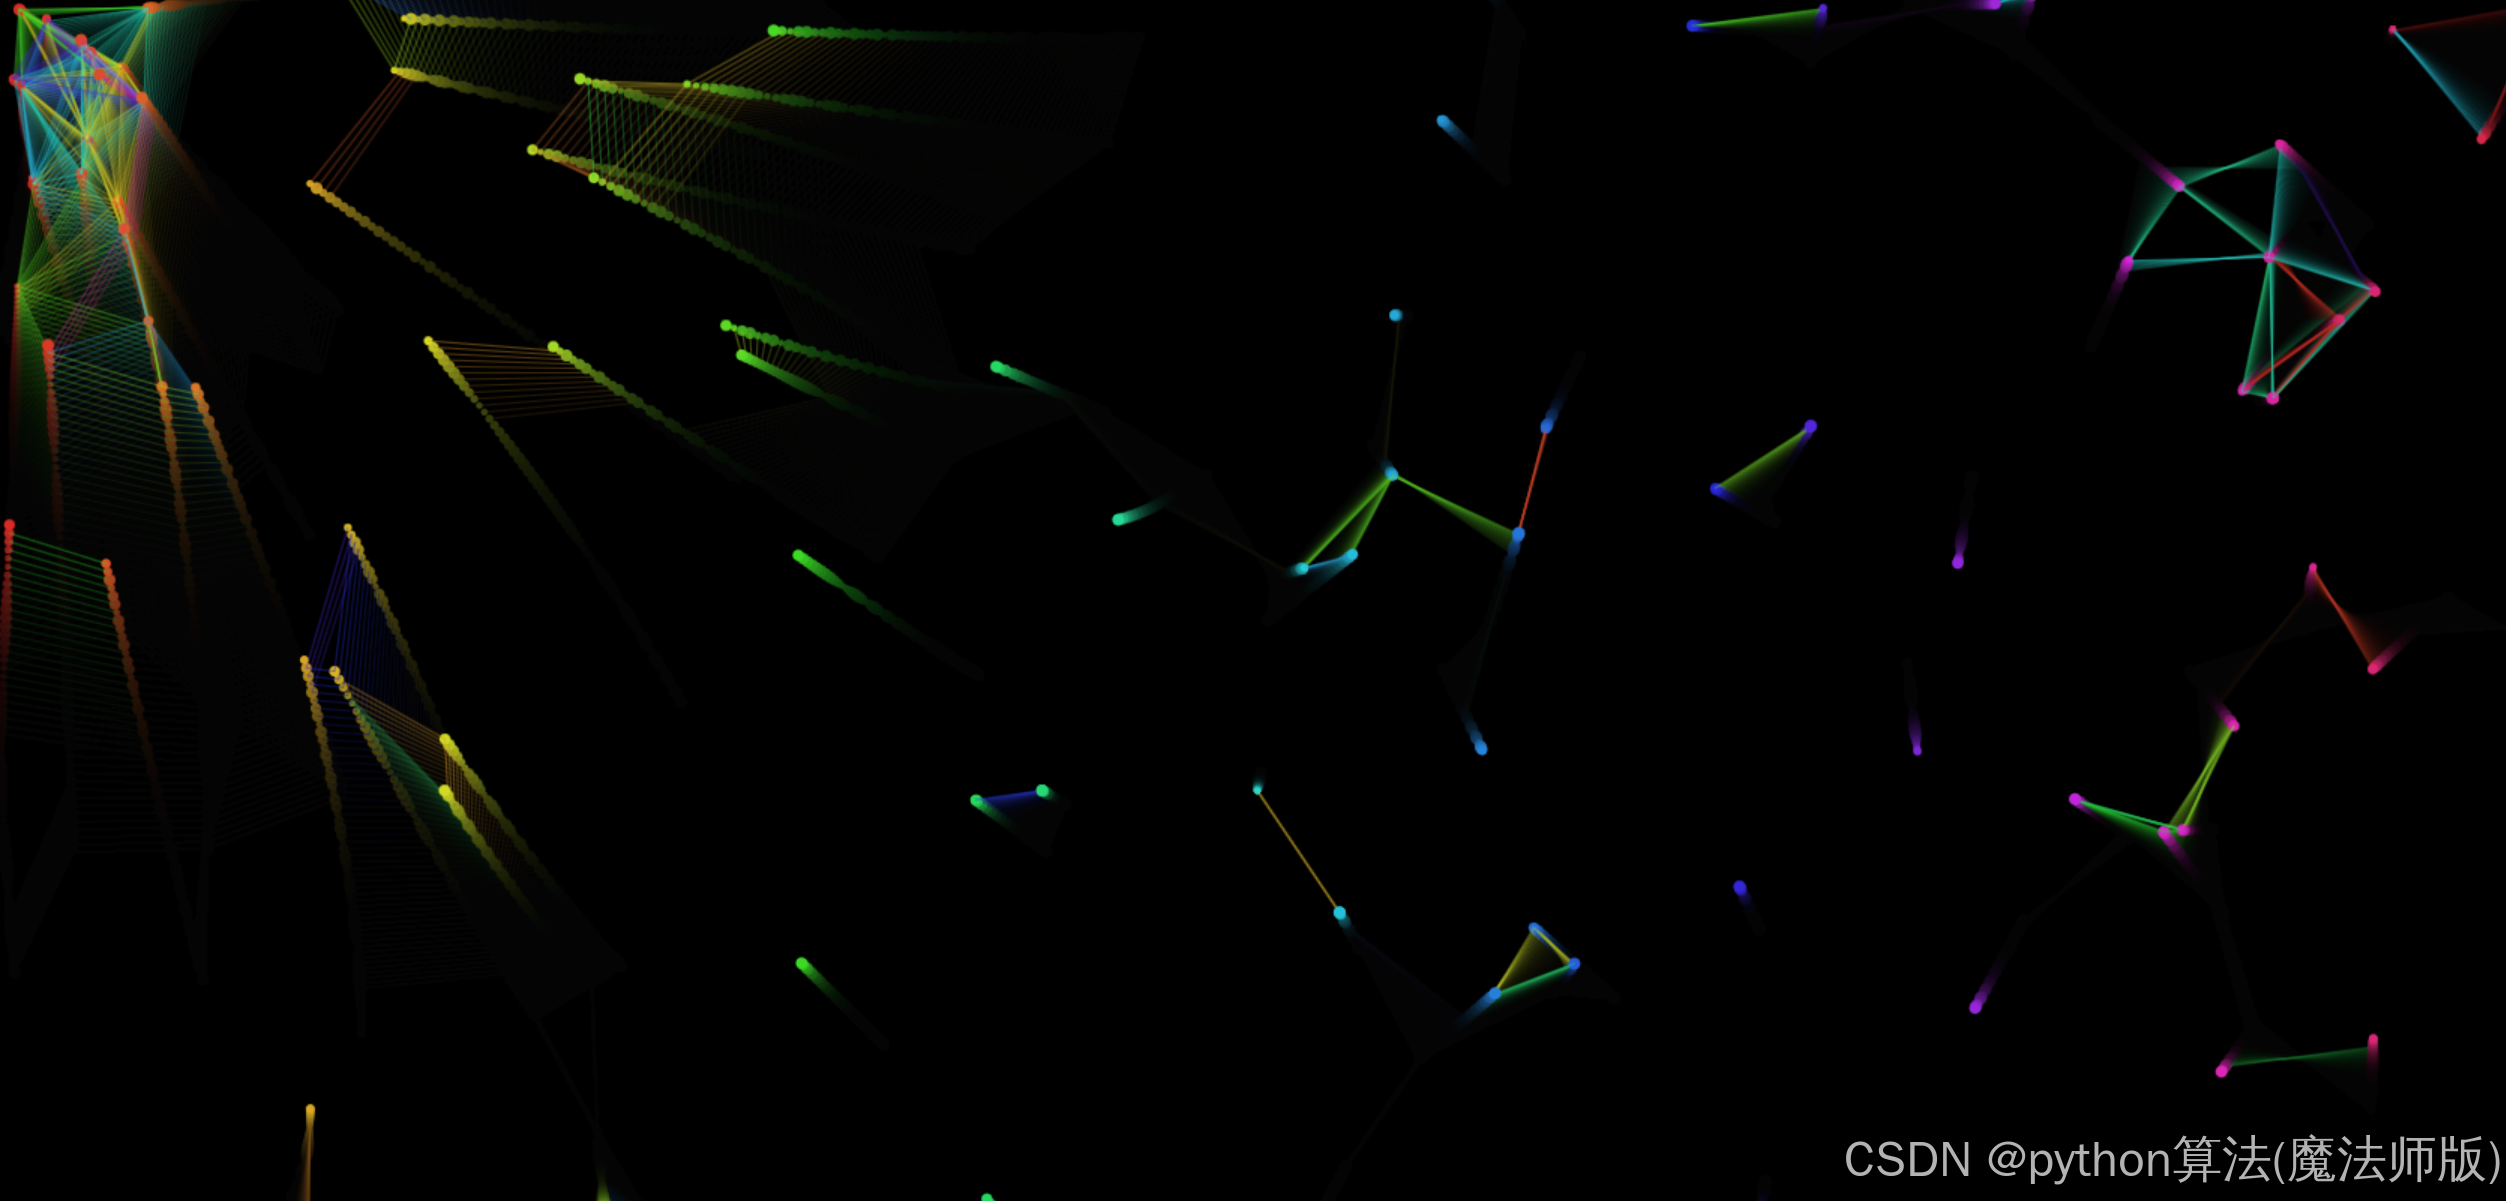
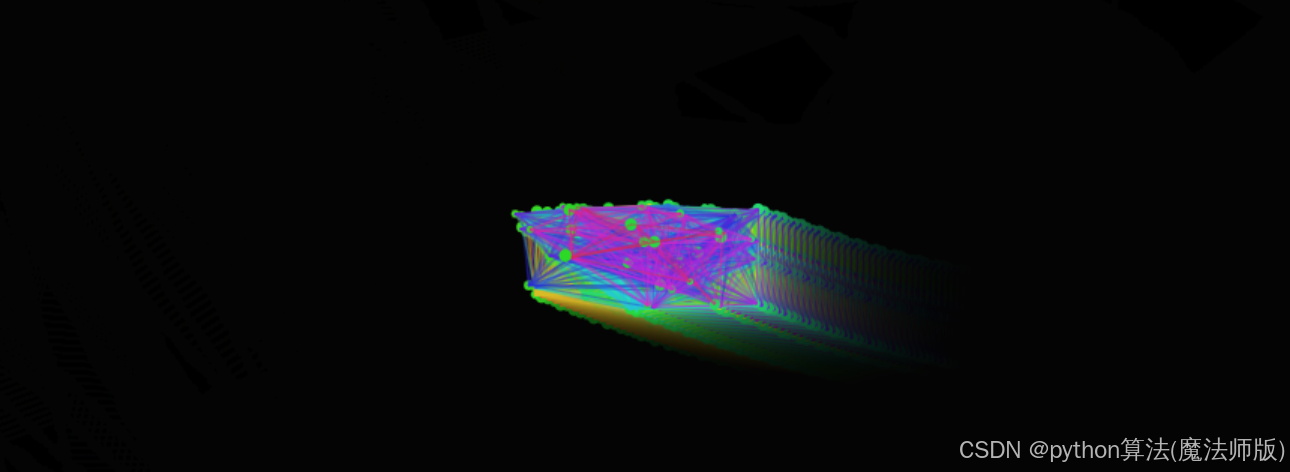
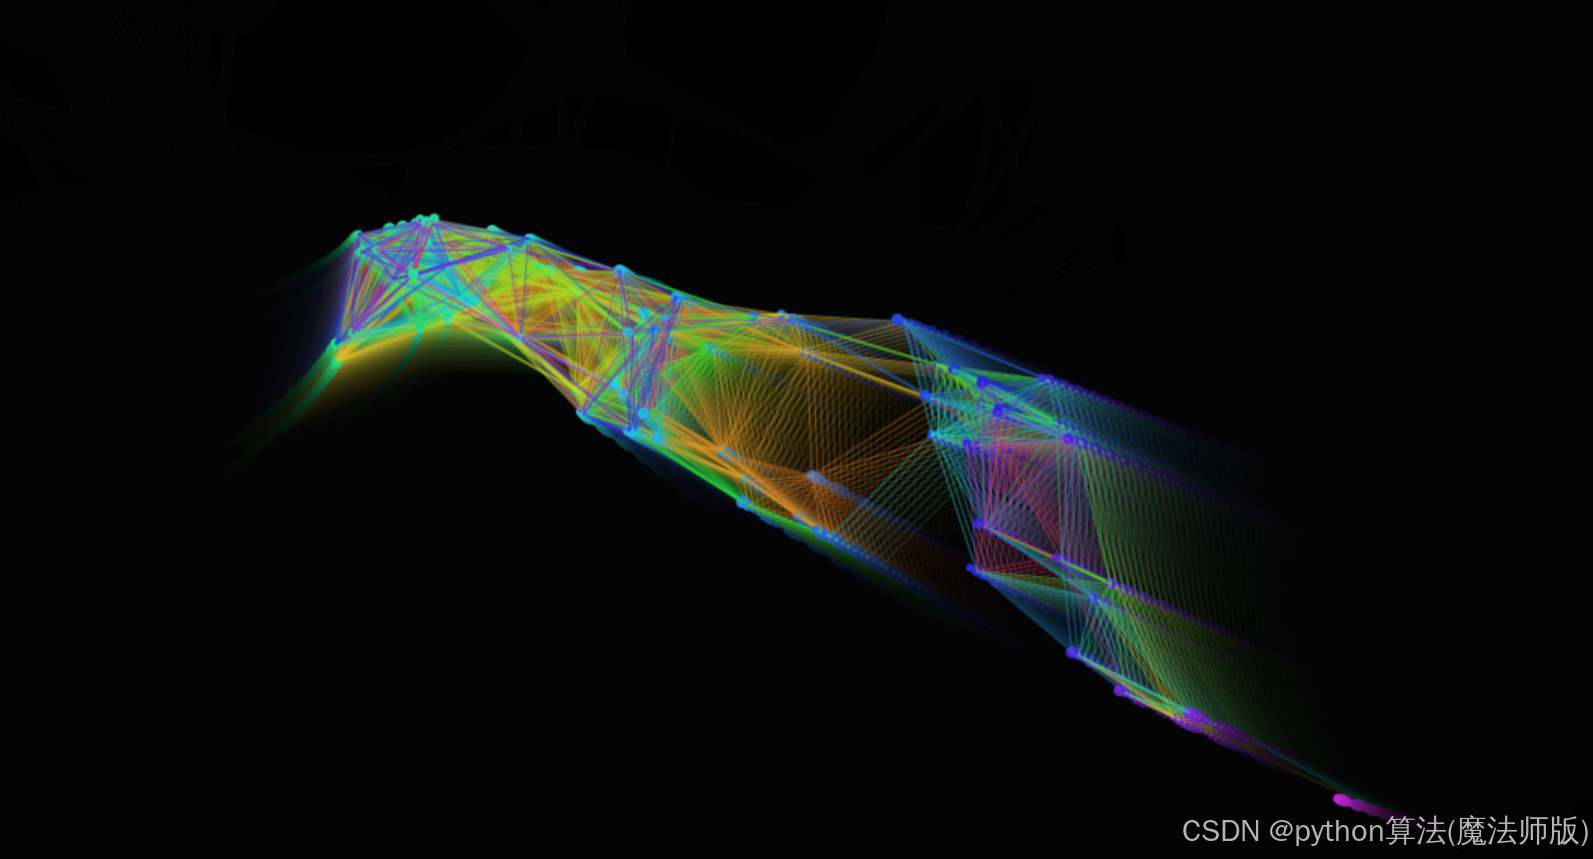
这段代码实现了一个基于HTML5 Canvas的高级粒子效果,用户可以通过鼠标与粒子进行交互。下面是对代码的详细解析:
HTML部分
- 使用
<!DOCTYPE html>声明文档类型。 <html>标签内包含了整个网页的内容。<head>部分定义了网页的标题("高级粒子效果")和一些基本样式,如设置页面无边距、隐藏滚动条以及黑色背景。<body>包含一个<canvas>元素用于绘图。
CSS部分
- 设置
body的边距为0,并隐藏溢出内容,同时设置背景颜色为黑色。 canvas块级显示,确保其占据整个视窗。
JavaScript部分
-
初始化Canvas
- 获取
canvas元素并获取2D绘图上下文。 - 定义
resize函数动态调整画布大小以适应窗口尺寸,并在窗口大小改变时调用此函数。
- 获取
-
创建粒子系统
- 定义了粒子数组
particles和粒子数量particleCount。 - 定义鼠标位置对象
mouse用于存储鼠标坐标。 Particle类负责创建单个粒子,包括随机初始化位置、速度、大小等属性,并提供重置、绘制及更新方法。
- 定义了粒子数组
-
粒子逻辑
- 初始化粒子数组,填充指定数量的粒子实例。
- 监听鼠标移动事件,实时更新鼠标位置。
-
动画循环
animate函数作为主循环,每帧都会清除屏幕(带透明度),遍历所有粒子执行更新和绘制操作。- 在粒子间根据距离条件绘制连线,增加视觉效果。
-
粒子特性
- 粒子具有引力跟随鼠标的功能。
- 边界检测使粒子在到达画布边缘时反弹。
- 动态调整粒子大小,创造更生动的效果。
<!DOCTYPE html>
<html>
<head>
<title>高级粒子效果</title>
<style>
body {
margin: 0;
overflow: hidden;
background: #000;
}
canvas {
display: block;
}
</style>
</head>
<body>
<canvas id="canvas"></canvas>
<script>
const canvas = document.getElementById('canvas');
const ctx = canvas.getContext('2d');
// 设置画布尺寸
function resize() {
canvas.width = window.innerWidth;
canvas.height = window.innerHeight;
}
resize();
window.addEventListener('resize', resize);
// 创建粒子数组
const particles = [];
const particleCount = 100;
const mouse = { x: null, y: null };
// 粒子构造函数
class Particle {
constructor() {
this.reset();
this.baseSize = 2;
}
reset() {
this.x = Math.random() * canvas.width;
this.y = Math.random() * canvas.height;
this.vx = -1 + Math.random() * 2;
this.vy = -1 + Math.random() * 2;
this.radius = this.baseSize + Math.random() * 2;
}
draw() {
ctx.beginPath();
ctx.arc(this.x, this.y, this.radius, 0, Math.PI * 2);
ctx.fillStyle = `hsl(${(this.x/canvas.width)*360}, 70%, 50%)`;
ctx.fill();
}
update() {
// 鼠标引力
const dx = mouse.x - this.x;
const dy = mouse.y - this.y;
const distance = Math.sqrt(dx*dx + dy*dy);
const force = (canvas.width/2 - distance) / canvas.width/2;
if (distance < canvas.width/2) {
this.x += dx * force * 0.1;
this.y += dy * force * 0.1;
}
this.x += this.vx;
this.y += this.vy;
// 边界反弹
if (this.x < 0 || this.x > canvas.width) this.vx *= -1;
if (this.y < 0 || this.y > canvas.height) this.vy *= -1;
// 动态大小
this.radius = this.baseSize + Math.abs(Math.sin(Date.now()*0.001 + this.x)) * 2;
}
}
// 初始化粒子
for (let i = 0; i < particleCount; i++) {
particles.push(new Particle());
}
// 鼠标移动监听
canvas.addEventListener('mousemove', (e) => {
mouse.x = e.clientX;
mouse.y = e.clientY;
});
// 动画循环
function animate() {
ctx.fillStyle = 'rgba(0, 0, 0, 0.1)';
ctx.fillRect(0, 0, canvas.width, canvas.height);
particles.forEach((p1, i) => {
p1.update();
p1.draw();
// 绘制粒子间连线
particles.slice(i).forEach(p2 => {
const dx = p1.x - p2.x;
const dy = p1.y - p2.y;
const distance = Math.sqrt(dx*dx + dy*dy);
if (distance < 100) {
ctx.beginPath();
ctx.strokeStyle = `hsl(${(i/particleCount)*360}, 70%, 50%)`;
ctx.lineWidth = 0.5;
ctx.moveTo(p1.x, p1.y);
ctx.lineTo(p2.x, p2.y);
ctx.stroke();
}
});
});
requestAnimationFrame(animate);
}
animate();
</script>
</body>
</html>