uniapp Native.js 调用安卓arr原生service
最近搞了个uni小项目,一个定制的小平板,带一个nfc设备,厂家只给了一套安卓原生demo,头一次玩原生安卓,废了好半天劲打出来arr包,想镶进uniapp里,网上查了好久,都是错的,要么无法运行,要么运行了没反应,要么编译都过不去。。。官网给的示例更是没有示例,主打一个用法全靠猜。。。
服务
厂家给了个NfcService 里面是继承自标准android.app.Service另一部分是个androidx.appcompat.app.AppCompatActivity页面,里面启动,调用的NfcService
java部分NfcService核心代码
private val connection = object : ServiceConnection {override fun onServiceConnected(p0: ComponentName?, p1: IBinder?) {Log.e(TAG, "onServiceConnected: ")nfcBinder = p1 as NfcService.MyBindernfcBinder?.openPort(model)}override fun onServiceDisconnected(p0: ComponentName?) {Log.e(TAG, "onServiceDisconnected: ")nfcBinder = null}
}override fun onCreate(savedInstanceState: Bundle?) {//无关代码太多,就不粘了//绑定服务bindService(Intent(this, NfcService::class.java), connection, Context.BIND_AUTO_CREATE)//一定条件后,解绑服务unbindService(connection)
}
从没接触过安卓原生,一下子就麻了,不知道在uni那边怎么用,找了半天找到了这个
uniapp的一个页面
//开启服务(无回值启动)二选一
startAppService(){const mainActivity = plus.android.runtimeMainActivity();const Context = plus.android.importClass('android.content.Context');const Intent = plus.android.importClass('android.content.Intent');const intent = new Intent();intent.setClassName(mainActivity, 'com.rt.lib_nfc.NfcService');const Bundle = plus.android.importClass('android.os.Bundle');var bundle = new Bundle();intent.putExtras(bundle);mainActivity.startForegroundService(intent)
},
//绑定服务(有回值启动)二选一
bindAppService(){const that = this;const main = plus.android.runtimeMainActivity();const Context = plus.android.importClass('android.content.Context');const Service = plus.android.importClass('android.app.Service');const Intent = plus.android.importClass('android.content.Intent');let serviceConnectionFunc = {onServiceConnected: function(name, service) {console.log("服务已连接", name, service);//service.openPort('READ');that.nfcService = service;},onServiceDisconnected: function(name) {console.log("服务已断开", name);that.nfcService = null;}};let serviceConnection = plus.android.implements('android.content.ServiceConnection', serviceConnectionFunc);const intent = new Intent();intent.setClassName(main, 'com.rt.lib_nfc.NfcService');main.bindService(intent, serviceConnection, Service.BIND_AUTO_CREATE);
},
//最终使用
testService(){let res = this.nfcService?.openPort('get');console.log('res ->', res);
}
安装到uniapp里
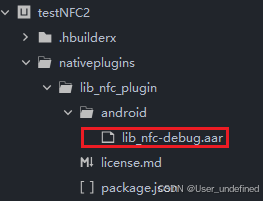
在uniapp根目录新建nativeplugins->lib_nfc_plugin->android文件夹,在里面放入arr文件
在lib_nfc_plugin文件夹下创建package.json文件(ps:记得删除注释)
{"name": "定制设备Android-NFC读卡",//显示名"id": "lib_nfc_plugin",//与文件夹名字保持一致"version": "0.0.2","description": "uni-app android原生插件 用来使用nfc读取m1卡",//描述"_dp_type": "nativeplugin","_dp_nativeplugin": {"android": {"plugins": [{"type": "module","name": "lib_nfc_plugin",//与文件夹名字保持一致"class": "com.rt.lib_nfc"}],"hooksClass": "","integrateType": "aar",//这个别改"dependencies": [],"compileOptions": {"sourceCompatibility": "1.8","targetCompatibility": "1.8"},"abis": ["armeabi-v7a","arm64-v8a","x86"],"minSdkVersion": 21,"useAndroidX": false,"permissions": ["android.permission.FOREGROUND_SERVICE"//权限,],"parameters": {"插件需要配置的参数名称, 如appid": {"des": "参数描述","key": "AndroidManifest.xml中添加meta-data节点!对应android:name属性值, 如GETUI_APPID","placeholder": "build.gradle中添加到manifestPlaceholders中的字段名"}}}}
}
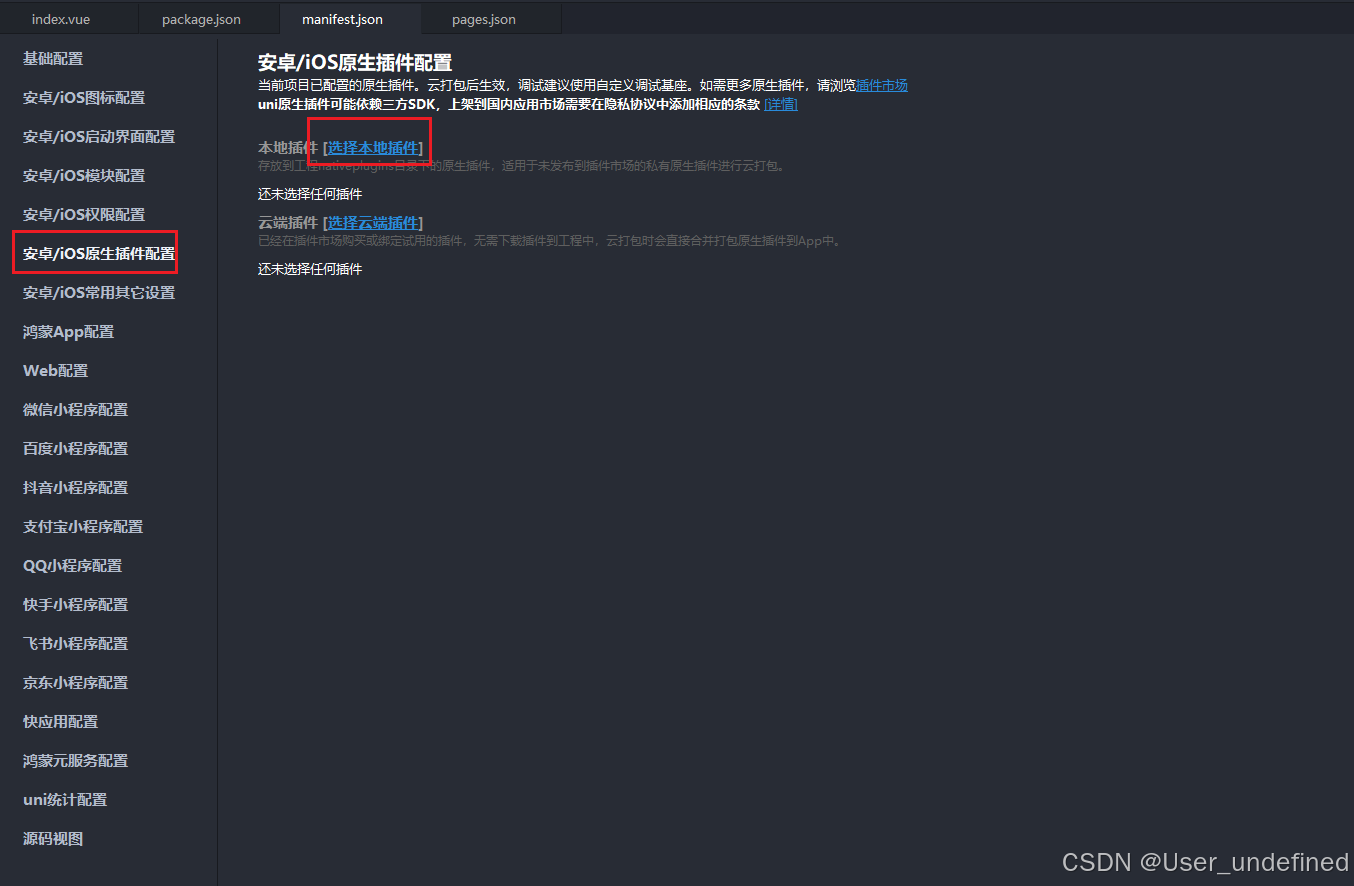
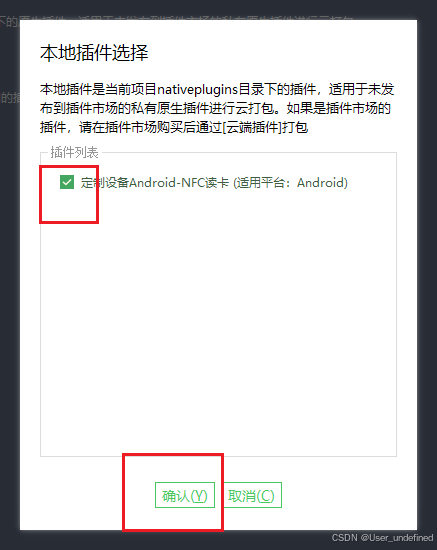
打开项目根目录manifest.json文件,后点击安卓/ios用原生插件配置->选择本地插件勾选上点确定,
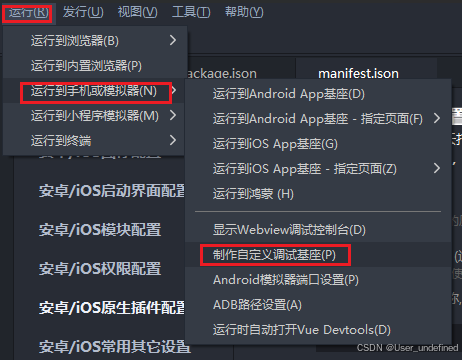
制作自定义调试基座
因为咱加了自定义插件,需要将其打入基座内部,点击你的项目名->运行->运行到手机或模拟器->制作自定义调试基座
等有一阵后,点击你的项目名->运行->运行到手机或模拟器->运行到Android App基座->使用自定义基座运行,再选择调试的机器

点击按钮调用startAppService或bindAppService即可启动服务