Taro-UI
一、安装Taro UI
进入项目文件,执行项目
//使用yarn安装taro-ui
yarn add taro-ui//使用npm安装taro-ui
npm install taro-ui//注:因为要支持自定义主题功能,需要将样式从组件中抽离出来,在微信小程序中依赖 globalClass 功能,所以需要微信基础库版本在 v2.2.3 以上
配置需要额外编译的源码模块
由于引用 `node_modules` 的模块,默认不会编译,所以需要额外给 H5 配置 `esnextModules`,在 taro 项目的 `config/index.js` 中新增如下配置项
//config/index.js中配置
h5: {esnextModules: ['taro-ui']
}
二、使用Taro UI
1、使用Taro UI需要引入所需要的组件
//引入taro ui的组件及组件样式
import { 组件名 } from 'taro-ui'
import 'taro-ui/dist/style/index.scss'
引入组件样式的三种方法
1、全局引用,在jsx/tsx文件中引用taro ui的所有样式
import 'taro-ui/dist/style/index.scss'2、全局引用,在css文件中引用taro ui的所有样式
@import "~taro-ui/dist/style/index.scss";3、按需引用,在页面样式或全局样式中引用taro ui的样式
@import "~taro-ui/dist/style/components/button.scss";
2、具体实例
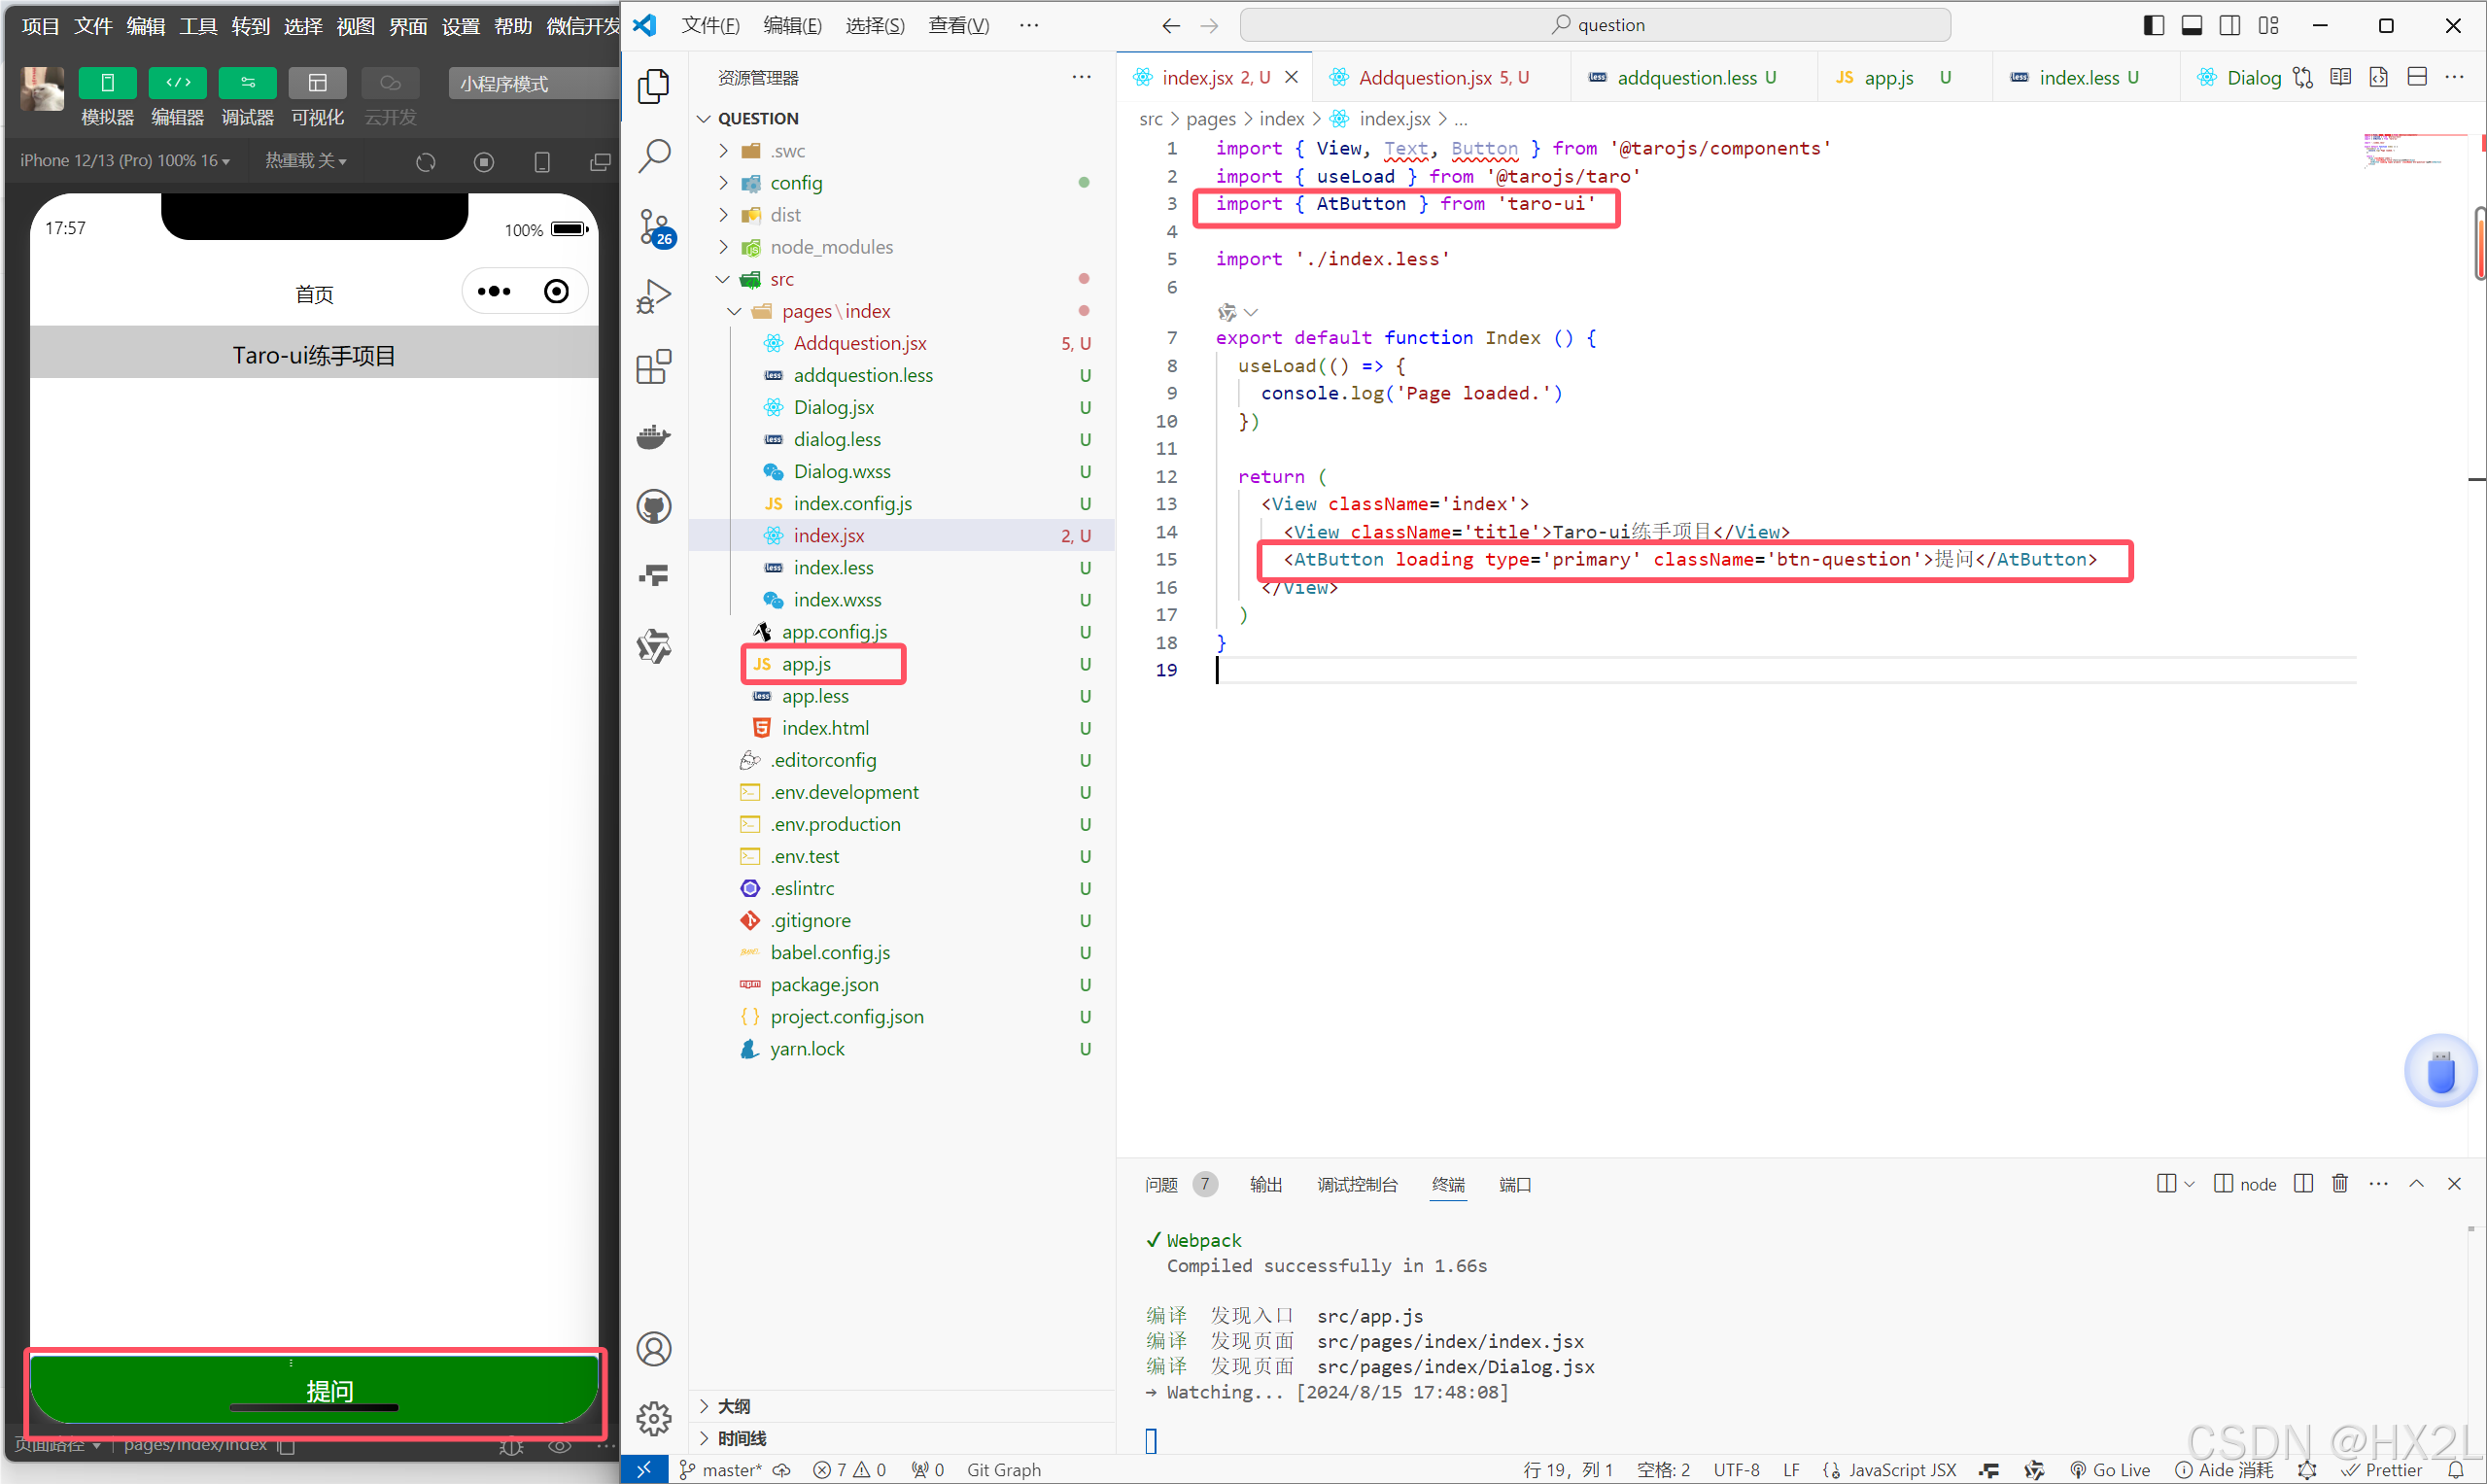
在【src/pages/index/index.jsx】中编写代码,如下
import { View, Text, Button } from '@tarojs/components'
import { useLoad } from '@tarojs/taro'
import { AtButton } from 'taro-ui'import './index.less'export default function Index () {useLoad(() => {console.log('Page loaded.')})return (<View className='index'><View className='title'>Taro-ui练手项目</View><AtButton loading type='primary' className='btn-question'>提问</AtButton></View>)
}
在上述代码中引入taro-ui中的AtButton按钮
在【app.js】中引入taro-ui的样式文件,全局引入,引入一次即可
import { useLaunch } from '@tarojs/taro'import 'taro-ui/dist/style/components/button.scss'
import './app.less'function App({ children }) {useLaunch(() => {console.log('App launched.')})// children 是将要会渲染的页面return children
}export default App
即引入 import 'taro-ui/dist/style/components/button.scss'
具体实现如下:
Icon图标的使用
//第一种使用方法
<View className='at-icon at-icon-settings'></View>//第二种使用方法
import { AtIcon } from 'taro-ui'
@import "~taro-ui/dist/style/components/icon.scss";
<AtIcon value='clock' size='30' color='#F00'></AtIcon>
Button按钮
import { AtButton } from 'taro-ui'@import "~taro-ui/dist/style/components/button.scss";
@import "~taro-ui/dist/style/components/loading.scss";<AtButton>按钮文案</AtButton>
<AtButton type='primary' size='small'>按钮文案</AtButton>
<AtButton type='secondary' size='normal'>按钮文案</AtButton>
<AtButton loading type='primary'>按钮文案</AtButton>
Fab浮动按钮
浮动悬浮按钮
import { AtFab } from 'taro-ui'
@import "~taro-ui/dist/style/components/fab.scss";<AtFab onClick={this.onButtonClick.bind(this)}><Text className='at-fab__icon at-icon at-icon-menu'></Text>
</AtFab>
Avatar头像
import { AtAvatar } from 'taro-ui'
@import "~taro-ui/dist/style/components/avatar.scss";<AtAvatar circle image='https://jdc.jd.com/img/200'></AtAvatar>
Article文章样式
@import "~taro-ui/dist/style/components/article.scss";<View className='at-article'><View className='at-article__h1'>这是一级标题这是一级标题</View><View className='at-article__info'>2017-05-07 这是作者</View><View className='at-article__content'><View className='at-article__section'><View className='at-article__h2'>这是二级标题</View><View className='at-article__h3'>这是三级标题</View><View className='at-article__p'>这是文本段落。这是文本段落。这是文本段落。这是文本段落。这是文本段落。这是文本段落。这是文本段落。这是文本落。这是文本段落。1234567890123456789012345678901234567890 ABCDEFGHIJKLMNOPQRSTUVWXYZ</View><View className='at-article__p'>这是文本段落。这是文本段落。</View><Image className='at-article__img' src='https://jdc.jd.com/img/400x400' mode='widthFix' /></View></View>
</View>.at-article /* 根类名 */
.at-article__h1 /* 一级标题 */
.at-article__h2 /* 二级标题 */
.at-article__h3 /* 三级标题 */
.at-article__info /* 作者信息 */
.at-article__p /* 段落 */
.at-article__img /* 图片 */Noticlebar通告栏
import { AtNoticebar } from 'taro-ui'<AtNoticebar>这是 NoticeBar 通告栏</AtNoticebar><AtNoticebar icon='volume-plus'>这是 NoticeBar 通告栏,这是 NoticeBar 通告栏,这是 NoticeBar 通告栏
</AtNoticebar><AtNoticebar marquee>滚动:这是 NoticeBar 通告栏,这是 NoticeBar 通告栏,这是 NoticeBar 通告栏
</AtNoticebar>
Swiper滑动视图容器
import { Swiper, SwiperItem } from '@tarojs/components'import Taro, { Component } from '@tarojs/taro'
// 引入 Swiper, SwiperItem 组件
import { Swiper, SwiperItem } from '@tarojs/components'
class App extends Component {render () {return (<SwiperclassName='test-h'indicatorColor='#999'indicatorActiveColor='#333'verticalcircularindicatorDotsautoplay><SwiperItem><View className='demo-text-1'>1</View></SwiperItem><SwiperItem><View className='demo-text-2'>2</View></SwiperItem><SwiperItem><View className='demo-text-3'>3</View></SwiperItem></Swiper>)}
}
Divider分隔符
import { AtDivider } from 'taro-ui'
<AtDivider content='分割线' />
ActionSheet动作面板
import { AtActionSheet, AtActionSheetItem } from "taro-ui"<AtActionSheet isOpened cancelText='取消' title='头部标题可以用通过转义字符换行'><AtActionSheetItem onClick={ this.handleClick }>按钮一</AtActionSheetItem><AtActionSheetItem>按钮二</AtActionSheetItem>
</AtActionSheet>