image媒体组件属性配合swiper轮播
图片组件(image)
先插入个图片试试,插入图片用src属性,这是图片:
代码如下:
<template><view><swiper indicator-dots indicator-color ="#126bae" indicator-active-color = "#ee3f4d" circular autoplay interval = "2000" vertical><swiper-item>我是第一区域</swiper-item><swiper-item >我是第二区域</swiper-item><swiper-item>我是第三区域</swiper-item><swiper-item> 我是第四区域</swiper-item></swiper></view><view> <image src = "../../static/清新空气.png" class="pic1"></image></view>
</template><script	setup></script><style lang="scss">swiper{width:100vw ;height: 200px;border: 1px solid green;swiper-item{width: 100%;height:100%;background: pink;}swiper-item:nth-child(2n){background: coral;}}
</style>
实际效果:

如图可见,图片被拉伸了,这是因为系统会默认给图片设置一个尺寸,如对图片尺寸有要求,需要在插入后手动设置图片尺寸。
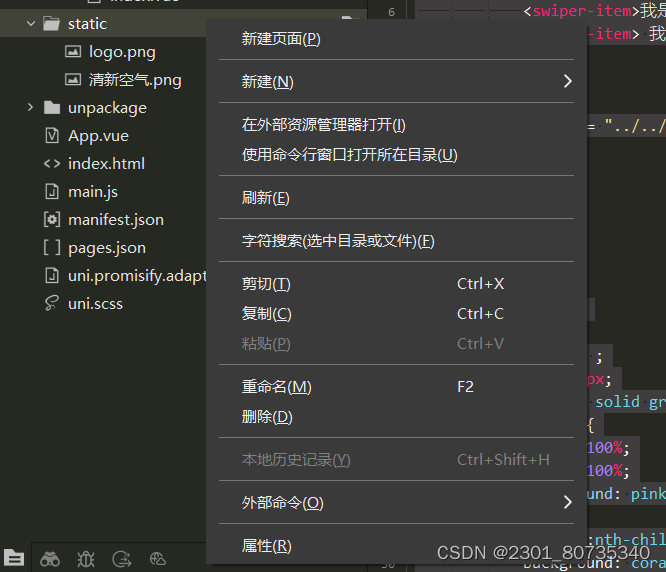
图片的导入
图片是存放在static文件夹中的,如需导入图片,右键static—在外部资源管理器打开,后将图片复制进文件夹即可。
mode属性
aspectFit和aspectFill
mode属性,就是图片裁剪、缩放的模式,这里简单说2种mode属性:aspectFit和aspectFill。
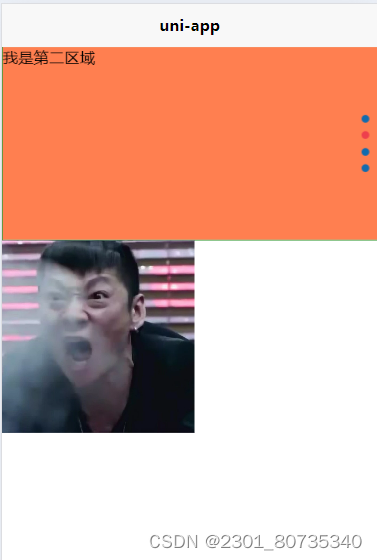
先插入一张长方形图片,并为其设定正方形的宽高:
代码如下:
<template><view><swiper indicator-dots indicator-color ="#126bae" indicator-active-color = "#ee3f4d" circular autoplay interval = "2000" vertical><swiper-item>我是第一区域</swiper-item><swiper-item >我是第二区域</swiper-item><swiper-item>我是第三区域</swiper-item><swiper-item> 我是第四区域</swiper-item></swiper></view><view> <image src = "../../static/pic3.webp" class="pic2"></image></view>
</template><script	setup></script><style lang="scss">swiper{width:100vw ;height: 200px;border: 1px solid green;swiper-item{width: 100%;height:100%;background: pink;}swiper-item:nth-child(2n){background: coral;}}.pic2{width: 200px;height:200px;}
</style>
效果如下:
aspectFit属性
aspectFit,会保持纵横比缩放图片,使图片的长边能完全显示出来。也就是说,可以完整地将图片显示出来,代码如下:
<template><view><swiper indicator-dots indicator-color ="#126bae" indicator-active-color = "#ee3f4d" circular autoplay interval = "2000" vertical><swiper-item>我是第一区域</swiper-item><swiper-item >我是第二区域</swiper-item><swiper-item>我是第三区域</swiper-item><swiper-item> 我是第四区域</swiper-item></swiper></view><view> <image src = "../../static/pic3.webp" class="pic2"mode = "aspectFit"></image></view>
</template><script	setup></script><style lang="scss">swiper{width:100vw ;height: 200px;border: 1px solid green;swiper-item{width: 100%;height:100%;background: pink;}swiper-item:nth-child(2n){background: coral;}}.pic2{width: 200px;height:200px;}
</style>
效果如下:
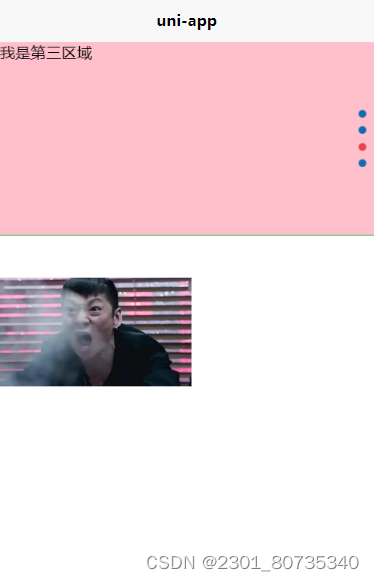
可以看到,在刚刚设定的正方形容器中,图片被完整的显示出来了。
aspectFill属性
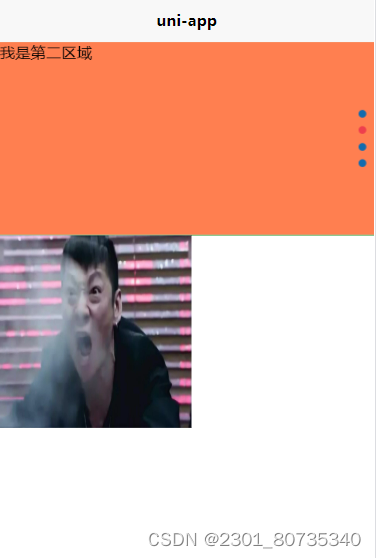
aspectFill,保持纵横比缩放图片,只保证图片的短边能完全显示出来。也就是说,图片通常只在水平或垂直方向是完整的,另一个方向将会发生截取,代码如下:
<template><view><swiper indicator-dots indicator-color ="#126bae" indicator-active-color = "#ee3f4d" circular autoplay interval = "2000" vertical><swiper-item>我是第一区域</swiper-item><swiper-item >我是第二区域</swiper-item><swiper-item>我是第三区域</swiper-item><swiper-item> 我是第四区域</swiper-item></swiper></view><view> <image src = "../../static/pic3.webp" class="pic2"mode = "aspectFill"></image></view>
</template><script	setup></script><style lang="scss">swiper{width:100vw ;height: 200px;border: 1px solid green;swiper-item{width: 100%;height:100%;background: pink;}swiper-item:nth-child(2n){background: coral;}}.pic2{width: 200px;height:200px;}
</style>
效果如下:
可以看到,图片的短边完整显示了,但两侧被截取了。
widthFix和heightFix
WidthFix:宽度不变,高度自动变化,保持原图宽高比不变。
heightFix:高度不变,宽度自动变化,保持原图宽高比不变。
接下来,演示WidthFix,插入新图片,只给它设置宽度:
代码如下:
	<view><swiper indicator-dots indicator-color ="#126bae" indicator-active-color = "#ee3f4d" circular autoplay interval = "2000" vertical><swiper-item>我是第一区域</swiper-item><swiper-item >我是第二区域</swiper-item><swiper-item>我是第三区域</swiper-item><swiper-item> 我是第四区域</swiper-item></swiper></view><view> <image src = "../../static/pic3.webp" class="pic2"mode = "aspectFill"></image><image src = "../../static/pic4.jpg" class = "pic3"></image></view>
</template><script	setup></script><style lang="scss">swiper{width:100vw ;height: 200px;border: 1px solid green;swiper-item{width: 100%;height:100%;background: pink;}swiper-item:nth-child(2n){background: coral;}}.pic2{width: 200px;height:200px;}.pic3{width: 300px;}
</style>
效果如下:
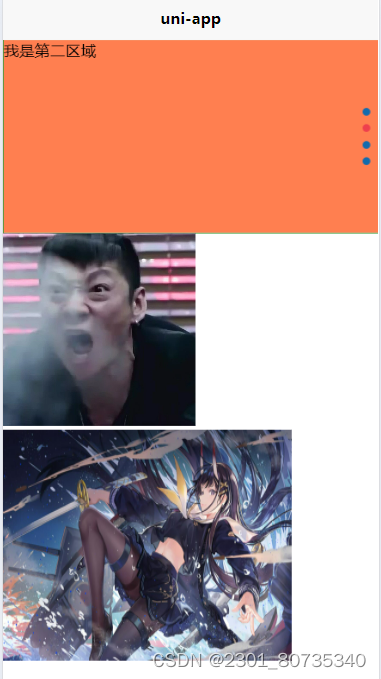
可以看到,图片尺寸发生了变化,现在加入widthFix属性,代码如下:
<template><view><swiper indicator-dots indicator-color ="#126bae" indicator-active-color = "#ee3f4d" circular autoplay interval = "2000" vertical><swiper-item>我是第一区域</swiper-item><swiper-item >我是第二区域</swiper-item><swiper-item>我是第三区域</swiper-item><swiper-item> 我是第四区域</swiper-item></swiper></view><view> <image src = "../../static/pic3.webp" class="pic2"mode = "aspectFill"></image><image src = "../../static/pic4.jpg" class = "pic3" mode = "widthFix"></image></view>
</template><script	setup></script><style lang="scss">swiper{width:100vw ;height: 200px;border: 1px solid green;swiper-item{width: 100%;height:100%;background: pink;}swiper-item:nth-child(2n){background: coral;}}.pic2{width: 200px;height:200px;}.pic3{width: 300px;}
</style>
效果如下:
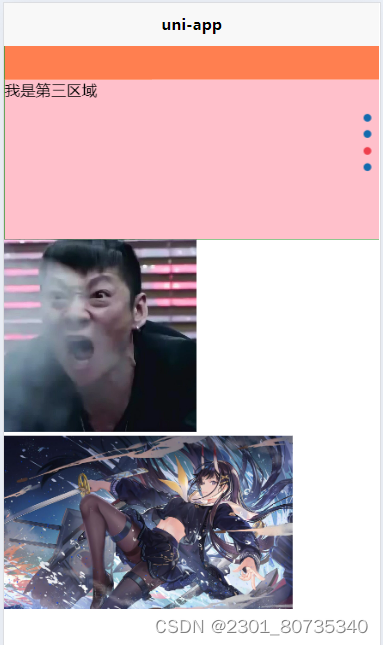
可以看到,图片恢复了原宽高比,HeightFix属性同理,不再做演示。
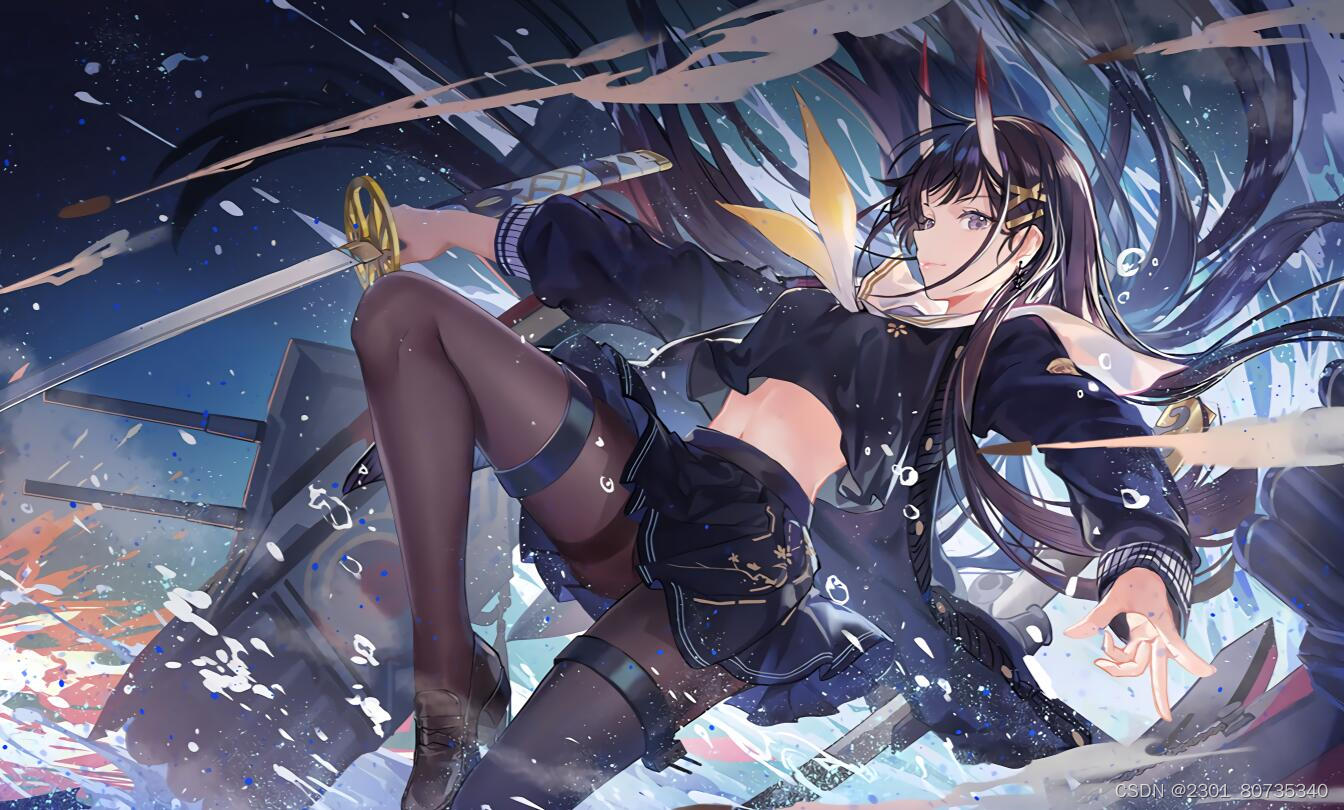
将图片放置到swiper滚动容器中
接下来,把图片放到swiper-item中,设置aspectFill属性,并将尺寸设置为100%充满容器,实现图片滚动,代码如下:
<template><view><swiper indicator-dots indicator-color ="#126bae" indicator-active-color = "#ee3f4d" circular autoplay interval = "2000" vertical><swiper-item><image src="../../static/pic1.png" mode="aspectFill"></image></swiper-item><swiper-item><image src="../../static/pic2.png" mode="aspectFill"></image></swiper-item><swiper-item><image src="../../static/pic4.jpg" mode="aspectFill"></image></swiper-item><swiper-item><image src = "../../static/pic3.webp" mode="aspectFill"></image></swiper-item></swiper></view></template><script	setup></script><style lang="scss">swiper{width:100vw ;height: 200px;border: 1px solid green;swiper-item{width: 100%;height:100%;background: pink;image{width: 100%;height:100%;}}swiper-item:nth-child(2n){background: coral;}}.pic2{width: 200px;height:200px;}.pic3{width: 300px;}
</style>
效果如下: