原生js实现图片预览控件,支持丝滑拖拽,滚轮放缩,放缩聚焦
手撸源代码如下:注释应该很详细了,拿去直用
可以放到在线编辑器测试,记得修改图片路径
菜鸟教程在线编辑器
<html lang="en"><head><meta charset="UTF-8"><meta name="viewport" content="width=device-width, initial-scale=1.0"><title>Document</title><style>#img_box {position: relative;width: 800px;height: 800px;border: 1px solid #000000;overflow: hidden;cursor: grab;}#img_c {width: 100%;height: 100%;position: absolute;object-fit: contain;user-select: none;-webkit-user-drag: none;user-select: none;-moz-user-select: none;-webkit-user-select: none;-ms-user-select: none;/* transition: all 0.1s ease-in-out; */}</style>
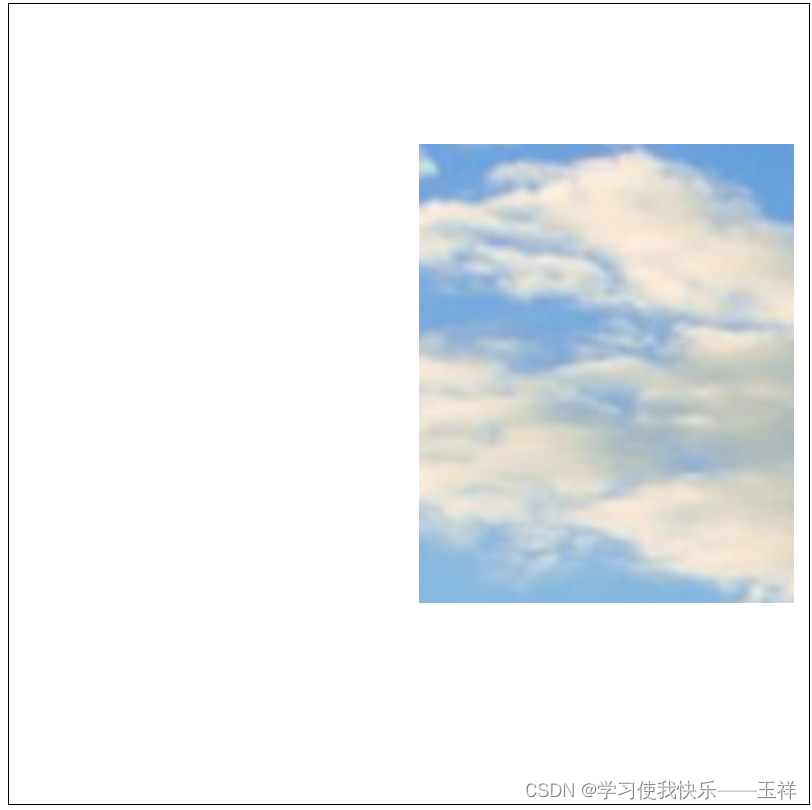
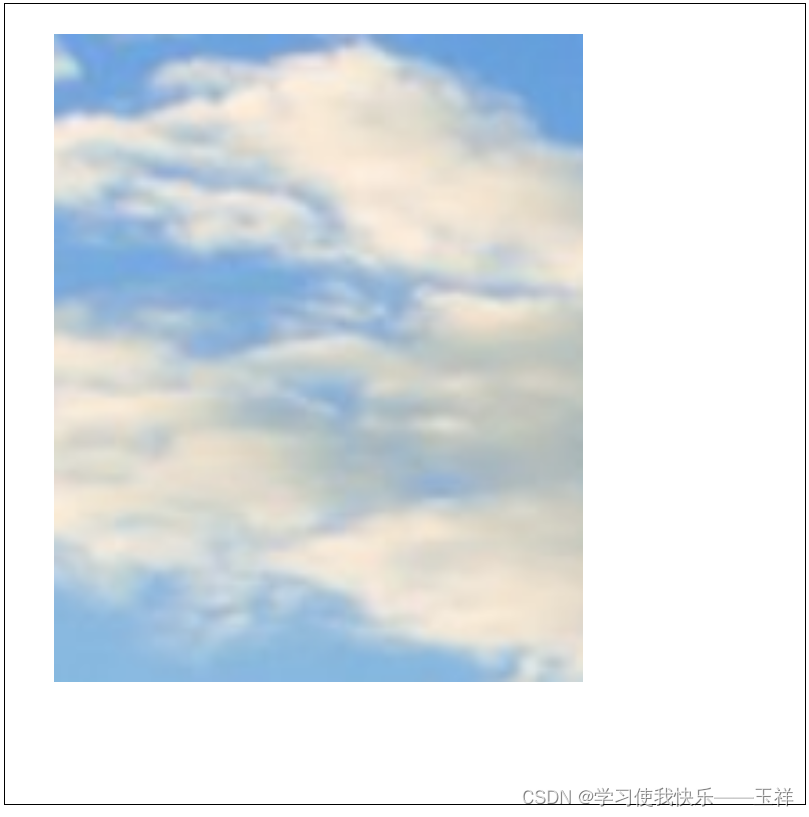
</head><body><div id="img_box"><img id="img_c" title="没有" src="./1719194464803.jpg"></div><script>initImageScaleElement();function initImageScaleElement() {//定义参数const max = 20;//放缩原图倍数const scale = 0.05;//滚轮一下缩放的变化比例 越大放缩越快//获取对象const box = document.getElementById("img_box");const img = document.getElementById("img_c");/*** 图片已加载完毕后,对图片居中* 图片一开始其实默认是居中的,只不过是img的object-fit: contain属性进行了居中,并且产生了一些边缘填充空白* 这些填充的空白会影响后续图片拖拽的计算,因此需要将img修改成图片展示的真实大小,但对用户视觉不发生改变。*/img.onload = function () {const imgRatio = img.naturalWidth / img.naturalHeight; //图片横纵比const boxRatio = box.clientWidth / box.clientHeight; //容器横纵比/*** 因为拿到的图片真实大小,不是显示大小,需要手动放缩,适配到容器中* 当图片横纵比大于容器横纵比,图片保持比例的情况下填充容器,此时只能对图片的横向放缩填充全部容器 * 当图片横纵比小于容器横纵比,图片保持比例的情况下填充容器,此时只能对图片的纵向放缩填充全部容器 * 这个规律可以自己画图试验一下*/if (imgRatio > boxRatio) { const scale = box.clientWidth / img.naturalWidth;img.style.width = box.clientWidth; //长度填充img.style.height = img.naturalHeight * scale; //高度自适应img.style.top = Math.ceil((box.clientHeight - img.clientHeight) / 2) + "px" ;//位置居中} else {const scale = box.clientHeight / img.naturalHeight;img.style.height = box.clientHeight;//高度填充img.style.width = img.naturalWidth * scale;//长度自适应img.style.left = Math.ceil((box.clientWidth - img.clientWidth) / 2) + "px";//位置居中}};//用于元素拖拽时边界的参数限制,入参:{ 实际值,左区间,右区间 }const getRange = (actual, limita, limitb) => {if (actual < -limita) {return -limita;} else if (actual > limitb) {return limitb;}return actual;}/*** 缩放操作* */box.onwheel = (event) => {event.preventDefault(); //关闭默认事件const center_x = event.clientX;const center_y = event.clientY;const wheelDelta = event.deltaY;const top_d = center_y - img.offsetTop;const left_d = center_x - img.offsetLeft;if (wheelDelta > 0) {//缩小 往后推滚轮 【滚轮值和缩放关系不是固定的,你也可以反过来】let modifyHeight = img.clientHeight * (1 - scale);let modifyWidth = img.clientWidth * (1 - scale);if (modifyHeight * max > img.naturalHeight) { //只在比例范围内,放缩img.style.height = modifyHeight;img.style.width = modifyWidth;img.style.top = center_y - top_d * (1 - scale);img.style.left = center_x - left_d * (1 - scale);} else {console.log("缩小超出" + max * 100 + "%比例无法缩小");}} else {//放大 往前推滚轮let modifyHeight = img.clientHeight * (1 + scale);let modifyWidth = img.clientWidth * (1 + scale);if (modifyHeight < img.naturalHeight * max) { //只在比例范围内,放缩img.style.height = modifyHeight;img.style.width = modifyWidth;img.style.top = center_y - top_d * (1 + scale);img.style.left = center_x - left_d * (1 + scale);} else {console.log("放大超出" + max * 100 + "%比例无法放大");}}}/*** 拖拽操作*///拖拽需要的全局变量const drag = {status: false,lastX: null,lastY: null}box.onmousedown = (event) => {if (event.button === 0) {//鼠标会移出元素,甚至移出到浏览器外部,使用document监听移动就可以不受影响。document.onmousemove = (event) => {if (drag.status) {let mx = event.clientX - drag.lastXlet my = event.clientY - drag.lastYdrag.lastX = event.clientXdrag.lastY = event.clientYlet top = img.offsetTop + mylet left = img.offsetLeft + mx//拖拽超出容器外部无意义,可能找不回,因此图片位置不能任意拖拽至少有一个角或一个边在容器内部,这里减10就是预留出的宽度img.style.left = getRange(left, img.clientWidth - 10, box.clientWidth - 10) + 'px';img.style.top = getRange(top, img.clientHeight - 10, box.clientHeight - 10) + "px";//如果你不想让图片跑出容器,那就调整这里就好了,控制两个相邻边就能控制整个图片,如// img.style.left = getRange(left,0, box.clientWidth - img.clientWidth) + 'px';// img.style.top = getRange(top,0, box.clientHeight - img.clientHeight) + "px";}}//鼠标松开,初始化操作,如果鼠标在元素外部松开,元素的松开监听是获取不到的,因此需要用document监听document.onmouseup = (event) => {if (event.button === 0) {drag.status = falsedocument.onmousemove = nulldocument.onmouseup = null}}drag.status = truedrag.lastX = event.clientXdrag.lastY = event.clientY}}}</script></body></html>