SpringBoot自定义Starter及原理分析
目录
- 1.前言
- 2.环境
- 3.准备Starter项目
- 4.准备AutoConfigure项目
- 4.1 准备类HelloProperties
- 4.2 准备类HelloService
- 4.3 准备类HelloServiceAutoConfiguration
- 4.4 创建spring.factories文件并引用配置类HelloServiceAutoConfiguration
- 4.5 安装到maven仓库
- 5.在其他项目中引入自定义Starter测试
- 6.自动配置流程或原理
- 7.总结
1.前言
最近在看GeoServer Cloud源码时发现里面有很多自定义的Starter,有时候看的云里雾里。干脆自己也总结一下,写一个示例。
2.环境
之前作者遇到过一个问题,写Starter时环境是jdk8,也就是说写出来的是SpringBoot2插件,在jdk21即SpringBoot3应用中跑的时候总是报错java.lang.IllegalArgumentException: Unsupported class file major version 65,或者java.lang.NoClassDefFoundError: io/r2dbc/spi/ValidationDepth等等,反正各种问题。看来SpringBoot2和3之间的兼容性做的不是很好,我们以后要注意。因此作者索性调整了全部环境:
1.JDK8
2.IDEA2023
3.SpringBoot2.4.0
这里暂且留一个疑问,GeoServer Cloud项目是基于SpringBoot2.7.18的,jdk8就满足了,为什么非得要求jdk21?
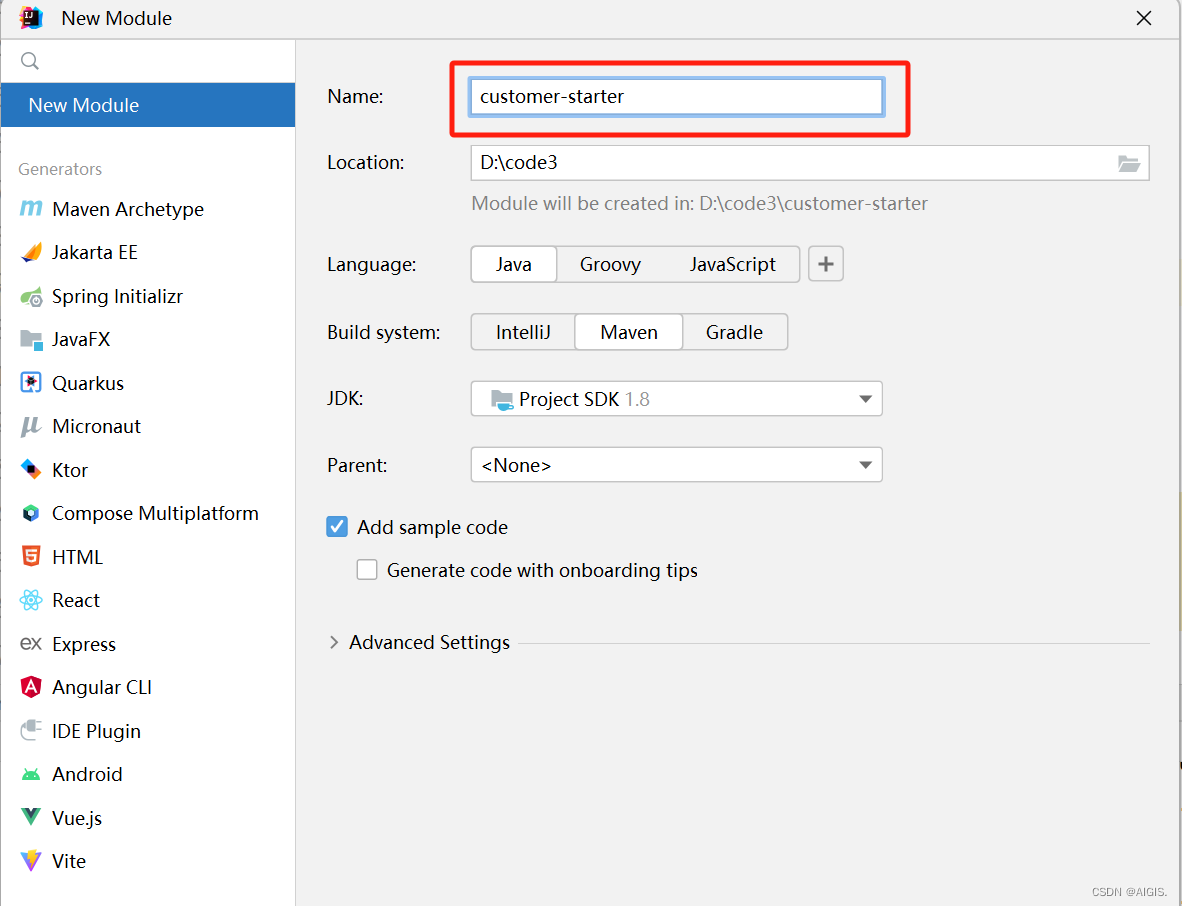
3.准备Starter项目
这个Starter项目将来是要在其他项目里引用的。按照约定大于配置的思想,这里面不写任何代码,只是声明我们需要的依赖。新建一个普通的maven项目customer-starter即可。
然后引用我们的AutoConfigure项目即可,具体的项目我们下一步去完善。
<dependency><groupId>com.zhangier</groupId><artifactId>customer-starter-autoconfigure</artifactId><version>0.0.1</version>
</dependency>
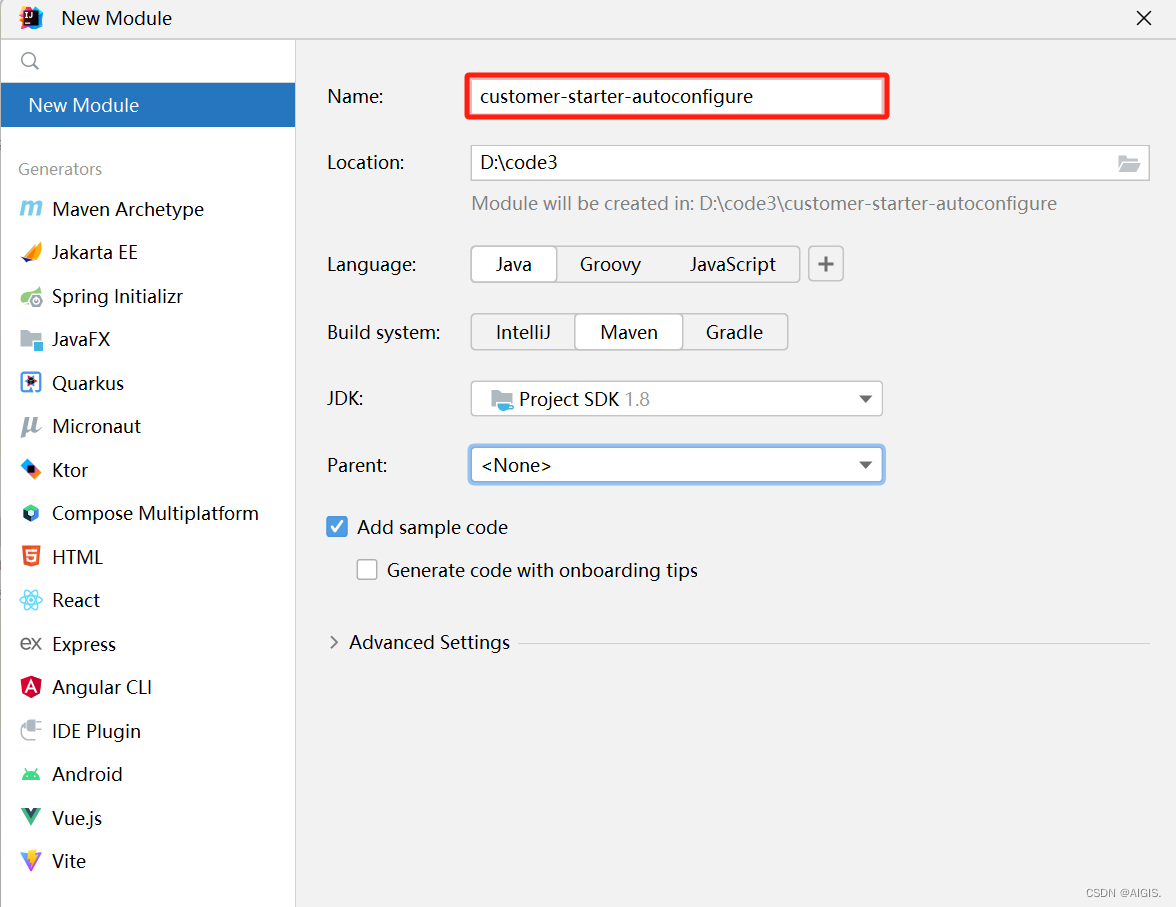
4.准备AutoConfigure项目
好了,现在开始我们的重头戏。AutoConfigure项目要实现的是自动配置和打招呼。因此我们需要:
一个HelloService来提供sayHello方法
一个HelloProperties来绑定application.yaml中以hello开头的属性
一个HelloServiceAutoConfiguration来实现自动装配
现在我们来新建一个项目,因为是SpringBoot项目,因此在pom要声明parent和dependency
<parent><groupId>org.springframework.boot</groupId><artifactId>spring-boot-starter-parent</artifactId><version>2.4.0</version>
</parent>
<groupId>com.zhangier</groupId>
<artifactId>customer-starter-autoconfigure</artifactId>
<version>0.0.1</version><dependencies><dependency><groupId>org.springframework.boot</groupId><artifactId>spring-boot-starter</artifactId></dependency>
</dependencies>
4.1 准备类HelloProperties
HelloProperties中只需要声明两个属性,前缀和后缀,即prefix和suffix,以便将来在打招呼时使用.使用@ConfigurationProperties注解来实现绑定以hello开头的配置。前缀和后缀我们都分别给了一个默认值Hi和Welcome。
@ConfigurationProperties("hello")
public class HelloProperties {private String prefix="Hi";private String suffix="Welcome";public String getPrefix() {return prefix;}public void setPrefix(String prefix) {this.prefix = prefix;}public String getSuffix() {return suffix;}public void setSuffix(String suffix) {this.suffix = suffix;}
}
4.2 准备类HelloService
HelloService中我们来实现一个sayHello方法,并使用@Autowired注解自动注入刚刚创建的HelloProperties.
public class HelloService {@AutowiredHelloProperties helloProperties;public String sayHello(String name){return helloProperties.getPrefix()+" "+name+" "+helloProperties.getSuffix();}
}
4.3 准备类HelloServiceAutoConfiguration
HelloServiceAutoConfiguration是一个配置类,需要干两件事,一是将HelloProperties放入到Spring容器中,二是判断容器中有没有HelloService,如果没有,就主动new一个出来放到容器中。
@Configuration//声明这是一个配置类
@EnableConfigurationProperties(HelloProperties.class)//进行属性绑定以后HelloProperties也放到容器中
public class HelloServiceAutoConfiguration {@ConditionalOnMissingBean(HelloService.class)//如果容器中没有HelloService@Bean//将返回值放入到容器中public HelloService helloService(){HelloService helloService=new HelloService();return helloService;}
}
4.4 创建spring.factories文件并引用配置类HelloServiceAutoConfiguration
这一步是最关键的,否则我们相当于上面一堆操作白干。
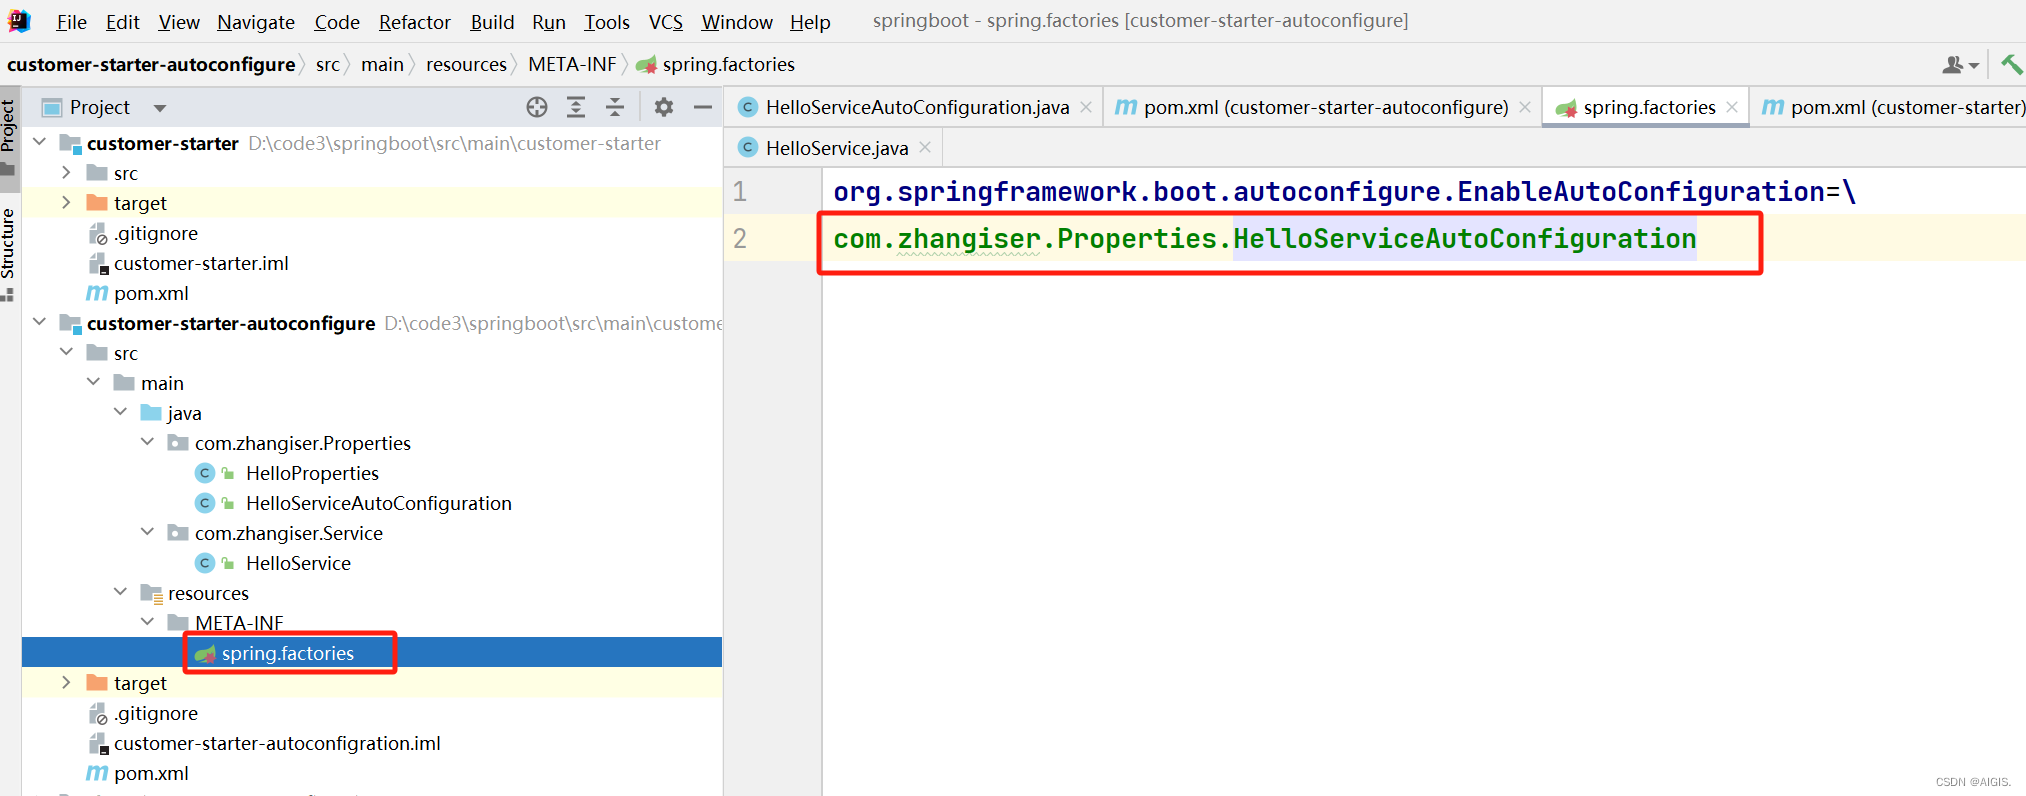
org.springframework.boot.autoconfigure.EnableAutoConfiguration=\
com.zhangiser.Properties.HelloServiceAutoConfiguration
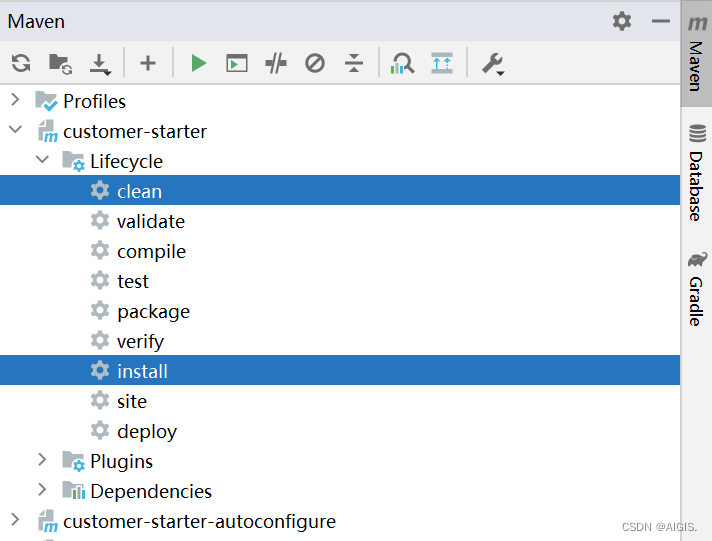
4.5 安装到maven仓库
因为我们的Starter项目依赖AutoConfigure项目,因此我们先安装AutoConfigure
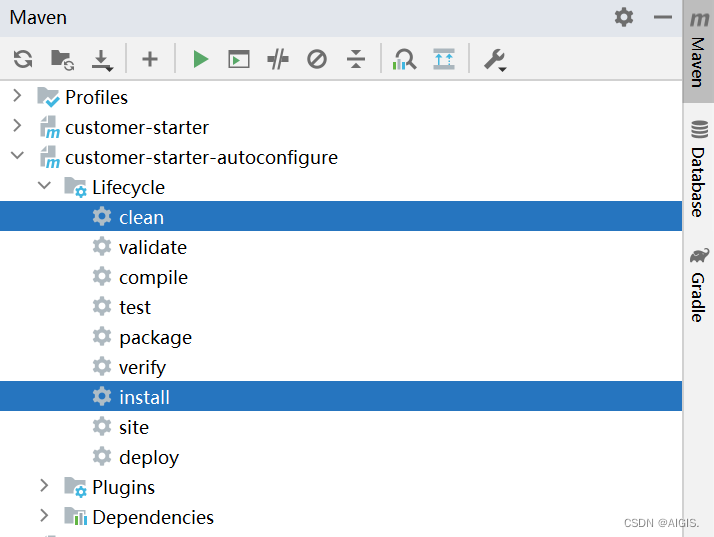
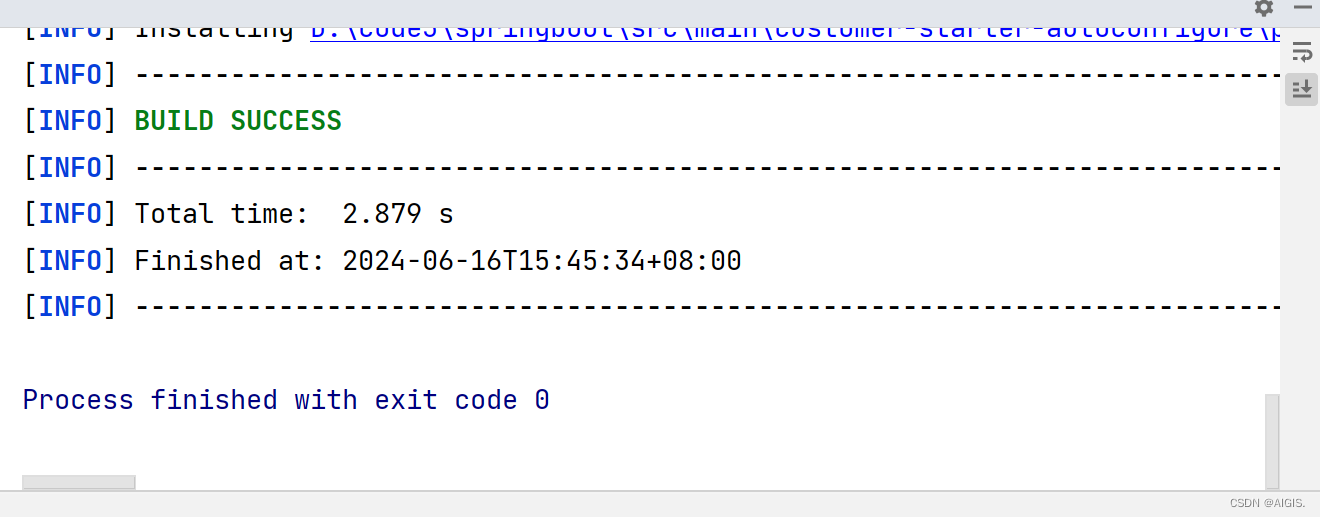
然后再安装Starter。
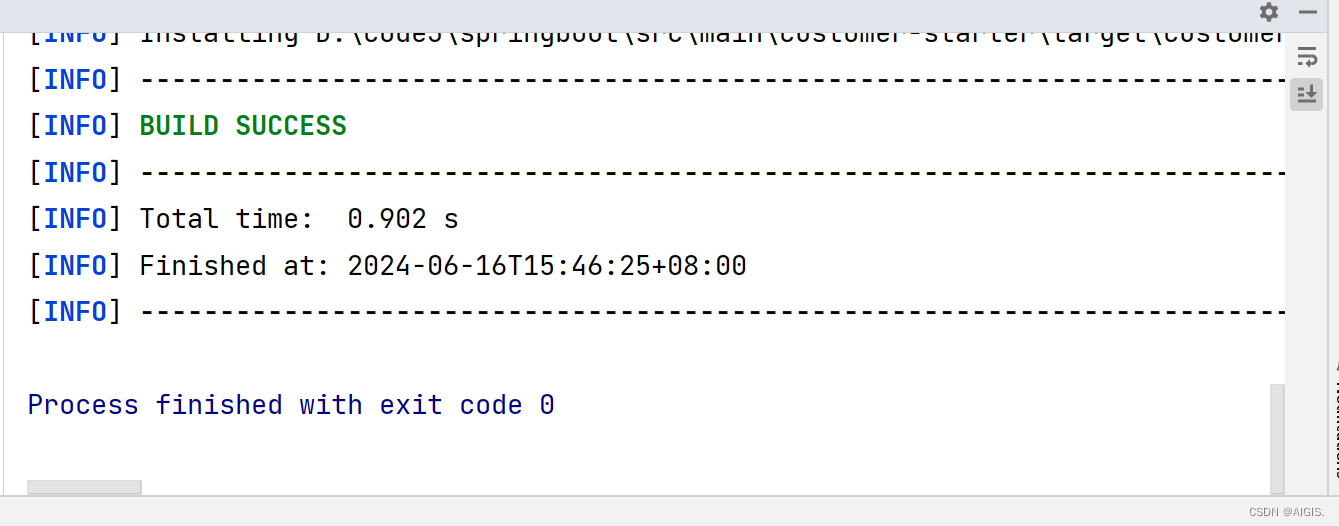
好了,现在我们的自定义Starter已经准备完毕了,接下来开始到另外一个项目进行测试。
5.在其他项目中引入自定义Starter测试
首先新建一个SpingBoot项目,勾选Spring Web模块。注意pom中除了要引用SpingBoot,还有引用我们刚刚创建的customer-starter
<parent><groupId>org.springframework.boot</groupId><artifactId>spring-boot-starter-parent</artifactId><version>2.4.0</version></parent><properties><project.build.sourceEncoding>UTF-8</project.build.sourceEncoding></properties><dependencies><dependency><groupId>com.zhangier</groupId><artifactId>customer-starter</artifactId><version>1.0-SNAPSHOT</version></dependency><dependency><groupId>org.springframework.boot</groupId><artifactId>spring-boot-starter-web</artifactId></dependency></dependencies> 主类上使用@SpringBootApplication注解,意思这是一个SpingBoot项目。
package org.example;
import org.springframework.boot.SpringApplication;
import org.springframework.boot.autoconfigure.SpringBootApplication;@SpringBootApplication
public class App
{public static void main( String[] args ){SpringApplication.run(App.class,args);}
}
然后新建一个测试类
import com.zhangiser.Service.HelloService;
import org.springframework.beans.factory.annotation.Autowired;
import org.springframework.web.bind.annotation.RequestMapping;
import org.springframework.web.bind.annotation.RestController;@RestController
public class HelloController {@AutowiredHelloService helloService;@RequestMapping("/hello")public String hello(String[] args) {return helloService.sayHello("张三");}
}
启动以后,访问一下看看效果
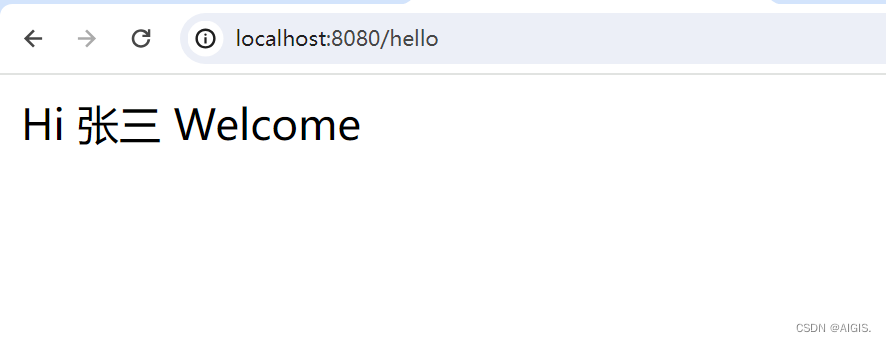
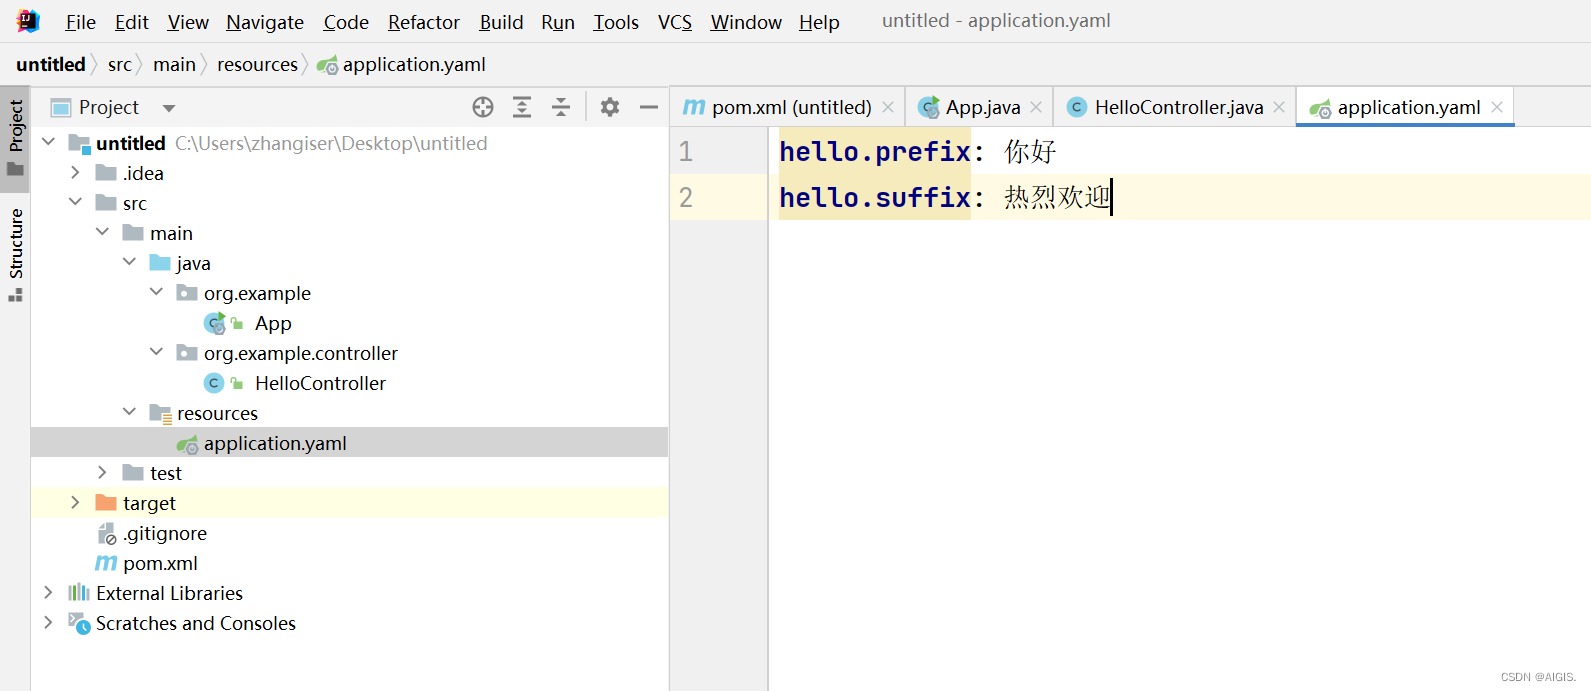
因为我们现在并没有在测试项目中写application.yaml文件,所以前后缀还是用的HelloProperties 的默认属性,现在创建一个application.yaml并修改一下前后缀,注意,我们给HelloProperties 绑定的是以hello开头的配置。我们把前缀改成你好,后缀改成热烈欢迎,重启一下服务再看效果。
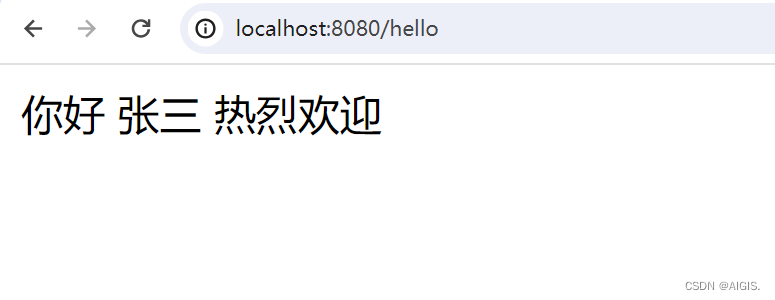
perfect,变过来了,非常棒。
6.自动配置流程或原理
1.准备一个Starter项目,其中不写任何代码,只引入相关依赖
2.准备一个AutoConfigure项目,进行自动配置
3.使用@ConfigurationProperties注解进行属性前缀绑定
4.使用@Configuration注解声明配置类
5.使用@EnableConfigurationProperties注解进行配置文件到属性类的绑定并将属性类放入Spring容器
6.使用@ConditionalOnMissingBean或@ConditionalOnMissingClass等注解进行判断条件判断
7.使用@Bean注解将最终类放入到Spring容器
8.在spring.factories文件中指定配置类
9.在其他项目中引用pom并调用最终类
10.通过修改 application.properties 或 application.yaml等进行属性值的修改
7.总结
本文我们通过对SpringBoot的自动配置流程和原理进行分析,实现了一个自定义的Starter,这一点有利于我们在以后的工作中开展对GeoServer Cloud的源码分析,回见~