【wiki知识库】03.前后端的初步交互(展现所有的电子书)

📝个人主页:哈__
期待您的关注

目录
一、🔥今日目标
二、📂前端配置文件补充
三、🌏前端Vue的改造
四、💡总结
一、🔥今日目标
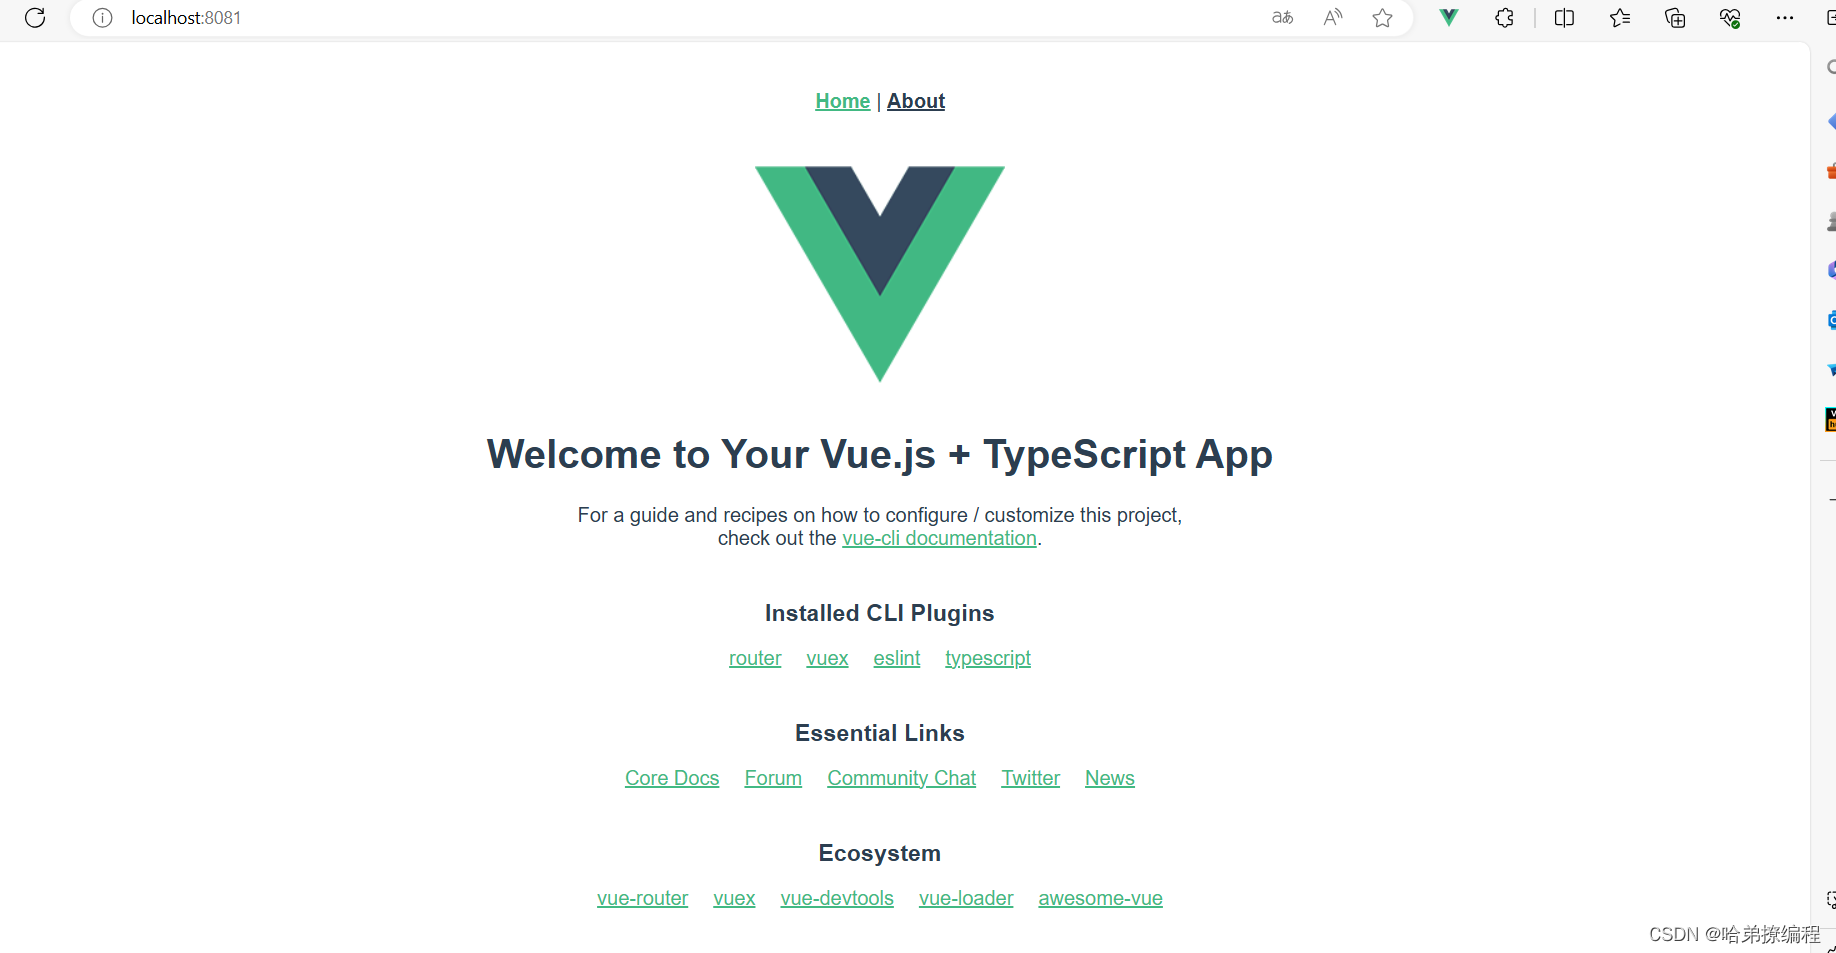
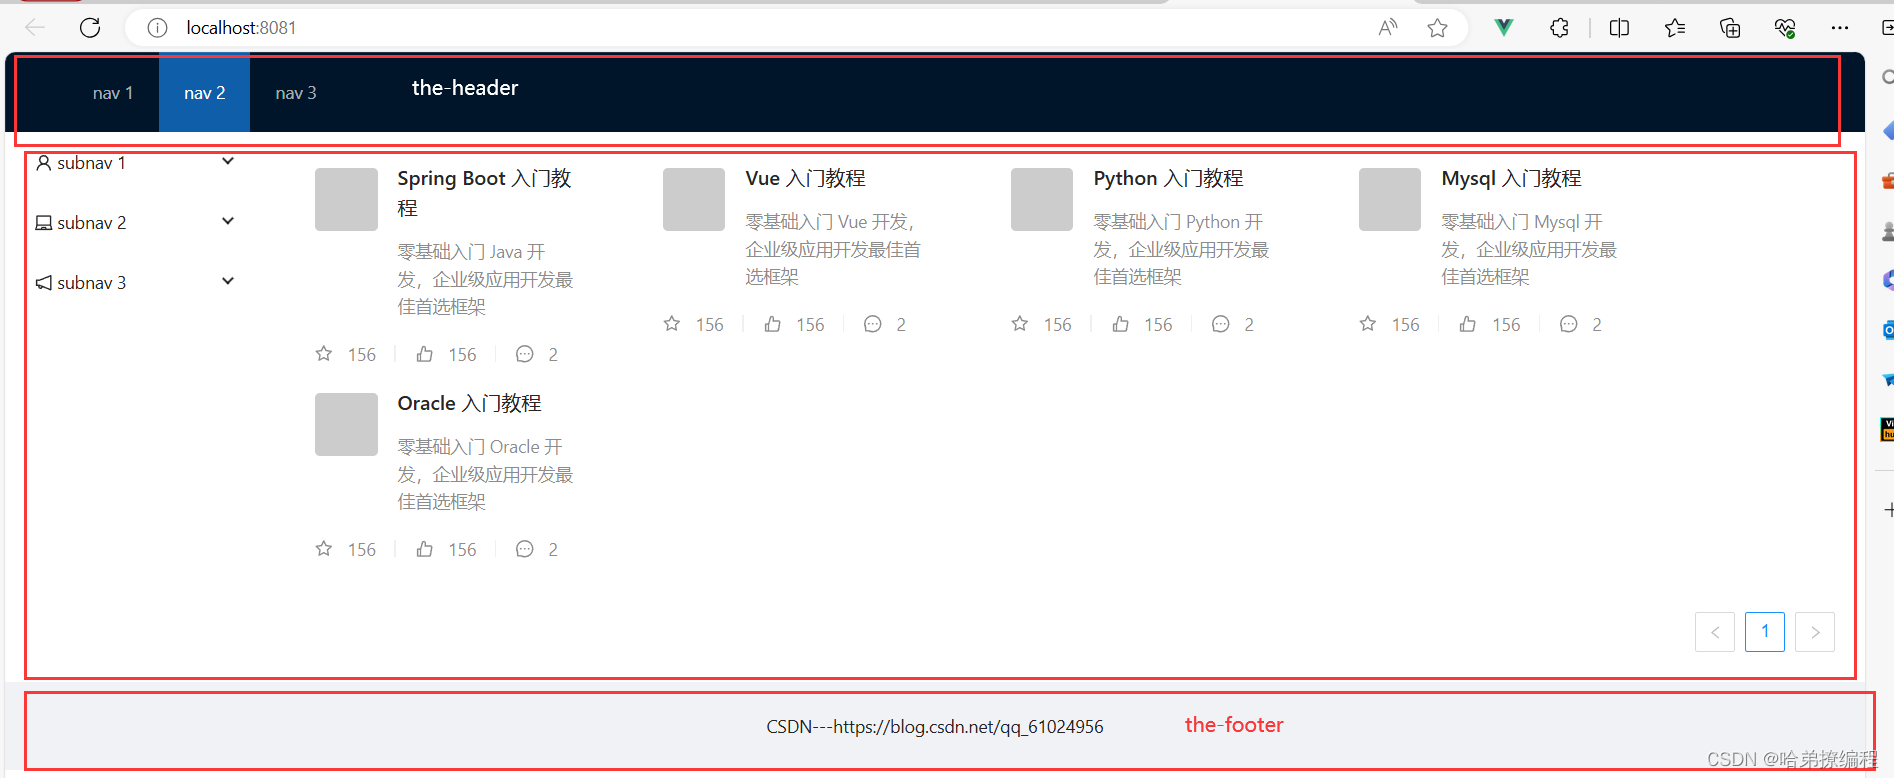
在上一篇文章当中,我已带大家把后端的一些基本工具都创建出来了,并且成功的测通了电子书的list接口,也就是查询所有电子书的接口,今天呢我想要在前端页面上展现一下我们的电子书的信息。今天前端页面的样子可能是从这个样子。
到这个样子。
这些书的信息都是我们从数据库拿出来了,不是我自己写上去的。
二、📂前端配置文件补充
在上一次我把package.json和vue.config.js以及一个.env文件给大家了。今天再给大家更新一下配置文件。
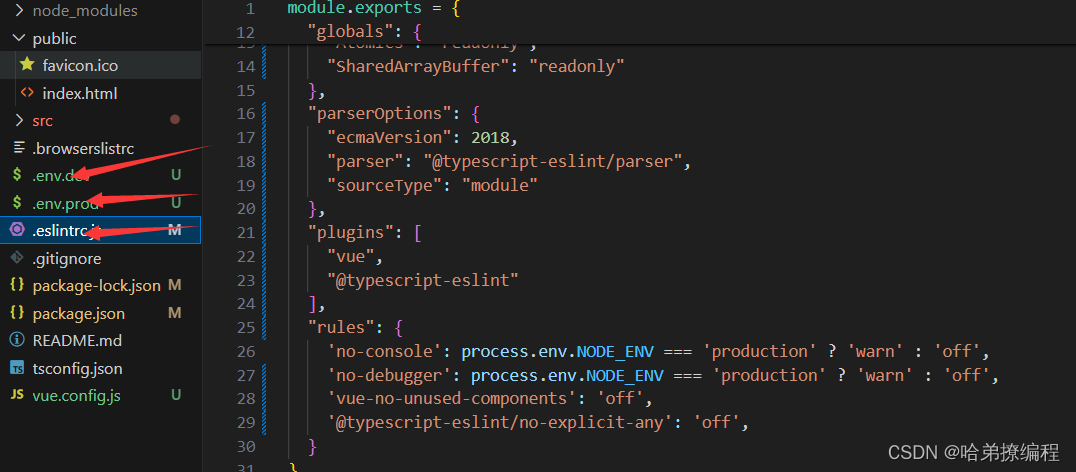
先看看这个.eslintrc.js
module.exports = {"env": {"browser": true,"es6": true},"extends": ["plugin:vue/essential","plugin:@typescript-eslint/eslint-recommended","eslint-config-airbnb"],"globals": {"Atomics": "readonly","SharedArrayBuffer": "readonly"},"parserOptions": {"ecmaVersion": 2018,"parser": "@typescript-eslint/parser","sourceType": "module"},"plugins": ["vue","@typescript-eslint"],"rules": {'no-console': process.env.NODE_ENV === 'production' ? 'warn' : 'off','no-debugger': process.env.NODE_ENV === 'production' ? 'warn' : 'off','vue-no-unused-components': 'off','@typescript-eslint/no-explicit-any': 'off',}
}
然后是.env.dev。
NODE_ENV = 'development'
VUE_APP_SERVER = 'http://localhost:8080'
最后是.env.prod。
NODE_ENV = 'prodction'
VUE_APP_SERVER = 'http://localhost:8080'
这些配置文件我会在下方说这是什么作用的。
三、🌏前端Vue的改造
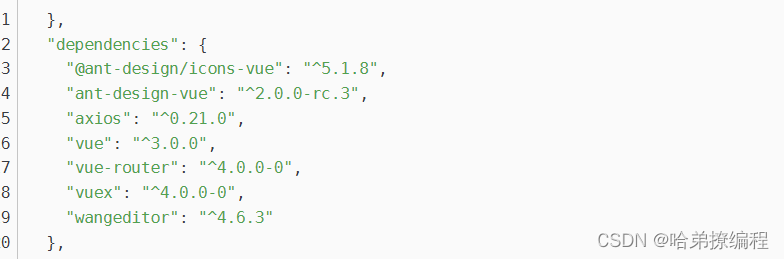
想把一个原始Vue项目改造成我们想要的项目,避免不了更改代码结构,但是作为一名后端工程师,前端的美化功底你可能不是特别深,所以在这里我使用的是ant-design vue进行的组件引入。Ant Design Vue (antdv.com)
上次我给大家的package.json中把这个已经写进去了,如果大家成功npm install的话,应该已经是引入了。
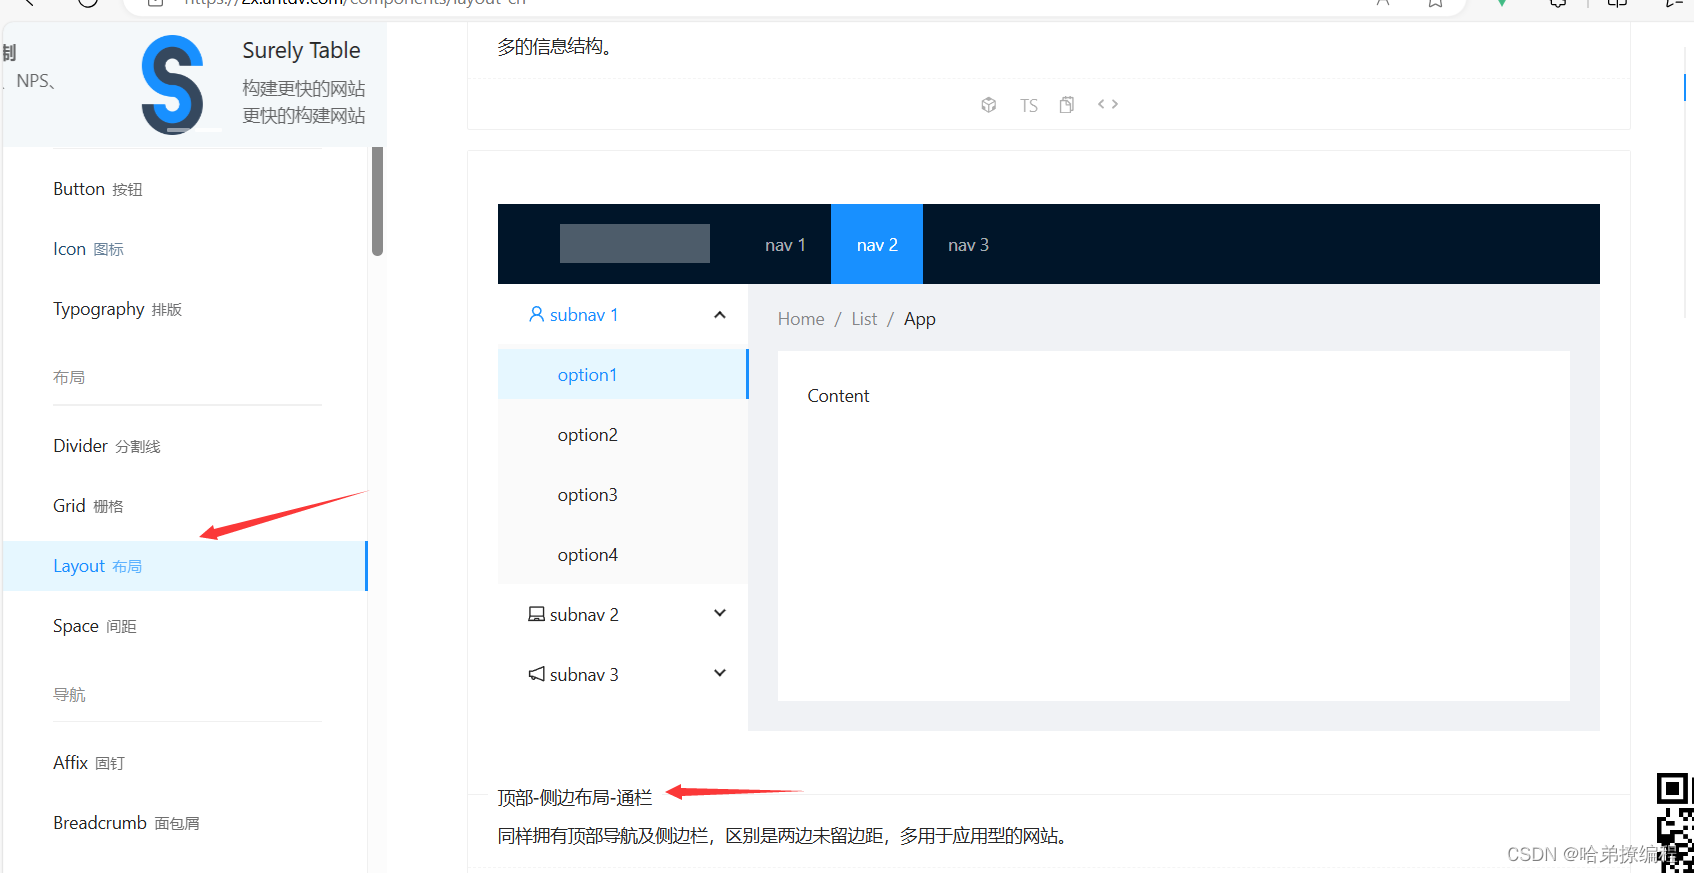
制于布局呢,我使用的就是下边的布局。但是下边的布局是没有底部标签的,所以我还从其他的布局中剪下来一小块的底部信息组件。
这里我直接说Vue的组件化,前端的东西我不讲太多,大概就是把我们从ant-design网站上拷贝下来的代码进行公共模块的抽取。这个也很好理解,上边的导航标签,还有底部的信息标签,无论什么时候都是要被展示的,我们不可能在每一个vue文件中把这些代码加进去,而是选择把这些公共的代码抽取出来作为一个vue组件去展示。
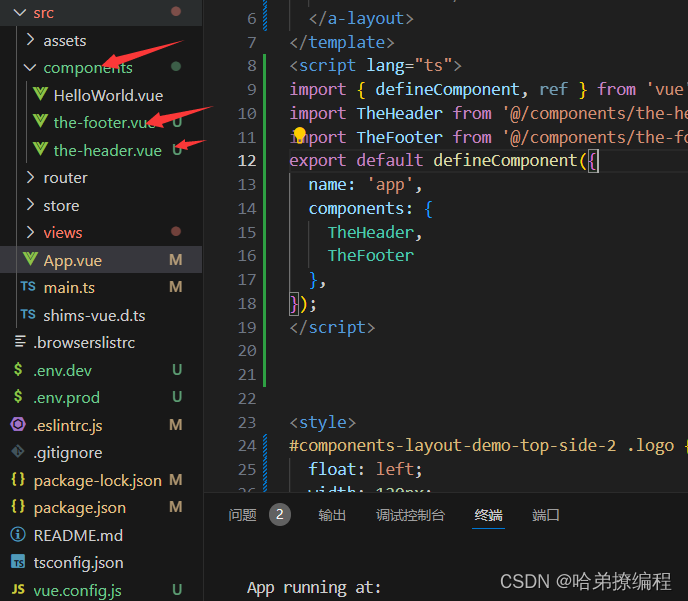
现在我们在component文件夹下边新建两个vue文件。一个叫the-header.vue,另一个叫the-footer.vue。
the-header.vue文件内容如下。
<template><a-layout-header class="header"><div class="logo" ></div><a-menutheme="dark"mode="horizontal"v-model:selectedKeys="sselectedKeys1":style="{ lineHeight: '64px' }"><a-menu-item key="1">nav 1</a-menu-item><a-menu-item key="2">nav 2</a-menu-item><a-menu-item key="3">nav 3</a-menu-item></a-menu></a-layout-header>
</template>
<style></style>
<script lang="ts">
import { defineComponent } from 'vue';export default defineComponent({name: 'the-header',
});
</script>
the-footer.vue组件内容如下。
<template><a-layout-footer style="text-align: center">CSDN---https://blog.csdn.net/qq_61024956</a-layout-footer>
</template><script lang="ts">
import { defineComponent } from 'vue';export default defineComponent({name: 'the-footer',
});
</script>
<style></style>
现在我们要把这两个组件展示到App.vue下,我们需要在App.vue中写一些代码来把我们刚刚创建的两个组件引入进去。
App.vue文件内容如下。
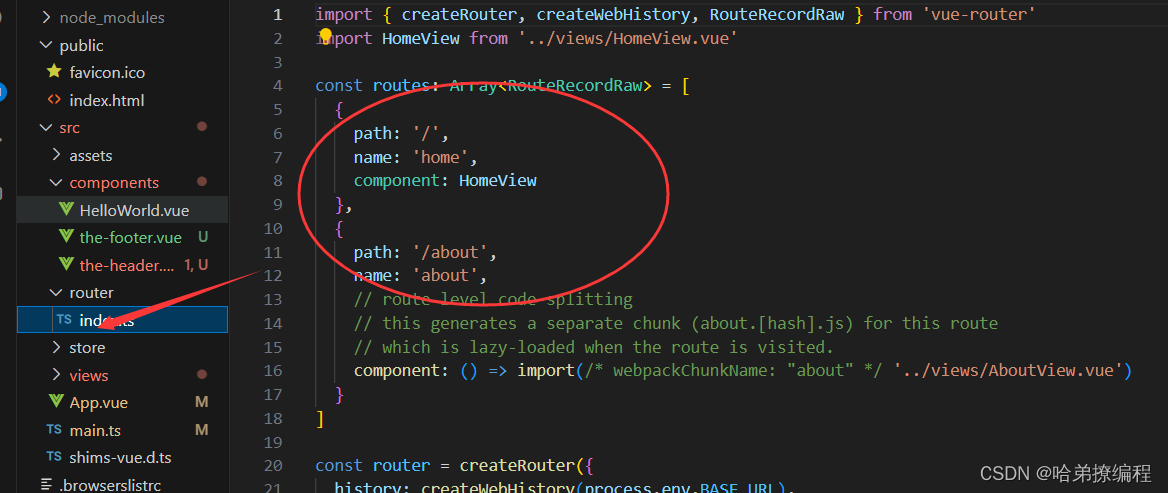
<template><a-layout><the-header></the-header><router-view></router-view><the-footer></the-footer></a-layout>
</template>
<script lang="ts">
import { defineComponent, ref } from 'vue';
import TheHeader from '@/components/the-header.vue';
import TheFooter from '@/components/the-footer.vue';
export default defineComponent({name: 'app',components: {TheHeader,TheFooter},
});
</script><style>
#components-layout-demo-top-side-2 .logo {float: left;width: 120px;height: 31px;margin: 16px 24px 16px 0;background: rgba(255, 255, 255, 0.3);
}.ant-row-rtl #components-layout-demo-top-side-2 .logo {float: right;margin: 16px 0 16px 24px;
}.site-layout-background {background: #fff;
}
</style>
至于<router-view>,其实这是一个路由出口,那什么又是路由?路由其实就是一个路径的选择,比如说,你想要把哪个组件展示到the-header和the-footer组件的中间,你是不确定的,因为页面是动态变化的。一旦你点击了一个具有路由跳转功能的按键,并且这个按键对应的路由绑定了一个组件,那么这个组件就会寻找一个路由出口去展示 。就如下图所示,我在浏览器的网址中输入了一个/about,现在这个页面展示成这个样子,这就说明,绑定了/about的这个路由的一个组件,展示到了这个路由出口当中。
路由路径和组件的绑定,都是通过router文件夹下的index.ts文件实现的。
最后就是这个HomeView.vue组件了,这个组件可是要展示我们的数据的,刚才的路由路径也看到了,我们输入/后直接路由出来的就是这个组件。这个组件中使用了ant-design中的一些组件,我们要先把这些组件引入一下。首先就是在我们的项目中使用ant-design。
在main.js文件中添加以下信息,把我们的ant-design引入到我们的项目中,同时把其中的一些小标签也引入一下,这个之后会用到的。
import { createApp } from 'vue'
import App from './App.vue'
import router from './router'
import store from './store'
import Antd from 'ant-design-vue';
import 'ant-design-vue/dist/antd.css';
import * as Icons from '@ant-design/icons-vue';
const app = createApp(App);
app.use(store).use(router).use(Antd).mount('#app')
const icons: any = Icons
for (const i in icons) {app.component(i, icons[i])
}
接下来看我们的HomeView.vue文件,我在setup()方法中发送了一个axios请求,这个请求直接发送到后端的,但是你可能看不到具体的请求路径,后端我设置的端口是8080端口,但是在这里并没有显示的展现出。
HomeView.vue文件内容如下。
<template><a-layout><a-layout-sider width="200" style="background: #fff"><a-menumode="inline"v-model:selectedKeys="selectedKeys2"v-model:openKeys="openKeys":style="{ height: '100%', borderRight: 0 }"><a-sub-menu key="sub1"><template #title><span><user-outlined />subnav 1</span></template><a-menu-item key="1">option1</a-menu-item><a-menu-item key="2">option2</a-menu-item><a-menu-item key="3">option3</a-menu-item><a-menu-item key="4">option4</a-menu-item></a-sub-menu><a-sub-menu key="sub2"><template #title><span><laptop-outlined />subnav 2</span></template><a-menu-item key="5">option5</a-menu-item><a-menu-item key="6">option6</a-menu-item><a-menu-item key="7">option7</a-menu-item><a-menu-item key="8">option8</a-menu-item></a-sub-menu><a-sub-menu key="sub3"><template #title><span><notification-outlined />subnav 3</span></template><a-menu-item key="9">option9</a-menu-item><a-menu-item key="10">option10</a-menu-item><a-menu-item key="11">option11</a-menu-item><a-menu-item key="12">option12</a-menu-item></a-sub-menu></a-menu></a-layout-sider><a-layout-content:style="{ background: '#fff', padding: '24px', margin: 0, minHeight: '280px' }"><a-list item-layout="vertical" size="large" :pagination="pagination" :data-source="ebooks" :grid="{gutter: 20,colume :4}"><template #renderItem="{ item }"><a-list-item key="item.name"><template #actions><span v-for="{ type, text } in actions" :key="type"><component v-bind:is="type" style="margin-right: 8px" />{{ text }}</span></template><a-list-item-meta :description="item.description"><template #title><a :href="item.href">{{ item.name }}</a></template><template #avatar><a-avatar :src="item.cover" /></template></a-list-item-meta></a-list-item></template></a-list></a-layout-content></a-layout> </template><script lang="ts"> import { UserOutlined, LaptopOutlined, NotificationOutlined } from '@ant-design/icons-vue'; import { defineComponent, onMounted,ref } from 'vue'; import axios from 'axios';export default defineComponent({name: 'HomeView',components: {UserOutlined,LaptopOutlined,NotificationOutlined,},setup() {const ebooks = ref();onMounted(()=>{axios.get('/ebook/list?page=1&size=5').then(function (response) {ebooks.value = response.data.content.list;});})const pagination = {onChange: (page: number) => {console.log(page);},pageSize: 10,};const actions: Record<string, string>[] = [{ type: 'StarOutlined', text: '156' },{ type: 'LikeOutlined', text: '156' },{ type: 'MessageOutlined', text: '2' },];return {ebooks,pagination,actions,};}, }); </script><style scoped>.ant-avatar {width: 50px;height: 50px;line-height: 50px;border-radius: 8%;margin: 5px 0; } </style>最后还要改造一下main.js文件。我给axios请求添加了一个baseUrl,意思就是我们的axios请求都会在最前边拼接上这个路径,这个baseUrl是从我写的.env文件中读取出来的,之所以写了两个.env文件,是因为我们要区别一下运行环境,是生产环境还是开发环境,不同的环境我们的请求路径肯定是不同的,此外,这个baseUrl是根据我们的vue项目的启动命令动态改变的,在package.json文件中启动命令后边都是加有具体的环境信息的。
main.js文件内容如下。
import { createApp } from 'vue'
import App from './App.vue'
import router from './router'
import store from './store'
import Antd from 'ant-design-vue';
import 'ant-design-vue/dist/antd.css';
import * as Icons from '@ant-design/icons-vue';
import axios from 'axios';
axios.defaults.baseURL = process.env.VUE_APP_SERVER;/*** axios拦截器*/
axios.interceptors.request.use(function (config) {console.log('请求参数:', config);return config;
}, error => {return Promise.reject(error);
});
axios.interceptors.response.use(function (response) {console.log('返回结果:', response);return response;
}, error => {console.log('返回错误:', error);return Promise.reject(error);
});const app = createApp(App);
app.use(store).use(router).use(Antd).mount('#app')
const icons: any = Icons
for (const i in icons) {app.component(i, icons[i])
}
现在大体上已经完成了组件化,之后你在启动你的项目看看效果。是不是可以成功的展示数据。

四、💡总结
最后再来总结一下我们今天的改造吧.
- 组件化the-header和the-footer:主要是把这两个组件给提取出来给所有的模块使用,这两个组件是一个公用的
- 修改App.vue:App.vue组件中不再写很多代码了,而是通过组件的方式和路由的方式展示页面信息
- 修改HomeAbout.view:这个页面就是用来展示 我们的电子书的数据的,在这个页面当中我写了一个axios请求,访问我们后端的/ebook/list接口
- 修改main.ts:在main.ts文件中加上了ant-design给我们的项目使用,同时还配置了axios的请求拦截器和响应拦截器.
- 添加.env.dev和.env.prod