ES升级--01--环境准备和安装
提示:文章写完后,目录可以自动生成,如何生成可参考右边的帮助文档
文章目录
- Linux 单机
- 1.官网下载 Elasticsearch
- https://www.elastic.co/cn/downloads/past-releases/#elasticsearch
- 2.解压软件
- 3.创建用户
- 设置用户 es 密码 es
- 赋权ES用户
- 数据日志文件夹所有者
- 4.修改配置文件
- 4.1 修改/opt/soft/elasticsearch-6.8.23/config/elasticsearch.yml 文件
- 版本7.0 以上
- ==版本 6.8.23==
- 4.2 修改 /etc/security/limits.conf
- 4.3 修改/etc/security/limits.d/20-nproc.conf
- 4.4 修改/etc/sysctl.conf
- 4.5 修改 /opt/es/elasticsearch-6.8.3/config 下文件 jvm.options
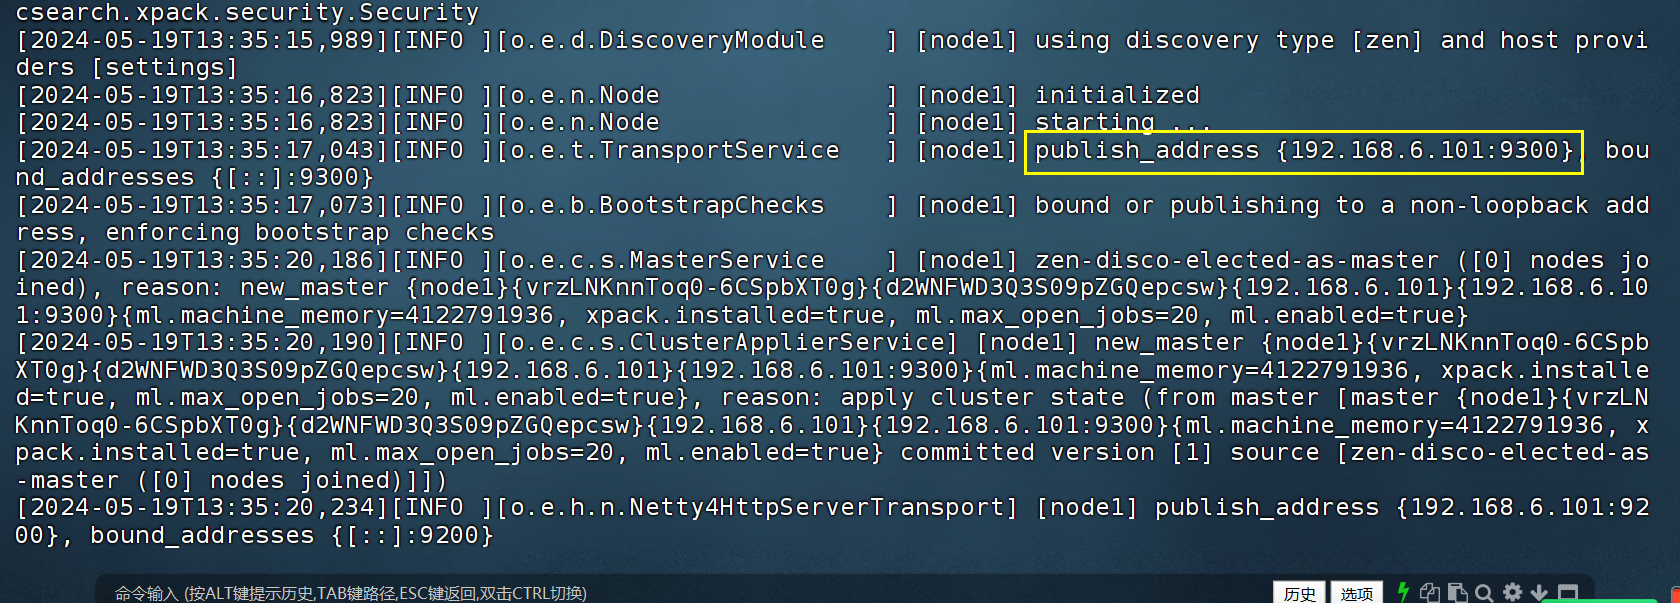
- 5.启动软件
- 关闭防火墙
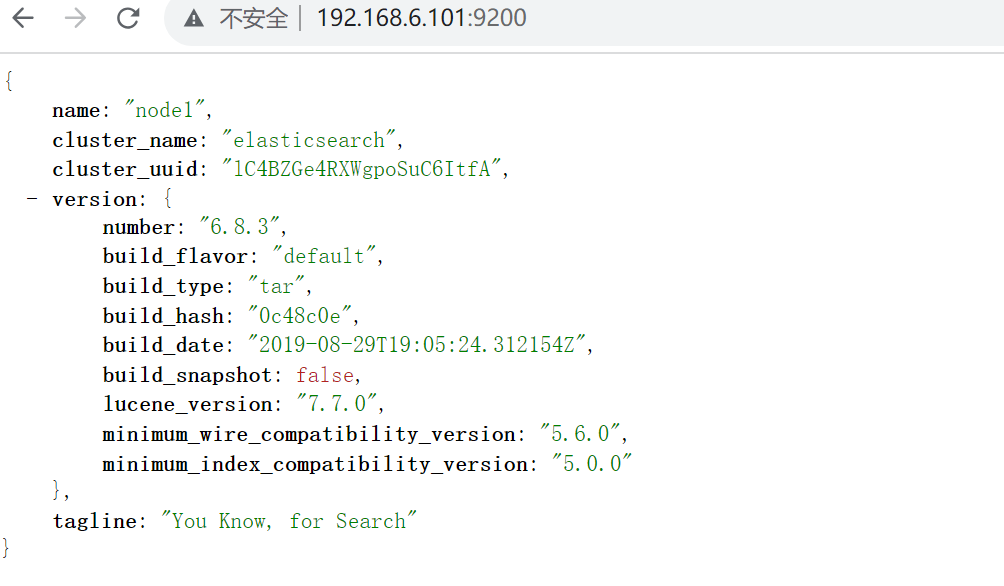
- 6.测试
- http://192.168.6.101:9200/
- http://192.168.6.101:9200/_cat/indices?v
- 开启密码访问
- 1.配置elasticsearch.yml
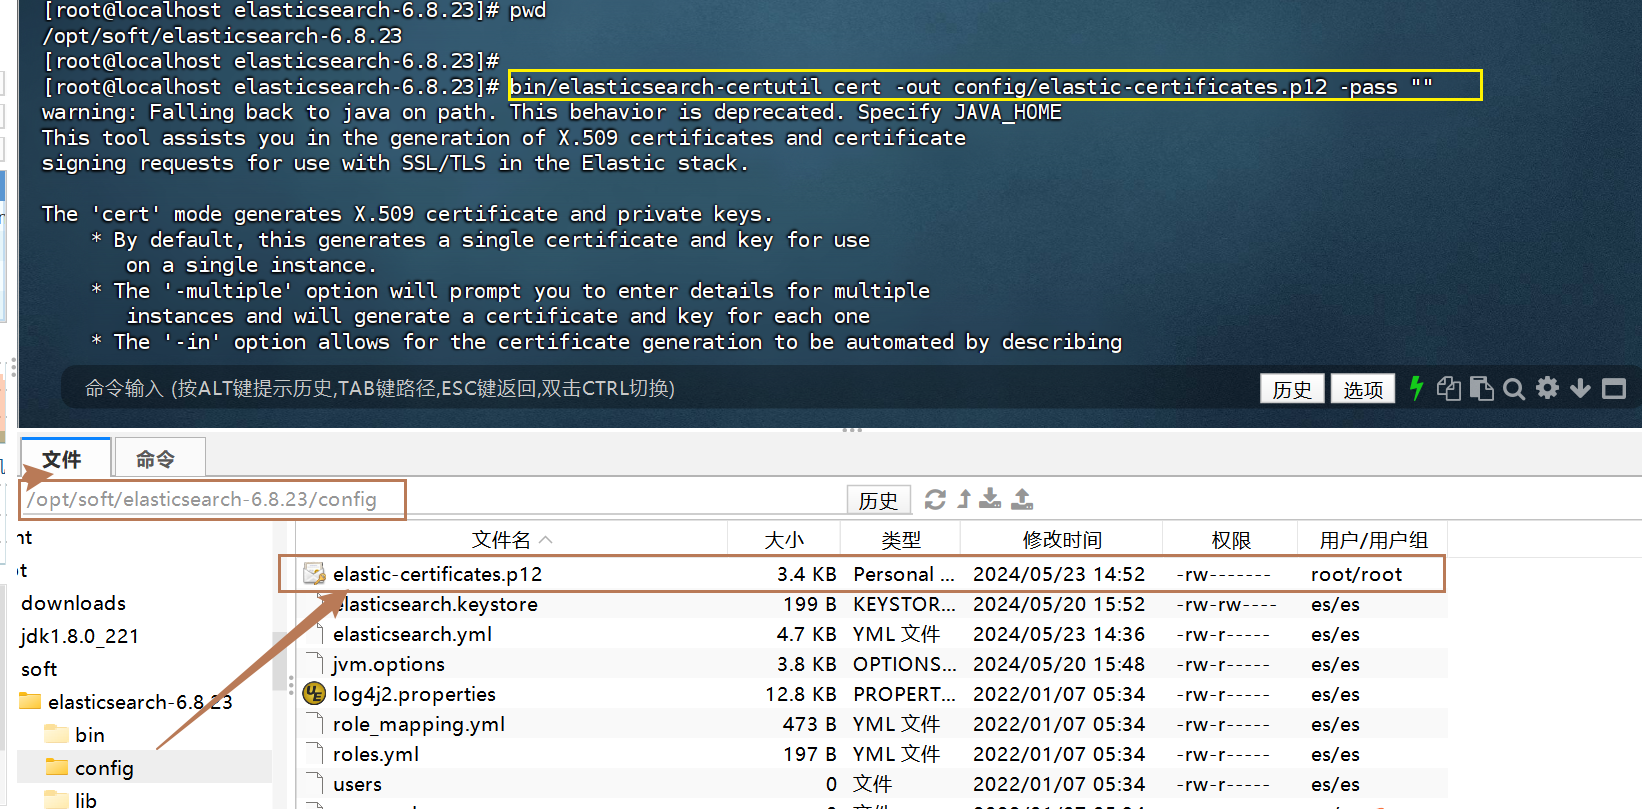
- 2.在 config 下生成 elastic-certificates.p12 文件
- 如果有证书密码
- 证书文件elastic-certificates.p12需拷贝到所有ES节点对应的conf目录下;
- 3.重启ElasticSearch服务,3台服务器都需要执行:
- 4.配置对外访问的用户名/密码(自动或手工)
- 5.测试
- 关闭防火墙
- 账号elastic ,密码刚输入的6位密码
Linux 单机
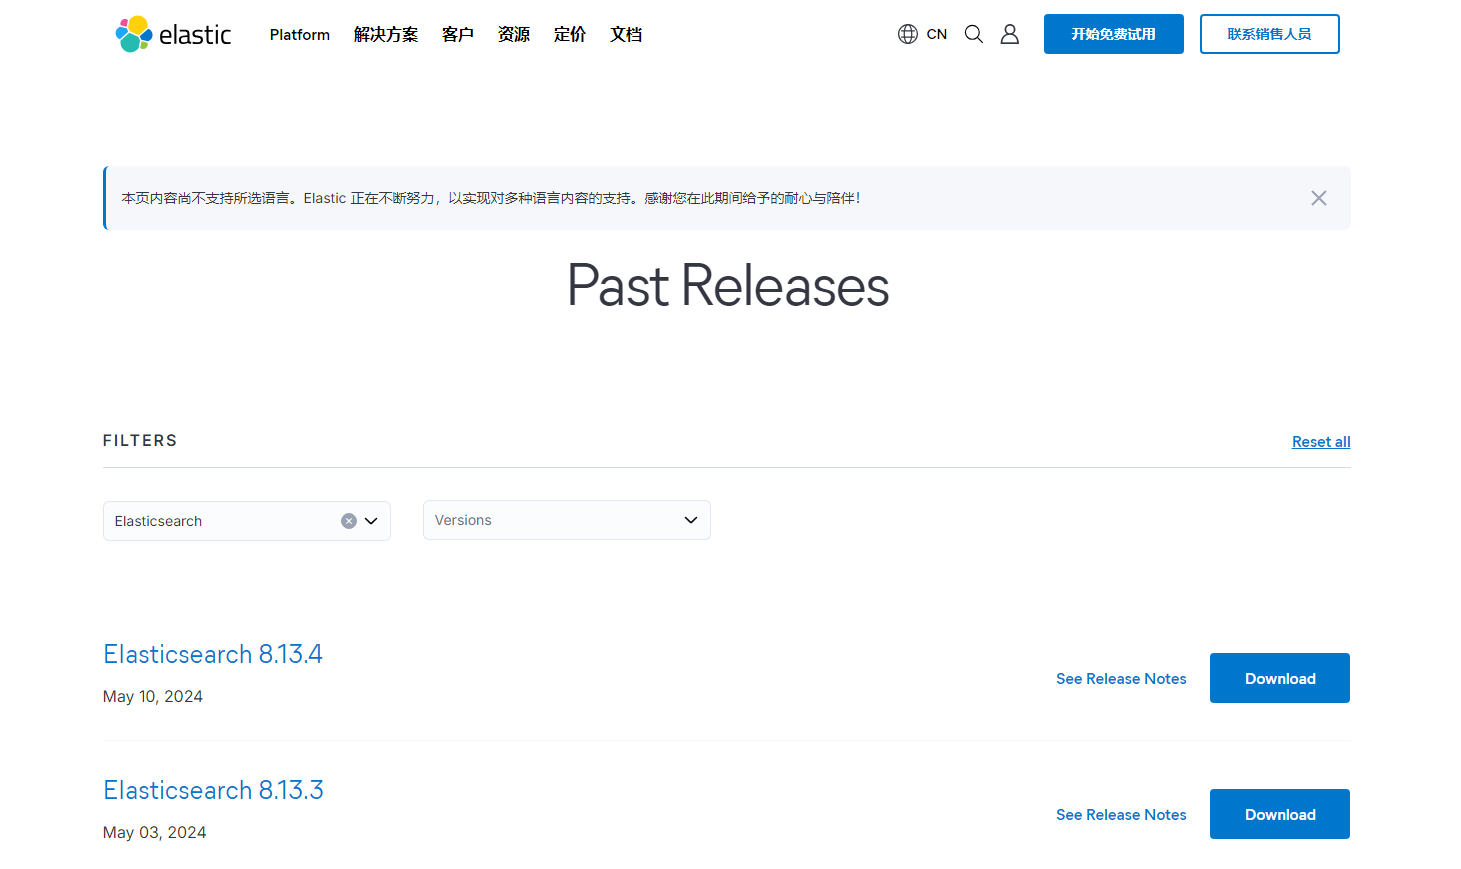
1.官网下载 Elasticsearch
https://www.elastic.co/cn/downloads/past-releases/#elasticsearch
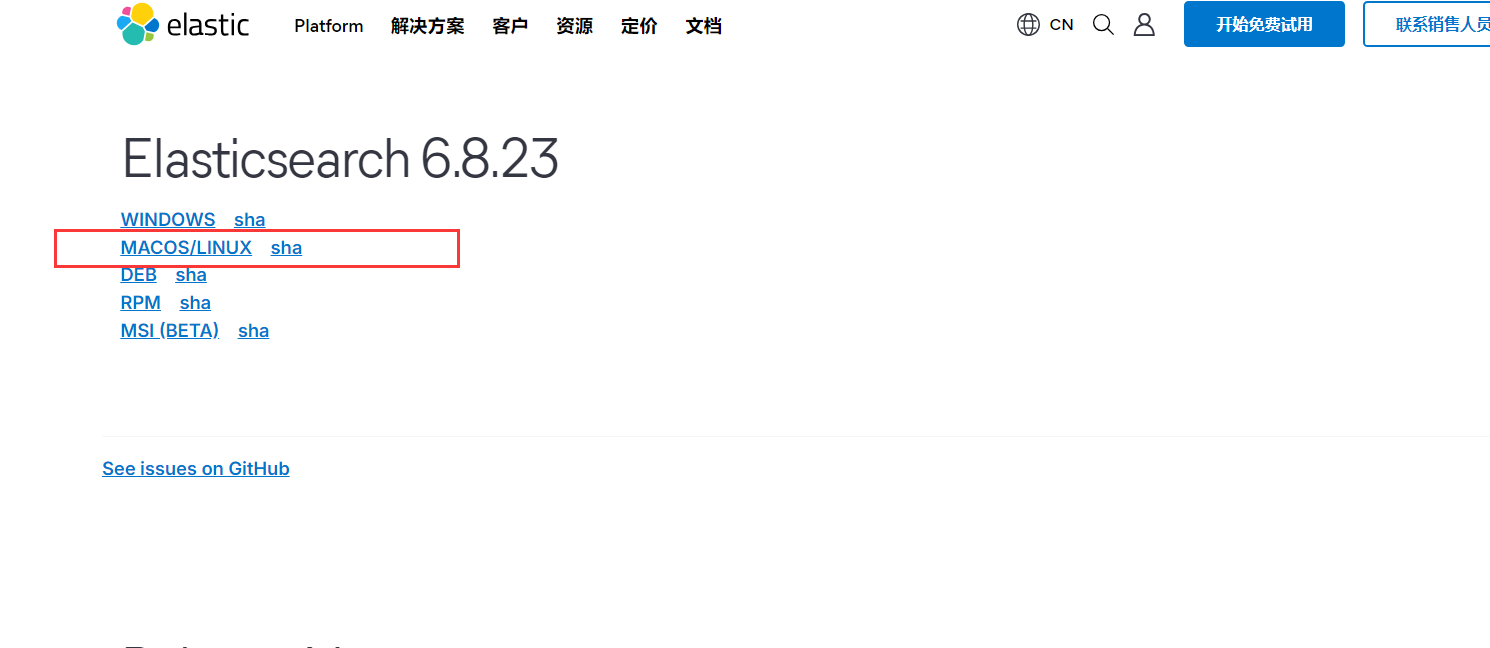
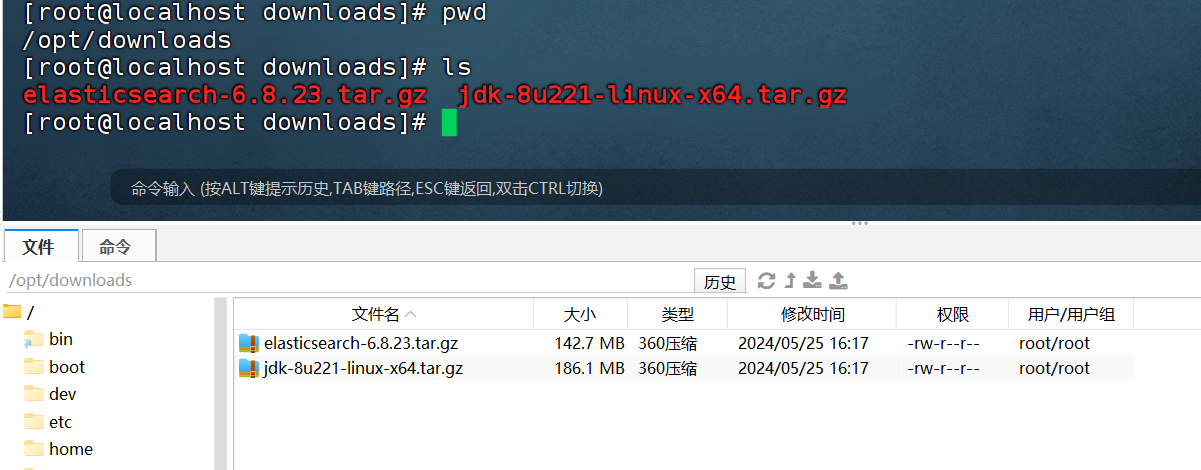
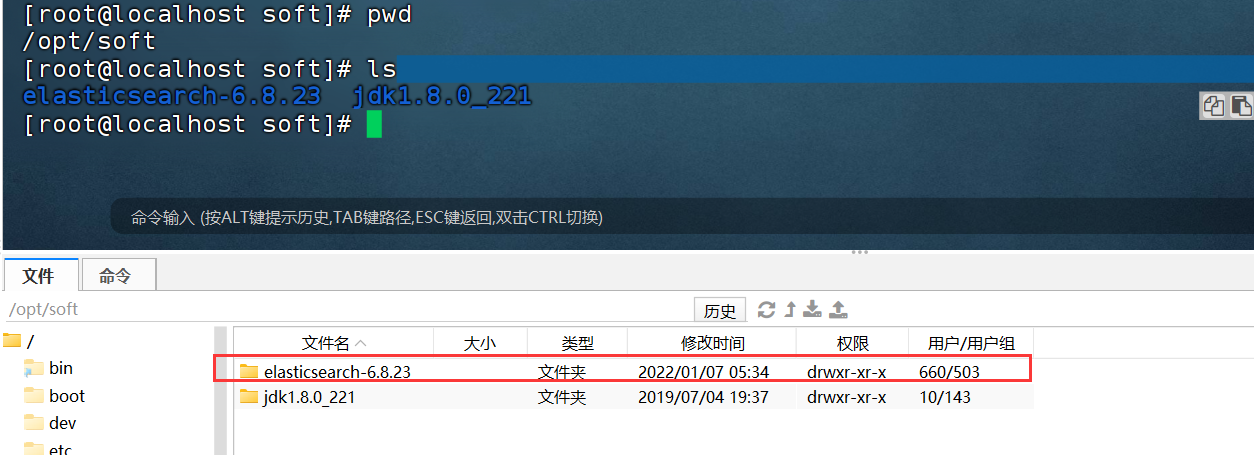
2.解压软件
tar -zxvf elasticsearch-6.8.23.tar.gz -C /opt/soft/
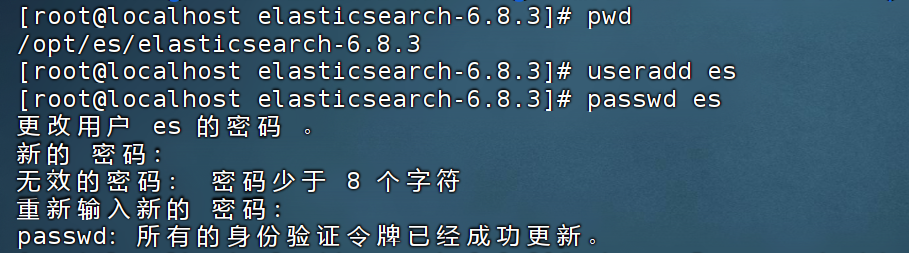
3.创建用户
因为安全问题,Elasticsearch 不允许 root 用户直接运行,所以要创建新用户,在 root 用户中创建新用户
useradd es #新增 es 用户
passwd es #为 es 用户设置密码
userdel -r es #如果错了,可以删除再加
设置用户 es 密码 es
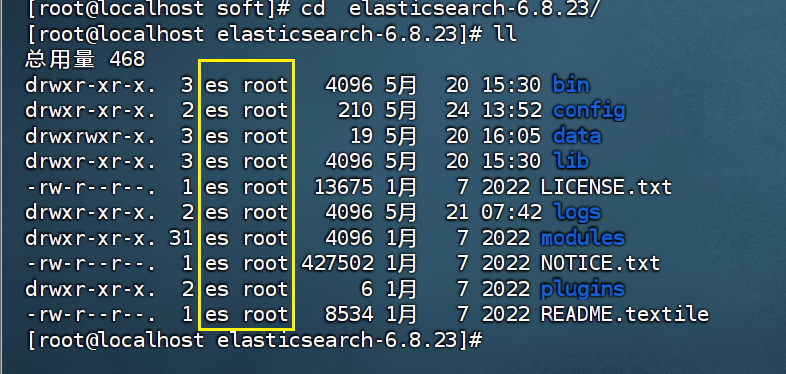
赋权ES用户
chown -R es:root /opt/soft/elasticsearch-6.8.23/ #文件夹所有者
###创建es数据目录 并且赋权
mkdir -p  /home/data/elastic-6.8.23
mkdir /home/data/elastic-6.8.23/data
mkdir /home/data/elastic-6.8.23/logs
mkdir /home/data/elastic-6.8.23/es_bak
数据日志文件夹所有者
chown -R es:root /home/data/elastic-6.8.23

4.修改配置文件
4.1 修改/opt/soft/elasticsearch-6.8.23/config/elasticsearch.yml 文件
版本7.0 以上
# 加入如下配置
cluster.name: elasticsearch
node.name: node-1
network.host: 0.0.0.0
http.port: 9200
cluster.initial_master_nodes: ["node-1"]

版本 6.8.23
# ---------------------------------- 6.8.23 -----------------------------------
#集群名称: my-application
cluster.name: gz-java-test-laas
#当前节点名称 node-1
node.name: master-test-laas
#允许当前节点作为master主节点
node.master: true#配置0.0.0.0允许其他地址访问
network.host: 0.0.0.0
#对外访问端口
http.port: 9200
transport.tcp.port: 9300#集群的所有节点的IP地址
#discovery.zen.ping.unicast.hosts: ["172.16.1.21", "172.16.1.22", "172.16.1.23"] #设置最小主节点个数,一般为:(master_node_count+1)/2
discovery.zen.minimum_master_nodes: 1
#集群节点发现超时时间
#discovery.zen.ping_timeout: 3s # 设置zen发现范围(只需要填写主节点的 ip 即可)
discovery.zen.ping.unicast.hosts: ["192.168.2.89"]
discovery.zen.no_master_block: write
discovery.zen.fd.ping_timeout: 10sreindex.remote.whitelist: "192.168.2.89:9200"# 设置跨域访问
http.cors.enabled: true
http.cors.allow-origin: "*"
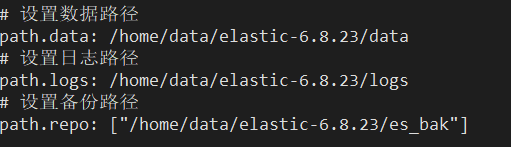
http.max_content_length: 500mb# 设置数据路径
path.data: /home/data/elastic-6.8.23/data
# 设置日志路径
path.logs: /home/data/elastic-6.8.23/logs
# 设置备份路径
path.repo: ["/home/data/elastic-6.8.23/es_bak"]# 设置内存锁定
#bootstrap.memory_lock: true
#bootstrap.system_call_filter: false# 当磁盘的使用率超过95%时,Elasticsearch为了防止节点耗尽磁盘空间,自动将索引设置为只读模式
cluster.routing.allocation.disk.watermark.flood_stage: 90%
cluster.routing.allocation.disk.threshold_enabled: false#以下配置用于设置密码访问ES集群,如不需要可以不用
xpack.security.enabled: true
xpack.license.self_generated.type: basic
xpack.security.transport.ssl.enabled: true
xpack.security.transport.ssl.verification_mode: certificate
xpack.security.transport.ssl.keystore.path: elastic-certificates.p12
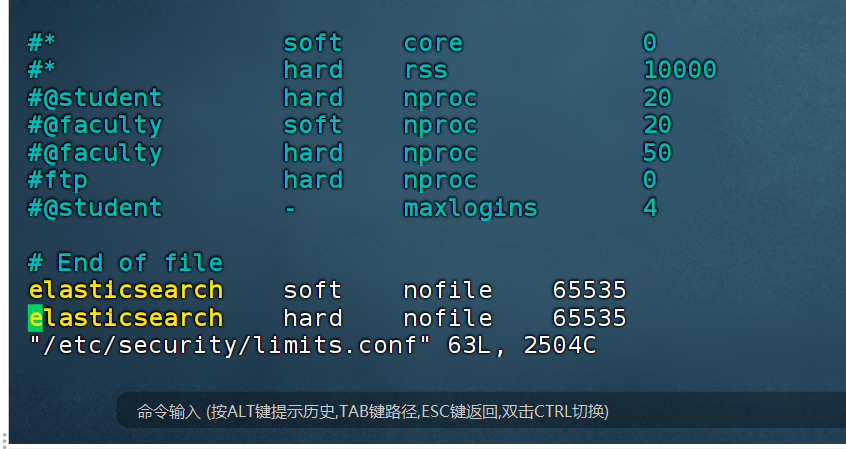
xpack.security.transport.ssl.truststore.path: elastic-certificates.p124.2 修改 /etc/security/limits.conf
# 在文件末尾中增加下面内容
# 每个进程可以打开的文件数的限制
elasticsearch    soft    nofile    65535
elasticsearch    hard    nofile    65535
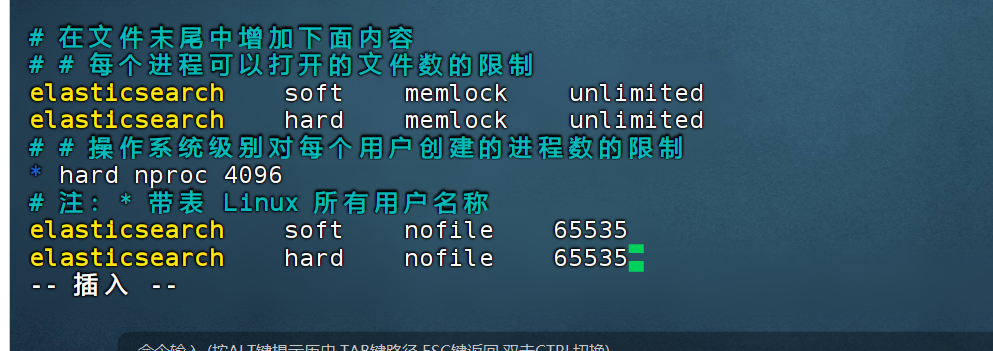
4.3 修改/etc/security/limits.d/20-nproc.conf
# 在文件末尾中增加下面内容
# 每个进程可以打开的文件数的限制
elasticsearch    soft    memlock    unlimited
elasticsearch    hard    memlock    unlimited
# 操作系统级别对每个用户创建的进程数的限制
* hard nproc 4096
# 注:* 带表 Linux 所有用户名称elasticsearch    soft    nofile    65535
elasticsearch    hard    nofile    65535
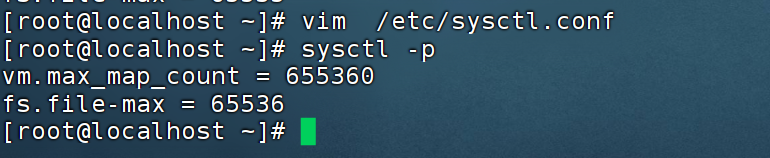
4.4 修改/etc/sysctl.conf
# 在文件中增加下面内容
# 一个进程可以拥有的 VMA(虚拟内存区域)的数量,默认值为 65536
vm.max_map_count=655360
fs.file-max=65535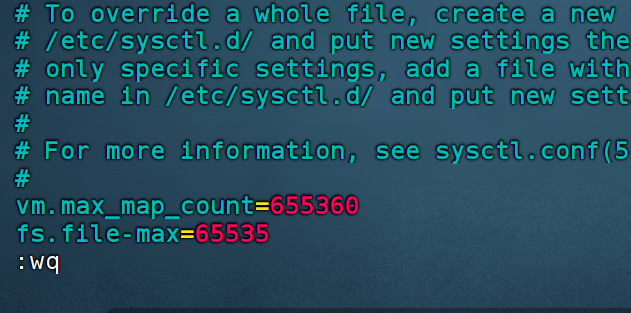
重新加载生效
sysctl -p
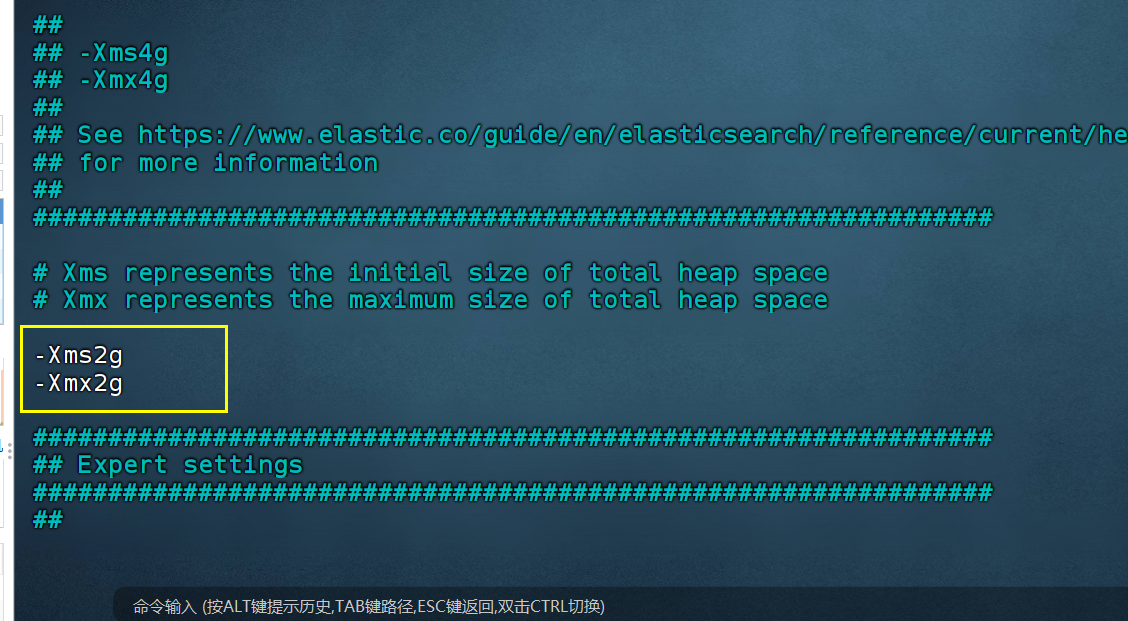
4.5 修改 /opt/es/elasticsearch-6.8.3/config 下文件 jvm.options
- 内存设置大一点
## JVM configuration################################################################
## IMPORTANT: JVM heap size
################################################################
##
## You should always set the min and max JVM heap
## size to the same value. For example, to set
## the heap to 4 GB, set:
##
## -Xms4g
## -Xmx4g
##
## See https://www.elastic.co/guide/en/elasticsearch/reference/current/heap-size.html
## for more information
##
################################################################# Xms represents the initial size of total heap space
# Xmx represents the maximum size of total heap space-Xms10g
-Xmx10g################################################################
## Expert settings
################################################################
##
## All settings below this section are considered
## expert settings. Don't tamper with them unless
## you understand what you are doing
##
################################################################## GC configuration
#-XX:+UseConcMarkSweepGC
#-XX:CMSInitiatingOccupancyFraction=75
#-XX:+UseCMSInitiatingOccupancyOnly
-XX:+UseG1GC## optimizations# pre-touch memory pages used by the JVM during initialization
-XX:+AlwaysPreTouch## basic# explicitly set the stack size
-Xss1m# set to headless, just in case
-Djava.awt.headless=true# ensure UTF-8 encoding by default (e.g. filenames)
-Dfile.encoding=UTF-8# use our provided JNA always versus the system one
-Djna.nosys=true# turn off a JDK optimization that throws away stack traces for common
# exceptions because stack traces are important for debugging
-XX:-OmitStackTraceInFastThrow# flags to configure Netty
-Dio.netty.noUnsafe=true
-Dio.netty.noKeySetOptimization=true
-Dio.netty.recycler.maxCapacityPerThread=0# log4j 2
-Dlog4j.shutdownHookEnabled=false
-Dlog4j2.disable.jmx=true
#-Dlog4j2.formatMsgNoLookups=true-Djava.io.tmpdir=${ES_TMPDIR}## heap dumps# generate a heap dump when an allocation from the Java heap fails
# heap dumps are created in the working directory of the JVM
-XX:+HeapDumpOnOutOfMemoryError# specify an alternative path for heap dumps; ensure the directory exists and
# has sufficient space
-XX:HeapDumpPath=data# specify an alternative path for JVM fatal error logs
-XX:ErrorFile=logs/hs_err_pid%p.log## JDK 8 GC logging8:-XX:+PrintGCDetails
8:-XX:+PrintGCDateStamps
8:-XX:+PrintTenuringDistribution
8:-XX:+PrintGCApplicationStoppedTime
8:-Xloggc:logs/gc.log
8:-XX:+UseGCLogFileRotation
8:-XX:NumberOfGCLogFiles=32
8:-XX:GCLogFileSize=64m# JDK 9+ GC logging
9-:-Xlog:gc*,gc+age=trace,safepoint:file=logs/gc.log:utctime,pid,tags:filecount=32,filesize=64m
# due to internationalization enhancements in JDK 9 Elasticsearch need to set the provider to COMPAT otherwise
# time/date parsing will break in an incompatible way for some date patterns and locals
9-:-Djava.locale.providers=COMPAT# temporary workaround for C2 bug with JDK 10 on hardware with AVX-512
10-:-XX:UseAVX=2
5.启动软件
使用 ES 用户启动
cd /opt/es/
#启动
bin/elasticsearch
#后台启动
bin/elasticsearch -d
启动时,会动态生成文件
bin/elasticsearch
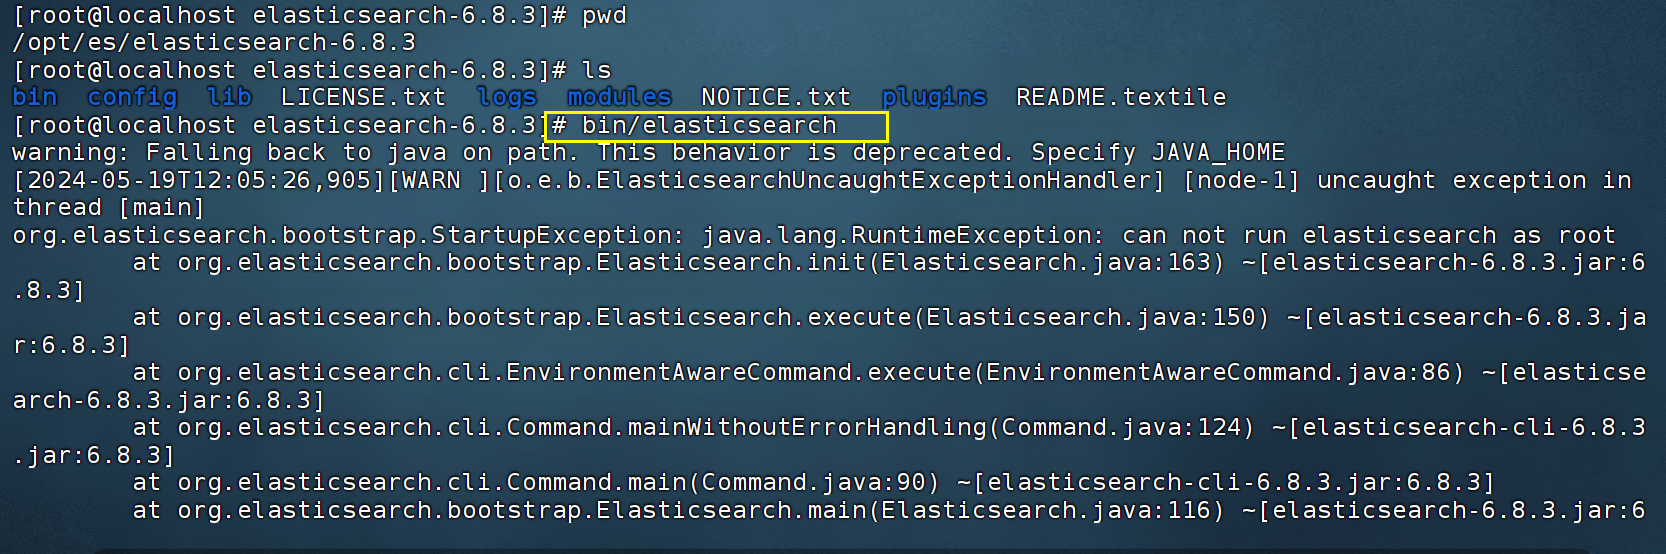
报错 启动时,会动态生成文件,如果文件所属用户不匹配,会发生错误,需要重新进行修改用户和用户组
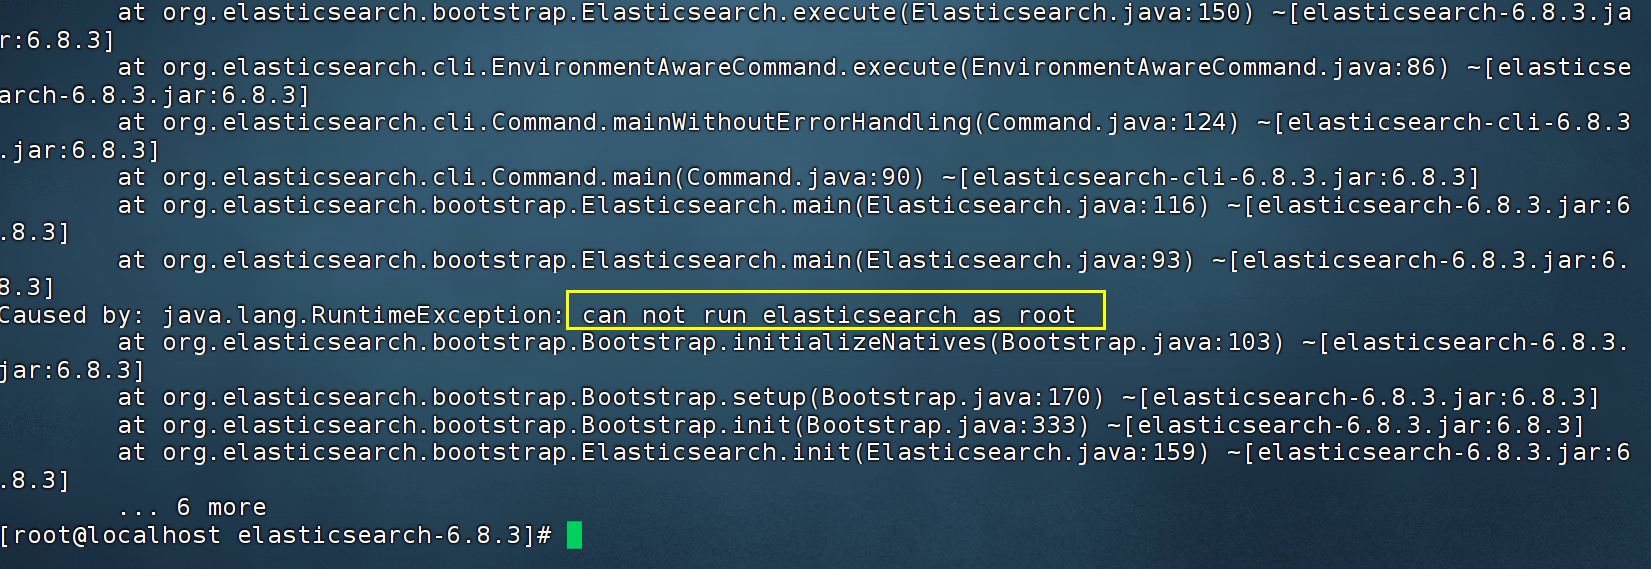 root 用户 再附权一下
chown -R es:es /opt/soft/elasticsearch-6.8.23/
关闭防火墙
#暂时关闭防火墙
systemctl stop firewalld
#永久关闭防火墙
systemctl enable firewalld.service #打开放货抢永久性生效,重启后不会复原
systemctl disable firewalld.service #关闭防火墙,永久性生效,重启后不会复原
切换用户 ess
su es#启动
bin/elasticsearch
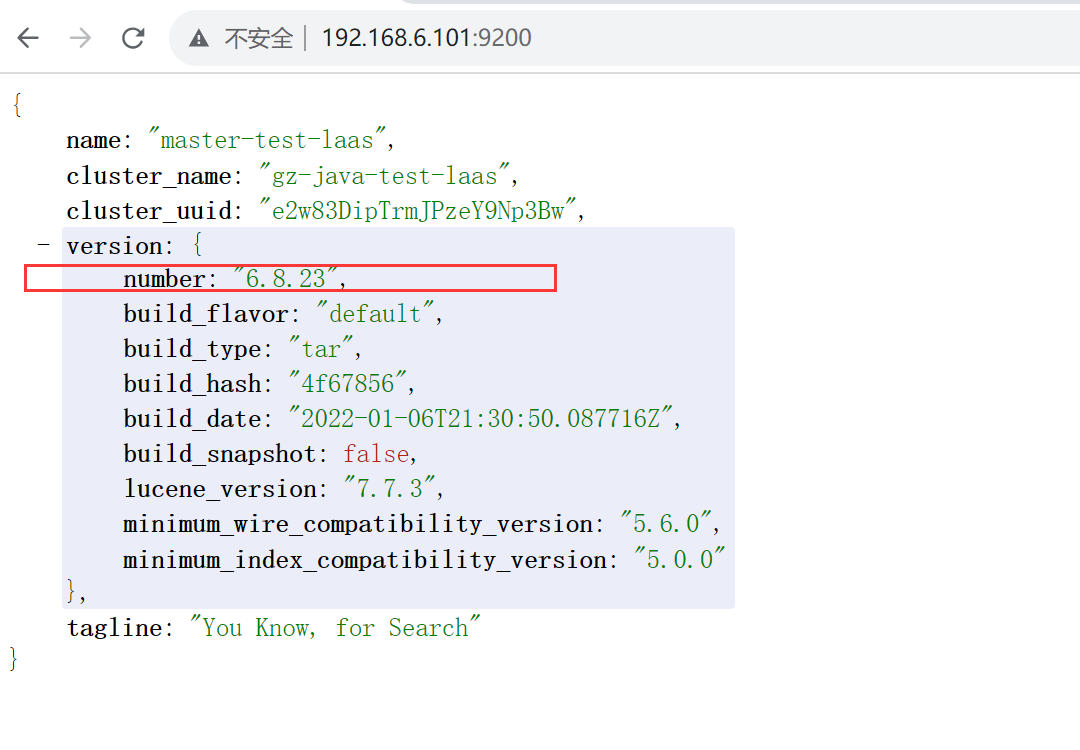
6.测试
如果配置没生效 可以重启
sudo reboot
http://192.168.6.101:9200/
http://192.168.6.101:9200/_cat/indices?v

开启密码访问
1.配置elasticsearch.yml
vim /data/elasticsearch-6.8.23/config/elasticsearch.yml
#以下配置用于设置密码访问ES集群,如不需要可以不用
xpack.security.enabled: true
xpack.license.self_generated.type: basic
xpack.security.transport.ssl.enabled: true
xpack.security.transport.ssl.verification_mode: certificate
xpack.security.transport.ssl.keystore.path: elastic-certificates.p12
xpack.security.transport.ssl.truststore.path: elastic-certificates.p12
2.在 config 下生成 elastic-certificates.p12 文件
cd /opt/soft/elasticsearch-6.8.23bin/elasticsearch-certutil cert -out config/elastic-certificates.p12 -pass ""
如果有证书密码
命令
elasticsearch-certutil cert -out elastic-certificates.p12 -pass "证书密码"
如果有证书密码,配置证书密码
elasticsearch-keystore add xpack.security.transport.ssl.keystore.secure_password
elasticsearch-keystore add xpack.security.transport.ssl.truststore.secure_password
证书文件elastic-certificates.p12需拷贝到所有ES节点对应的conf目录下;
3.重启ElasticSearch服务,3台服务器都需要执行:
jps    #查询ES服务进程号
kill -9 xxx    #杀掉ES进程,关闭服务chown -R es:es  /opt/soft/elasticsearch-6.8.23 cd /data/elasticsearch-6.8.10/bin
./elasticsearch -d    #启动服务
4.配置对外访问的用户名/密码(自动或手工)
#自动设置密码
elasticsearch-setup-passwords auto#手动设置密码
bin/elasticsearch-setup-passwords interactive
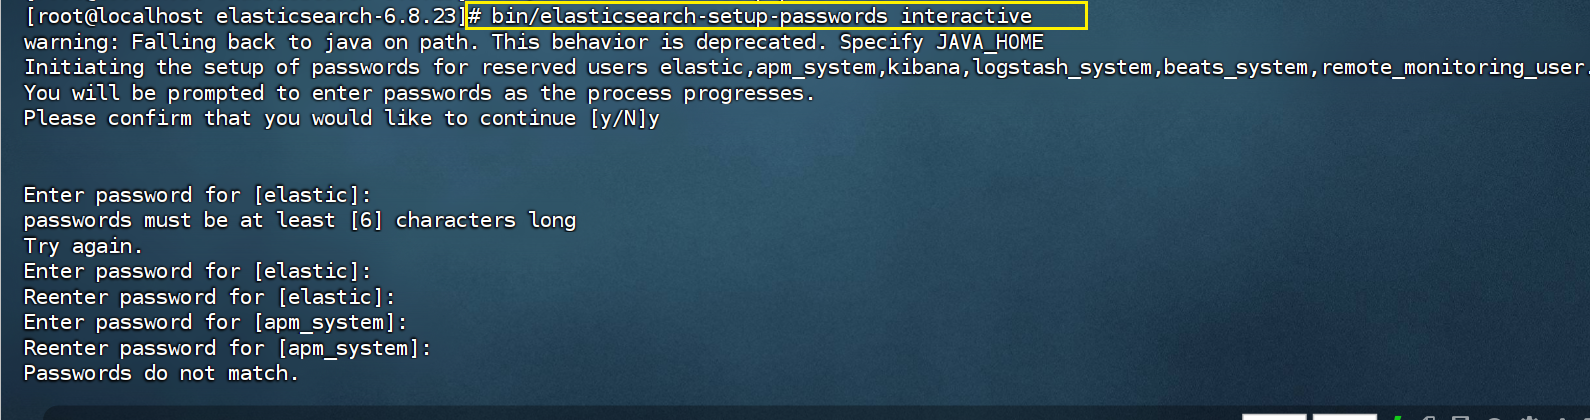
随后按照提示依次输入 以下这6个用户的密码,完成后数据会自动同步至其他2个节点。
- elastic
- apm_system
- kibana、
- logstash_system、
- beats_system、
- remote_monitoring_user
5.测试
关闭防火墙
#暂时关闭防火墙
systemctl stop firewalld
#永久关闭防火墙
systemctl enable firewalld.service #打开放货抢永久性生效,重启后不会复原
systemctl disable firewalld.service #关闭防火墙,永久性生效,重启后不会复原
http://192.168.2.89:9200/
http://192.168.2.89:9200/_cat/indices?v
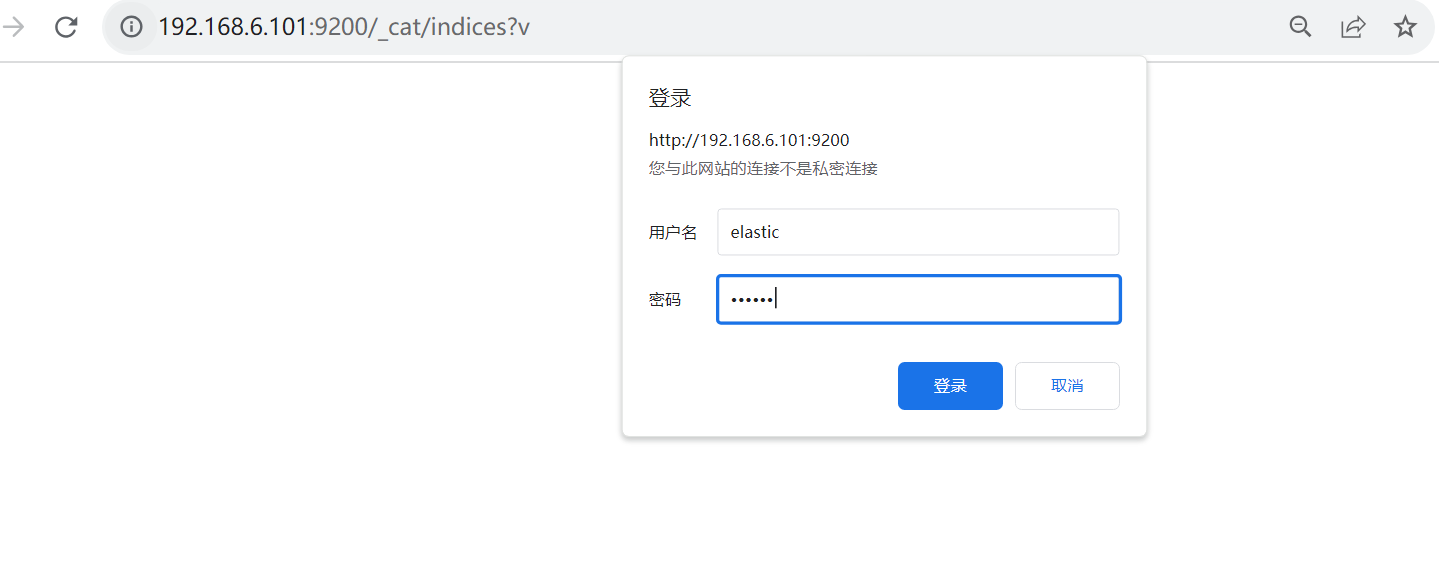
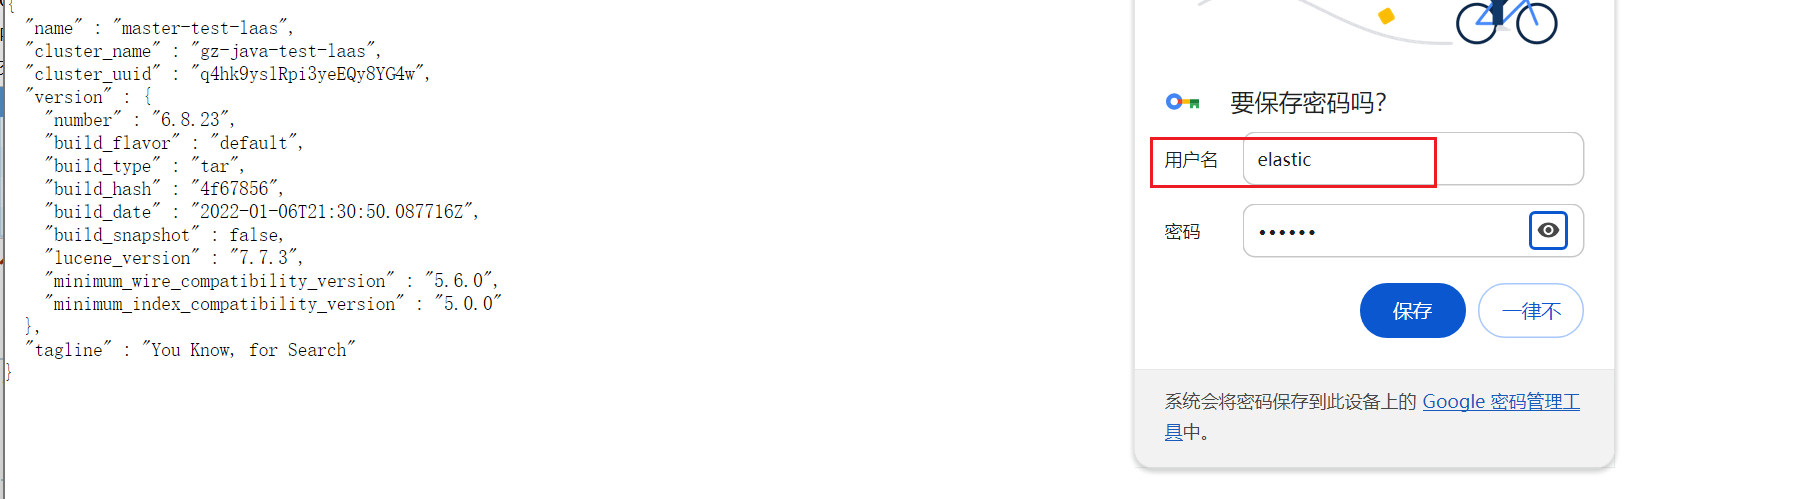
账号elastic ,密码刚输入的6位密码