【深度学习】YOLOv8训练,交通灯目标检测
文章目录
- 一、数据处理
- 二、环境
- 三、训练
- 数据下载
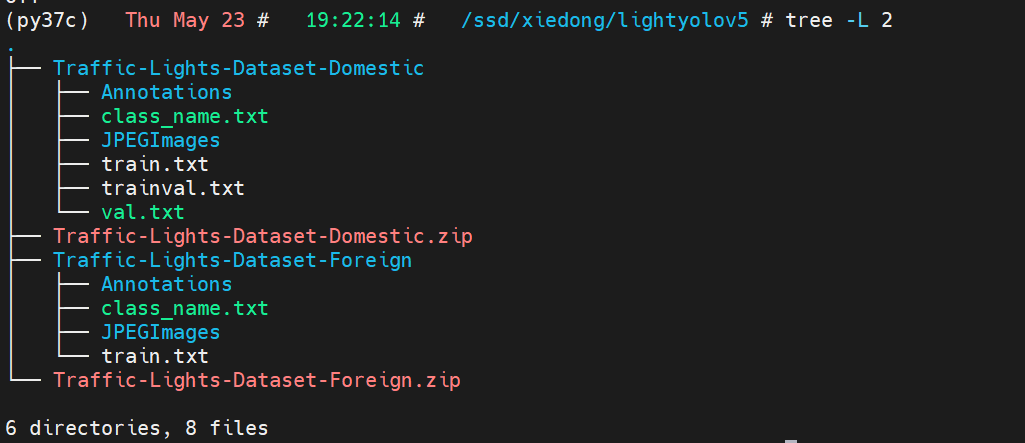
一、数据处理
import traceback
import xml.etree.ElementTree as ET
import os
import shutil
import random
import cv2
import numpy as np
from tqdm import tqdmdef convert_annotation_to_list(xml_filepath, size_width, size_height, classes):in_file = open(xml_filepath, encoding='UTF-8')tree = ET.parse(in_file)root = tree.getroot()# size = root.find('size')# size_width = int(size.find('width').text)# size_height = int(size.find('height').text)yolo_annotations = []# if size_width == 0 or size_height == 0:for obj in root.iter('object'):difficult = obj.find('difficult').textcls = obj.find('name').textif cls not in classes or int(difficult) == 1:continuecls_id = classes.index(cls)xmlbox = obj.find('bndbox')b = [float(xmlbox.find('xmin').text),float(xmlbox.find('xmax').text),float(xmlbox.find('ymin').text),float(xmlbox.find('ymax').text)]# 标注越界修正if b[1] > size_width:b[1] = size_widthif b[3] > size_height:b[3] = size_heighttxt_data = [((b[0] + b[1]) / 2.0) / size_width, ((b[2] + b[3]) / 2.0) / size_height,(b[1] - b[0]) / size_width, (b[3] - b[2]) / size_height]# 标注越界修正if txt_data[0] > 1:txt_data[0] = 1if txt_data[1] > 1:txt_data[1] = 1if txt_data[2] > 1:txt_data[2] = 1if txt_data[3] > 1:txt_data[3] = 1yolo_annotations.append(f"{cls_id} {' '.join([str(round(a, 6)) for a in txt_data])}")in_file.close()return yolo_annotationsdef main():classes = ["red", "green", "yellow", "off"]root = r"/ssd/xiedong/lightyolov5"img_path_1 = os.path.join(root, "Traffic-Lights-Dataset-Domestic/JPEGImages")xml_path_1 = os.path.join(root, "Traffic-Lights-Dataset-Domestic/Annotations")img_path_2 = os.path.join(root, "Traffic-Lights-Dataset-Foreign/JPEGImages")xml_path_2 = os.path.join(root, "Traffic-Lights-Dataset-Foreign/Annotations")dst_yolo_root = os.path.join(root, "Traffic-Lights-Dataset-YOLO")dst_yolo_root_img = os.path.join(dst_yolo_root, "images")os.makedirs(dst_yolo_root_img, exist_ok=True)dst_yolo_root_txt = os.path.join(dst_yolo_root, "labels")os.makedirs(dst_yolo_root_txt, exist_ok=True)index = 0img_path_1_files = os.listdir(img_path_1)xml_path_1_files = os.listdir(xml_path_1)for img_id in tqdm(img_path_1_files):# 右边的.之前的部分xml_id = img_id.split(".")[0] + ".xml"if xml_id in xml_path_1_files:try:new_name = f"{index:06d}.jpg"img = cv2.imdecode(np.fromfile(os.path.join(img_path_1, img_id), dtype=np.uint8), 1)  # img是矩阵cv2.imwrite(os.path.join(dst_yolo_root_img, new_name), img)new_txt_name = f"{index:06d}.txt"yolo_annotations = convert_annotation_to_list(os.path.join(xml_path_1, img_id[:-4] + ".xml"),img.shape[1],img.shape[0],classes)with open(os.path.join(dst_yolo_root_txt, new_txt_name), 'w') as f:f.write('\n'.join(yolo_annotations))index += 1except:traceback.print_exc()img_path_1_files = os.listdir(img_path_2)xml_path_1_files = os.listdir(xml_path_2)for img_id in tqdm(img_path_1_files):# 右边的.之前的部分xml_id = img_id.split(".")[0] + ".xml"if xml_id in xml_path_1_files:try:new_name = f"{index:06d}.jpg"img = cv2.imdecode(np.fromfile(os.path.join(img_path_2, img_id), dtype=np.uint8), 1)  # img是矩阵cv2.imwrite(os.path.join(dst_yolo_root_img, new_name), img)new_txt_name = f"{index:06d}.txt"yolo_annotations = convert_annotation_to_list(os.path.join(xml_path_2, img_id[:-4] + ".xml"),img.shape[1],img.shape[0],classes)with open(os.path.join(dst_yolo_root_txt, new_txt_name), 'w') as f:f.write('\n'.join(yolo_annotations))index += 1except:traceback.print_exc()if __name__ == '__main__':main()
二、环境
conda create -n py310_yolo8 python=3.10 -yconda activate py310_yolo8conda install pytorch==2.1.2 torchvision==0.16.2 torchaudio==2.1.2 pytorch-cuda=11.8 -c pytorch -c nvidiapip install ultralyticsdata.yaml
path: /ssd/xiedong/lightyolov5/Traffic-Lights-Dataset-YOLO/
train: images
val: images
test: # test images (optional)# Classes
names:0: 'red'1: 'green'2: 'yellow'3: 'off'
三、训练
教程:
https://docs.ultralytics.com/modes/train/#comet
新建训练代码文件train.py:
from ultralytics import YOLO# Load a model
model = YOLO("yolov8s.pt")  # load a pretrained model (recommended for training)# Train the model with 2 GPUs
results = model.train(data="data.yaml", epochs=100, imgsz=640, device=[0, 1, 2, 3], batch=128)
开启训练:
python -m torch.distributed.run --nproc_per_node 4 train.py
结果会存在这里:
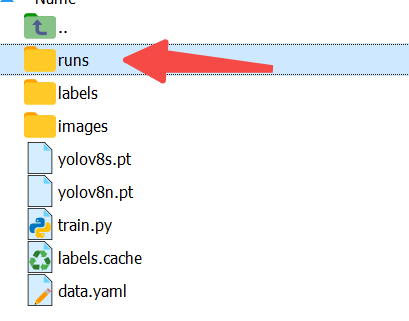
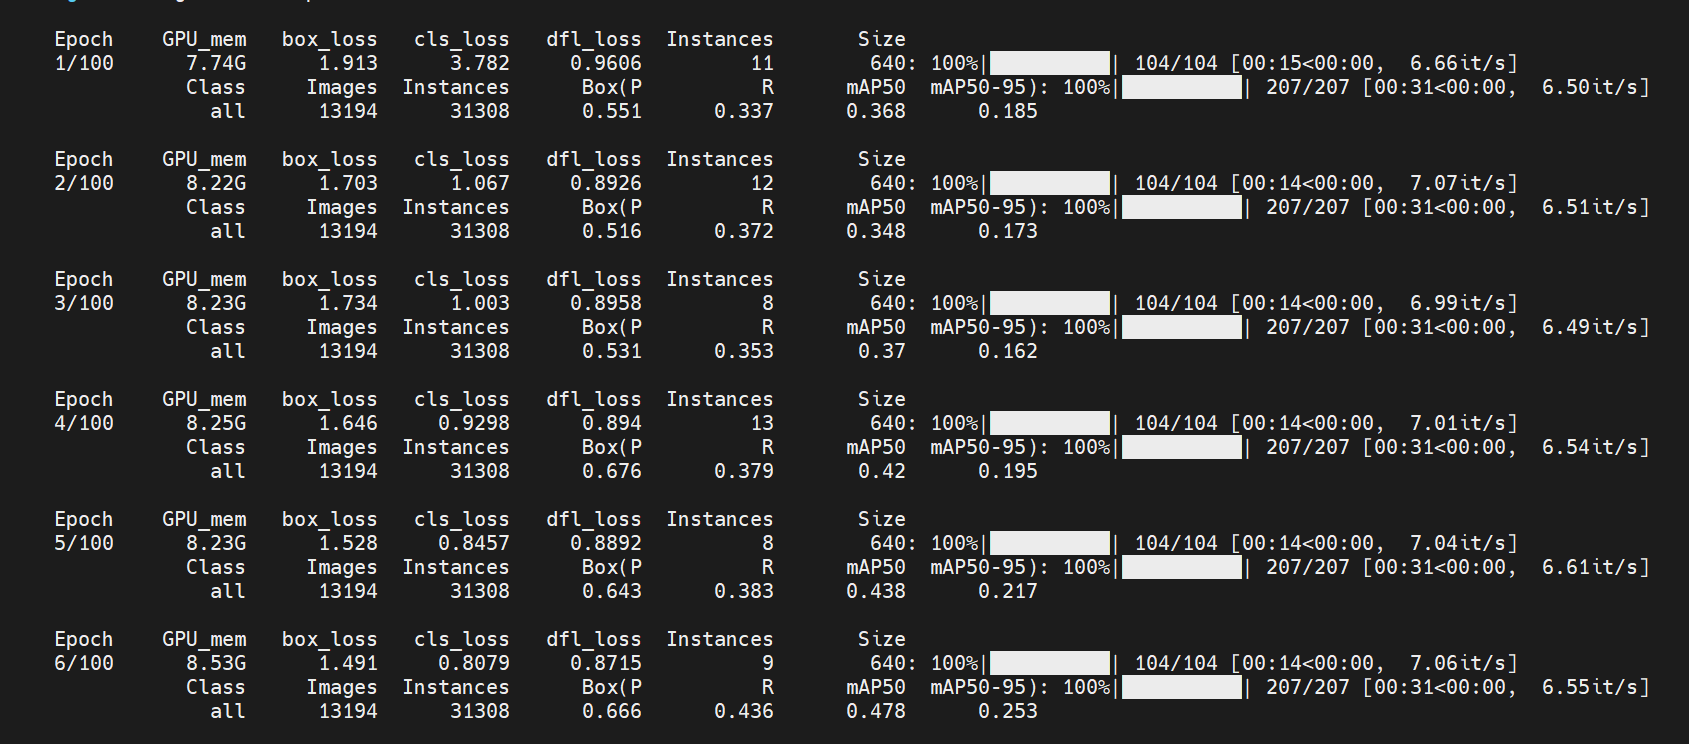
训练截图:
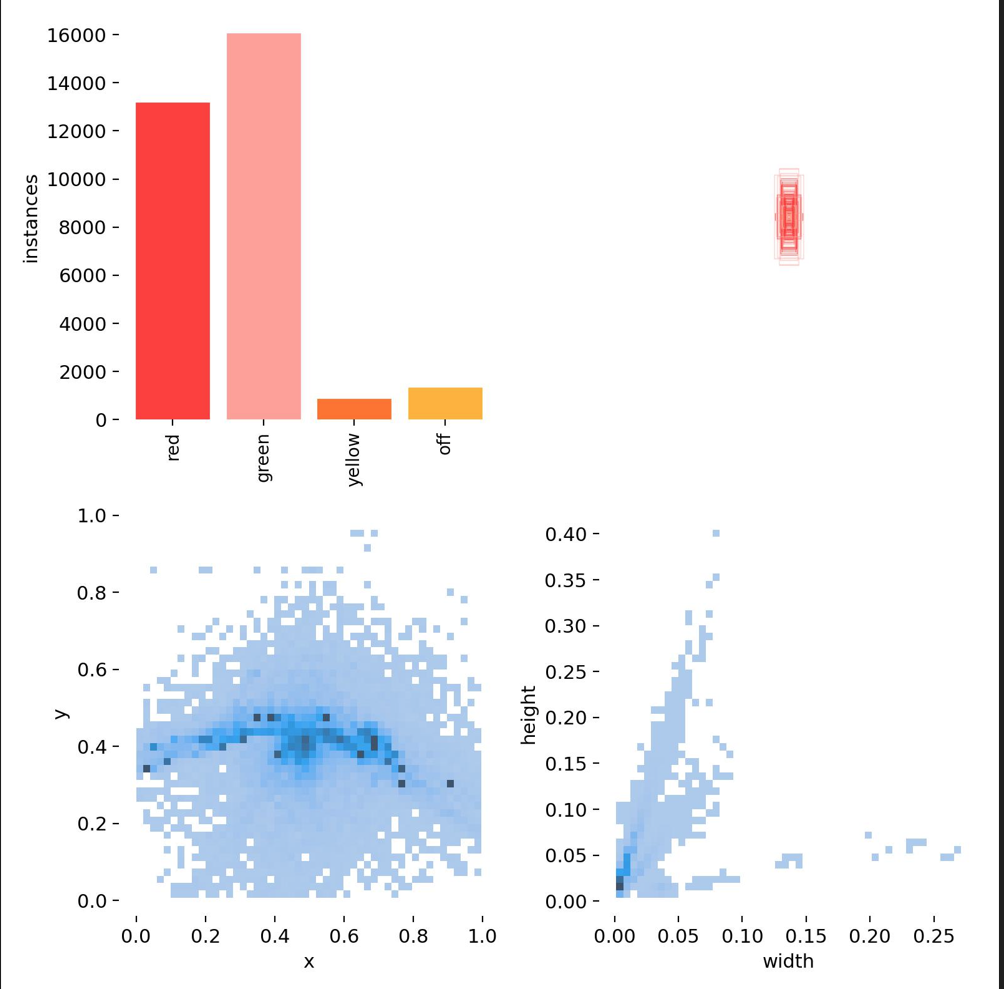
数据分布:
训练完成:
      Epoch    GPU_mem   box_loss   cls_loss   dfl_loss  Instances       Size99/100      8.53G     0.7946     0.3619     0.7988         13        640: 100%|██████████| 104/104 [00:15<00:00,  6.91it/s]Class     Images  Instances      Box(P          R      mAP50  mAP50-95): 100%|██████████| 207/207 [00:31<00:00,  6.62it/s]all      13194      31308        0.9      0.632       0.74       0.54Epoch    GPU_mem   box_loss   cls_loss   dfl_loss  Instances       Size100/100      8.54G      0.744     0.3433     0.7975          2        640: 100%|██████████| 104/104 [00:15<00:00,  6.88it/s]Class     Images  Instances      Box(P          R      mAP50  mAP50-95): 100%|██████████| 207/207 [00:31<00:00,  6.58it/s]all      13194      31308      0.902      0.632      0.739       0.54100 epochs completed in 1.325 hours.
Optimizer stripped from runs/detect/train3/weights/last.pt, 22.5MB
Optimizer stripped from runs/detect/train3/weights/best.pt, 22.5MBValidating runs/detect/train3/weights/best.pt...
Ultralytics YOLOv8.2.19 🚀 Python-3.10.14 torch-2.1.2 CUDA:0 (NVIDIA A100-PCIE-40GB, 40339MiB)CUDA:1 (NVIDIA A100-PCIE-40GB, 40339MiB)CUDA:2 (NVIDIA A100-PCIE-40GB, 40339MiB)CUDA:3 (NVIDIA A100-PCIE-40GB, 40339MiB)
Model summary (fused): 168 layers, 11127132 parameters, 0 gradients, 28.4 GFLOPsClass     Images  Instances      Box(P          R      mAP50  mAP50-95): 100%|██████████| 207/207 [00:37<00:00,  5.51it/s]all      13194      31308      0.902      0.632      0.739       0.54red      13194      13150      0.958      0.768      0.879      0.666green      13194      16030      0.961      0.727      0.866      0.655yellow      13194        830      0.901       0.58      0.677      0.469off      13194       1298      0.787      0.455      0.536      0.369
Speed: 0.0ms preprocess, 0.5ms inference, 0.0ms loss, 0.5ms postprocess per image
Results saved to runs/detect/train3
数据下载
链接:https://pan.baidu.com/s/1z2wpvnt40y-o0228rU7IIQ?pwd=buzx
提取码:buzx
帮助:
https://docs.qq.com/sheet/DUEdqZ2lmbmR6UVdU?tab=BB08J2