基于Vant UI的微信小程序开发(随时更新的写手)
基于Vant UI的微信小程序开发✨
- (一)悬浮浮动
- 1、效果图:只要无脑引用样式就可以了
- 2、页面代码
- 3、js代码
- 4、样式代码
- (二)底部跳转
- 1、效果图:点击我要发布跳转到发布的页面
- 2、js代码
- 3、页面代码
- 4、app.json代码配置底部导航:tabBar
- (三)上传组件:实现图片/文件上传预览、上传数量限制、大小限制、删除、点击之后列表查看
- 1、效果图
- 2、js代码:借助的是微信小程序开发工具的缓存路径的代码,返回的微信小程序图片路径进行预览,下面第三个才是回调自己的上传接口进行预览操作,我会再写一篇关于阿里云对象存储的文章帮助大家实现
- 3、上传的重要代码:替换了借助的是微信小程序开发工具的缓存路径的代码部分
- 4、页面代码
- (四)图片预览
- 1、使用vant组件:van-image
- (1)js代码
- (2)html代码
- 2、使用image
食用本篇文章的前提是你引入了Vant-UI,自己看如何引入,一定要注意是小程序版,up已经贴心的附上了链接:Vant Weapp轻量、可靠的小程序 UI 组件库
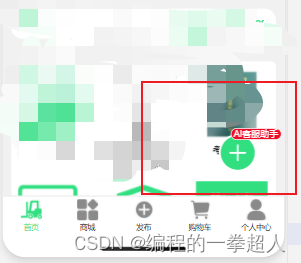
(一)悬浮浮动
1、效果图:只要无脑引用样式就可以了
2、页面代码
<view class="float-icon" bind:tap="toQiuZhiFaBu"><van-icon name="add" color="#31df80" info="求职发布" size="50px" />
</view>
3、js代码
/**跳转到我的发布-求职发布 */toQiuZhiFaBu() {wx.navigateTo({url: '/pages/record/QiuZhiFaBu/index',})},
4、样式代码
.float-icon {position: fixed;bottom: 10%;right: 10%;z-index: 99;border-radius: 50rpx;background-color: white;display: flex;justify-content: center;
}
(二)底部跳转
1、效果图:点击我要发布跳转到发布的页面

2、js代码
toWoyaofabu() {wx.switchTab({url: '/pages/record/index',})},
3、页面代码
<view style="width: 23%;height: 200rpx;text-align: center;" bind:tap="toWoyaofabu"><view style="width: 100rpx;height: 100rpx;margin: 10rpx auto;background-image: url('https://zhihuifile.oss-cn-qingdao.aliyuncs.com/chacheyoufu/assets/carousel/%E6%88%91%E8%A6%81%E5%8F%91%E5%B8%83%E7%BB%BF%E7%89%88.png');background-size: 100% 100%;border-radius: 20rpx; "></view><text style="font-size: 13px;">我要发布</text>
</view>
4、app.json代码配置底部导航:tabBar
"tabBar": {"color": "#000","selectedColor": "#31df80","borderStyle": "black","backgroundColor": "#ffffff","list": [{"pagePath": "pages/index/index","text": "首页","iconPath": "/assets/tabBar/index1.png","selectedIconPath": "/assets/tabBar/index1-select.png","iconSize": 10},{"pagePath": "pages/exam/index/index","text": "商城","iconPath": "/assets/tabBar/shopping.png","selectedIconPath": "/assets/tabBar/shopping-select.png"},{"pagePath": "pages/record/index","text": "发布","iconPath": "/assets/tabBar/publish.png","selectedIconPath": "/assets/tabBar/publish-select.png"},{"pagePath": "pages/shoppingCart/index","text": "购物车","iconPath": "/assets/tabBar/shoppingcart.png","selectedIconPath": "/assets/tabBar/shoppingcart-select.png"},{"pagePath": "pages/my/index/index","text": "个人中心","iconPath": "/assets/tabBar/my1.png","selectedIconPath": "/assets/tabBar/my1-select.png"}]},
(三)上传组件:实现图片/文件上传预览、上传数量限制、大小限制、删除、点击之后列表查看
1、效果图
| 上传数量限制 | 点击预览 | 删除 | 大小限制 |
|---|---|---|---|
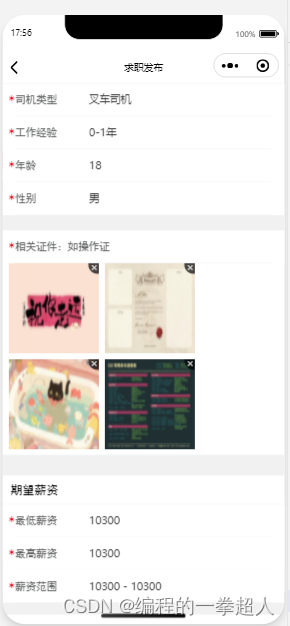 | 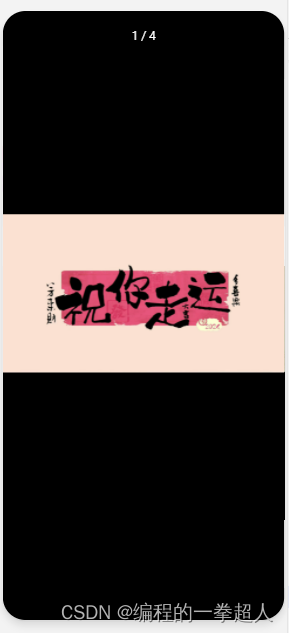 |  | 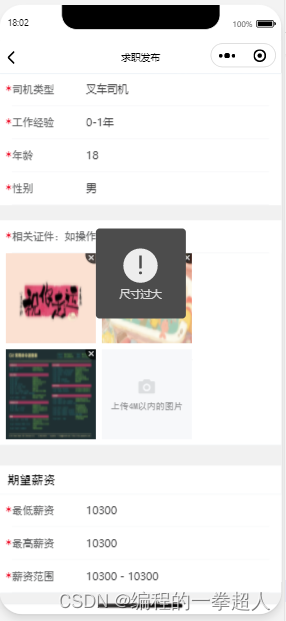 |
2、js代码:借助的是微信小程序开发工具的缓存路径的代码,返回的微信小程序图片路径进行预览,下面第三个才是回调自己的上传接口进行预览操作,我会再写一篇关于阿里云对象存储的文章帮助大家实现
/**上传文件 */afterRead(event) {let that = this;const {file} = event.detail;console.log("file=========", file);// 此处借助的是微信小程序开发工具的缓存路径wx.getFileSystemManager().saveFile({tempFilePath: file.url, // 临时文件路径success(res) {// 保存文件成功后,将文件的本地路径添加到 imageCoverPath 数组中const savedFilePath = res.savedFilePath;const newImage = {url: savedFilePath,isImage: true,}const imageCoverPath = that.data.imageCoverPath;imageCoverPath.push(newImage);that.setData({imageCoverPath: imageCoverPath});console.log("");},fail(err) {// 保存文件失败的处理console.log('保存文件失败', err);}});},/**删除文件 */deleteFile(event) {const {index} = event.detail; // 获取要删除的文件索引const imageCoverPath = this.data.imageCoverPath;imageCoverPath.splice(index, 1); // 从数组中移除指定索引的文件this.setData({imageCoverPath: imageCoverPath // 更新数据});},/**预览图片 */previewImage(event) {// 获取点击的图片索引const {index} = event.detail;// 获取当前图片的预览路径const current = this.data.imageCoverPath[index];// 预览图片console.log("预览图片========", current, event.detail.index, this.data.imageCoverPath);wx.previewImage({current: current, // 当前显示图片的链接urls: this.data.imageCoverPath // 所有图片的链接数组});},/**方法通用 *//**上传前校验 */beforeRead(event) {const {file,callback} = event.detail;callback(file.type === 'image');if (file.type != 'image') {wx.showToast({title: '请上传图片',})}},/**文件尺寸过大 */overSizeI() {wx.showToast({title: '尺寸过大',icon: "error"})},
3、上传的重要代码:替换了借助的是微信小程序开发工具的缓存路径的代码部分
afterRead(event) {let that = this;const {file} = event.detail;const token = wx.getStorageSync('token');console.log("file=========", file,"token",token);// 设置请求头部信息const header = {'token': token,};// 上传图片wx.uploadFile({url: app.globalData.baseAPI+'/api/wx/student/file/upload', // 服务器地址filePath: file.tempFilePath, // 图片的路径name: 'file', // 文件对应的 key,开发者在服务器端通过这个 key 可以获取到文件formData: { // HTTP 请求中其他额外的 form data'user': 'test'},header: header,success: function (res) {// 服务器成功响应处理if (res.statusCode == 200) {var data = res.data; // 服务器返回的数据console.log(data);// 在这里处理服务器返回的数据,例如,解析JSONvar jsonData = JSON.parse(data);if (jsonData.code === 1) {// 保存文件成功后,将文件的本地路径添加到 imageCoverPath 数组中const savedFilePath = jsonData.response;const newImage = {url: savedFilePath,isImage: true,}const imageCoverPath = that.data.certificate;imageCoverPath.push(newImage);that.setData({certificate: imageCoverPath});} else {wx.showToast({title: '发布失败',icon: 'error',})}}},fail: function (error) {// 请求失败处理wx.showToast({title: '上传失败',icon: 'none',})console.error('uploadFile fail', error);}});},
4、页面代码
<view style="margin-top: 20px;background-color: white;"><van-field label="车辆图片(正、后、左、右方)/描述" required title-width="500rpx" readonly></van-field><view style="margin-left: 2%;margin-right: 2%;"><van-uploader file-list="{{ imageCoverPath }}" accept="image" max-count="4"use-before-read="true" deletable="{{ true }}" preview-size="120px" upload-text="上传4M以内的图片" bind:delete="deleteFile" bind:before-read="beforeRead" preview-image="true" bind:after-read="afterRead" bind:click-preview="previewImage" bind:oversize="overSizeI" capture="camera" max-size="4194304" /></view></view>
(四)图片预览
1、使用vant组件:van-image
(1)js代码
/**点击图片显示预览 */previewImage(e) {console.log(e,e.currentTarget);const currentSrc = e.currentTarget.dataset.src;const urls = this.data.releaseSheBeiRentalInfo.imageCoverPath; // releaseDetailsInfo.certificate是一个包含所有图片URL的数组wx.previewImage({current: currentSrc, // 当前显示图片的链接urls: urls // 需要预览的图片链接列表});},
(2)html代码
<view style="background-color: white;"><view style="font-weight: bold;margin: 0 0 20rpx 30rpx;padding-top: 30rpx;">前后左右照片:</view><view wx:for="{{releaseSheBeiRentalInfo.imageCoverPath}}" wx:key="index" style="display: flex;flex-direction: column;line-height: 1.5;align-items: center;justify-content: center;padding: 20rpx;"><van-image wx:if="{{item}}" width="620rpx" height="400rpx" fit="fill" src="{{item}}" data-src="{{item}}" lazy-load bind:click="previewImage" /></view><!-- <view wx:if="{{releaseSheBeiRentalInfo.imageCoverPath===0}}" wx:key="index" style="display: flex;flex-direction: column;line-height: 1.5;align-items: center;justify-content: center;padding: 20rpx;"><view width="620rpx" height="400rpx"><text style="color:#ccc;">未上传照片</text></view></view> --></view>
2、使用image
<image style="width: 100%; height: 200rpx;" bind:tap="previewImage" data-src="{{item}}" fit="fill" src="{{item}}" />