uniapp实现自定义相机
自定义相机
- 起因
- 由于最近用uniapp调用原生相机容易出现闪退问题,找了很多教程又是压缩图片又是优化代码,我表示并没有太大作用!!
- 实现自定义相机
- 使用
- 效果图
- 拓展
- 实现多种自定义相机
- 水印相机
- 身份证相机
- 人像相机
起因
由于最近用uniapp调用原生相机容易出现闪退问题,找了很多教程又是压缩图片又是优化代码,我表示并没有太大作用!!
于是开启了我的解决之路
- 利用
livePusher实现
实现自定义相机
拓展性挺强的,可以实现自定义水印、身份证拍摄、人像拍摄等
这里我简单实现一个相机功能主要用于解决闪退
Tip:这里需要创建nvue文件哦~
创建camera.nvue
<template><view class="pengke-camera" :style="{ width: windowWidth, height: windowHeight }"><live-pusherid="livePusher"ref="livePusher"class="livePusher"mode="FHD"beauty="0"whiteness="0":aspect="aspect"min-bitrate="1000"audio-quality="16KHz"device-position="back":auto-focus="true":muted="true":enable-camera="true":enable-mic="false":zoom="false"@statechange="statechange":style="{ width: windowWidth, height: windowHeight }"></live-pusher><view class="menu"><!--底部菜单区域背景--><cover-image class="menu-mask" src="/static/live-camera/bar.png"></cover-image><!--返回键--><cover-image class="menu-back" @tap="back" src="/static/live-camera/back.png"></cover-image><!--快门键--><cover-image class="menu-snapshot" @tap="snapshot" src="/static/live-camera/shutter.png"></cover-image><!--反转键--><cover-image class="menu-flip" @tap="flip" src="/static/live-camera/flip.png"></cover-image></view></view>
</template><script>
let _this = null;
export default {data() {return {poenCarmeInterval:null,//打开相机的轮询aspect: '2:3', //比例windowWidth: '', //屏幕可用宽度windowHeight: '', //屏幕可用高度camerastate: false, //相机准备好了livePusher: null, //流视频对象snapshotsrc: null, //快照};},onLoad(e) {_this = this;this.initCamera();},onReady() {this.livePusher = uni.createLivePusherContext('livePusher', this);this.startPreview(); //开启预览并设置摄像头this.poenCarme();},methods: {//轮询打开poenCarme(){//#ifdef APP-PLUSif (plus.os.name == 'Android') {this.poenCarmeInterval = setInterval(function() {console.log(_this.camerastate);if (!_this.camerastate) _this.startPreview();}, 2500);}//#endif},//初始化相机initCamera() {uni.getSystemInfo({success: function(res) {_this.windowWidth = res.windowWidth;_this.windowHeight = res.windowHeight;let zcs = _this.aliquot(_this.windowWidth,_this.windowHeight);_this.aspect = (_this.windowWidth/zcs)+':'+(_this.windowHeight/zcs);// console.log('画面比例:'+_this.aspect);}});},//整除数计算aliquot(x, y) {if (x % y == 0) return y;return this.aliquot(y, x % y);},//开始预览startPreview() {this.livePusher.startPreview({success: a => {console.log(a)}});},//停止预览stopPreview() {this.livePusher.stopPreview({success: a => {_this.camerastate = false;}});},//状态statechange(e) {//状态改变console.log(e);if (e.detail.code == 1007) {_this.camerastate = true;} else if (e.detail.code == -1301) {_this.camerastate = false;}},//返回back() {uni.navigateBack();},//抓拍snapshot() {//震动uni.vibrateShort({success: function () {console.log('success');}});//拍照this.livePusher.snapshot({success: e => {_this.snapshotsrc = e.message.tempImagePath;_this.stopPreview();_this.setImage();uni.navigateBack();}});},//反转flip() {this.livePusher.switchCamera();},//设置setImage() {let pages = getCurrentPages();let prevPage = pages[pages.length - 2];prevPage.$vm.setImage({ path: _this.snapshotsrc});}}
};
</script><style lang="less">
.pengke-camera {justify-content: center;align-items: center;.menu {position: absolute;left: 0;bottom: 0;width: 750rpx;height: 180rpx;z-index: 98;align-items: center;justify-content: center;.menu-mask {position: absolute;left: 0;bottom: 0;width: 750rpx;height: 180rpx;z-index: 98;}.menu-back {position: absolute;left: 30rpx;bottom: 50rpx;width: 80rpx;height: 80rpx;z-index: 99;align-items: center;justify-content: center;}.menu-snapshot {width: 130rpx;height: 130rpx;z-index: 99;}.menu-flip {position: absolute;right: 30rpx;bottom: 50rpx;width: 80rpx;height: 80rpx;z-index: 99;align-items: center;justify-content: center;}}
}
</style>
这里用了一些图片作为图标布局画面美观,例如返回图标,拍摄图标
使用
在点击拍照的时候跳转到
camera页面即可
在需要使用的页面中编写setImage方法,即可拿到返回过来的图片临时路径
再通过uniapp自带的上传图片api进行上传至服务器即可
这样就避免了调用原生相机
setImage(e){
//e.path即是图片临时路径
uni.uploadFile({url: '上传接口的路径',filePath: e.path,name: 'imageFile',success: function(res) {//服务器返回的图片地址url},error: function(err) {console.log(err)}
}
效果图
拓展
如果既要实现从相册选又要手机拍呢?该如何实现
这里相册选调用的uniapp的api,
手机拍跳转到自定义相机页面即可
这里可以写一个弹窗,让它选择,如果选择了从相册选图片则
uni.chooseImage({count: size, //默认9sizeType: ['original', 'compressed'], //可以指定是原图还是压缩图,默认二者都有sourceType: ['album'], //从相册选择success: function (res) {console.log(res)//拿到临时路径再向后端发送上传请求....}
});
如果用相机拍则跟上方步骤一致
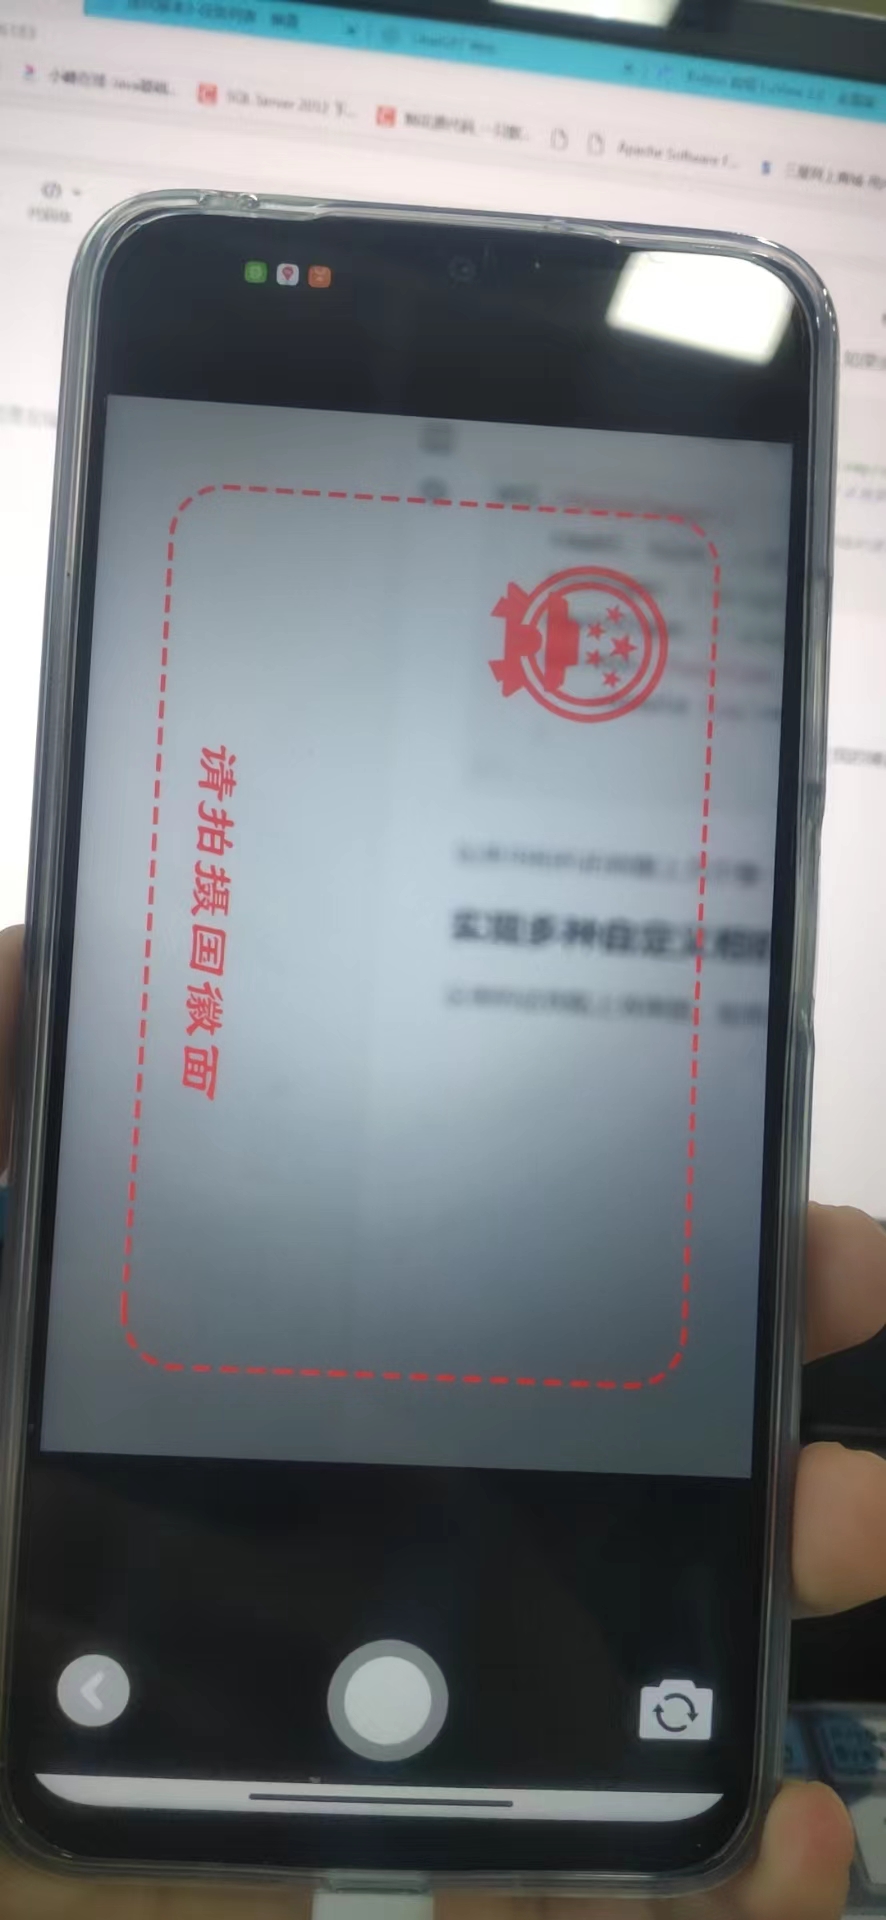
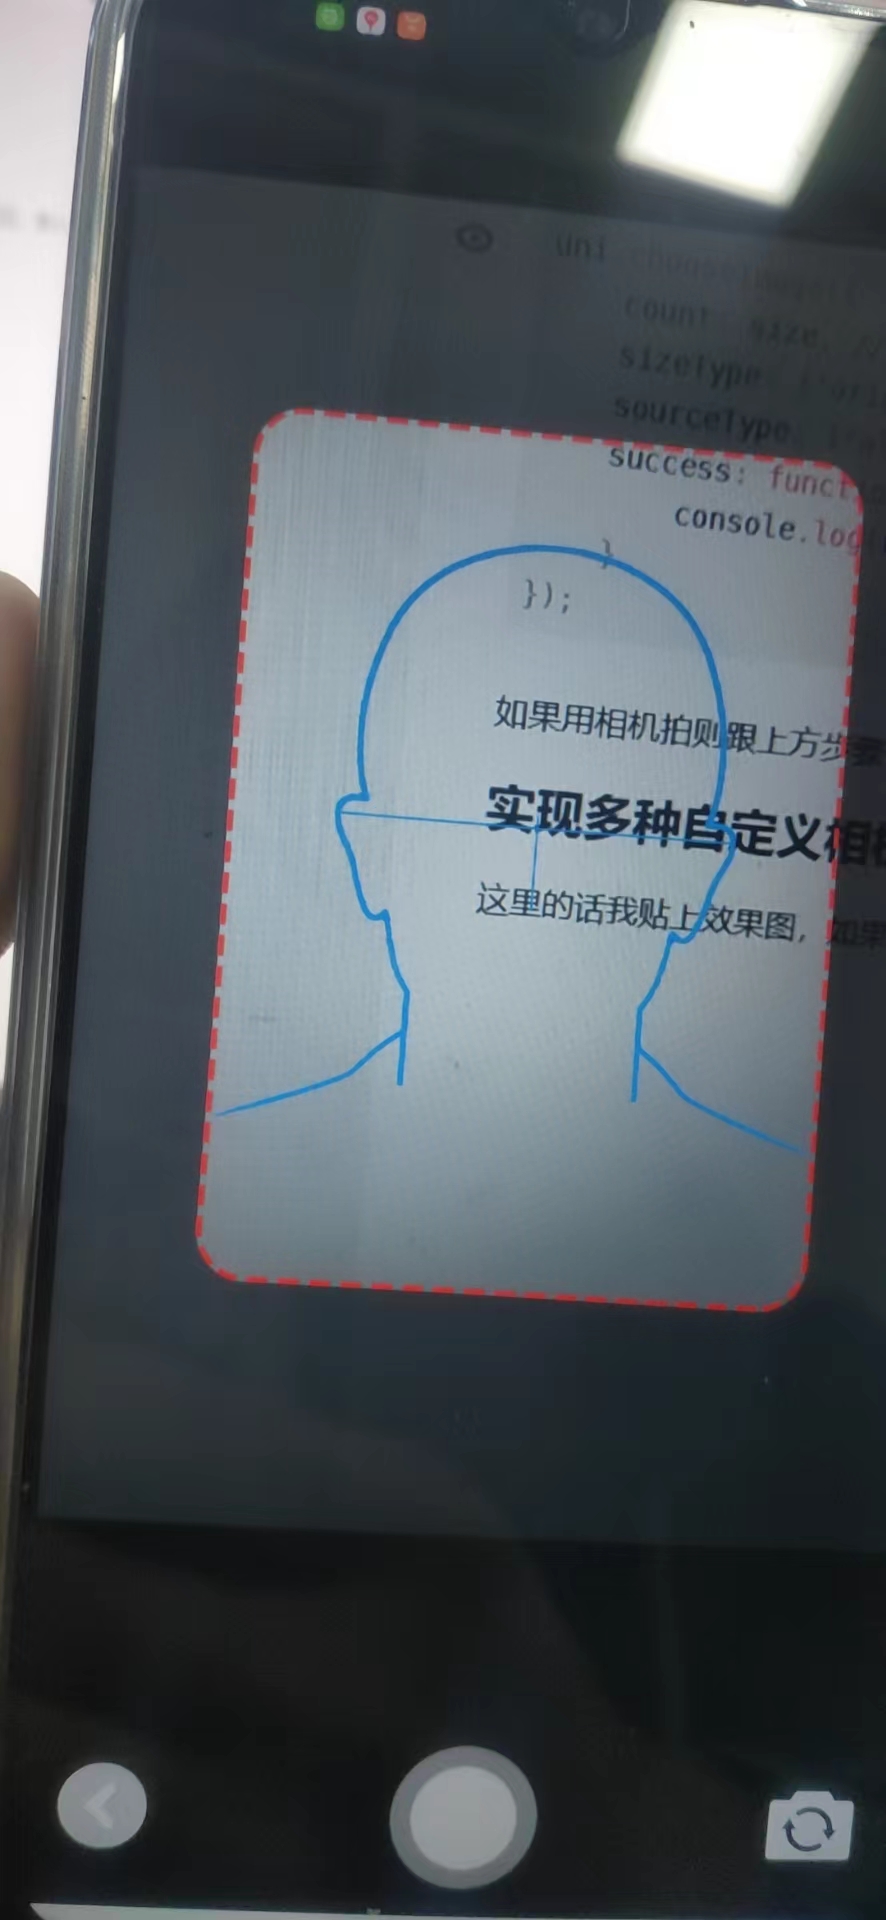
实现多种自定义相机
这里的话我贴上效果图,如果需要就在我的博客资源中获取吧
水印相机
身份证相机
人像相机
这样我就成功解决了闪退问题~,有问题评论区d我